Hi Everybody,
are such an easy style to make and yet can give some beautiful results.
I am also staying with my personal challenge of using old stuff and so saving money on buying stuff I won't use.

My little corner of Blogland where I can share my creations with you. There are many video tutorials as well as links to good quality websites for all your crafting needs.
Hi Everybody,

Hi Everybody,
I hope you are all staying well and not suffering too much from the weather.
We are so lucky here in Blackpool as we have not had floods ... at least not in the part I live in.
And when it snows elsewhere it doesn't stick around for ling.
We do suffer from the high winds on occasions though and that can knock you off your feet.
Those are the days I stay in and keep warm with Ruby and Ella.
This norming I have done the draw for the beautiful Christmas Tree die from Crafters Companion and the name today is ...
Denise Bryant
so would you email me your postal address please to
christina@card-making-magic.com
and I will get it posted off to you straight away.
Be sure to let me know that you have it safely and I hope you enjoy playing with it.
More tomorrow ...
Hugs xx
Today we are touching on Christmas again as the season is fast approaching and this week we have a beautiful Christmas Tree from Crafters Companion for you to win.
It is a two part die and in the same pack there are papers and sentiments for you to add to your designs.
The magazine is full of ideas and inspiration for this set and other ideas that you may like to try.
It will give you a good read as you brose the pages with your favourite cuppa.
So if you would like this then all you need to do is leave me a comment at the end of the post with your FULL NAME
From those comments one name will be chosen at random as the winner and announced in a blog post over the weekend so be sure to come back and check if it is your name that is shown.
It doesn't matter if you have won before just have a go and see where you get .
More tomorrow ...
Hugs xx
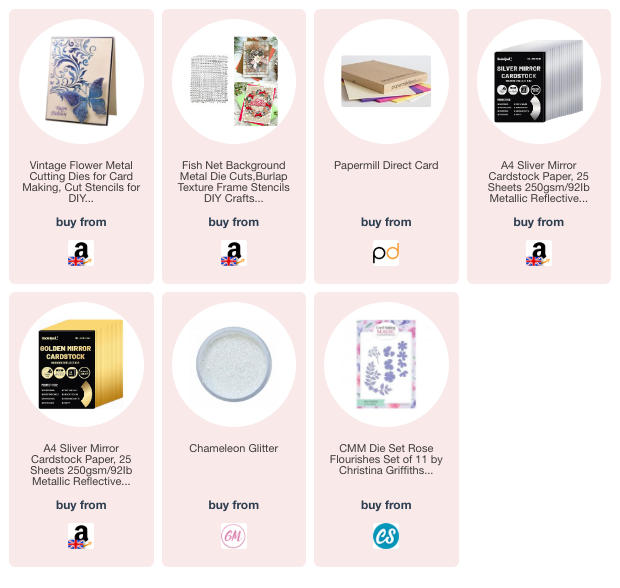
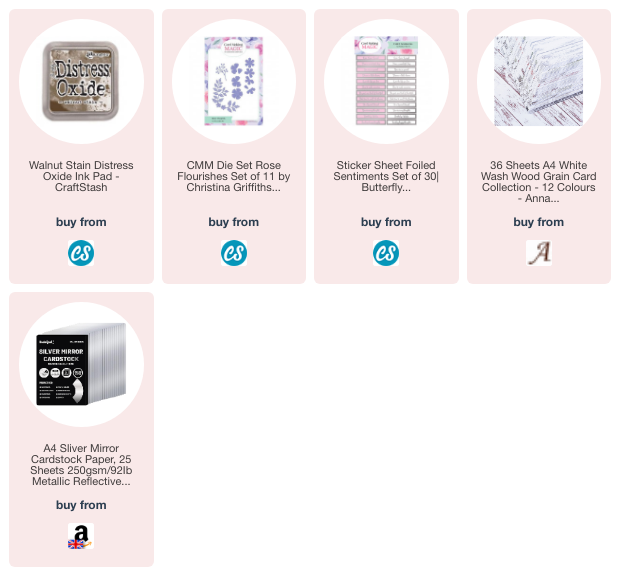
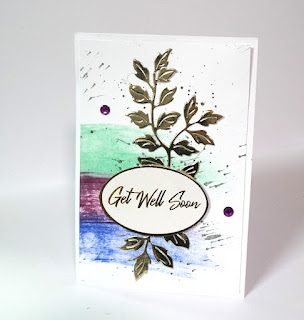 The leaves have been cut from my favourite Rose Flourish die set but I don't think this will be available any more at Craft Stash.
Hi Everybody,
All three of these cards have been produced in the same way. They are all 5x7 with the fold at the top. They have all had an aperture cut with a die and they all have the same handmade background behind each aperture
The flowers are all cut from the same red card and the leaves from two shades of green, though the flowers have been decorated in a different way.
So to start the process I created the background panel by ink smooshing in reds and silver inks and trimmed it down to fit the front on my my card below the aperture
This next card has used a snowflake aperture die with the red panel underneath.
These two flowers have been stamped in white with a snowflake stamp on all the layers, and tiny diamante gems added to the centres of the flowers and the bow.
The same gemstone has been added to all the bow centres
They have been arranged to the lower left, on top of the leaves, and the bow placed to the bottom of the card.
Seasons Greetings has been stamped in Candied Apple
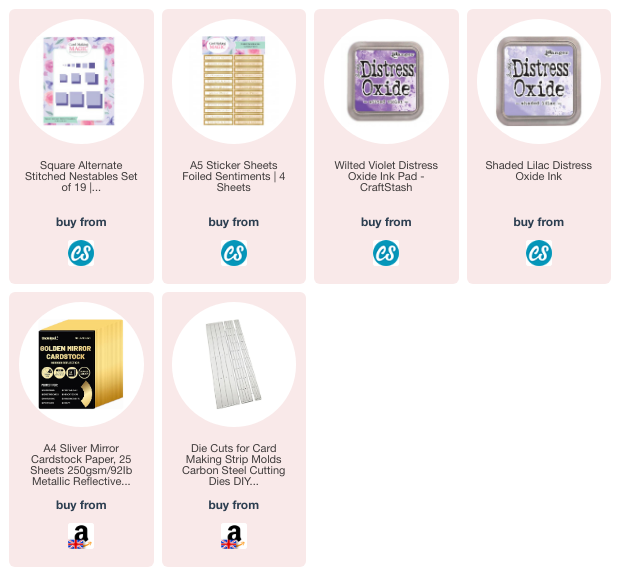
It is another easy to do style and you can add the stirps in any way you would like,
I added an ink smooshed panel to the inside of mine, just to jazz it up a bit, and it has made a lot of difference to the end result.
One of the butterflies camouflaged a finger print on the inside of the card and now no one will ever know that it was there.

Another things you could do, to make it look different again, is to add some parchment to the back of the trellis.
That way the inside would be diffused and yet it would look lovely from the front.
Lots of choices with this design and they are all there for you to make.
More tomorrow ...
Hugs xx
Hi Everybody,
At least it is not raining here, though I don't know if it will stay that way all day, but we live in hopes.
Ruby and I will go out later for a short walk. I didn't take her out yesterday as walking was far too painful but I will see how it goes later.
In the meantime the draw has been done for the Spellbinders Ampersand.
This is such a useful die and can be used to link many different words for your designs.
The name today is
Janet Boyne
so would you email me please with your postal address and I will get it sent out to you straight away.
Be sure to let me know that you have it safely and I hope you will enjoy playing with it.
More tomorrow
Hugs xx
This week it is the turn of another much loved company that produces beautiful dies for us to use.
Last week it was the Altenew Poinsettia and this week we have the Spellbinders Sentimental Ampersand.
Look carefully at any word dies that you already have and see what can be teamed together for the look that you are aiming for.
Inside the magazine you will find ideas to help you and it is always a good read with your favourite cuppa.
In the pack there are sentiments and small flowers that you can use to dress the ampersand up.
Would you like to have this in your collection???
Then all you need to do is leave me a comment at the end of this post with your
FULL NAME
Then be sure to come back and check over the weekend if your name is shown as the winner.
I am happy to send this wherever you live and it doesn't matter if you have won before.
More tomorrow ...
Hugs xx
I have used some card that looks wooden to make things easier and I have inked the edges to make it blend.
This video is not long but I hope you enjoy it just the same.
Click the link to open a new window in YouTube to view the video and be sure to leave me a comment. "Like" and subscribe if you haven't already.
It all helps to let YT know that you would like more videos from me.
And a comment here on the blog would be very much appreciated too.
More tomorrow ...
Hugs xx
All the flowers for these cards are created from the Hello Beautiful Craft Your Life Kit from Altenew that I have had for a long time.
The woodgrain panel is also from a really old Altenew Stamp and I thought it would be good to bring them out of retirement and put them to use again.
All the flowers have been coloured with the layered stencil in the kit and all mounted to the cards with foam pads to give them some height.
And all are A6 sized cards with sentiments from my own stash.
This was yet another playtime session to use up items that are already on my desk and I was not disappointed with any of them.
Todays card is created with flowers made from the Craft A Flower kit from Altenew. It is the Sulfer Cosmos flower and it is lovely.
I have cut my layers for the flowers in blue and then once they are assembled I gave gone over the petals with the Wink Of Stella pen.
The flowers have been added to a handmade inky background and an aperture cut into the card for effect.
The finished card is a 5x7 with the fold at the top, and it is much prettier in the hand as the flowers sparkle when turned in the light.

The video is not long and so won't up take too much of your time to view.
This is the second time I have done a similar type of card and the first one was about ten years ago. So well over due for a refresh.
It is easy to do and the width of the strips can be altered to give you yet another look.
You could also add them in a different pattern, for instance a sunray effect on the card and this would look lovely.
In the first video I added them as a weave on the card with lots of flowers too.
But you can have fun doing them any way you wish. Click the link to view the video and I hope you enjoy it.
Hi Everybody,
It was very pleasant here yesterday and although I am still having trouble walking I did manage to take Ruby for a little walk with Vickie and Dougal. We didn't go far and we didn't go fast just a leisurely stroll and then home.
The draw for the magazine has been done and the name today is
Gail Knapton
so if you would email me your postal address please to
christina@card-making-magic.com
I will get it sent off to you straight away.
I hope you find it a good read and please be sure to let me know that you have it safely
More tomorrow ...
Hugs xx
Today I am back to offering, over the next few weeks, some magazines that you are sure to find informative.
The first one is Simply Cards & Papercraft and the beautiful Altenew Poinsettia Die & Stamp set.
This is a flower that although it is always very popular at Christmas it can be used all year round.
Just swap out the colours and add it to you designs for some really lovely on trend flowers that will suit any occasion.
There is also the link for you to download some papers that can be used with the stamp and die set.
If this is something that you would like to have then all you need to do is leave me a comment at the end of this post with your FULL NAME
From those comment one name will be chosen as the winner and announced in a blog post over the weekend so be sure to come back and check if it is your name that is shown.
You will also get the magazine to brows at your leisure and that is always full of ideas and inspiration for you to try.
More tomorrow ...
Hugs xx
Todays little card is created with the Bokeh Effect on the front panel and there are many different ways to obtain this look.
It is a Japanese word often used in photography and it means blurred.
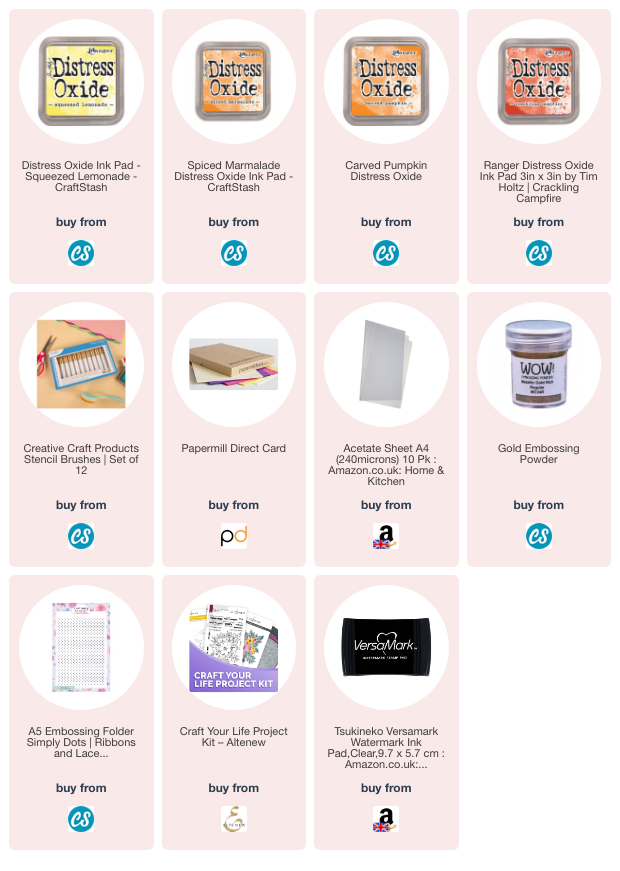
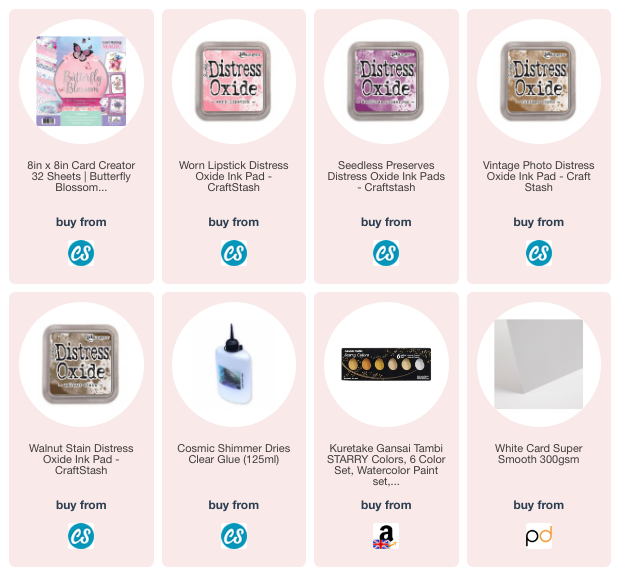
I have created mine with Distress Oxides, and a large finger dauber and stencil but you can use anything that you have in your crafty stash.
It us another easy way to make individual and unique backgrounds for your design and is far more satisfying than buying more papers.
The sentiment is one of a set that I got from Amazon and is one I reach for often.
The top is cut in a blue to math the pattern and the base is silver.
The panel has also been mounted onto a blue mat
This is a video I did on the technique some time ago and in that one I used water colour paints.
I thought it appropriate to add it again here
More tomorrow ...
Hugs xx
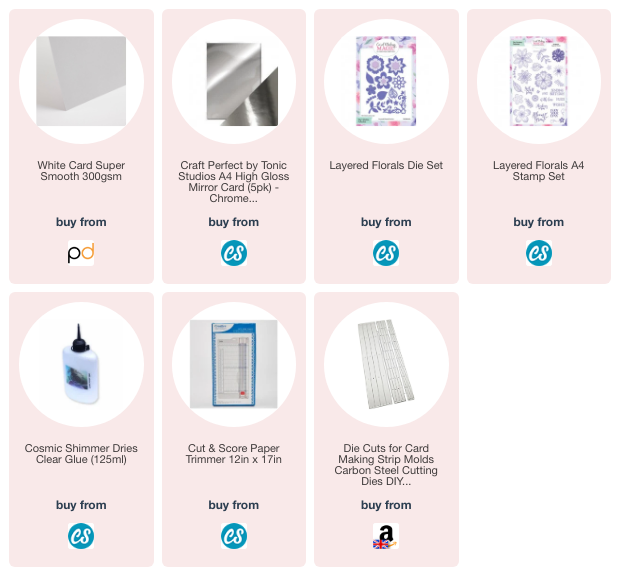
The ones I had left over I added to the back of the card for more interest.
The video is not long and yet the card is so pretty and the finished size of mine is 5x7.
You can make this any size you want, as there is not really any measuring to do, just adjust the strips to suit the size
More tomorrow ...
Hugs xx
I really enjoy making my own background in this way and you can get so much variation in the finished card and I show you in the video how I get the look.
I got the idea for the ink smoosher from NBCards on YouTube and it is such a simple concept but so effective.
The card is easy to make and yet stands out from the crowd because of its unusual design.
It is a style that has been around for a ling time ... I am just late getting on the bus !!
But I hope you enjoy the video and will come back for more as I have more ways to make trellis cards coming up in future videos.
More tomorrow ...
Hi Everybody,
 |
| Pocket Card |
 |
| Side Fold Card |
 |
| Top Fold Card |
... and this one has the fold at the top using the detailed layer at the bottom to hold the card upright.
I have used a 300 gsm card, but if yours is lower than that the you may need to glue two detailed layers together for the strength to hold the card base upright.
Hi Everybody,
It's grey and dull here today and I don't know if it will brighten up any, but here's hoping it will.
I am having great trouble walking at present and so I doubt if Ruby will get her walk today.
I have an appointment with the doctor best week and so I am hoping they will be able to sort things out for me. First thing in the morning is really painful and getting up stairs takes me ages ... thank the lord for banister rails is all I can say !!!!
The draw has been done for the Spellbinders Set 3 and this time I am hoping it will be claimed.
The. name today is
Michele Coffey
so could you send me your postal address lease to
christina@card-making-magic.com
and I will get it sent off to you straight away. Please let me know that you have it safely and I hope you enjoy playing with it when it arrives.
More tomorrow ...
Hugs xx
Here is another chance to win the Spellbinders Set 3 that was not claimed the other week .and it is a lovely die and stamp set with an embossing folder.
You can make some beautiful designs with this set and make it work in your own personal collections.
So if this is something that you would like to have then all you need to do is leave me a comment at the end of this post with your
FULL NAME
Then be sure to come back and check if your name is shown as the winner over the weekend.
You will have 72 hours in which to claim the prize.
More tomorrow…
Hugs xx
This card has been created from left over pieces of gold card.
I used brushed gold, glitter gold and bright gold at the bottom and cut them into equal panels before adding them to another panel.
I wrapped gold twine around this and then added it to my base card, whcih is an A6 size, with foam tape to raise it up.
More tomorrow ...
Hugs xx
Todays card has a background created on Deli Paper, as I did in yesterdays cards, but this one has a fussy cut flower added to the front and that has been done on acetate.
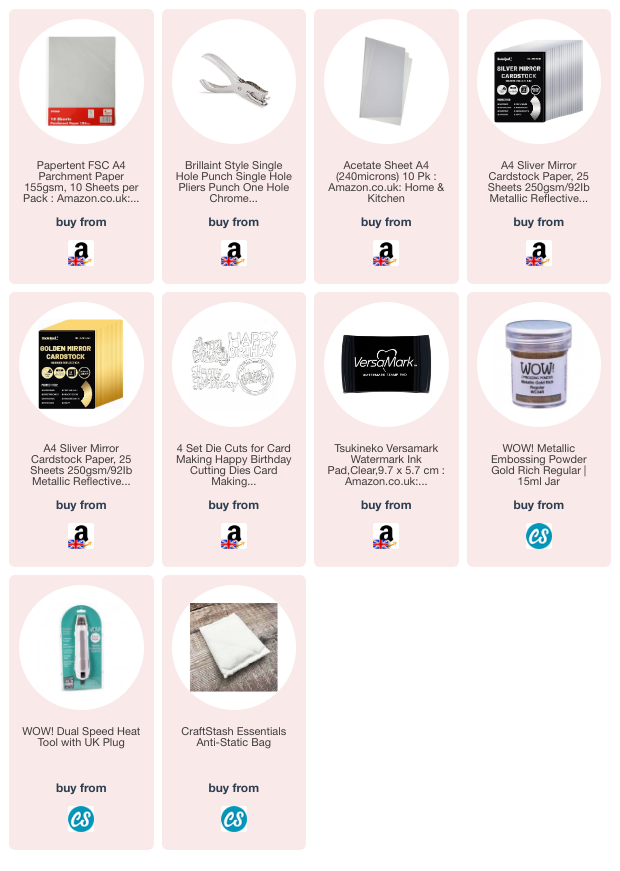
I stamped the image with Versamark on to the acetate and and then heat embossed it with white powder. You will need a heat proof acetate for this as an ordinary one with shrivel in the heat,
Ink smudges very easily on acetate and it is difficult to get it to stamp properly with some inks. The Versamark worked really well for my design
Stazon is another answer as it is permanent on any non porous surface and gives a lovely clear image. It comes in many colours and has refills that you can buy at the same time
Just be mindful that your stamp could slip on the acetate surface and needs extra care
I used alcohol inks to colour this image and I coloured them from the wrong side.
This gives you a diffused look once you view it from the correct side again.
I fussy cut the image out once the colouring was dry and I added it to my card. with glue dots in strategic places
The butterfly was cut from silver card for the detail and parchment for the backing and I kept the wings loose sot hat they can be raised up a little to give the appearance of fluttering on the panel.
The sentiment is also cut in silver
It turned out to be a bright and petty card and once again used up things that I had made from previous crafting sessions and so wasting nothing.
More tomorrow ...
Hugs xx
These beautiful cards are created in jewel colours from my alcohol inks but this time they are done on Deli Paper.
This is a thin kind of paper that is a greaseproof on one side and absorbent on the other. It is what your food is sometimes wrapped in you go to the takeaway to buy it.
Some one asked me if tissue paper could be used instead and I find tissue paper is too thin and it tears very easily when exposed to moisture.
The Deli Paper is much stronger and yet still can be torn along the sides to add to your card. If you have greaseproof paper in your kitchen then give it a try.
It die cuts beautiful too and can be added to your cards, scrapbook pages of journals.
On the top card I have gold heat embossed some butterflies and I have used coloured inks to add the dots to the panel.
Hi Everybody,
My apologies for adding this old video from seven years ago but I have not been well over the past few days and not feeling up to doing a new one to show you. So I hope this one will entertain you until I feel better.
It was done many years ago and Griff filmed it and although I use alcohol inks in it you could use your favourite medium to create the look.
Because this is such an old video I am able to add it here on the blog and not just the link back to YouTube.
Hi Everybody,
I don't think this weather knows what it wants to do today , or any other day for that matter.
It has been a real mixed bag going form one season to the next in a few short days.
In fact it has been an awful summer and it is nearly over with.
But I have done the draw and hopefully, this week, this one will be claimed.
I can never understand why people add there names to a free gift and then do not claim it as theirs.
So the winner today is
Ann Topp
Would you email me with your postal address please to
christina@card-making-magic.com
and will get it in the post to your straight away.
More tomorrow ...
Hugs xx