Beautiful Card Designs Made Easy

September 30, 2017

Card Winners

Hi Everybody,

Hello to a wet and windy Blackpool today and I was going to go out dog walking this morning but I am a fair weather walker and so the walk is off. Ruby will be back tomorrow for her latest up date so I hope you will join her then.

And next week I have some really pretty cards to show you and one that is great for men in the Tuesday Tutorial and very easy to make.

Next Friday the card and gift "Give Away" begins and I have got the first five ready to go. They are listed on the winners page if you wanted to see which ones are coming up

But for now the draw for the two cards from yesterday has been done and hopefully they will find new homes this week.  I can't guarantee which one you will get but the names of the winners are ....

Bill Ali 
EFT Christine
please can you both email me to
christina@card-making-magic.com
with your postal address and the cards will be on their way to you

I hope you will like them and please let me know when you have them safe and sound.

More tomorrow ...

Hugs xx


September 29, 2017

Friday Freebie ... 2 Shabby Chic cards

Hi Everybody,

Today I am offering two Shabby Chic Cards and these are the last ones for now because next week I have something really good to offer you.

Both of these cards have been on the blog before and were unclaimed... for whatever reason.

So here they are again and if you would like one of them then all you need to do is leave me a comment


The card above is a 5" square and this Christmas card is quite a large one at 7" square

I am happy to send them wherever you are and all I ask is that you let me know it has arrived safely with you.

So there you have the last two Shabby Chic for a while but please pop back next week for a really special run up to Christmas

I am giving away a free gift with the card that was made with that gift.

They are from the magazine freebies but it is too expensive for me to send the actual magazine each week especially if you live overseas .... so sorry if you thought it was the magazine as well

More tomorrow ...

Hugs xx

September 28, 2017

Layered Stencils

Hi Everybody,

I have been playing a lot recently with stencils as there is so much you can do with them to add that extra something to your design

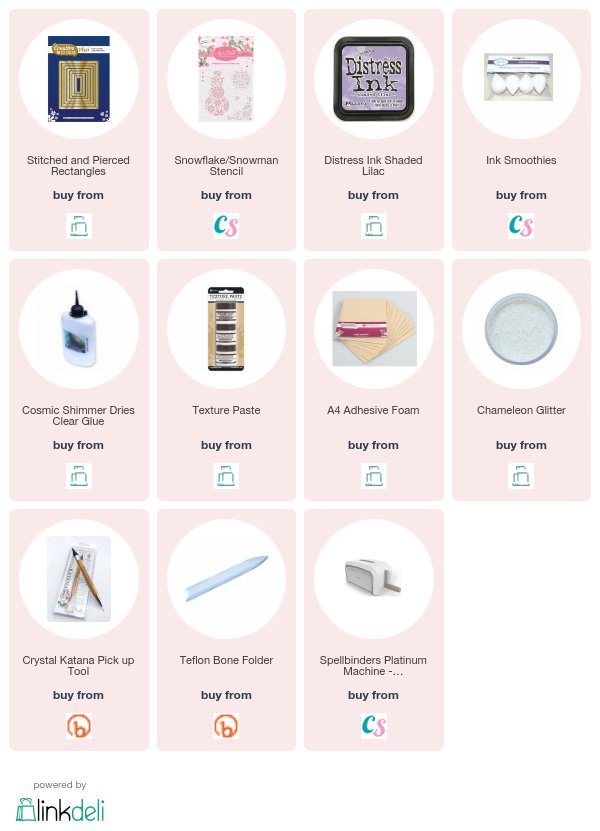
This is a new one that has been added to Craft Stash and this is the Snowflake/Snowman stencil duo

There are several to choose from and this one was so easy to use.

The video will show you how I created some different ones with this set and it is not long

Snowflake/Snowman Layered Stencil  has been used for this card too but they look totally different and this one is a little more sophisticated

Have a look at the other designs and there may be one that really appeals to you.

But whatever you do have fun playing

More tomorrow ...

Hugs xx


September 27, 2017

Magazine freebies ...

Hi Everybody,

There are two new magazines on sale tomorrow so here's a sneaky peak at what you can do with them. 

Each one has a video to show you how I made the cards featured here.

The first one is Die Cutting Essentials 29 and the video will give you other ideas as well.

This one is quick and easy ... just what you need when you have lots of Christmas cards to make.

The next one is Simply Cards & Papercraft 168  which has three border dies for you to create a scene.  

It is called Scenic Winter but I have created other cards from the same die set to show you that it is something that can be used all year round and for many occasions

So here we have the winter scene and I have used lots of glitter on the snow for this card.

I used Spectrum Noir to colour in plain white card and I created a winter sky behind it.

But this is the same die set and for this I created a summer scene 

I added the two people to one side and they are flying a kite on the hillside with a cloudy summer sky behind

I had a lot of fun using this die set and I am sure that you will come up with many more as you play.

There are lots of ideas within the pages of the magazine too for you to try.

More tomorrow ...

Hugs xx


September 26, 2017

Tuesday Tutorial - Bella Clair Border

Hi Everybody,

Today we are making a Gatefold Card and it is easy to do using one of the new dies from Spellbinders designer Becca Feeken. 
This die comes in three parts with two cutting edges and the patterned panel for the border.
The links will be at the bottom of the post for you to see my supplies
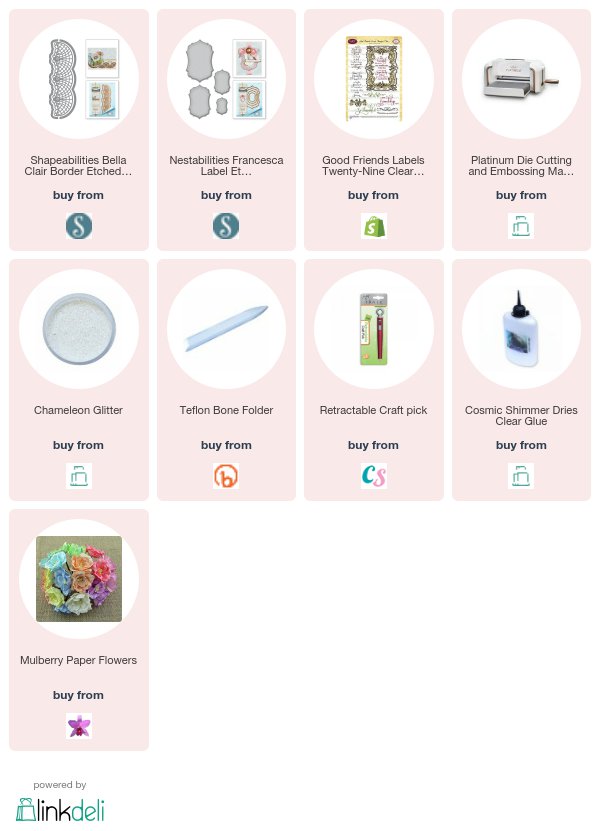
Spellbinders Supplies:
  • Bella Clair Border
  • Francesca Label
  • Platinum Die Cutting Machine
Other Supplies:
  • Pink Pearls
  • Flowers from Wild Orchid Crafts
  • Glitter from Glitter Magic
  • Thin pink ribbon
Instructions:
With the colour of your choice take a 20cms piece and measure in 5cms from each side, score and fold towards the centre. Don't worry about the length at present as we will trim it to the required size later
Place the patterned die and the curved cutting piece on the outside edge and cut
Tape in place so the the dies can't cross as you cut.
Move the dies to the other side and making sure that they are level cut these also
Trim the card as need to remove the surplus pieces and make it the length of the die
With the card flat add a line of pearls along each of the front panels as shown
I also added flowers to mine
Stamp the sentiment of your choice and with the Francesca labels die #3 cut it out.
Use the same die and trace around the outside edge onto some pink card  and cut it out.
This will give you a Faux Nestie that is slightly bigger then the sentiment label
(If you need a more detailed explanation please visit Faux Nesties )
Line the back of the card with some pretty paper and add the sentiment with foam pads
Use a piece of patterned paper to line the inside back of the card
With the largest die cut another piece in white and level the bottom
Score a little way down and add glue to this area
(For other ways to make a card stand please visit Creating a Card Stand )
Glue the small strip to the back of the card making sure that the straight edge is level with the bottom of the card
This will allow the card to stand correctly
Add some matching ribbon and slot it through the holes in the Gatefold edges
You can tie this into a bow or leave it open if you prefer.
The back of the card will look like this and stand unaided and leave to more room to add your signature 

More tomorrow ...

Hugs xx