Beautiful Card Designs Made Easy

Showing posts with label Glitter Magic. Show all posts

August 22, 2019

Pretty in Pink

Hi Everybody,

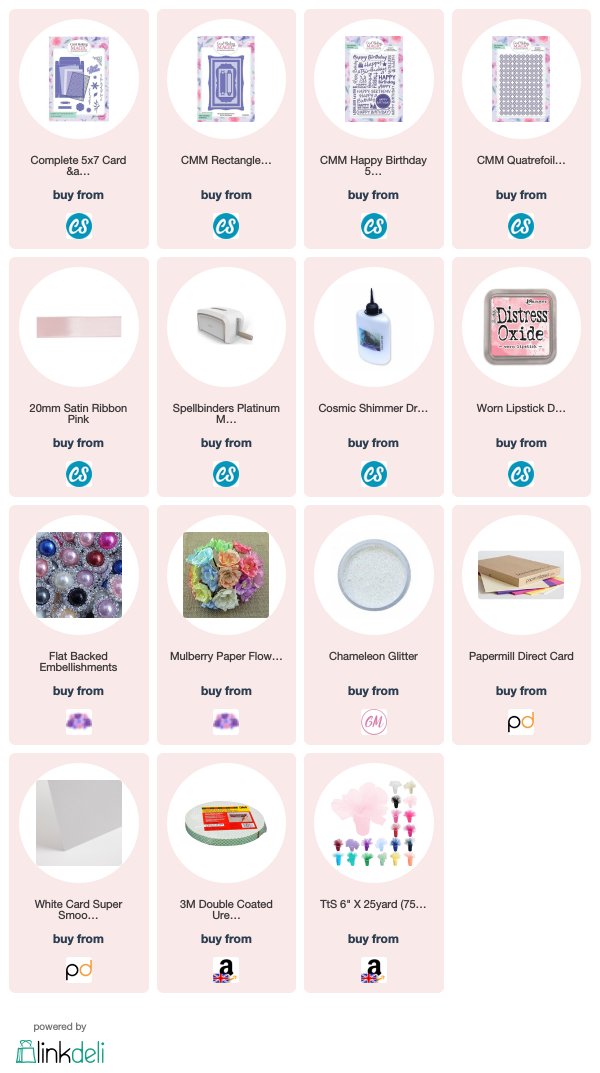
For today's card I have used several different sets of dies from Card Making Magic.

I have also used two embossing folders and Letterpressed with the Happy Birthday one onto the background piece

I have added some lovely pink Tulle and wrapped it around the layers along with the ribbon for a very feminine look

The flowers are a mixture and they have been dotted with glue and glittered for added sparkle.

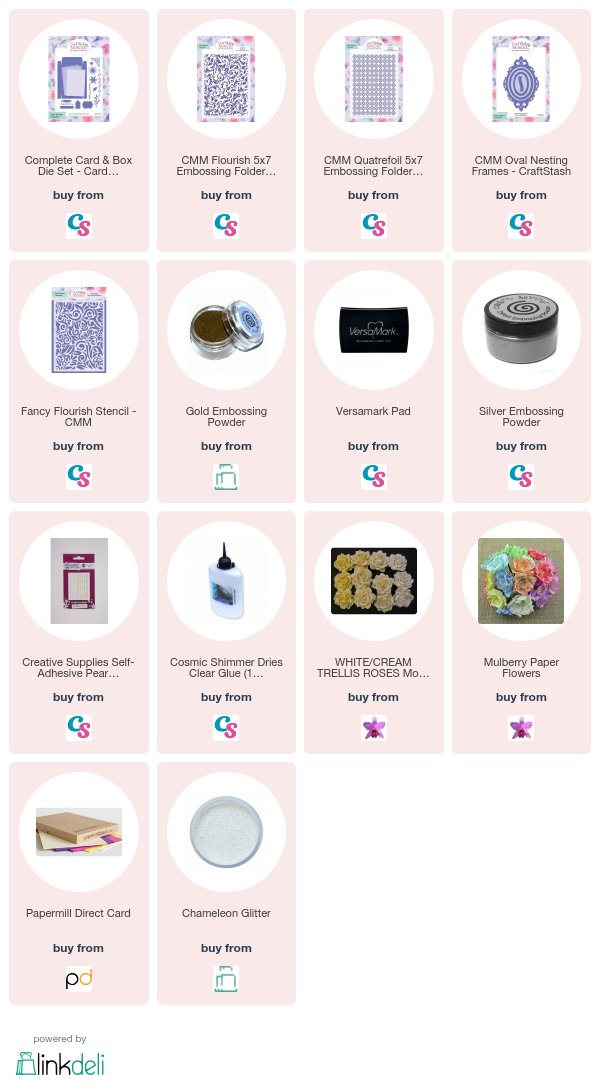
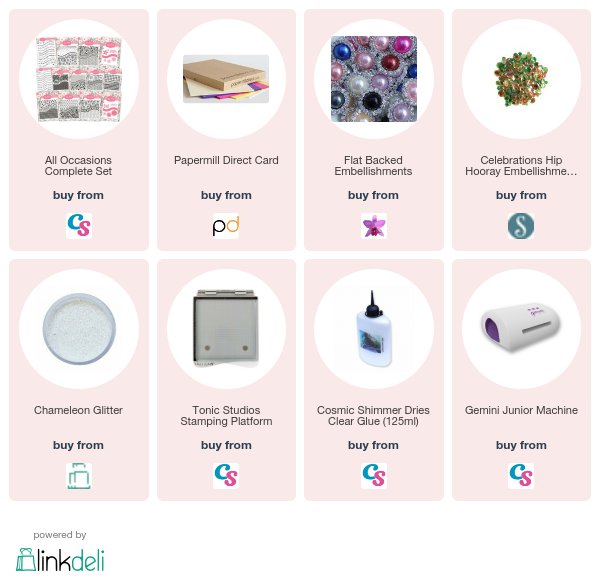
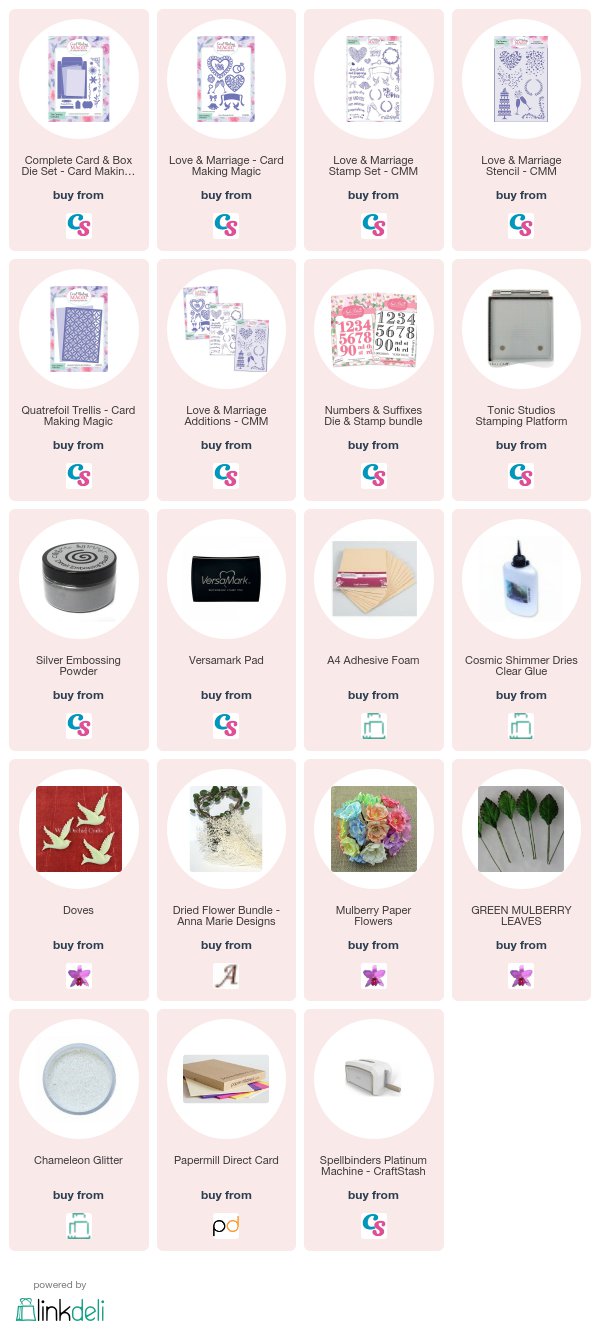
The links are below for you to see the products that I have used and I hope you like the card.

More tomorrow ...

Hugs xx

August 21, 2019

Lilac Floral Birthday

Hi Everybody,

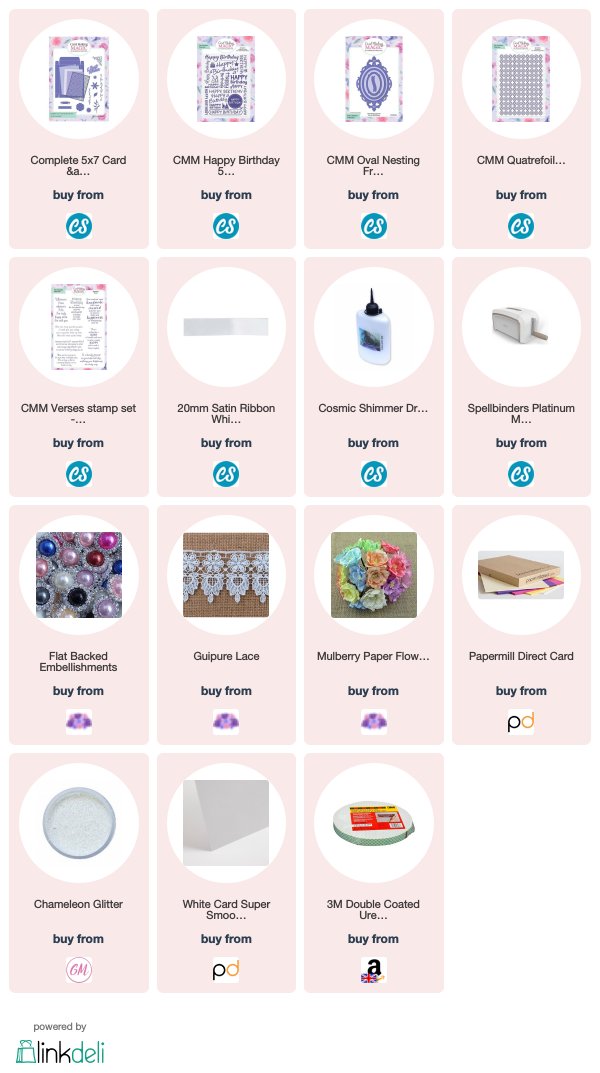
Another floral delight for you today and this one is not quite as elaborate as yesterdays but just as pretty.

I love the addition of the lace on them as it gives it a real luxury finish. And you only need a small piece so a metre length goes quite a long way.

I embossed the lilac card for the background in the Happy Birthday Folder and the layered the oval to the top with foam tape to give dimension

If you cut the large oval two or three times and then stack them together, you will have a lovely thick base that is almost like chipboard.

Run the top layer through the embossing folder before gluing in place for extra pattern and add with foam tape to the base card

More tomorrow ...

Hugs xx

June 28, 2018

Letterpress with Embossing Folders from Card Making Magic

Hi Everybody,

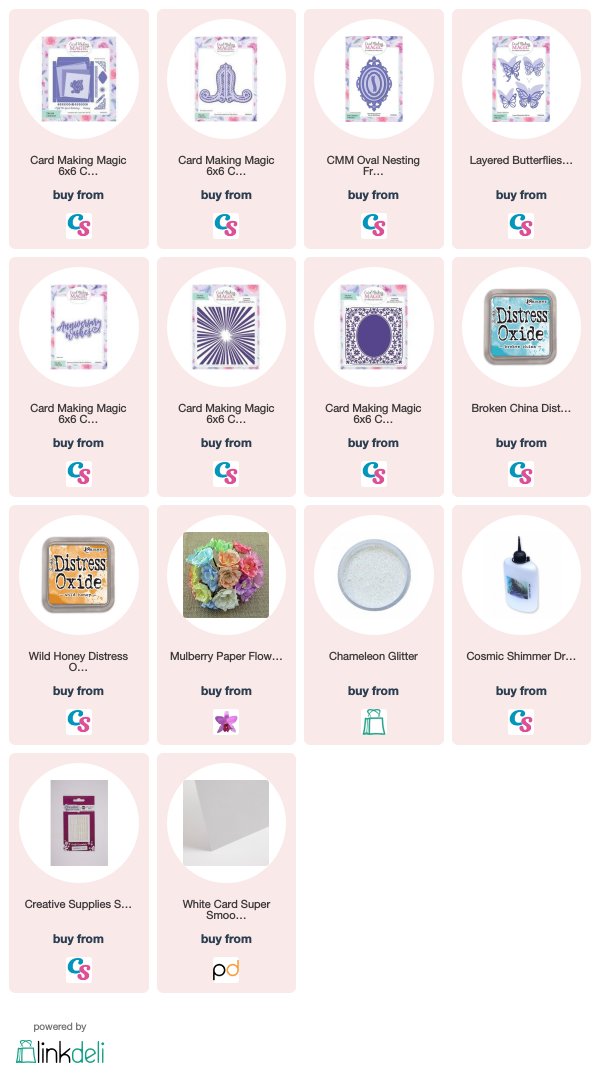
Today I have done some Letter pressing with the folders from my 6x6 Collection, Sunburst and Leafy Frame

In the video I show you the two different looks you can achieve by inking opposite sides to the folder.

You can try this with any embossing folder that you may already have in your crafting goodies


Different colour schemes and the flowers that you add will  alter the look for you and you can make it for any occasion that you need.

I am really pleased with both but my favorite one is the Turquoise and white combination as I think it is so vibrant.

More tomorrow ...

Hugs xx

May 21, 2018

5x7 Card and Box - Turquoise Floral Card

Hi Everybody,

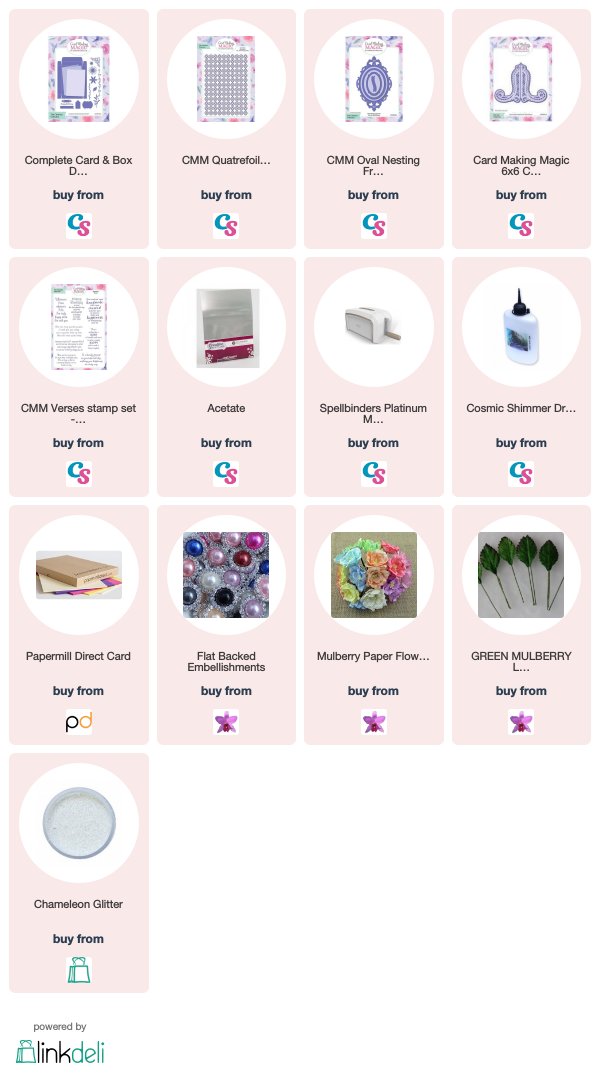
Today's cards is created with the 5x7 original "Christina Collection" and the card stand from the new 6x6 sets.

But for this card I have used the card stand in a totally different way and the result is lovely.

The video will show you how I used it and if you bought the die set then this is another way to get more use from it.


The flowers are from Wild Orchid Crafts and are a mixture of Gypsophillia, Roses, Tulips, Cherry Blossom and Asters

So I hope you enjoy the video and there is another tomorrow with the 6x6 collection.

And if you have that set then you could always add the stand as frame to that size also.

More tomorrow ...

Hugs xx

January 18, 2018

Silver Embossed Wedding Card

Hi Everybody,

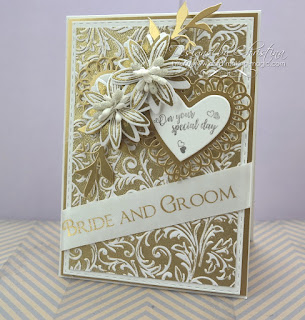
This very special wedding card is created with items from the Christina Collection 

I made the box to match it. 

 I used Versamark to Letterpress and I know that this is a new technique to some of you.

But it is quite easy to do and so I hope the video gives you a little bit of confidence to give it a try.


I did the same technique with Gold powder and that turned out beautiful also.

Uisng the stencil on the embossing sandwich in your machine will give a very pretty effect.

Not as deep as the embossing folders but just as effective

Both of the ribbons are  from Deco Fun Bowmaker
and they are a lovely quality satin 

I hope you enjoy the short video and will come back to watch more as they are added.

More tomorrow ...

Hugs xx

January 12, 2018

Launch Day of Nesting Dies ...

Hi Everybody,

I am so happy to announce that the third wave of
  Dies, Stamps and now Embossing Folders
from Card Making Magic is being launched today on the Craft Stash website and you can find me on their Facebook Live page at 10 am

I am really excited about this release as they will make such a difference to any designs especially the romantic floral cards that I love to make

And so I have the first video featuring the Nesting Ovals to share with you today and the card is really lovely and I am so pleased with the result

I will be making many more using my collection and there's still lots more to come in further waves

So I hope you will stay with me to share the wonderful news as it happens and watch my collection continue to grow 


The list below will link you to the new wave but be sure to check out the rest as it is growing into a large complete collection to cover all your 5x7" card and box needs.
They are available on the Craft Stash website now.

 The embossing folders are a new line of  5x7" designs and they are lovely.
 I am absolutely delighted with everything and I hope you will be too.
Come and join us at 10 am Craft Stash Facebook Live

More tomorrow ...

Hugs xx

January 04, 2018

Tonic Studios - Moroccan Orchard

Hi Everybody,

Well as I promised I am now going to be doing adding more videos to the blog pages.

Thank you for letting me know that you enjoy them and that you would prefer this type of tutorial

The links to the products will be at the bottom of the post for you to view 

For this beautiful card I have used the Tonic Studios Moroccan Orchard Corner and it is quite a large die in two sections.


The Pink and White card is from Papermill Direct and most of the card I use is from them and weighs between 255 - 300 gsm

This is a good solid base for any of my designs


The video will show you in detail how I made this card and it is really lovely in the hand. So I hope you will enjoy the tutorial and will continue to join me as I make more for you to view.

And don't forget the  "Give Away"  is running until Friday so add your comment if you want to be in with a chance

More tomorrow ...

Hugs xx

December 13, 2017

Papercraft Essentials 154 - Heart & Flowers Embossing Folder

Hi Everybody,

Issue 122 of Papercraft Essentials sparked off a whole new range of items from the embossing folder that was given free with it.

It was called  "All Occasions" and I did some videos using it.

It was so popular it sold out time after time, and now there are dies, stamps and even more folders in that collection

Did you get "That Embossing Folder" ?

Well here is the opportunity for you to expand your collection because another one is being given away this month.

The video ...   The Hearts & Flowers Embossing Folder & Stamp Set  will show you how I made this card and there are lots more ideas for you to try inside the magazine

It will be on sale tomorrow the 14th December so keep a look out for it as it is surely going to sell out quickly.  
And pop over to Craft Stash to see the other items in this ever growing 

More tomorrow ...

Hugs xx

November 20, 2017

Silver Wedding Anniversary Card

Hi Everybody,

This beautiful card was made with the Love & Marriage Die Set  that is part of the New Additions to the Christina Collection available from Craft Stash

I have made it in silver and white and it is much better in the hand then the photo shows

My flowers, Leaves and the Dove are all from Wild Orchid Crafts and they have been sparkled up with glitter from Glitter Magic

The fibres that are on both card and box are from AnnaMarie designs and they are some that I use often on my Shabby Chic Cards.

It has its own matching box made with the Complete Card & Box Die Set and I really enjoyed making this .... I just need someone to send it too !!

But with yesterdays card and the addition of the five stencilled cards to one box I am trying to show you just how versatile this new collection can be 

I hope you are enjoying it as much as I am and thanks for all your lovely comments

Moe tomorrow ...

Hugs xx


November 14, 2017

Tuesday Tutorial - Spellbinders Heart Leaf Frame

Hi Everybody,

This pretty card is created by simply folding an A4 sheet in half and then cutting in half. 
It will produce two cards for you to decorate as you wish. 
But it fits perfectly the Spellbinders Heart Leaf Frame designed by Marisa Job. 
So a quick and easy card for today

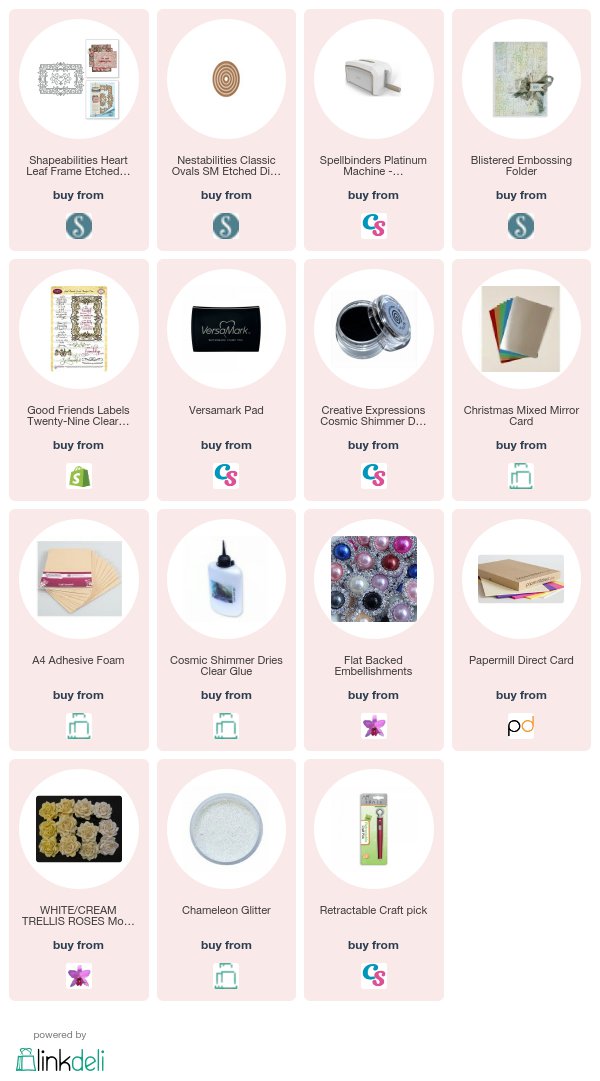
Spellbinders Supplies:

  • Heart Leaf Frame
  • Blistered Embossing Folder
  • Classic Ovals
Other Supplies:
  • Card from Papermill Direct
  • Flowers from Wild orchid Craft
  • Glitter from Glitter Magic
  • Ribbon from Mei Flower
  • Gold card from Craft Stash
Instructions:
Fold an A4 piece of white card in half along the short side and then cut in half to produce two tent fold cards
Cut another slightly smaller layer to leave a small border around the edges and emboss this piece
With bright gold card cut the Frame die and if you care fully position the die into the centre of a 5x7  panel then you will get all three pieces from the die as shown above.
I will be using the two pieces to the right but the other one will be kept for another project
Savvy Crafting !!
Add the filigree piece to the embossed panel. 
Add the smallest solid piece with foam pads underneath to the centre of the card. 
Wrap with ribbon around the layers before adding to the base card
Stamp and emboss the sentiment of your choice and cut with the oval to fit the verse
Add to the centre with foam pads
Dress with flowers, dot with glue and sprinkle with glitter.
Adhere the bow and the dazzler to cover the knot.

Your comments please ...

Craft Stash are asking for your first thoughts on my new collection that was launched on the 20th October, If you bought some of it would you please consider taking part in the is survey 

More tomorrow ...

Hugs xx
October 29, 2017

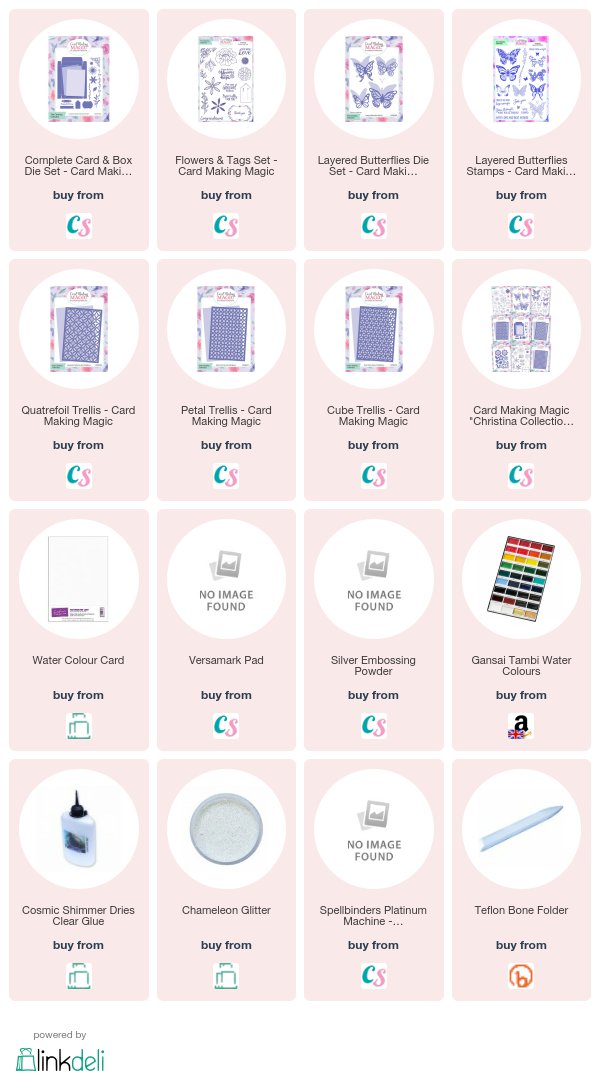
Water Coloured Flowers + Box

Hi Everybody,

I am really enjoying playing with these new dies from my Christina Collection and the possibilities are endless for things that you can do with them.

For today's cards I used the same techniques throughout and yet they are all different.

Simply by varying the arrangement of the flowers and adding different Trellis panels to them can make such a big impact.


The video will show you how I got this look and it is not hard to do.

I have also changed the orientation of each card using all the ways to make them with the three cutting sided die that is in the Complete Card and Box pack

And it is no secret that my favourite is a 5x7  card in tent fold. 

That way I can add lots to the front and it will still stand
I hope you are enjoying the videos on my new collection and thanks again to those of you who have already bought it

More tomorrow ...

Hugs xx


October 26, 2017

Tuesday Tutorial (On a Thursday) - Labels 34

Hi Everybody,

Sorry for the delay in the Tuesday Tutorial but I am sure that you can understand why. I have been so busy with the launch of my new collection. I hope to be back on track again next week and the Friday Freebie is back this week

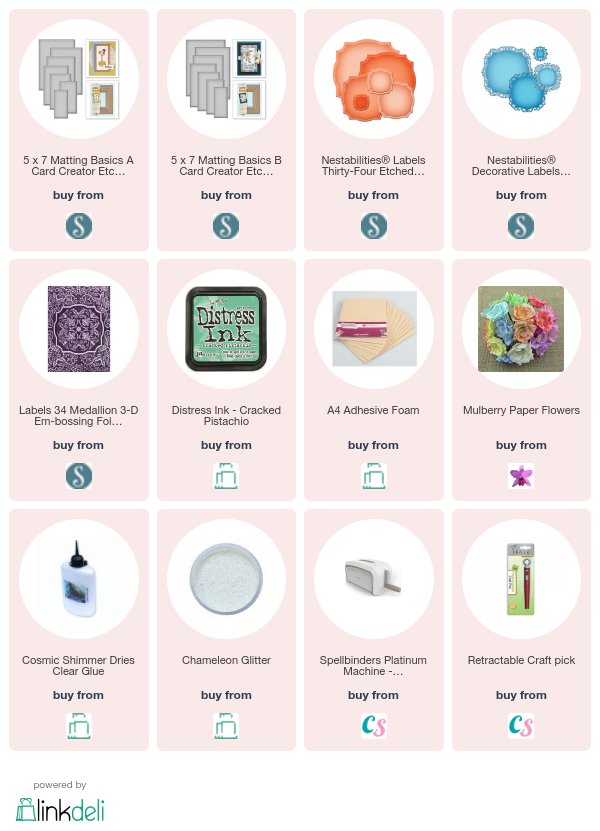
But for today we are using the Labels 34 from Spellbinders and this has matching decorative dies and a beautiful embossing folder which Letterpresses with a deep pattern

Spellbinders Supplies:

  • Labels 34 
  • Labels 34 Decorative Elements
  • Labels 34 3D Medallion Embossing Folder
  • 5x7 Matting Basics A and B
  • Platinum Die Cutting Machine
Other Supplies:
  • Flowers from Wild Orchid Crafts
  • Self adhesive pearls
  • Foam tape from Craft Stash
  • Glitter from Glitter Magic
  • Distress Ink from Craft Stash
  • Ribbon from my stash
Instructions:
With die #7 from Matting Basics A cut two pieces in white to make the base card
With die #7 from Matting Basics B cut another panel in white
With the ink and embossing folder create a Letterpress Technique on the card
With dies # 6 and 4 from the Labels set cut two pieces in a green to match the ink
With die #4 cut one layer in white
Select the flowers you want to use
Add the sentiment to the smallest green die cut
Cut enough ribbon to wrap around the layers and make a bow
With foam between the layers assemble the card and place the flowers so that they please you
Dot with glue and sprinkle with glitter.
Add pearls around the flowers

More tomorrow ...

Hugs xx


October 17, 2017

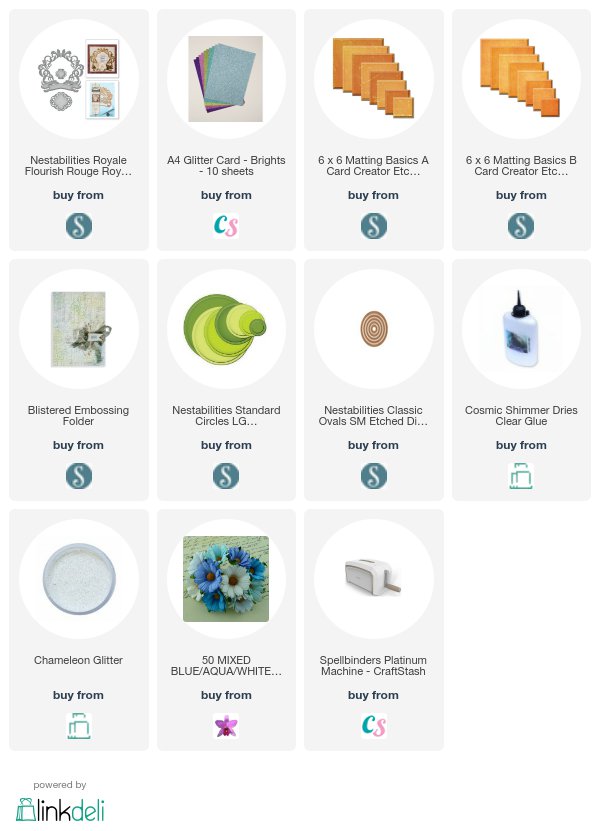
Tuesday Tutorial - Rouge Royale

Hi Everybody,

Glitter cards is used on today's card for a really sparkly effect that was quick and easy to make. The addition of the flowers takes it to another level and it would suit many occasions
Spellbinders Supplies:

  • Rouge Royale Flourish
  • Standard Ovals
  • Standard Circles
  • Blistered Embossing Folder
  • 6x6 Matting Basics A and B
  • Platinum Die Cutting Machine
Other Supplies:
  • Glitter card
  • Flowers
  • White Ribbon
  • Button from my stash
  • Birthday Stamp
Instructions:
With die #8 Matting basics A cut two pieces in white to create the base card.
With die#8 Matting Basics B cut another in white and emboss in the folder ... moving it along as needed
(Die #1 is always the smallest)
From the Glitter card cut the largest Flourish die
Cut a white oval from the largest and the next die down in Glitter card
Stamp the sentiment and cut with a circle
Add to the card front as shown and wrap with ribbon wrap with white ribbon before adding to the base card.
Add the other elements with foam pads underneath adding a little extra wet glue when adding the layer to the Glitter Card
Choose the flowers. I have used from left to right:
Roses in two colours and two sizes ... Anenome ... Tulips in two shades
I added them with a glue gun.
Dot with wet glue and sprinkle with glitter 
I added a bow and placed a button over the knot 

More tomorrow ...

Hugs xx


October 02, 2017

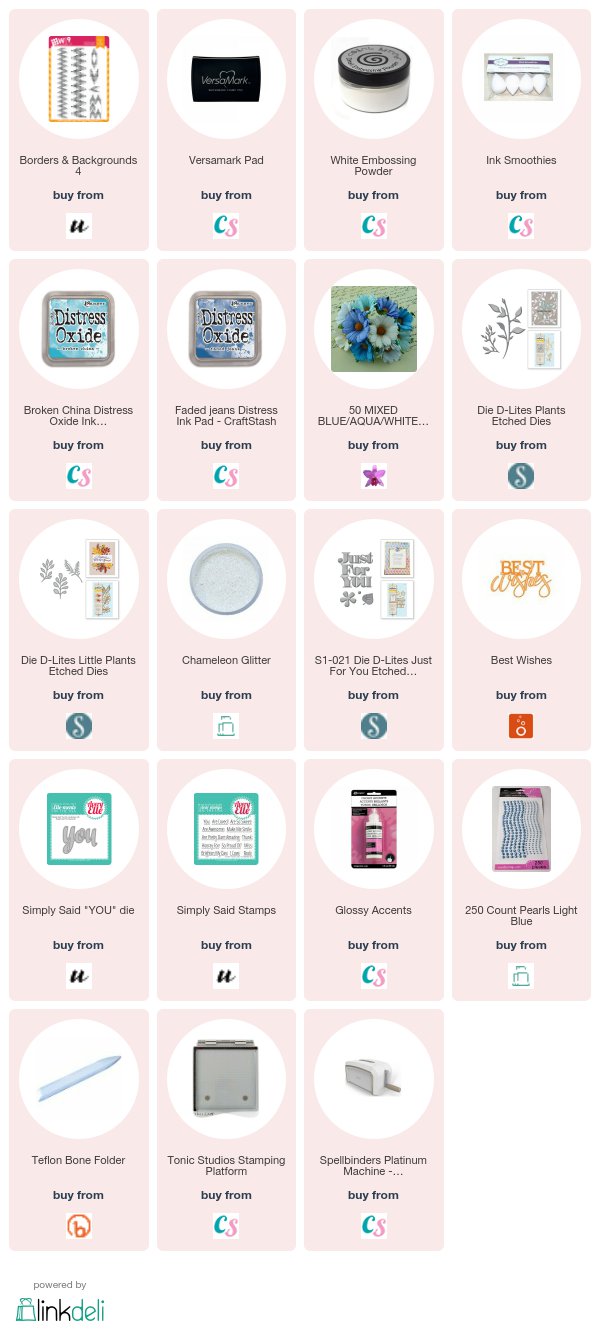
White Embossed Cards

Hi Everybody,

These lovely cards have been created with a lace stamp and some white embossing powder on coloured card

They are all blue but the effect is really pretty especially with the addition of the flowers which are all from Wild Orchid Crafts

I have used two different stamps. This first one is Lace Medallion Labels from JustRite Stampers and I Inked over the design with Faded Jeans and Broken China 

I have simply stamped along the bottom edge for this one and added Glossy Accents to the words


This is the same stamp used as an all over design and again an arrangement of flowers and small leaves with dies from Spellbinders

The sentiment on this card is cut in silver and a whole bunch of leaves added too.

I have dressed all the cards with pearls as a finishing touch and they are much prettier in the hand

I am sorry but the stamp is one that I have had for some time and I cannot find a link for it.
This last one has used the Borders and Backgrounds stamp from W+9  and I have wrapped ribbon around the layer before adding it to my card 

I have added the links to the products for you to see at the end of the post.

More tomorrow ...

Hugs xx
September 27, 2017

Magazine freebies ...

Hi Everybody,

There are two new magazines on sale tomorrow so here's a sneaky peak at what you can do with them. 

Each one has a video to show you how I made the cards featured here.

The first one is Die Cutting Essentials 29 and the video will give you other ideas as well.

This one is quick and easy ... just what you need when you have lots of Christmas cards to make.

The next one is Simply Cards & Papercraft 168  which has three border dies for you to create a scene.  

It is called Scenic Winter but I have created other cards from the same die set to show you that it is something that can be used all year round and for many occasions

So here we have the winter scene and I have used lots of glitter on the snow for this card.

I used Spectrum Noir to colour in plain white card and I created a winter sky behind it.

But this is the same die set and for this I created a summer scene 

I added the two people to one side and they are flying a kite on the hillside with a cloudy summer sky behind

I had a lot of fun using this die set and I am sure that you will come up with many more as you play.

There are lots of ideas within the pages of the magazine too for you to try.

More tomorrow ...

Hugs xx