Beautiful Card Designs Made Easy

Showing posts with label Distress Ink. Show all posts

March 20, 2018

Butterfly Rainbow

Hi Everybody,

Here again today with more beautiful butterflies done in rainbow colours.

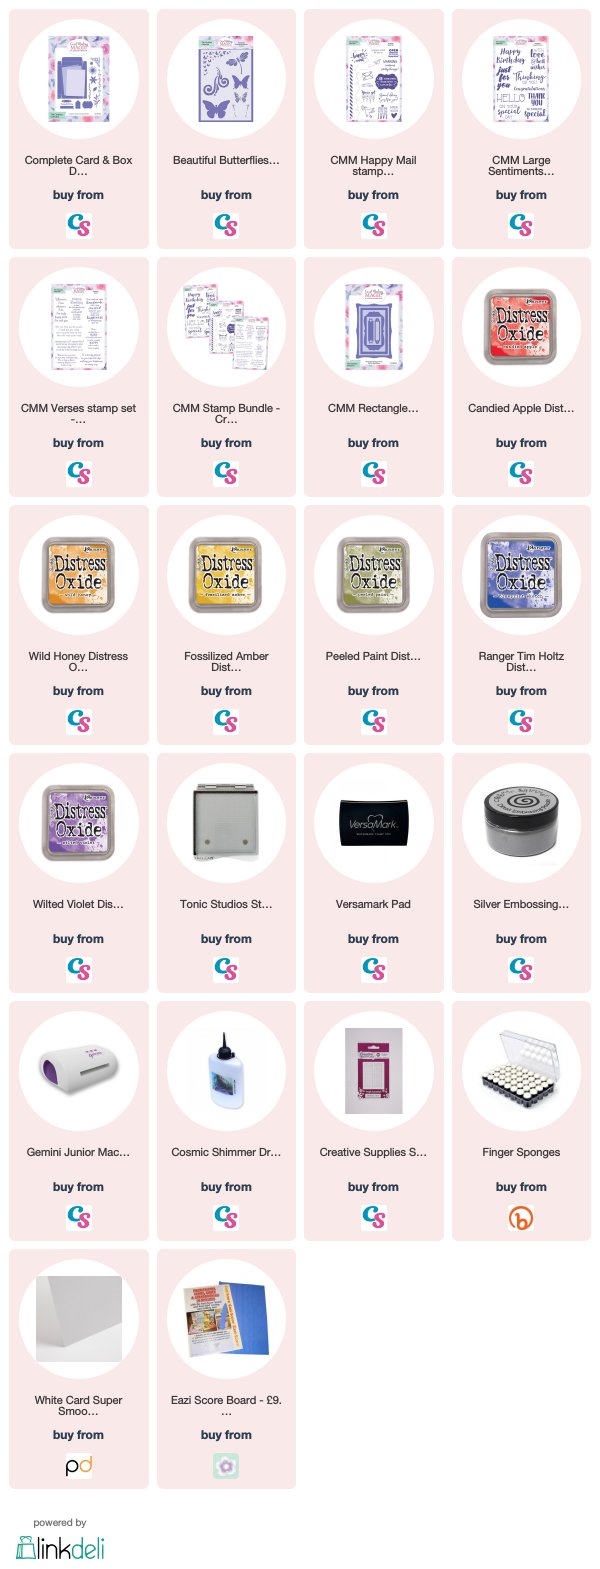
I have used Distress Oxides because they are so vibrant and they dry to a lovely chalky finish.

This is another easy to make card with the "Christina Collection"  and one that I hope you will try for yourself.


I love the look of it against the white card and the base and stitched mat are done with a 300 gsm super smooth card 

The butterflies are created with 160 gsm card both from Papermill Direct, and I have used my bargain brushes from Aldi

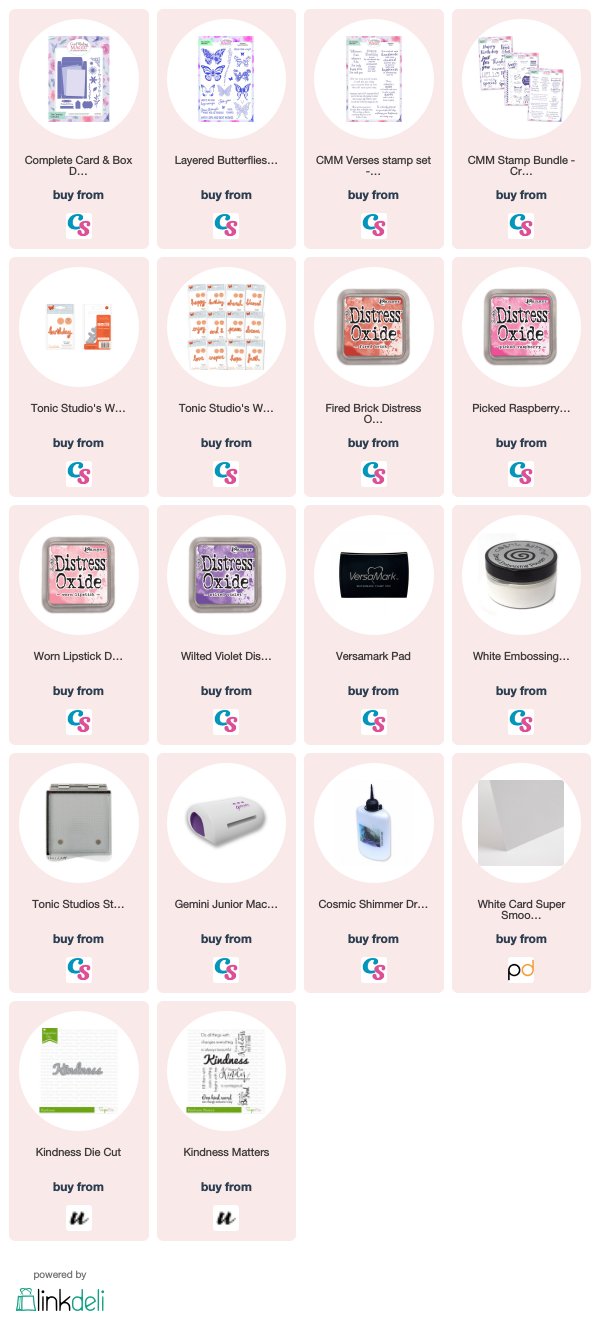
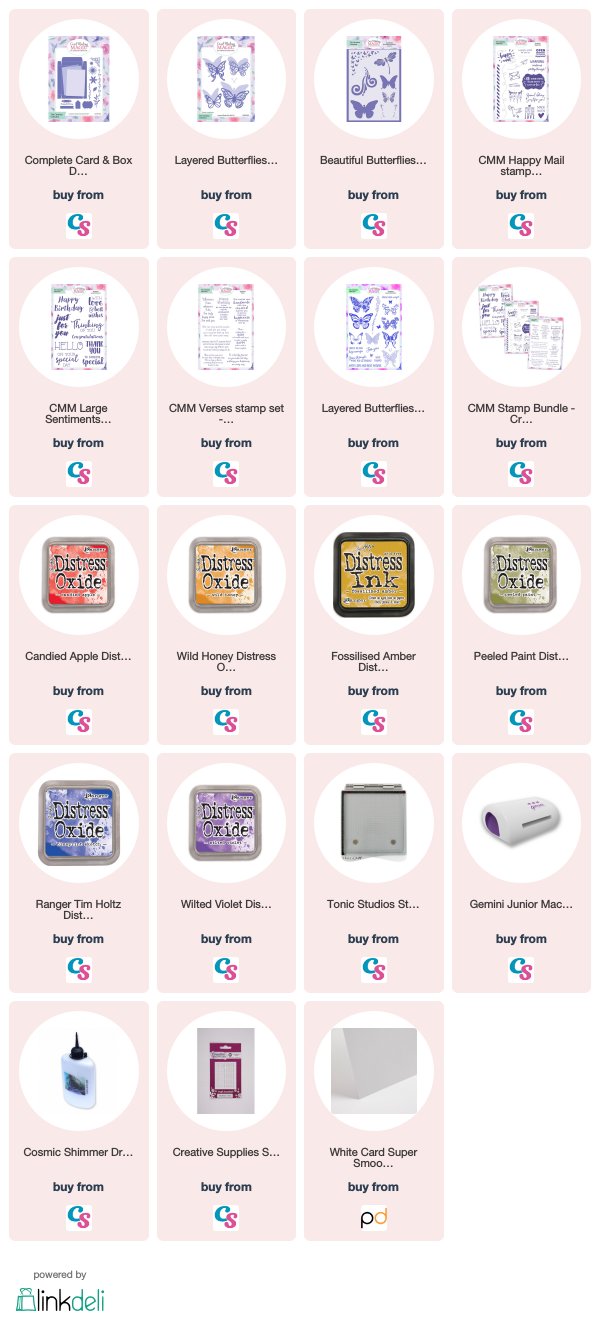
Most of my supplies are from Craft Stash and the links are at the bottom of the page for you to see.

You could make this card for any occasion simply by swapping out the sentiment and the verse inside.

I hope you enjoy the video and like the new style introduction that I have done to show you what it is we are making 

More tomorrow ...

Hugs xx
March 19, 2018

Pretty in Pink ...

Hi Everybody,

This card is another of the ones created with the Water Bleaching Technique  
I added a video on the process last week in different colours and they are really lovely cards and oh so easy to do. Click the link to refresh your memory 

For this one I used Fired Brick, Picked Raspberry and Worn Lipstick and blended them well together.

Then with Wilted Violet I painted in the bleached butterflies again

I used clean water to splatter the front to the card and blotted it off with kitchen towel.

This card has used a Spellbinders stamp and Mermaid Lagoon, Blue Print Sketch, and Broken China.

Then the flowers painted back with Twisted Citron

Both are lovely vibrant cards and well worth adding the technique to your repertoire of card making skills

More tomorrow ...

Hugs xx

March 15, 2018

Stencilled Rainbow Butterflies

Hi Everybody,

Today I have another really pretty card for you using the "Christina Collection"

This one is using the stencil to create some rainbow coloured butterflies.

I have used other elements from the collection too and I am really pleased with the result

The video will take you through the steps to create this card for your self and it's not too long.

I have used Distress Oxides as I like the chalky look they give once they are dry and they dry lighter than you think.

I hope you enjoy this technique and will give it a try 


Because the card is relatively flat I have stencilled onto an envelope to bring them together.

More tomorrow ...

Hugs xx

February 08, 2018

Valentines Day Card

Hi Everybody,

It's not far off now for you to send those Valentines cards to the ones you love

And this card is created with the Love & Marriage Additions  to the Christina Collection

This is a really useful set to have for all year round and makes beautiful Anniversary Cards

The video will show you how I made this and decorated the matching envelope

I have used Alcohol markers to colour the flower but you can use your favourite medium if you prefer.  
I do not profess to be an artist but I was quite pleased with the result

More tomorrow ...

Hugs xx

February 05, 2018

Fabulous find ...

Hi Everybody,

I know that many of you are not confident with ink blending and over the years I have tried to show you ways and means to get the look that you like. I have used blending tools ... bought and home made. Sponges and ink blending foam as well as a more expensive range of brushes

But yesterday I went shopping in my local Aldi store and this is what I found in the centre isle.

They are brushes that I thought would be perfect for ink blending and they came in three different sizes.

They were priced at £2.99 per pack


There was one large or two medium or three small ones in each pack and it was the three small ones that I decided to buy.

And because they are so well priced at £2.99 a pack I bought four of them.

The colours on the right of the photo are the inks I blended together with the brushes

You can see the colours that I used on each brush and I was really pleased with the result and they are the best priced item I have ever used for ink blending.

And tomorrow will see me in the store buying some more to use with my Distress Oxide Inks and at that price I can have one for most of the colours that are in my collection.

Always one to share a good find ... if you are UK based then get yourself off to Aldi for your own set of blending brushes.

More tomorrow ...

Hugs xx

January 29, 2018

Floral Sketch Stamp

Hi Everybody,

This is another stamp to help create beautiful backgrounds that is available at Craft Stash.

There are ten patterns for you to choose from and this one is the Floral Print Sketch

Yesterday I showed you the Leaf Print and both are really easy to use and can give some lovely results once you start to play.


The video will show you how I created this card and in it I give you the tip about writing down any blended inks that you like and keeping them safe.
 Play with the inks that you have and see what you like  ... keep the list and your inks together and that way you can always refer back to the inks you used to create the blend again.

More tomorrow ...

Hugs xx

January 28, 2018

Backgrounds - Leaf Print Stamp

Hi Everybody,

Creating backgrounds to suit your designs is always something that I like to do. You can always be sure that it matches

And  getting value for money by using the same stamp in various ways is an added bonus too.

So when I made this card to the right with the new background stamps from Craft Stash my mind was thinking how else I could make use of these lovely stamps.effect

I really liked the Autumn look and the video will show you how I made both of these  with Distress Oxide Inks


I created them with the same technique but cutting the leaves away with scissors in one gave me another look. Both very effective and bright coloured cards that could be ideal for  the men in your family

More tomorrow ...

Hugs xx

January 14, 2018

Letterpress Birthday Card

Hi Everybody,

Today I am using the new embossing folders available in the Christina Collection and I have made a card for the men in your life.

With the stamps in  the Masculine Additions you can swap out dad for son or brother if you preferred.

I used Blue Print Sketch ink because it blends nicely with the card that I have used and that is Marine Blue from Papermill Direct

The video is not long but I hope you enjoy it and will try out some of these ideas in your own cardmaking


The finished card is still a 5x7 but is flat enough to fit into an envelope and so save on postage

More tomorrow ...

Hugs xx

January 02, 2018

Tuesday Tutorial - Inked Background & Layered Butterflies

Hi Everybody,

Here is the first Tuesday Tutorial video for the New Year and I hope to bring you many many more.
I have topped 50,000 followers on YouTube in 2017 and I am hoping it will grow even more this year
Thank you so much for all your kind wishes and for being with me again in 2018
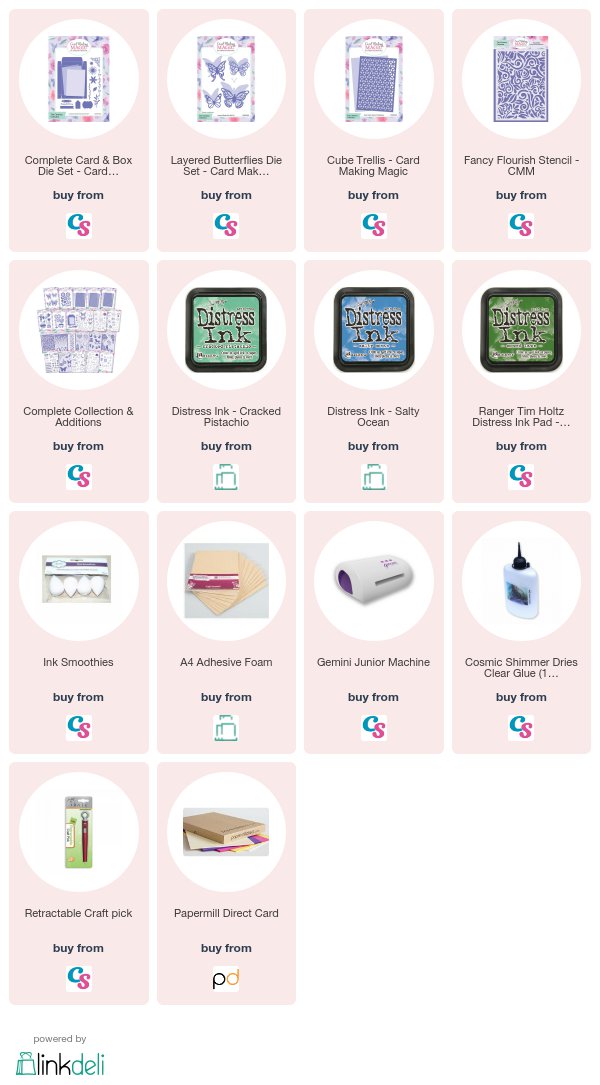
Supplies Used:
  • Complete Card & Box Die Set
  • Layered Butterflies Die Set
  • Cube Trellis Die Set
  • Fancy Flourish Stencil
  • Distress Inks
  • Blending sponges
  • Black Sequins
  • Cosmic Shimmer Dries Clear Glue
I am aiming to keep the videos quite short so as not to take up too much of your time but I hope you enjoy them anyway.  
 The list to the products is at the end of the blog post and some of them are affiliate links which means if you buy them I will get a small commission at no extra cost to you  


You could use Distress Oxides if you have those and the look will be slightly different. 
But try any inks that you have in your own collection and see which blends you like.
 Write down the combinations and then you will always know which ink works with another 

More tomorrow ...

Hugs xx

November 27, 2017

Love and Marriage Additions

Hi Everybody,

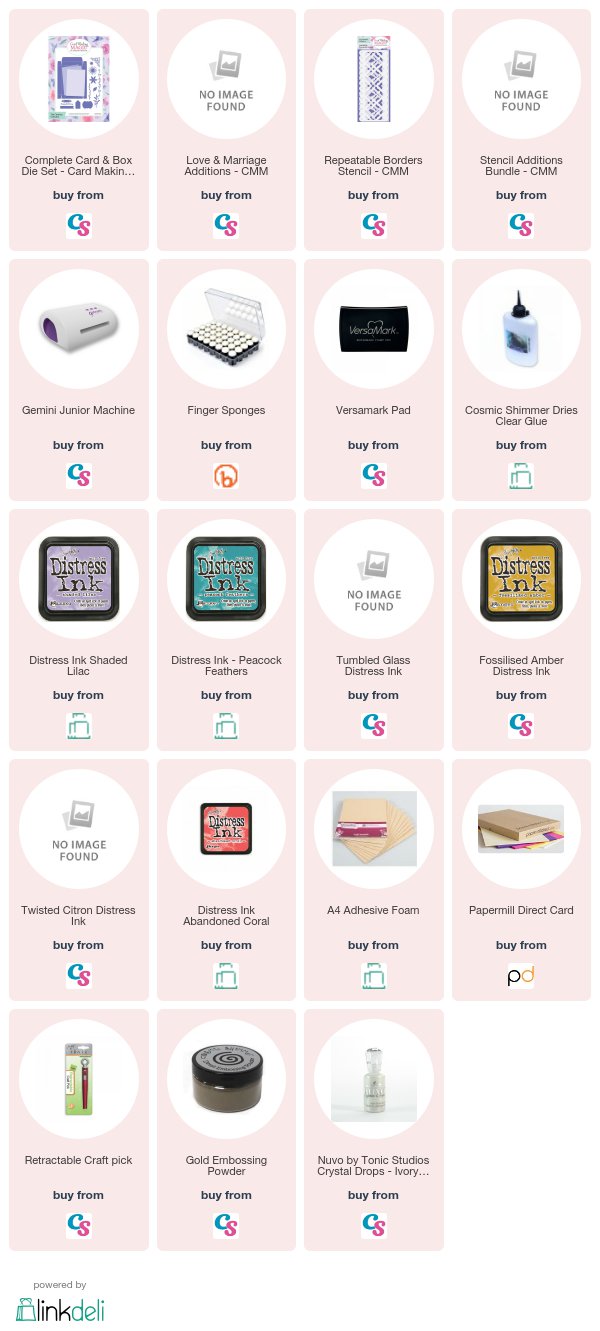
A really easy card today using the beautiful Love & Marriage Additions to the Christina Collection

I used the border stencil to create the coloured panels in the card and an assortment of Distress Inks

To get the blending add a little more ink as you come onto the card and then fade out to lighter strokes as you more away from the stencil.

  I used bright gold card for the heart and wedding rings and accented the panel with black

The second card was done a little more heavy handed and with some of the deeper colours but still the same technique

I add more pearls to the second one and I tried to use the same shade pearl drops as the colour they sat on

The video will show you how I got the look and it is just long enough for a cuppa and a biscuit


Both of the cards are relatively flat and so will fit nicely into a standard sized envelope for posting


It is a really effective look and I was quite happy with the result.

More tomorrow ...

Hugs xx

November 22, 2017

Die Cutting Essentials 31 - Sparkling Snowflake

Hi Everybody,

Another Christmas card today and this one is using the gift that is free with Die Cutting Essentials 31

This lovely snowflake will help you to create some really pretty designs.

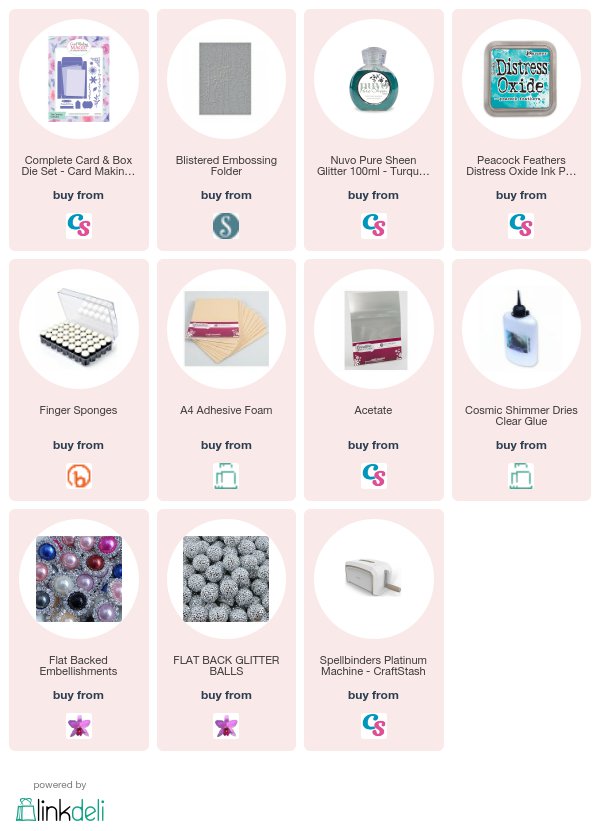
For the one pictured I have used Peacock Feathers Distress Oxides to colour the snowflake

It is a Shaker card and I filled the centre with Turquoise Glitter from Tonic 

The dazzler on the snowflake was the wrong colour so I altered it with Alcohol markers

In the video I show you how to do some partial die cutting to create a different look to the front of your cards.


I also used the die cut as a stencil to blend the background with the front and then I decided to colour the whole die cut and add it to the card

So you see when you start to play things can develop along lines that you hadn't planned on and still give you a pleasing result at the end.


Crafters have happy accidents ... they don't make mistakes !!

More tomorrow ...

Hugs xx

October 16, 2017

More White Embossing

Hi Everybody,

Here is another of those white embossed cards that I made a few weeks ago and I really like the effect.

It stands out and it is very tactile. And of course for me the flowers make all the difference.

They are a mixture of Roses, Tulips, Rose Buds and die cut leaves. All sparkled up with glitter.

The word YOU has the addition of Glossy Accents to it and shows up well on the photograph.

This is a technique I will be using again and it is very easy to do. I may even do a video on it to show you how I did it.

It will take me a little while because at present my time is taken up and all be revealed soon as the launch date has been brought forward to Thursday

So to keep your interest here is another sneaky peak of what is to come... and I can't wait to share my good news with you all

More tomorrow ...

Hugs xx

October 05, 2017

Butterflies & Lamination + Sequins !!

Hi Everybody,

Today I am sharing a card that has a laminated background behind the butterflies and it was really easy to do.

The laminating pouches are not expensive.  I got mine from the £££ shop and there are ten in the pack .. Cheap as Chips !!

The sequins and glitter I had in my stash and so I had fun making this card.

In the video I take you through each of the steps needed to make it and the supplies are listed at the bottom of the page for you to see what I used

Butterflies and Lamination   is just long enough for you to have a cuppa and maybe a biscuit or three

Each one of the cards has used the die cut aperture piece on another design

You just need to plan the background so that it will work with the second card

But using what is in effect the waste saves you time and money if you make use of it.

Have fun

More tomorrow ...

Hugs xx

October 02, 2017

White Embossed Cards

Hi Everybody,

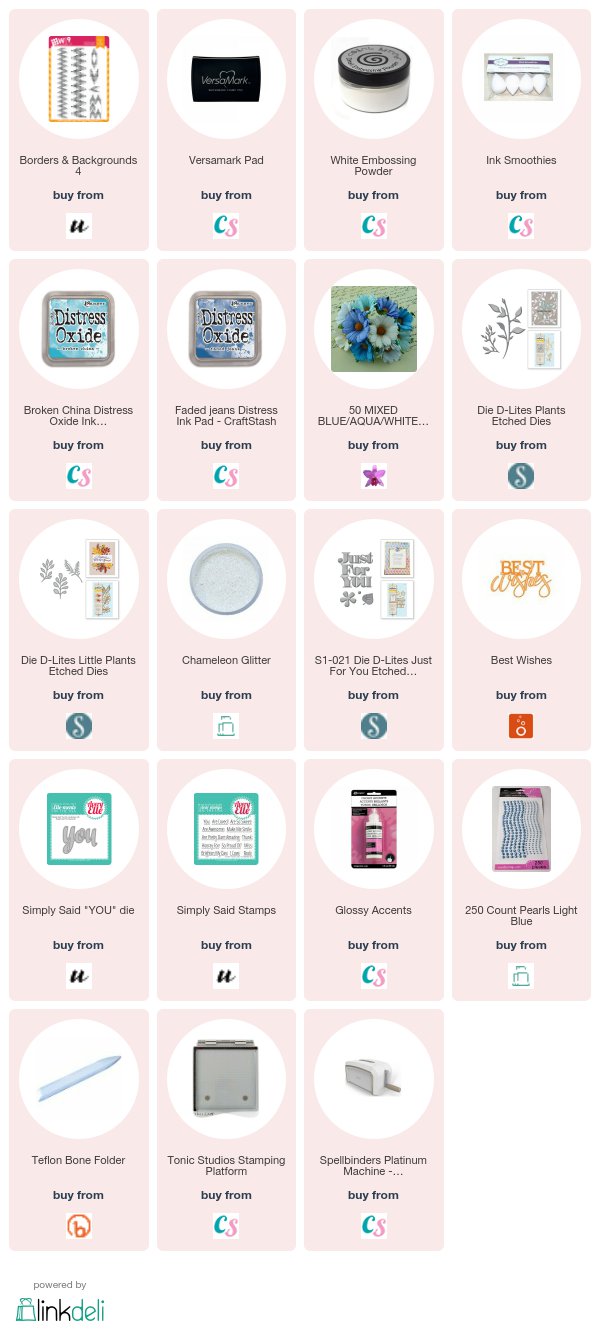
These lovely cards have been created with a lace stamp and some white embossing powder on coloured card

They are all blue but the effect is really pretty especially with the addition of the flowers which are all from Wild Orchid Crafts

I have used two different stamps. This first one is Lace Medallion Labels from JustRite Stampers and I Inked over the design with Faded Jeans and Broken China 

I have simply stamped along the bottom edge for this one and added Glossy Accents to the words


This is the same stamp used as an all over design and again an arrangement of flowers and small leaves with dies from Spellbinders

The sentiment on this card is cut in silver and a whole bunch of leaves added too.

I have dressed all the cards with pearls as a finishing touch and they are much prettier in the hand

I am sorry but the stamp is one that I have had for some time and I cannot find a link for it.
This last one has used the Borders and Backgrounds stamp from W+9  and I have wrapped ribbon around the layer before adding it to my card 

I have added the links to the products for you to see at the end of the post.

More tomorrow ...

Hugs xx

September 28, 2017

Layered Stencils

Hi Everybody,

I have been playing a lot recently with stencils as there is so much you can do with them to add that extra something to your design

This is a new one that has been added to Craft Stash and this is the Snowflake/Snowman stencil duo

There are several to choose from and this one was so easy to use.

The video will show you how I created some different ones with this set and it is not long

Snowflake/Snowman Layered Stencil  has been used for this card too but they look totally different and this one is a little more sophisticated

Have a look at the other designs and there may be one that really appeals to you.

But whatever you do have fun playing

More tomorrow ...

Hugs xx


September 27, 2017

Magazine freebies ...

Hi Everybody,

There are two new magazines on sale tomorrow so here's a sneaky peak at what you can do with them. 

Each one has a video to show you how I made the cards featured here.

The first one is Die Cutting Essentials 29 and the video will give you other ideas as well.

This one is quick and easy ... just what you need when you have lots of Christmas cards to make.

The next one is Simply Cards & Papercraft 168  which has three border dies for you to create a scene.  

It is called Scenic Winter but I have created other cards from the same die set to show you that it is something that can be used all year round and for many occasions

So here we have the winter scene and I have used lots of glitter on the snow for this card.

I used Spectrum Noir to colour in plain white card and I created a winter sky behind it.

But this is the same die set and for this I created a summer scene 

I added the two people to one side and they are flying a kite on the hillside with a cloudy summer sky behind

I had a lot of fun using this die set and I am sure that you will come up with many more as you play.

There are lots of ideas within the pages of the magazine too for you to try.

More tomorrow ...

Hugs xx


September 25, 2017

New Videos ...

Hi Everybody,

Today I have some new products that are on the Craft Stash Website and these are all geared up for Christmas.

Both of these sets are Nesting Dies and they also have a stamp set that will compliment them.

They can be bought individually if you prefer but the price for the bundle is well worth considering.

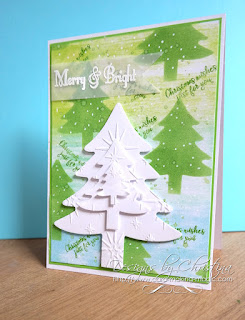
The Nesting Christmas Tree has been done with Distress Inks and is in contemporary colours ... but it was fun to make and is very vibrant.    Click the links to view the videos

The Nesting Christmas Bauble has been created with Card Candi and I bought loads of this from a craft show.

I have simply glued it direct to the die cut and filled the spaces with glitter.

Another pretty card and again easy to make.

The stamps can be used as additions to any other cards you make but both work really well together.

The links at the bottom of the page ill show you the products I used to make them

More tomorrow ...

Hugs xx

September 19, 2017

Tuesday tutorial - Boo to You !!

Hi Everybody,

Ghosties and ghouls are on their way and so I thought I would make a card to go with the season.
This was super quick to make ... just a little inking and die cutting and there you have it.
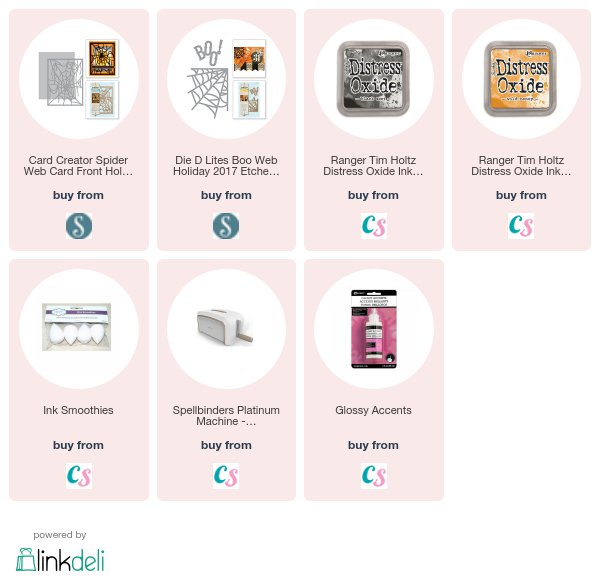
Spellbinders Supplies:
  • S2-262 Boo Web Holiday Die
  • S4-836 Spider Web Card Front
  • Platinum Die Cutting machine
Other Supplies:
  • Orange Ink
  • Grey Ink
  • Black Ink
  • Versamark
  • WOW sparkle embossing powder
  • Glossy Accents
Instructions:
With the outer die of the Card Front cut the base by folding an A4 card in half and placing the die with one of the short cutting edges off the fold
Cut another layer slightly smaller than the card
With both dies together cut the Spiders Web
Ink over with Black and Grey inks
Dab the Versamark on in random areas and sprinkle with the sparkle embossing powder.
Heat until melted
With the extra layer sponge on orange and black inks in random areas and then spritz with clean water and blot off to leave a mottled effect
Cut the web and BOO! twice in black card and stack together
Add the inked layer to the base card and glue the web on top 
Add the smaller web into one corner and the word Boo! to the centre of the web
Add Glossy Accents to the word and some areas of the web
I used a label maker to produce my Greeting

More tomorrow ...

Hugs xx