Beautiful Card Designs Made Easy

Showing posts with label Distress Oxide Ink. Show all posts

June 14, 2023

Distress Oxide Inks

Hi Everybody,

Have you been watching the new Colour Combinations videos on YouTube that Lou Collins ahs been adding over the last few weeks using Distress Oxides. 

It is an amazing series and covers lots of combos and tips that you may not have thought of and I have added the link to the Playlist for the videos above so that you can see for your self.

You can also get free downloads of the labels from Lou Collins Blog for you to label all your Distress Inks,  be they Oxides or not.

There are 72 colours in the set and the only one I do not have is the Picket Fence. The rest are labelled and stored on my worktop.

I chose to download the coloured version and they look so pretty all stacked up together.

But you can also add the same labels to your blending brushes so that they will always match the ink you are using.

I don't have too many ordinary Distress Inks so I didn't bother with them. 

 I am enjoying the series that Lou is adding using the Distress Oxides in alphabetical order and the labels are an added bonus so thank you Lou xx

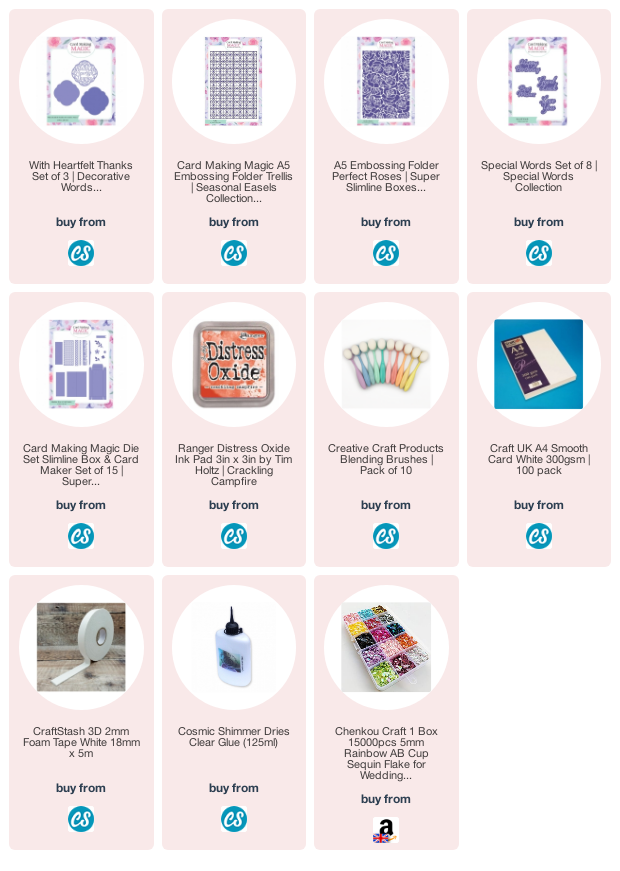
I am also adding the link to all the Distress Oxides and the Blending brushes that I bought from Amazon

More tomorrow ...

Hugs xx

August 23, 2022

Playtime ...

 Hi Everybody,

For these two cards I used the Crackling Campfire Distress Oxide Ink and a blending brush to create an Ombre Effect on my cards.

Once I had done that I ran the panels through my embossing folders, this one is the Perfect Rose folder, and I used a different one for each card. 

With the raised side of the card uppermost I then used the same brush and ink to go over it again but this time with a heavier hand.

That picks up all the raised areas and makes them stand out more on the card front.

I used items left over from other cards that had been cut in white and with foam tape I added them to the card panel.

The orange sequins have been added for effect, and the card bases are both from one A4 piece that has been folded and then cut in half.
For this one I did the same technique with the ink for the background and then used the Trellis folder for this card.

I again brushed over the raised side with my blending brush and it made the pattern stand out on the panel.

The sentiment is from the large Decorative Words die set which I cut three times and stacked together for a really sturdy stand out look. 

Again I have dotted sequins on the front and I am really happy with both of the cards. 

Quick and easy, clean and simple ... for me any way !!

More tomorrow ...

Hugs xx

April 05, 2018

More Water Colouring

Hi Everybody,

This pretty cards has an ink smooshed background in Squeezed Lemonade and Picked Raspberry background

I have added in some left over flowers from the Messy Water Colouring that I created with the Layered Florals last week and I just had to use them up 

The die and stamp set is called Sending Wishing Hoping from WPlus9 and I bought mine from Sevenhills Crafts

Ink smooshing is a lovely technique and no two cards will ever look the same. Play around with your inks to see which colour combination you like. I used Distress Oxides because they have a chalky look to them when activated with water. 

They also layer with each other much better than ordinary Distress Ink and they are my "GoTo" choice for all kinds of techniques 

More tomorrow ...

Hugs xx