Beautiful Card Designs Made Easy

Showing posts with label Papermill Direct. Show all posts

June 01, 2020

Squares ?? What squares !!

Hi Everybody,

Today I am using the square dies again from the Perfect Panels ~ Squares set but this time we are making a long slim card commonly called a DL

These are easy enough to make for your self from A4 card stock, and have some left over for layers.

I like the shade of blue that this one is in and it goes really well with the white. It is called Marine Blue and it is from Papermill Direct

The video is not long, so no time to get bored, but I hope you enjoy it anyway.

I have lots more to come in the next few weeks so I hope you will keep visiting me often, and please leave me your comments as it is very encouraging for me when you do.

More tomorrow ...

Hugs xx

August 28, 2019

Arteza 36 Half Pan Set Water Colours

Hi Everybody,

Today I am adding a video to share with you the beautiful water colours from Arteza that I have so been enjoying over the last few days.

This card I have created using the Spring/Summer Stamp & Die Set from
 Card Making Magic

With the card to the right I have created a background that is bright and vibrant and for the other I show you how in the video


I am adding the links at the bottom of the post so that you can see what I have used.

 Arteza are offering you a 10% discount when you add ChristinaGriffiths 1. at the checkout

My collections are available at Craft Stash and they are offering you a 20% discount on your first order with them ... so savings all round.

Both companies are affiliate links which means a small payment for me, at no extra cost to you if you use the links

More tomorrow ...

Hugs xx

August 22, 2019

Pretty in Pink

Hi Everybody,

For today's card I have used several different sets of dies from Card Making Magic.

I have also used two embossing folders and Letterpressed with the Happy Birthday one onto the background piece

I have added some lovely pink Tulle and wrapped it around the layers along with the ribbon for a very feminine look

The flowers are a mixture and they have been dotted with glue and glittered for added sparkle.

The links are below for you to see the products that I have used and I hope you like the card.

More tomorrow ...

Hugs xx

August 21, 2019

Lilac Floral Birthday

Hi Everybody,

Another floral delight for you today and this one is not quite as elaborate as yesterdays but just as pretty.

I love the addition of the lace on them as it gives it a real luxury finish. And you only need a small piece so a metre length goes quite a long way.

I embossed the lilac card for the background in the Happy Birthday Folder and the layered the oval to the top with foam tape to give dimension

If you cut the large oval two or three times and then stack them together, you will have a lovely thick base that is almost like chipboard.

Run the top layer through the embossing folder before gluing in place for extra pattern and add with foam tape to the base card

More tomorrow ...

Hugs xx

August 20, 2019

Wonderful Shabby Chic...

Hi Everybody,

In my daily work I have to make many different styles of cards. Some to fit the magazine cover mounts using dies, stamps or embossing folders.

But this remains one of my favourite styles to make and I can add all kinds of embellishments to the shabby chic look.

For this one I have used some of the original dies that were in the "Christina Collection" from Card Making Magic and all my collections are available with Craft Stash

The flowers are beautiful and to add more shabbiness to them I have used a fine paint bush and gone over the edge of the petals with white Gesso

Once that was dry I did the same thing with some glue and then sprinkled them with glitter and that gives them a lovely twinkle in the light.  I used alcohol pens to colour the leaves.

Into the display I have tucked some cheesecloth that I had in my stash but if you don't have any of that ...  then cheat by simply unravelling  a piece of  2" bandage ... because that has the same kind of look. 

But whatever you do have fun creating and you are sure to be pleased with whatever you make.

More tomorrow ...

Hugs xx

May 27, 2019

Lacey Collection Nested Rectangles

Hi Everybody,

This week is going to be a busy week for me and I have lots of samples to make for the Hochanda show later this week.

Also the second box kit will be out for you to buy, but more about that tomorrow.

This card is really pretty and made with the A2 
Lacey Nesting Rectangles from the Craft Stash
and the bear is an image from my stash, and she is raised up with foam tape to create shadow and interest 

I used my new Arteza Water Colour Brush Pens to water colour her and they blended really well for a lovely effect.

I threaded all the Rectangle Frame with pink organza ribbon and added a bow at the bottom. The verse is from the new ones Set 2 in this Lacey Collection.

It's a fun card that I enjoyed making and  I am sure with a Birthday Sentiment it would please some little girl  for her special day

More tomorrow ...

Hugs xx

April 02, 2019

Childs Birthday Card & Matching Envelope

Hi Everybody,

Children always like to tell the world their age and have you noticed that you always add the odd bit whenever you ask  .... "I am five and a half ...."

Here is a lovely card suitable for boy for girl and created with the dies and stamps from Card Making Magic

For this card we have made an envelope again and the card fits very neatly inside it. 

I have used the Balloons Corner Dies
and added it to an A2 Card

The Numbers set gave me the age and if you have the Alphabet set you could even add their name and at present there is special offer on at Craft Stash to buy both plain and overlay dies together in both sets

The video will show you how I made this set ... just long enough for a cuppa 


You can decorate this as you please to suit boy or girl even more

More tomorrow ...

Hugs xx

January 10, 2019

Another fancy Border Die .... and some news !

Hi Everybody,

I am loving these new border dies and not just as borders either.

For this card I have cut the border three times from the same colour card and then added it to a white panel

I fussy cut around the panel and then added it to an inked lilac base with foam pads to raise it up.

It really stands out from the card and then I dressed it with a pearl flourish  The flowers have been glittered as I like to do them and they sparkle in the light as the card is turned.

I cut my sentiment from black card four times and stacked them up to give a really deep effect on the parchment base and I do like this card.

Some News ...

It has been quite some time since I was on your TV screens but the news is that I will be back and in the very near future

More tomorrow ...

Hugs xx

October 11, 2018

Card Making Magic - Christmas Poinsettia

Hi Everybody,

Today's card is on the Christmas theme and it's not that far away now.  The card shown is much better in the hand and would need to go into a box because of the depth to the flowers.

I decided to film it and let you see the process I went through to create it and in particular how to get the thin border around the centre piece.

For this I used the Fancy Nesting Circles  and all my collection is available only at Craft Stash

I am being asked a lot about the tape that I am using at present and it is from Amazon.
It is Scotch 3M Double Coated Urethane and although it is very good and lasts me quite a long time it is not cheap. 

Shop around and if you find it cheaper please let me know too ...

More tomorrow 

Hugs xx

September 06, 2018

More Yupo Paper ...

Hi Everybody,

This is another playtime with the Yupo Paper and this time I have used darker inks to create my piece.

I have divided my Yupo in half and used one side with the Spectrum Noir Refills and the other side with the same colours but in the pens.

The video will show you the result and you can tell me what you think ...
I did another piece with pinks and reds and I show you all the cards made from the finished Yupo at the end of the video

I have used embossing folders on most of the cards especially when I add another shape to the top. 

For me it stops the card looking too plain and both of these featured cards show it clearly.


So here is the video for you and I hope you enjoy the process


There are a lot more colours in the Alcohol Inks so take a look around the Craft Stash website to choose your favourites

More tomorrow ...

Hugs xx

June 28, 2018

Letterpress with Embossing Folders from Card Making Magic

Hi Everybody,

Today I have done some Letter pressing with the folders from my 6x6 Collection, Sunburst and Leafy Frame

In the video I show you the two different looks you can achieve by inking opposite sides to the folder.

You can try this with any embossing folder that you may already have in your crafting goodies


Different colour schemes and the flowers that you add will  alter the look for you and you can make it for any occasion that you need.

I am really pleased with both but my favorite one is the Turquoise and white combination as I think it is so vibrant.

More tomorrow ...

Hugs xx

May 21, 2018

5x7 Card and Box - Turquoise Floral Card

Hi Everybody,

Today's cards is created with the 5x7 original "Christina Collection" and the card stand from the new 6x6 sets.

But for this card I have used the card stand in a totally different way and the result is lovely.

The video will show you how I used it and if you bought the die set then this is another way to get more use from it.


The flowers are from Wild Orchid Crafts and are a mixture of Gypsophillia, Roses, Tulips, Cherry Blossom and Asters

So I hope you enjoy the video and there is another tomorrow with the 6x6 collection.

And if you have that set then you could always add the stand as frame to that size also.

More tomorrow ...

Hugs xx

March 20, 2018

Butterfly Rainbow

Hi Everybody,

Here again today with more beautiful butterflies done in rainbow colours.

I have used Distress Oxides because they are so vibrant and they dry to a lovely chalky finish.

This is another easy to make card with the "Christina Collection"  and one that I hope you will try for yourself.


I love the look of it against the white card and the base and stitched mat are done with a 300 gsm super smooth card 

The butterflies are created with 160 gsm card both from Papermill Direct, and I have used my bargain brushes from Aldi

Most of my supplies are from Craft Stash and the links are at the bottom of the page for you to see.

You could make this card for any occasion simply by swapping out the sentiment and the verse inside.

I hope you enjoy the video and like the new style introduction that I have done to show you what it is we are making 

More tomorrow ...

Hugs xx

March 19, 2018

Pretty in Pink ...

Hi Everybody,

This card is another of the ones created with the Water Bleaching Technique  
I added a video on the process last week in different colours and they are really lovely cards and oh so easy to do. Click the link to refresh your memory 

For this one I used Fired Brick, Picked Raspberry and Worn Lipstick and blended them well together.

Then with Wilted Violet I painted in the bleached butterflies again

I used clean water to splatter the front to the card and blotted it off with kitchen towel.

This card has used a Spellbinders stamp and Mermaid Lagoon, Blue Print Sketch, and Broken China.

Then the flowers painted back with Twisted Citron

Both are lovely vibrant cards and well worth adding the technique to your repertoire of card making skills

More tomorrow ...

Hugs xx

March 14, 2018

Water Bleaching ...

Hi Everybody,

This fabulous card is created with a Water Bleaching Technique that is very easy to do.

For the blue card I have used the Layered Florals from the
"Christina Collection" 


For this one I used the Layered Butterflies stamps and I decorated an envelope to go with it

The technique needs lots of ink and I find that Distress Oxides give me a better result than the regular inks

Try different colour blends and see which you prefer.

 And write them down in a notebook so that you can always refer back to your favourites 


The trick with this is to use lots of ink and to keep blending to get a really smooth look with no harsh lines, and remember that it will dry lighter.


The Video will show you step by step how to make the card and I love both of these.
It is a technique I have used many times in the past and will use over and over again in the future.

Don't forget that there is a special offer until the 17th March at Craft Stash with the
  Christina Collection 
and if you add the code CMM15 at the checkout you will get a 15% discount

More tomorrow ...

Hugs xx

March 13, 2018

See Through Trellis Card & Envelope

Hi Everybody,

Today I am using the "Christina Collection" to create this really pretty card that is just the right depth to fit into an envelope.

It is very easy to make but you will need some sturdy card so that it will stand by itself

I used  a Super Smooth 300 gsm white card from Papermill Direct and it is really good for all your base cards

But because of the thickness of the card you may need to pass it through your machine more than once to cut it ... but well worth it once you have done so


I also decorated the envelope with butterflies to match and the card fits in perfectly so saving postage costs for you.  

I added the Birthday Verse from the Verses Stamp Set to the inside of the card as I know that some people prefer that.

I hope you will give this style a try as it's not hard to do and the card is so pretty once you have it in the hand

Craft Stash are having a really good sale of my "Christina Collection" 
at present and it will run until the 17th March.

Quote the code CMM15 at the checkout and you will get 15% off items that you buy even if they are on Pre Order ... bargain!! 

More tomorrow ..

Hugs xx

March 01, 2018

Altenew Layering Dies

Hi Everybody,

Thank you for the response to my
  Craft Room Sale Day 
and the date is going to be the 18th March 2018
If you emailed me about this then I will send you the address and for others that are interested then please email me 
christina@card-making-magic.com

Here is another of the layering dies from Altenew and I have really enjoyed playing with these.

They have quite a hefty price tag on them so they wont be every bodies cup of tea but I thought they looked so versatile and can make a card very quickly.

I chose a pale blue and mint green for this card but it would look really special with glitter card added to one of the layers

The addition of a few sequins dotted around are my finishing touch

More tomorrow ...

Hugs xx

January 18, 2018

Silver Embossed Wedding Card

Hi Everybody,

This very special wedding card is created with items from the Christina Collection 

I made the box to match it. 

 I used Versamark to Letterpress and I know that this is a new technique to some of you.

But it is quite easy to do and so I hope the video gives you a little bit of confidence to give it a try.


I did the same technique with Gold powder and that turned out beautiful also.

Uisng the stencil on the embossing sandwich in your machine will give a very pretty effect.

Not as deep as the embossing folders but just as effective

Both of the ribbons are  from Deco Fun Bowmaker
and they are a lovely quality satin 

I hope you enjoy the short video and will come back to watch more as they are added.

More tomorrow ...

Hugs xx

January 15, 2018

New Embossing Folders

Hi Everybody,

I have been playing with the new embossing folders to the Christina Collection and I wanted to share some new photos with you before I add them as videos. 
 Each one has been a pleasure to work with and I have enjoyed seeing what I can come up with

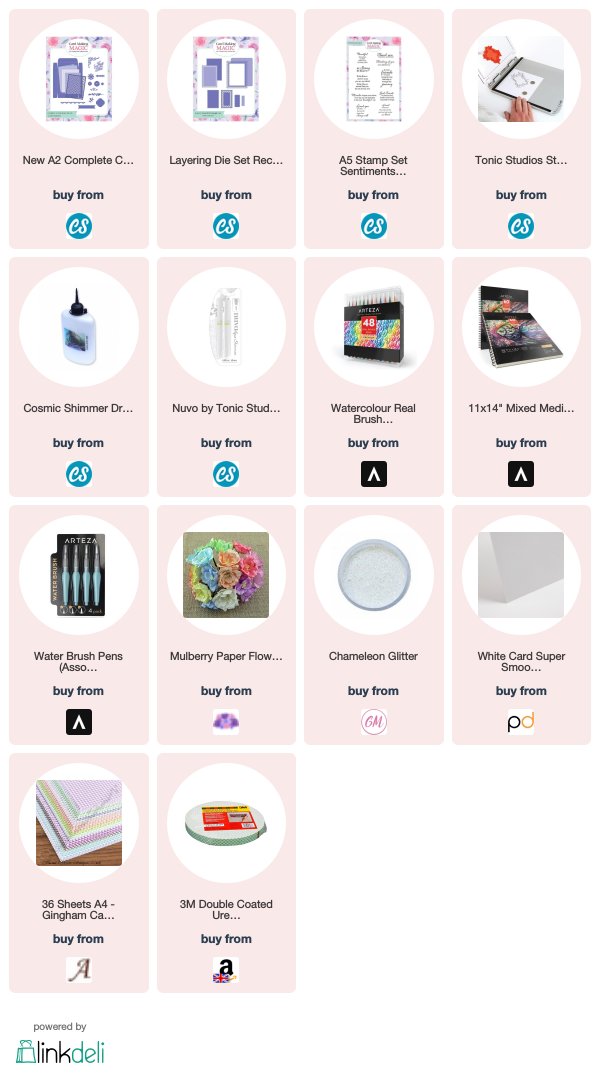
The first photo is using the Leaf folder and on this I have embossed it and then water coloured the leaves.

Once it was dry I added glue pen to outline some of the leaves and I added Gilding Flakes to them.

I  matted the panel on to some green card and surrounded the edge with diamante.

The verse has been stamped and foiled and added to a silver label with foam tape between the layers.

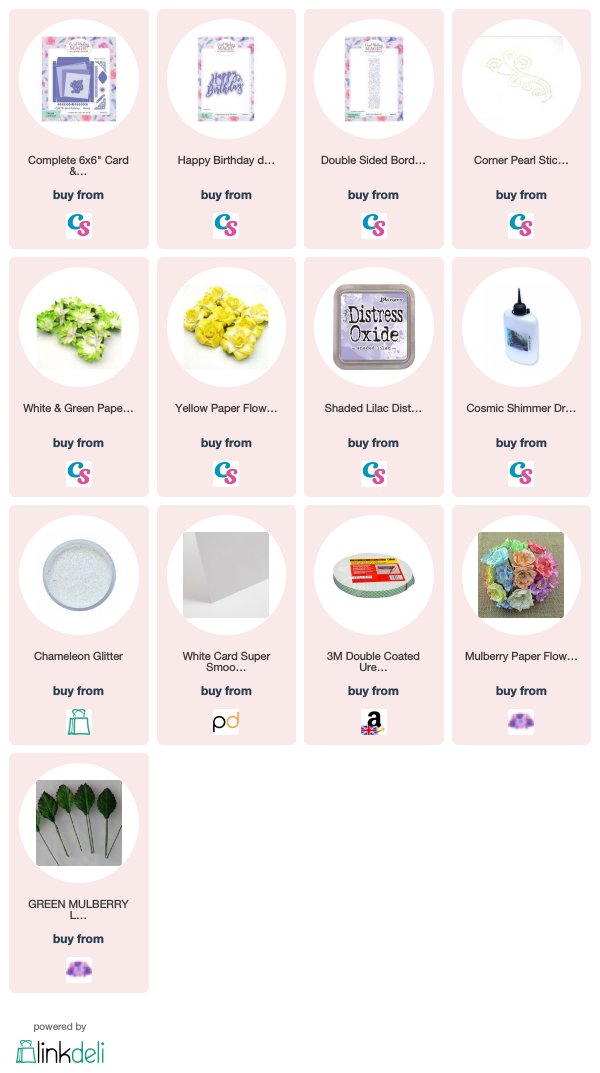
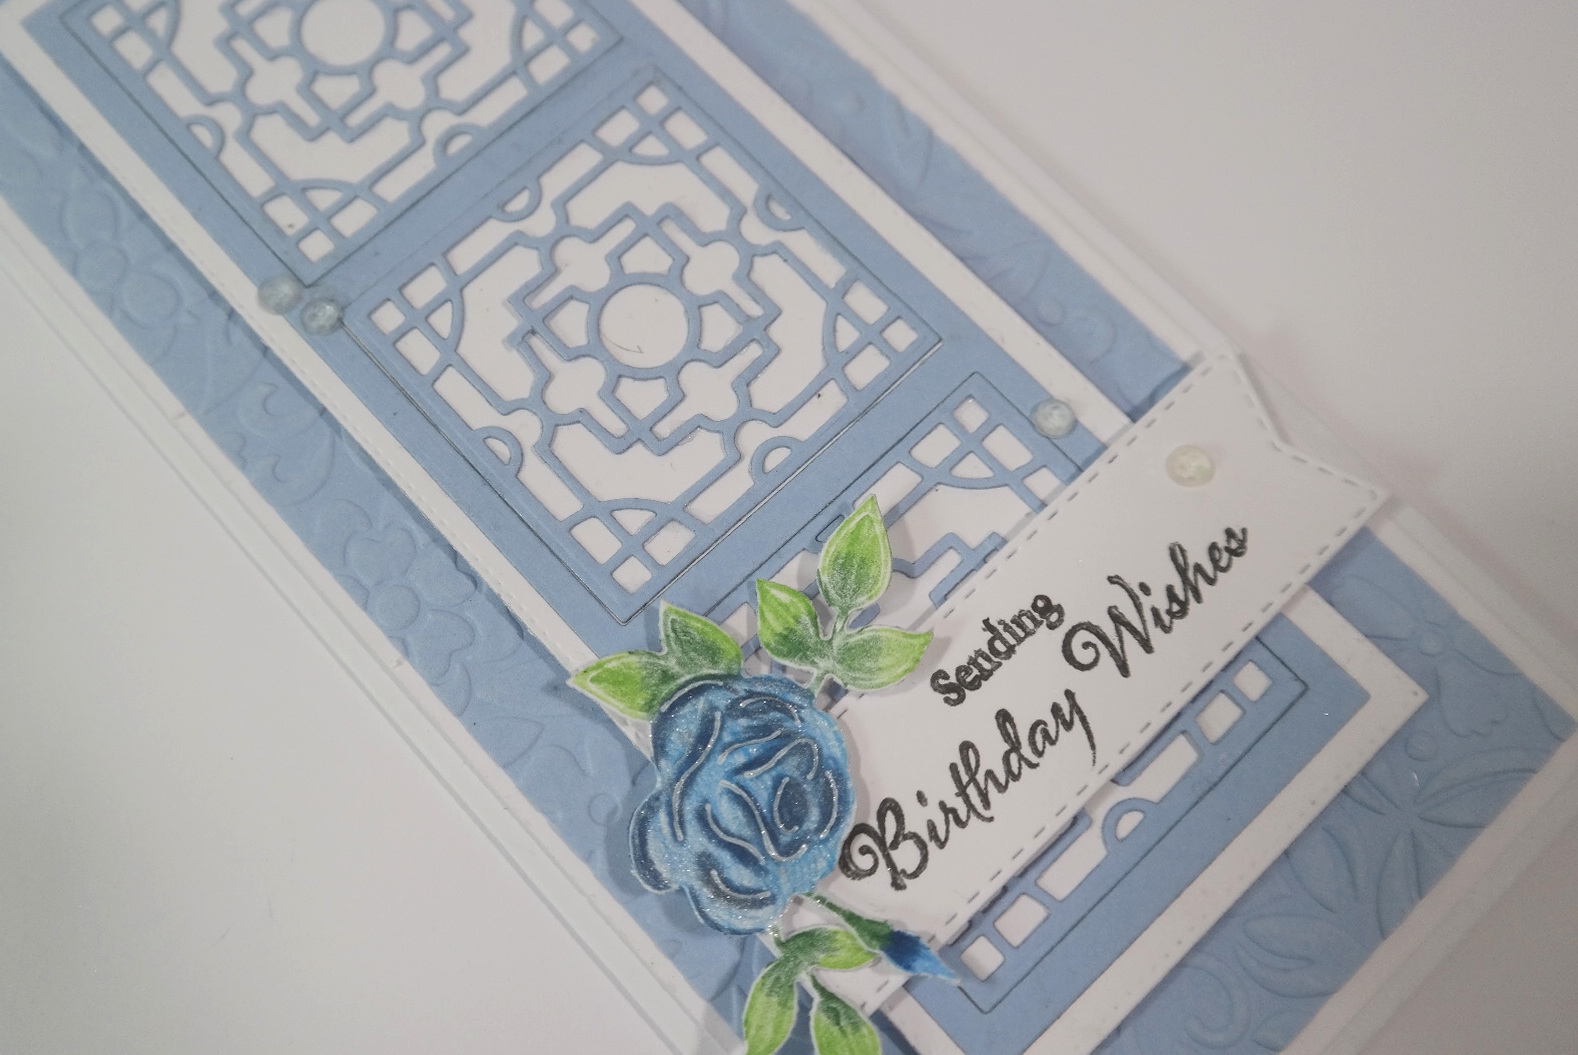
This one has been Letterpressed  and I used the Happy Birthday folder.

I trimmed it down and added it with foam tape to another Quatrefoil embossed layer. 

I dotted it with pearls to highlight the pattern and ran pearl strips down each side.

The ribbon, bow and dazzler just add that little bit extra to an easy to create birthday card

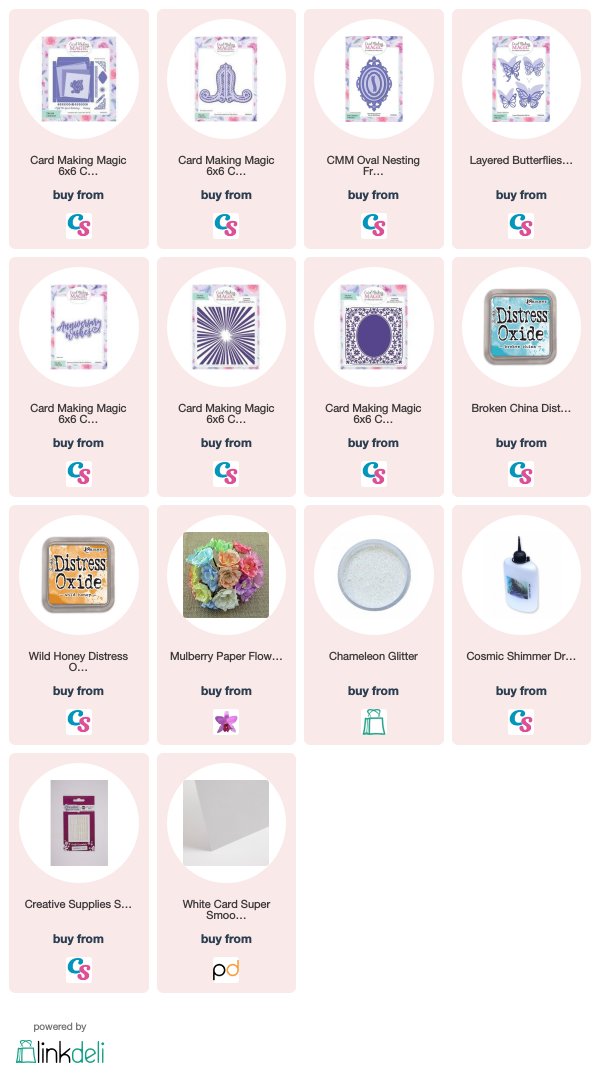
This one is a little more elaborate and for this I have used the Flourish folder which I Letterpressed with Versamark and then heat embossed with sparkly powder

The Autumn coloured flowers are added around the foiled sentiment and the lace, ribbon and pearls are a luxury touch to the card. 

Very pretty and feminine and sure to please.

Make a box to match this and give it with love

So each of these cards will be added as a tutorial  to the Blog pages as they are done

More tomorrow ...

Hugs xx  

January 14, 2018

Letterpress Birthday Card

Hi Everybody,

Today I am using the new embossing folders available in the Christina Collection and I have made a card for the men in your life.

With the stamps in  the Masculine Additions you can swap out dad for son or brother if you preferred.

I used Blue Print Sketch ink because it blends nicely with the card that I have used and that is Marine Blue from Papermill Direct

The video is not long but I hope you enjoy it and will try out some of these ideas in your own cardmaking


The finished card is still a 5x7 but is flat enough to fit into an envelope and so save on postage

More tomorrow ...

Hugs xx