Beautiful Card Designs Made Easy

Showing posts with label Video Tutorials. Show all posts

June 27, 2024

Using Shapes

Hi Everybody,

I always have bits and pieces lying around on my desk after a crafting session and  don't like to throw them away. It pays to look at what you have left and see how you can make it work for another card you may want to make

These particular cards I have created with odd die cuts that are in shapes I may have used elsewhere and they have come in handy to create these two cards shown in the video.

The one to the right has been coloured with Chipped Sapphire and this is a gorgeous dark blue that goes really well with the gold.

It has taken over as my favourite blue from Blueprint Sketch as it is a much deeper shade and looks so rich.

The other colour I have used in the video is Shaded Lilac and of course different shapes to complete the card.

This is a good way to use up any scraps of white card that you may have lying around, and as long as the die fits on the top it can be any shape that you may like.

I have also used stencil and small stamps to add the pattern into the shapes and I am really pleased with the results. I hope you like too ....

More tomorrow ...

Hugs xx

June 24, 2024

Creating an Aperture

Hi Everybody,

This die cuts an aperture into the card layer and I have ink smooshed the front of it to give some colour.

I have backed it onto some silver card and added a silver Birthday sentiment for a lovely effect.

I am sure that you also have many dies in your own collections that will cut  the aperture, leaving the pattern in the card ready for you to decorate.

The video will help you to identify those dies that will do this and once you know,  you can go through the ones you have and distinguish them from those that simply cut the pattern out of the card.

There are many sets of dies in the Card Making Magic collections that will do both with the use of an outer cutting die and if you already have them then you are onto a winner.

This little die in the photograph is from Amazon and was not expensive. and is called the
Vintage Flower Die

But look again at the dies that you have and experiment to see what it is they will do for you, that way you will get more bang for your buck without spending more money to expand your collections.

More tomorrow ...

Hugs xx

June 17, 2024

Make Your Own Stencils

 Hi Everybody,

Do you enjoy stencilling and sometimes wish that one of the dies you have also had a stencil to go with it ???

Well now you can make your own stencils from that die. 

You could simply make it out of card stock but that wouldn't last long if you used it a lot. 

You could also use laminating pouches that have been fused together and that would last you quite sometime.

But the stencils that you buy are made from Mylar and that is really inexpensive to buy.

I got mine from Amazon and I have made quite a few of my own stencils to add the decoration to my designs.

This Video is not long but will show you how I got the look for my cards. The one at the top is created with circles and the second one in the video is from octagons.

The overall look is very modern and would be perfect for a teenagers birthday, and you can of course use your favourite colours to produce it. You can also try other mediums too to get the the look.

More tomorrow ...

Hugs xx
June 13, 2024

Inlaid Die Technique

 Hi Everybody,

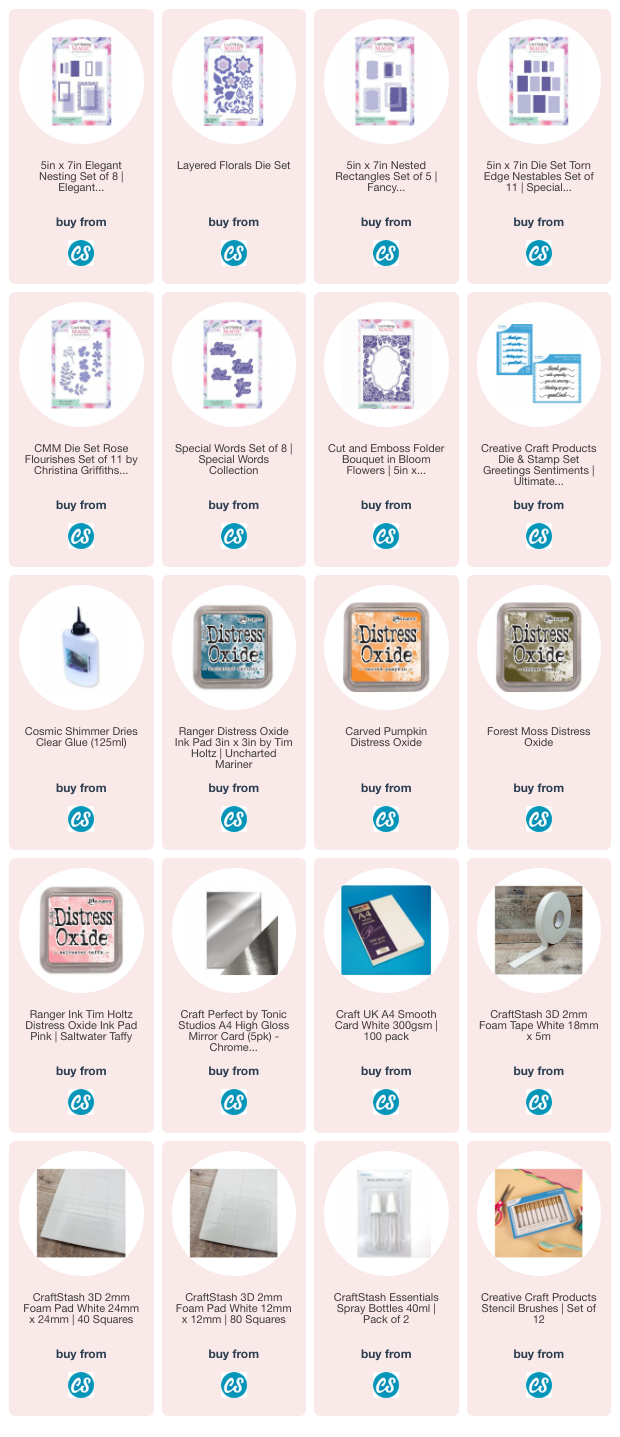
I like the look of these inlaid dies but I didn't have any in my stash, and so I took another look at the dies that I have and picked out all the small ones that I never use.

Once I thought about it I decided to give this idea a try and see what I came up with, and I have to say that I quite like the end result.

For this card I used all the tiny butterflies I could find and arranged them on my panel to die cut.

Adding in the pierced dots was an extra step that blended them all together. You can add as many of these pierce  lines as you would like and if you keep the pencil lines feint then they can be erased afterwards.

For this one I picked out all the tiny hearts and arranged them on a landscape card base.

The card in the video is done with stars but look carefully at any dies that you have and see what would suit the idea.

Try leaves or small flowers, tiny envelopes, banners or tags, or any of the basic shapes like circles and ovals. 


There is just time for a relaxing cuppa as you watch the video and the be sure to let me know if you give this idea a try for your self.

More tomorrow ...

Hugs xx

June 10, 2024

Handmade Sentiments

 Hi Everybody,   

When we make card we mostly add a sentiment to the front of it as this conveys to the recipient what occasion is being celebrated.

I have a lot of word dies and also many dies of different shapes that will create a frame for me. So why not combine the two to make a sentiment that will stand out on your card.

For this card I have used silver mirror card to make the frame from a patterned circle and a plain one to cut the inner portion of the frame.

Then to this cetnre I have added the words I chose to make the while sentiment look like one.

You could also add parchment behind the word die cut.

It doesn't have to be silver or gold. Why not try a colour that blends with your creation. And alter the shape too.

The gold one that is shown here is created with a really old Seth Apter die  and I used it in black on one of my cards with a birthday greeting on the top.


The video is not long but will give you the basic idea of what I did to get the toppers I needed for my creations

More tomorrow ...

Hugs xx

May 20, 2024

Ink Smooshed Flowers

Hi Everybody,

I am trying to use up what I already have in my stash and so save some money in the process.

I am also trying to revisit old techniques from years ago and some of these have gone out of fashion and so not used for a long time,

But there are always new people trying their hand at card making and so to them these techniques are new and fascinating, and something they may want to try. 

I remember being enchanted by heat embossing  and the way a powder melted to look so different ... and it still fascinates me today.


Ink Smooshing is is an old technique and it is one I covered on my YouTube channel a good few years ago and it is so pretty when it is finished.

But I watch YouTube ... much more than I should , and I saw this idea from Natalie Bowers (NBCards) on making your own tool to add the ink to your card

Here is the link to Natalie's channel in case you wanted to make your own too.

I am adding my own video to show you the cards I created with this technique and I think they are all so pretty.

The flowers are created with one of the dies from the Layered Florals die set  and this is a really old die set.

The leaves are a mixture from many other die sets.

More tomorrow ...

Hugs xx

May 14, 2024

Use Up Your Scraps - Squares

Hi Everybody,

I made lots of envelopes a little while ago for all the cards  I had made and I had lots of pieces of left over panels that are too good to simply throw away.

So I got our my dies and used the smaller  dies from  the nesting shapes to cut into the papers. You could also use punches if you have them.

The squares are my first offering and these two cards have dies of different sizes. The smallest dies are the green card and the slightly larger ones are for the pink one.

Both  cards have the same sentiment added to them as I find birthday cards are the ones I use  and make the most of.

One card is an A6 and the other is a 5x7 both with the folds at the top of each card.


I used some really fine glitter on the pink card and added in mirror card to the green one.

It used up a lot of my left over scraps and I still have some left to make even more.

You can add them in any orientation you like to vary the look of your designs, and as long as your colours blend then you can use any patterns that you have to complete the look.

For this card I  added ink to a white panel  and then used an embossing folder for the background and ran my fingers of the raised areas with gilding wax to add the interest. 

I added the small squares to black card and cut  the black card close to the patterned square leaving a small border around the edge.

They have ben added in a diamond pattern with foam squares underneath to raise them up

I have used a gold pen to add tiny dots around the card and the sentiment is one from a pack of many.


I will be adding more videos using scraps of other shapes as I have a lot of left over papers still to use 
from other projects
.
More tomorrow ...

Hugs xx
May 07, 2024

Embossing Paper

 Hi Everybody,

Sometimes we have papers in out stash that don't quite fit the bill and these are some that I have in mine.

They are really pretty foiled papers that I have had for a long time and used often, but the foiling was the wrong colour for what I wanted. 

It was a rose gold and would have been completely wrong for the idea I had in mind.

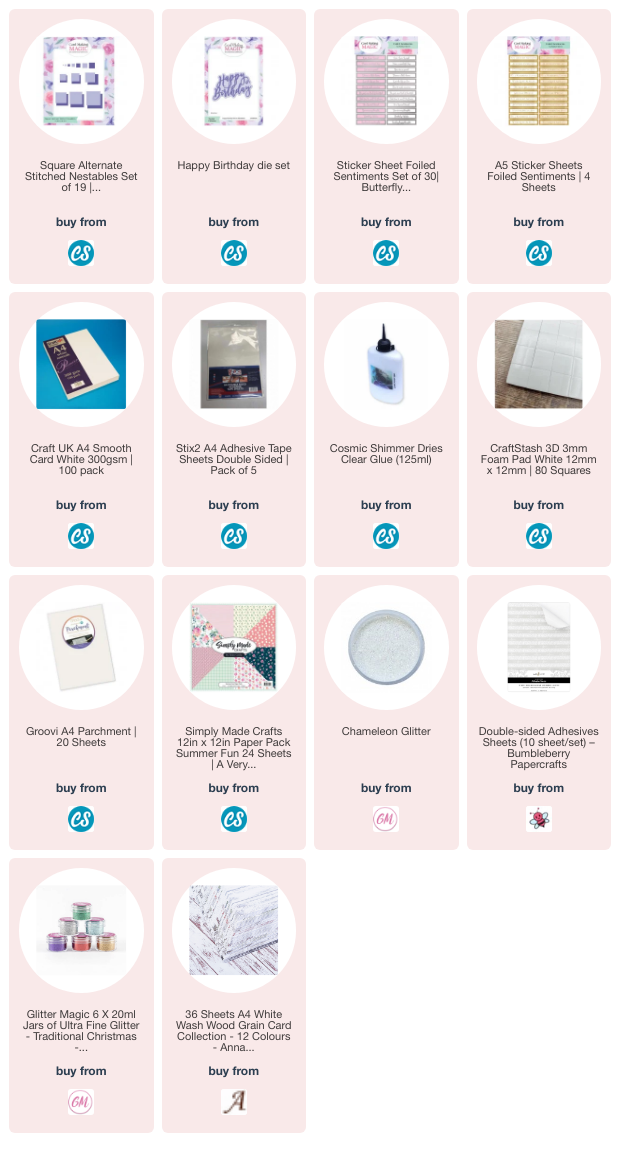
So with some wet glue and some embossing powder I changed them in to something that I did want and it worked out really well .

I have had them so long I don't remember where they are from.
I selected the papers from the pad and I traced the pattern that I wanted to use with the glue.

 I allowed it to become tacky and then I sprinkled it with the embossing powder of my choice

The top card was done with gold and the bottom one in silver.

Both are then heated to melt the powder and allowed to cool.  The shine and the raised effect are lovely.

The twine is some that I got ages ago from Amazon and it lasts for ages as there is so much on the spool.

I filmed the process to share with you and I will add the other cards using the left over pieces and the glitter papers  from the video in another post.

 
More tomorrow ...

Hugs xx>

April 30, 2024

Inked Cards

 Hi Everybody,

These are some more of the cards inspired by the 3-D Embossing Folder I mentioned yesterday. 

The pattern is much deeper on  3-D folders than it is on  ordinary ones as it gives you other layers to the embossing.

Burt if you don't have this type of folder then try it with others that you do have in your own collection and see what works for you. 

Floral folders always give a really pretty look and using coloured inks will make them even prettier. 

This one is created with white ink on the raised areas and then I used the gold wax to highlight them even more.

The panel was wrapped several times with gold twine before adding it to a gold layer to lave a small border around the edge and  then I added it to the brown card base. 

The sentiment is from another collection and I am using them up on other cards as there are so many in the pack.

This was added to the same gold card and  adhered with foam pads to the card front.

Try embossing parchment for another look or even acetate.


And if you make a mistake then why not fussy cut the flowers out and add them separately to another card base  so as not to waste them or your time.

This has been etched with the black ink and added to a black and white  Dottie card.

The sentiment is from yet another collection that has many in it.

More tomorrow ...

Hugs xx

April 17, 2024

Making Your Own Envelopes

Hi Everybody,

With all the cards that I have made recently I needed envelopes to put them in and buying them was an option.

But I needed lots of different sizes and it would have been an expensive shop around to get them all.

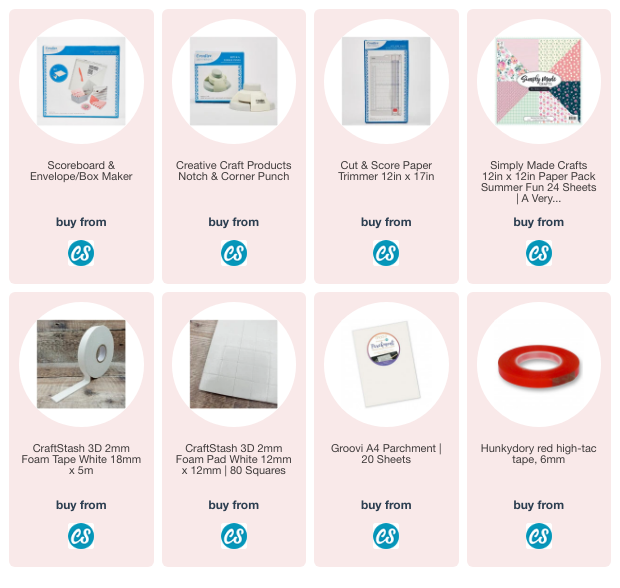
So I decided to make my own and this little gadget from Creative Craft Products at Craft Stash made life so much more simple.

This is the envelope and box maker and with this I used lots of  the pretty 12x12 papers I have in my cupboards. 

This little video will show you just how easy it is to use this inexpensive tool, and then you too can make your own envelopes of lots of different sizes, and use up any of the papers that you may have lying around.
 

More tomorrow ...

Hugs xx

April 10, 2024

Parchment Pocket Card

Hi Everybody,   

Todays card is a shaker card that is created from a parchment pocket .

 I have shown this idea in a video before and I have added it in below in  case you missed it.

The shaker pocket has been filled with green sequins and enough room left for them to shake around.

The purple background has been done with ink smooshing and then dies used to cut out the frame, the flowers and the sentiment.

The white base panel has been embossed and the aperture removed using square dies.


The same nesting dies have been used to produce the frame

The leaves, sprigs and flowers have been added with a mixture of glue and foam pads.

I have used Glossy Accents to pick out the flower centres.

The berries on the sprigs have been coloured red and then covered in the Glossy Accents also  and then I have left them to dry thoroughly

The finished card is a 5x7 with the fold at the top and the sentiment is added to the bottom of the card.

More tomorrow ...

Hugs xx


March 30, 2024

Everyday Items - Sponged Backgrounds

 Hi Everybody,

A really cheap and easy way to vary the look of your cards is to use items that you are sure to find around the home.

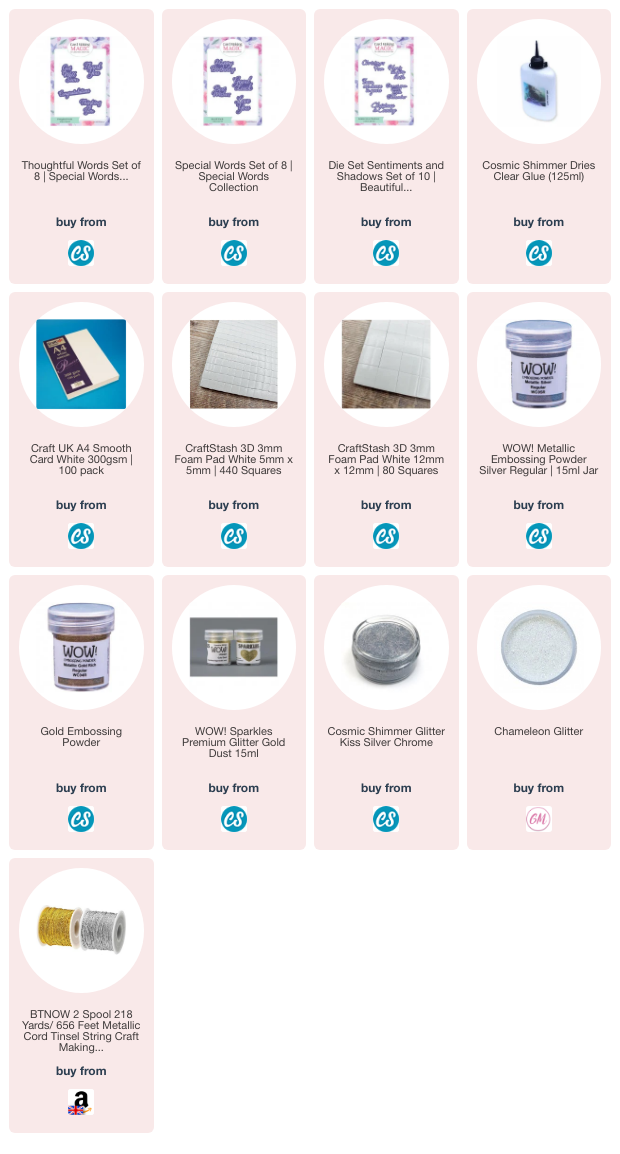
This card has been created with an everyday household sponge that I have cut into pieces to use with water based inks.

Quick, easy and very effective and if you change the colours you will vary the look.

I have used the pre printed and foiled sentiment strip that came with the  most recent paper packs that have been released and there are such a  lot in each of the packs.


The video is not too long but will give you time to relax with a cuppa and hopefully a new idea.
You may have already tried this in the past or you would like to do so now. 

More tomorrow ...

Hugs xx


March 27, 2024

Inked Embossing Folder

Hi Everybody,
 
This pretty card is done with an embossing folder and I showed you some of the others  a few days ago. 

I added a video to Craft Stash that shows a slightly different variation to this one.

But in this video I show you that you can use any embossing folder that you have and any water colours that will blend together. 

This card has been created with Brushos and a little parchment to diffuse the background

I also used any card that I had to add the colours too, and any black ink in my stash. 

I always have the gold wax, flowers and parchment on hand but you can leave them out if you prefer.


On this card to the left I have added in a light dusting of the wax and the butterflies are cut from gold card.

It gives such a pretty look and it will be different each time you do it.

You could also try a colour other than black to the infill and that would give you another look to your designs. 

It really is playtime with this technique and you are sure to enjoy the process.

For the card to the right I used pinks and purples to create the base and then added Villainous Potion to the embossing folder for the other colour.

I highlighted the design in gold gilding wax with my fingers and added the decoupaged flower and leaf to the card with foam tape.

I hope you enjoy the video and be sure to let me know if you try this for yourself.

More tomorrow ...

Hugs xx

March 12, 2024

Using Washi Tapes

 Hi Everybody,

Here as promised is the latest video where I have used Washi Tapes on my cards. I have a box full of these and I rarely think to use them on my cards.

I should do really because they are so pretty. And that is why I thought to get them out again and put them to good use.

The one shown to the right is using Washi Tapes with some Acetate for a really lovely look that seems to hover above the card base.

I will be trying this again with other colours and shapes and seeing what I come up with


And I also put the cut off bits to some use as well.
Waste Not ... Want Not !! And this card is just as pretty.

Just add the pieces in a random way over the card panel and die cut it if you prefer before adding it to your cards.

Today we have made some flowers from the Washi using flower dies to get the look.

Yesterday I showed you a pink card that had the acetate cut into a heart shape and that would be so useful for occasions like Valentines Day.

Whichever shape you create it will look good and Washi Tape comes in many colours, patterns and widths that you are sure t see somethings hat takes your fancy.

And its not expensive either.

More tomorrow ...

Hugs x

February 28, 2024

More Ideas ...

Hi Everybody,

As promised here is the video of the making of eight beautiful cards using matching coloured card and some  imagination.

I really enjoyed using this process and making the shapes fit my designs to get as many cards from the three sheets of card that I had. 

All of the cards are now ready to be sent to whoever I need them for. 

Or alternatively they can go into my charity box to be taken to the shop.

I don't have many old die cuts lying around on my work top any more as I have managed to use them up with the cards I have made


I am glad that this idea of using up ready made die cuts from other creative sessions has sparked your imagination, and I know you will nit be disappointed with the cards that you come up with.

Every crafting session is a learning curve and the more we do the more we learn, and we should enjoy the process as we do.

More tomorrow ...

Hugs xx

February 21, 2024

Handmade Pokey Tools

 Hi Everybody,

I have been giving away one of these handmade Pokey Tools each week for a few weeks now and I have been asked to show how I made them.

So always happy to oblige I have done just that and I am adding it here for you to view. 

I used these really cheap Turkey Lacers from Amazon for the base and I have literally hundreds of beads in my craft room, from when I used to make the hatpins that I added to my cards.

There are other ways to use up beads, old zips and wire and here are just a few ideas that you may like to try, most of them are videos.


 Creating a Pearl Spray       Adding a pearl spray to your card             Creating A Pearl Flower
Creating Zipper Rose               Decorating Hatpins                                  Working with beads


And here is the video to show the Pokey Tools and who knows you may be lucky enough to get one of these in with the Friday Freebie. 


More tomorrow ...

Hugs xx
February 19, 2024

Knitted Background Card

Hi Everybody,

This is the card I bought at last weeks craft show and it is the knitted background from Anna Marie Designs.

This particular piece was the cover card in the front of the pack and rather than waste it I turned it into a card front instead.

It shows you all the colours that are in the actual pack and it is really petty card.

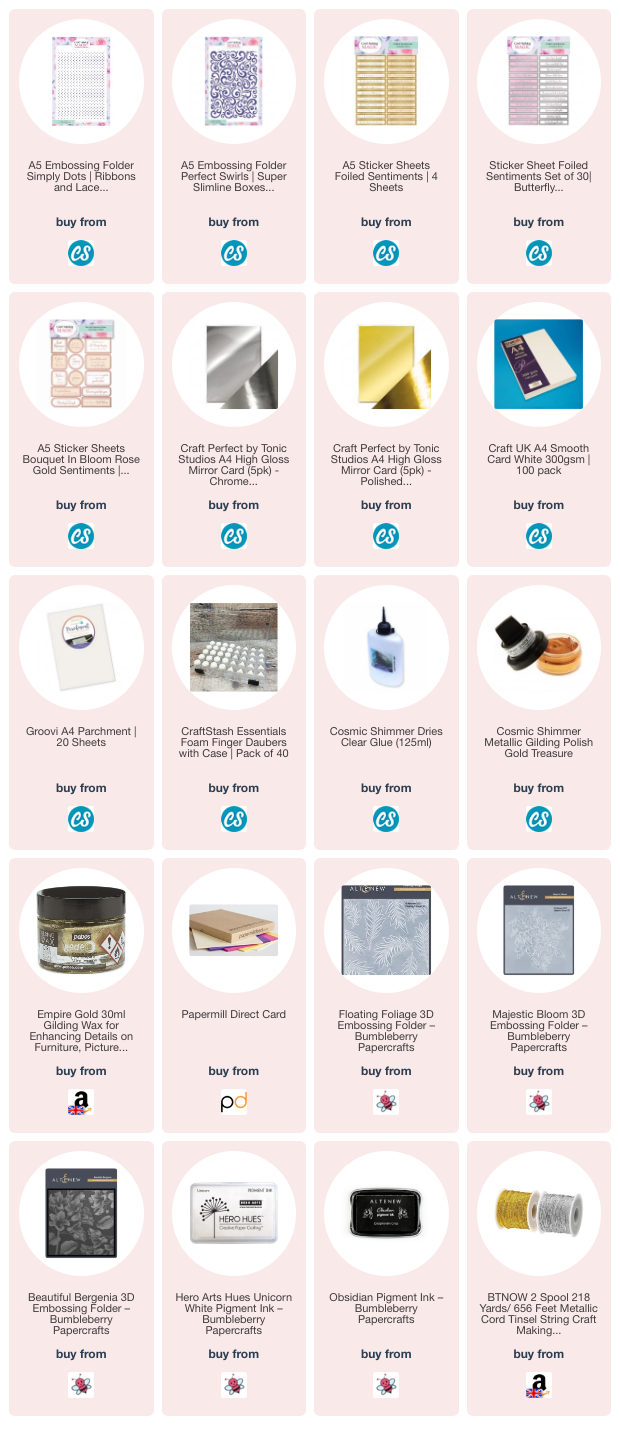
The flowers  and leaves  are cut from 300 gsm smooth white and then coloured with Distress Oxide Inks.

The larger ones are cut from silver card and tucked behind

The sentiment I have had for some time and they are also from a craft show that I went to.


This card is using a larger portion of the card and this time it is a A4 size.

I chose the grey from the pack and the hearts are some that I did from Acetate and the
technique shown  in the video above

The flowers and leaves are also cut from smooth white card and coloured with Distress Oxides

This link will take you to me website where there are nose photos of the same technique
Caught In Crystal Technique

I have added some white splattering to this card and a couple of butterflies for effect.

I really like this knitted card and the finish is suitable for male or female cards.
 
More tomorrow  ,,,

Hugs xx

February 14, 2024

Bouquet In Bloom Paper Pack

 Hi Everybody,

Today sees the launch of a brand new paper pack from
Card Making Magic 
and this is the
 Bouquet in Bloom Collection.

I am so sorry I launched this a week too early and so here it is again.

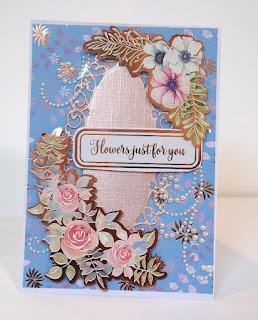
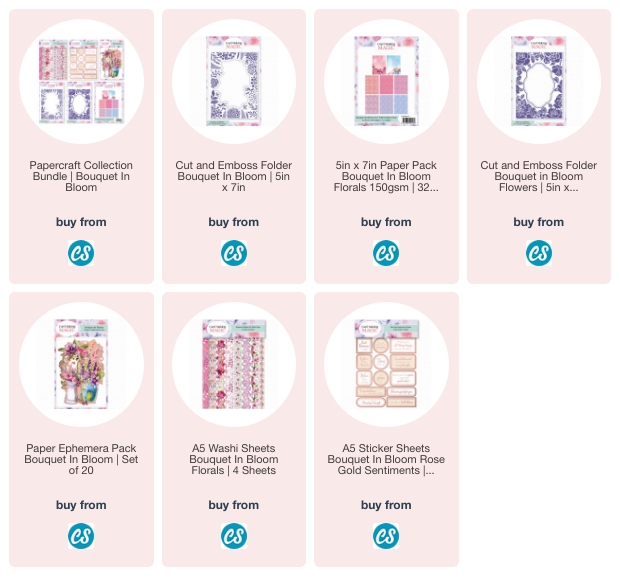
It consists of two emboss and cut folders with different patterned apertures in them.

 One pack of Washi paper, another of rose gold foiled sentiments and another with some lovely, good quality papers to add to your designs.

There is also a pack of mixed Ephemera with blooms in cups or jugs or simply in a bouquet. 

I like to add these with foam tape underneath to raise them up from the card base.  

And sometimes I add two, or maybe three, to the design  for more effect.

Use the papers with other dies that you may have in your own personal collections

Then finish the look with sequins, pearls or diamante, singly or in flourishes for a more opulent look.

Another thing I like to do is add my sentiments to an extra piece of card for strength,  and then use either scissors or dies to cut them out.

Alter the size and shape of the base card to ring the changes and stop you getting bored making the same design. 

The top card is a 5x7 and the bottom is an A6 ... the round one speaks for itself 

But paper packs can give you everything you need to create quick and easy cards in one go.

Here is the the video for you can to view and I hope you enjoy it


More tomorrow ...

Hugs xx