Beautiful Card Designs Made Easy

Showing posts with label Ink Smooshing. Show all posts

June 18, 2024

Blue Background

 HI Everybody,  

This is another background that has been ink smooshed and this time I have used shades of blue to give a mottled effect to the card.

The cut out on the front is from another older die that I have in my collection and the heart is a frame that I found on my desktop.

The other hearts are cut from silver mirror card and dotted around the front and the leaves and flowers are old Spellbinders die sets that I have had for years.

I am enjoying going through my stuff and seeing what I have.

 I am making two piles  .... of stuff that I will use and stuff that I won't ever use and there is quite an accumulation of things.

Plus once it is all sorted I will have a lot more space in my craft room, not to gather more items but to give me some space in which to work.  

I also find it easier to get started if I don't have as much to choose from.

More tomorrow ...

Hugs xx

June 06, 2024

Half Circle Panel

 Hi Everybody, 

For this card I have used a really old embossing folder and a half circle die that is part of the Perfect Panels Collection that is no longer available.

I cut the pattern into the card and added it over the top of an ink smooshed background that has has a stamped image added to it.

The pattern is more visible in the hand and looks very pretty showing through the die cut.

I have cut a label in parchment and added some white and parchment leaves to the top of it.

The butterfly has been cut in silver and added to a parchment base and then layered onto the leaves and label.

I already had the sentiment in my bits jar and so I used that to add to the 5x7 sized card and then dotted the panel with some pearls 

I think the embossing on the panel adds something extra to what would otherwise be a plain piece of card

More tomorrow ...

Hugs xx

June 05, 2024

Bee Card

Hi Everybody,
 
This card has used an old die that was free with a magazine many years ago. I still have the set of dies, stamps and a folder and I have used elements from that.

The background has been ink smooshed  I added a light stamped circle pattern to the top. The pink flower was cut from the same splattered card.

The little bee die was in the set and I cut them in yellow and then added them to some brown card and fussy cut around the image.

The other flowers for this card are  cut in white and silver mirror card and cut with older Spellbinders dies.

The honey comb pattern is a die that cuts the pattern out of the card and for this I have simply stuck it back in place.

I have no idea where it is from as I have had it years.

Another pretty background that enhances the card itself and the finished size is a 5x7

More tomorrow ...

Hugs xx

June 03, 2024

Smooshed Backgrounds

 Hi Everybody,   

For these two cards I took one sheet of A4 card and Ink Smooshed over the background. I tried to keep each side of it a little different .

I cut it into two separate pieces and and on  this one I splattered it with silver ink and cut a large die cut shape to fit over the top.

It is a really old Spellbinders die and probably not available any more but keeps in with me using up all the older stuff that I have in my craft room. 

The flowers are cut from the same piece of card and the leaves are from my Rose Flourish die set and cut in pale blue mirror card. Each flower has a pearl in the centre

The sentiment is from one of my own older stamp and die sets.

This card has been splattered with black and white and has some black text stamped over it also.

There is a die cut in the card from an old magazine freebie and I used silver mirror card to cut the other elements.

The butterfly is cut in parchment and splattered card and layered together. 

I cut the sentiment from mirror card, parchment and the white Happy Birthday and layered them all together, and dotted pearls around as a finishing touch.

Both are very pretty, vibrant  Birthday cards done with ink smooshing to produce a different kind of  look, and I hope you like them both.

More tomorrow ...

Hugs xx

May 23, 2024

3 Cards 1 Die set

Hi Everybody,  

The background for this card was created by ink swiping Twisted Citron and Stormy Sky over the white card and then splattering it with black ink.

The feather dies are some that I have in my collections and I picked out the smaller ones for the card.

The detailed pattern is cut from some older Card Making Magic dies and they are the Perfect Panels & Lovely Layers in the rectangles pattern.

I added parchment behind the frame and then grouped three of the feathers together for the top of the panel, with a circle to hide where all the feathers join up. 

I coloured some gemstones with gold alcohol  marker and added them to the card to match the gold edged sentiment 

Then using the waste as a stencil I inked in the shapes using Stormy Sky Distress Oxides. 

Once they are dry I added  some more, with a heavier hand over the top and then traced around some of the feathers at the forefront with a  black fine liner pen.

The sentiment was cut from some spare card that has been swiped over with Stormy Sky,  and then added to some parchment. 

Black pearls are dotted around the front for effect,

The panel has then been added to an A6 sized card base.
And last but not least I used the panel that was left for another card and added foam tape underneath to raise it up.

Ink was used to go around the edges of the feathers to make them stand out more

Into the recess of the feathers I have  traced the outlines in black pen  and added gemstones.

The sentiment was created by adding ink to a spare piece of card and cutting it out with the die and then adding it to parchment. 

So there we have three pretty cards and not a bit of waste any where.

Hope you like !!!

More tomorrow ...

Hugs xx

May 22, 2024

Shades of Orange

Hi Everybody,

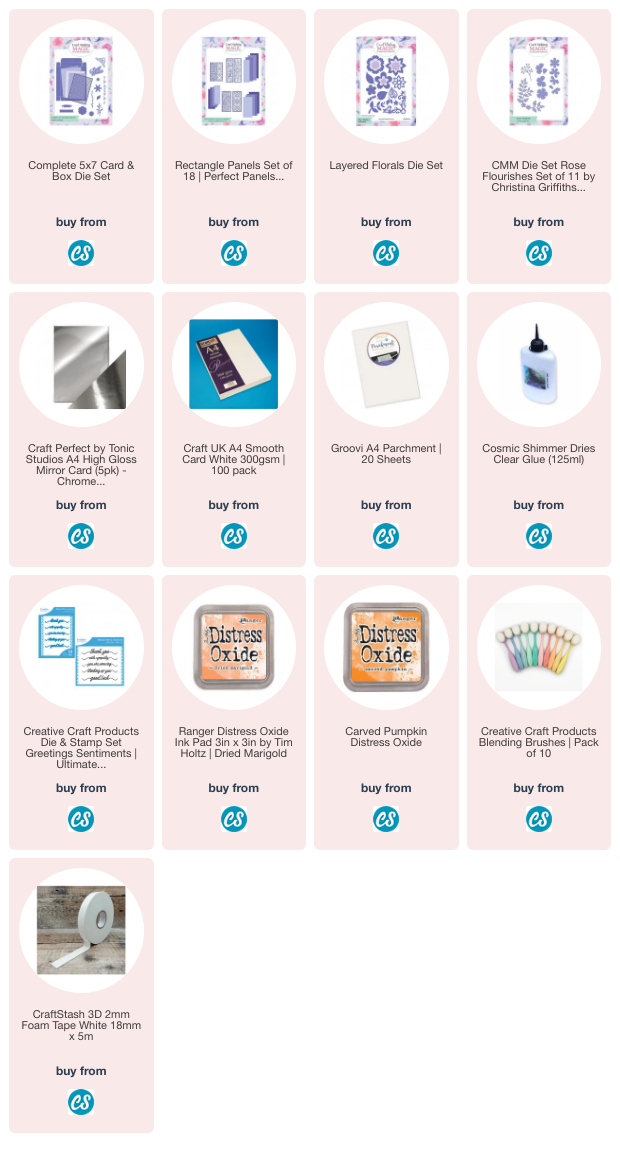
Todays card is done in shades of orange and I have used my favourite dies in the Layered Floral and the Rose Flourish Leaves.

Both of these dies I have used many, many times and they always give me a pleasing display for my flowers.

The inks used are Distress Oxides and they are Carved Pumpkin and Dried Marigold and they have just been swiped across the white card panel.

To the top of this I have added in some parchment and that has been added to the panel with small silver heart brads that I have had for years.

It mutes the orange panel underneath and stops it being to bright and in your face.

I have mixed in other leaves and they are other brands that I have.
The finished card is a 5x7 with the fold at the top and this is my favourite size and way to make a card

More tomorrow ...

Hugs xx

May 21, 2024

Vibrant Flowers

 HI Everybody,

The Ink Smooshed flowers from yesterday are so pretty I made even more and added them to cards for any occasion.

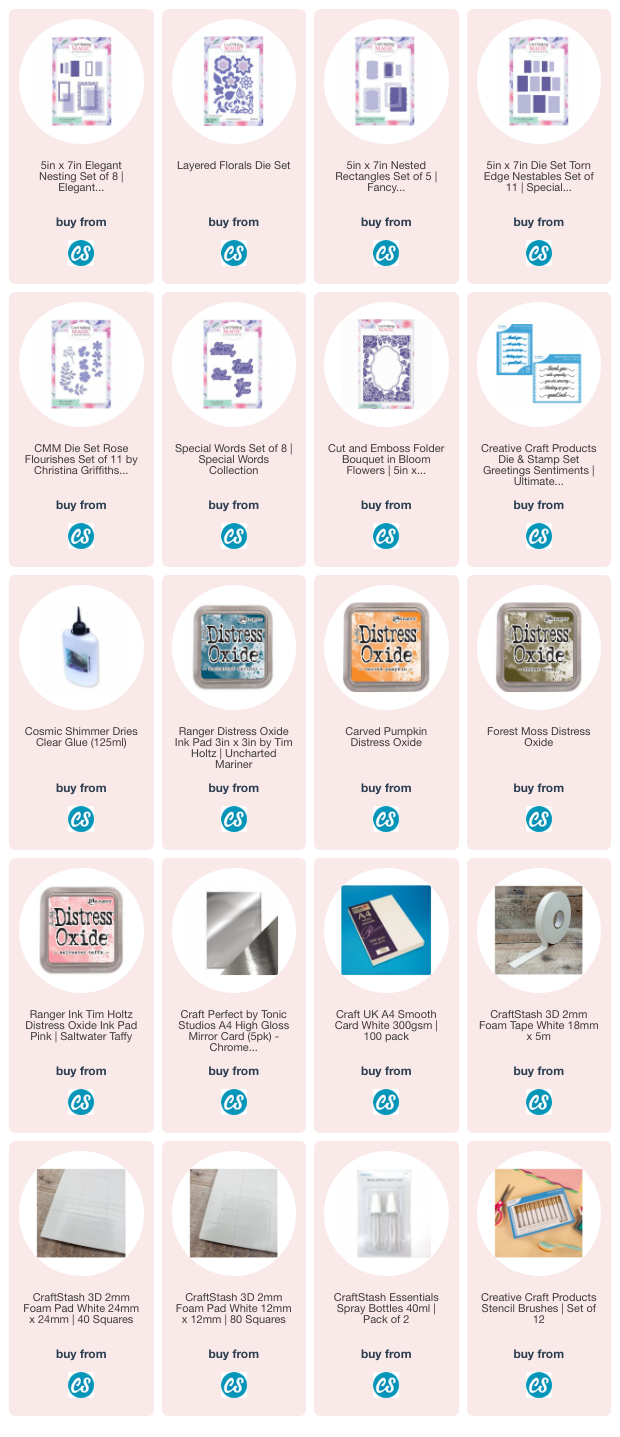
I used  another shaped die from the Layered Florals die set for these flowers,  but I have incorporated the same leaf dies that I had already in my stash, and they are a mixture of dies from many different sets, to vary the look.

The sentiments are from Craft Stash and I have had these quite some time too.  They also have matching stamps to them for even more use.

The embossing folder cuts the aperture in the card as it is embossed and gives a really pretty effect to the layer.

This card is a 5x7 with a slightly smaller layer with the aperture  added to the front of it.

This DL card has a background that is stencilled with Uncharted Mariner so that it coordinates with the flowers. 

I think the two colours go really well together even though they are far apart in the colour spectrum.

The matting layer for this card has simply been inked around the edges only with the same ink and then the stencilled layer added to the top. 

It all blends together for a complete look and I am pleased with the result.

I am adding the video again in case you missed it yesterday and I hope you will give this technique a try if it is new to you. 
.


More tomorrow ...

Hugs xx

May 20, 2024

Ink Smooshed Flowers

Hi Everybody,

I am trying to use up what I already have in my stash and so save some money in the process.

I am also trying to revisit old techniques from years ago and some of these have gone out of fashion and so not used for a long time,

But there are always new people trying their hand at card making and so to them these techniques are new and fascinating, and something they may want to try. 

I remember being enchanted by heat embossing  and the way a powder melted to look so different ... and it still fascinates me today.


Ink Smooshing is is an old technique and it is one I covered on my YouTube channel a good few years ago and it is so pretty when it is finished.

But I watch YouTube ... much more than I should , and I saw this idea from Natalie Bowers (NBCards) on making your own tool to add the ink to your card

Here is the link to Natalie's channel in case you wanted to make your own too.

I am adding my own video to show you the cards I created with this technique and I think they are all so pretty.

The flowers are created with one of the dies from the Layered Florals die set  and this is a really old die set.

The leaves are a mixture from many other die sets.

More tomorrow ...

Hugs xx

June 28, 2023

Paper Flowers

 Hi Everybody,

This is the card that I showed yesterday using paper flowers created by me and I though it would be a good idea to share the actual video with you,

It was done quite a few years ago when I started to film for my self but the idea hasn't changed and is still appropriate today.

Some of the dies may not now be available anymore but I am sure that you have dies in your personal collections that would make excellent substitutes

The ink smooshed water colour card creates beautiful flowers as the colours are all intermingled and give the effect of light and shade without you having to do anything else, and I make some of my flowers in the same way still.

More tomorrow ...

Hugs xx 
August 30, 2022

Ink Smoosh and Gold Edging

Hi Everybody,

I have been doing some ink smooshing using Distress Oxides. 

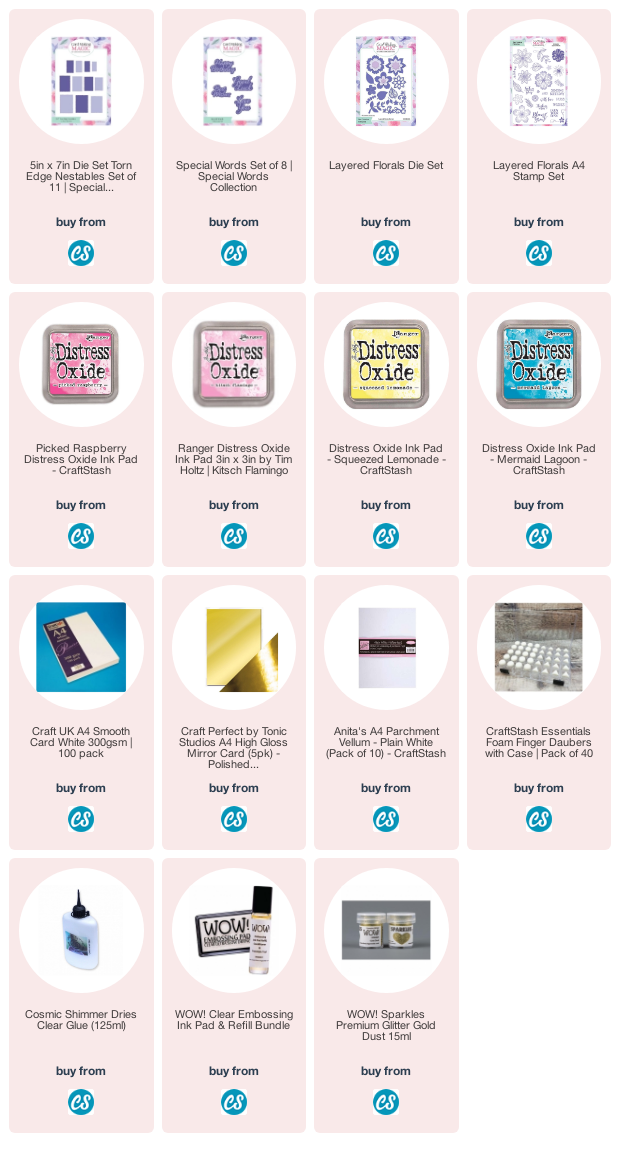
The one on the left is with Picked Raspberry and Squeezed Lemonade and the one on the right is with Kitsch Flamingo and Mermaid Lagoon.

I have some videos on my YouTube Channel showing this Ink Smooshing Technique if it is new to you. And this one includes Ink Smooshing & Die Cutting also

But for these two cards I have cut out both the panels with the Torn Edges Die Set and then inked up the edges with Embossing Ink and added Gold Embossing Powder. I also added some of the embossing ink using a finger dauber and a stencil on one, and in a random fashion on the other and embossed them the same way.

The other layers for the cards have also been cut
with the same die set making them to fit around the main panel.

I found lots of items on my desk top left over from other projects and I used them to complete both of my cards.

The sentiments are from Special Words, cut in Gold mirror card and backed onto parchment.

I used some pearl flourish to finish off the look on both and I have had this flourish for years in my bit box, but by cutting it up into pieces I made it fit both of my cards.

Both cards have used bits that might otherwise have been thrown away or lost, but now they have been put to good use instead.

I can't choose a favourite as I like them both equally and both will go in my donate box ready to go to the Charity Shop to be sold.

Do you have many bits left at the end of a crafting session? And if you do how do you use them up?
Let me know and maybe some of your ideas can be shared amongst us

I hope you enjoy the two videos I have added, just click the links and it will take to a new page to watch them. They are not long so you won't get bored.

More tomorrow ...

Hugs xx