Beautiful Card Designs Made Easy

Showing posts with label Parchment. Show all posts

August 07, 2024

Parchment Ideas - Envelopes

 Hi Everybody,

This is now day three of the videos I have added with lots of ideas to use parchment.

 I decided to do them as individual videos, rather than several techniques in one, to keep them short and more easy to watch. 

So for a really delicate look to your finished cards why not make your envelopes from Parchment.

This is one of the Split Front Cards created in yesterdays video and now it has an envelope to go with it.  And the effect is really very pretty.

It would be perfect with a wedding card and with the embossing as well it looks really special. Well worth giving this idea a try.

The video for this idea is  below and it is not long and in it I also create a card to go with the pink envelope that I make.  

Parchment Ideas - Envelopes

Please join me again tomorrow for yet another way to use your parchment and we will make some more lovely cards that you will be proud to send. 

More tomorrow ...

Hugs xx

August 06, 2024

Parchment Ideas - Split Front Card

 Hi Everybody,

This is the split front technique and it has been around for a very long time and probably under another name. 

It is very easy to do and I have covered it before, but this time I am making use of the parchment that I have in my craft room.

This would also be really effective if done with Acetate and us well worth trying to see if you like the look.

The video will show you how I made the card and hopefully give you some inspiration to go ahead and make it. for yourself

The pictures do not do justice to the cards.


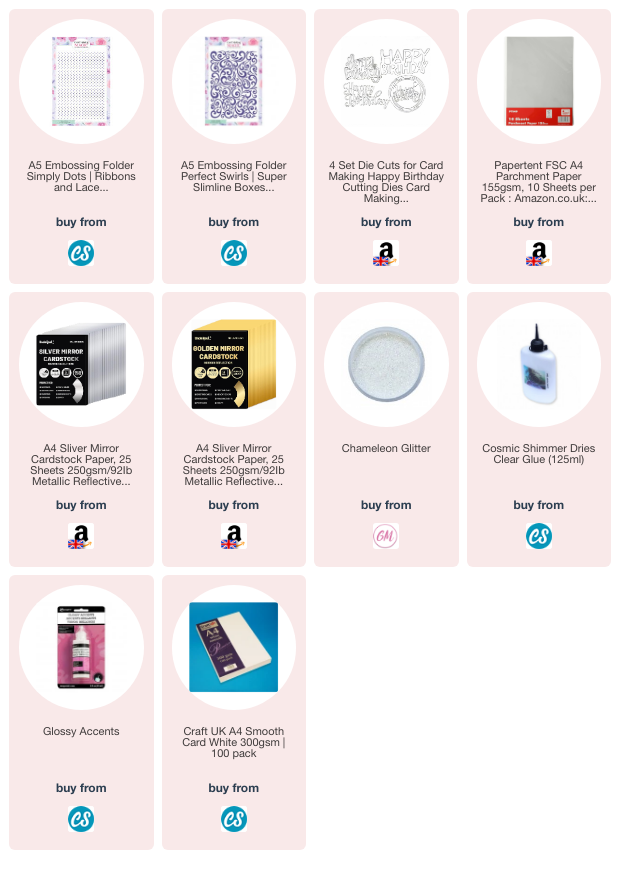
Once again I have used the gold and silver mirror card as this makes everything kook so rich and I am making use of the already die cut items that are on my desk.

I have not bought anything new for a long time and this is part of my new year plane to use up what I already have in my stash.

Another technique working with parchment will be along tomorrow ...

Bye for now ...

Hugs xx

August 05, 2024

Parchment Ideas - Backgrounds

Hi Everybody,   

Today I am starting a mini video series that will show you some of the ways in which I have used parchment on my cards.

I get confused with what is Parchment and what is Vellum so I looked it up and I am pleased to say that there is no difference.

Both where originally made from animal skins that where scraped and cleaned ready to be used as a writing source.

Now in modern times we have papers and parchment/vellum is now made from plants, and widely available.

It is called many things ... tracing paper, translucent paper, see though paper are some of them.

Here is the video 

  Ways To Use Parchment 

and if you click the link it will take you to a new window on YouTube for you to view the video.

Please like and subscribe and leave me a comment on the channel and here on the blog.

It comes in various weights and many colours. You can get it patterned and even foiled and it has many uses.

You will even find baking parchment in your kitchen. 

And with our cards there is a lot of ways we can use it to make them special. It is an inexpensive way to add variety to your designs.

So over the next few videos I am going to show you some of the ways in which I have added this to my designs.

I hope it will inspire you to make more use of any that you may have in your collections.

More tomorrow ...

Hugs xx

September 08, 2021

Same Theme ...

Hi Everybody,

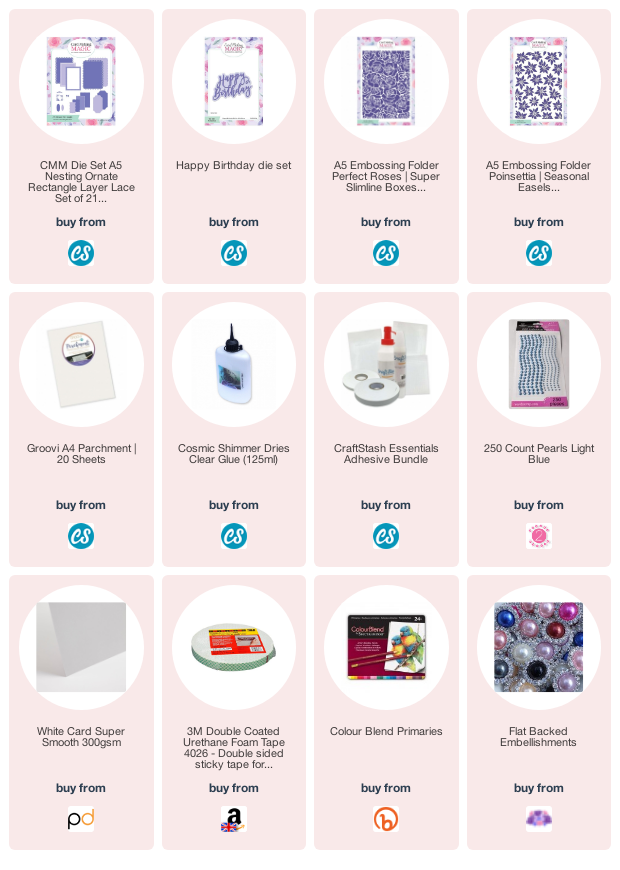
Using the same techniques as shown in yesterdays video, here is another card but using a different embossing folder. This one is the Perfect Roses A5 folder from Card Making Magic.

To colour the parchment I have used my Spectrum Noir pencils. I chose three different shades of pink for these flowers and two shades of green for the leaves .

It took me a little time to colour them all in but the end result is well worth the effort. 

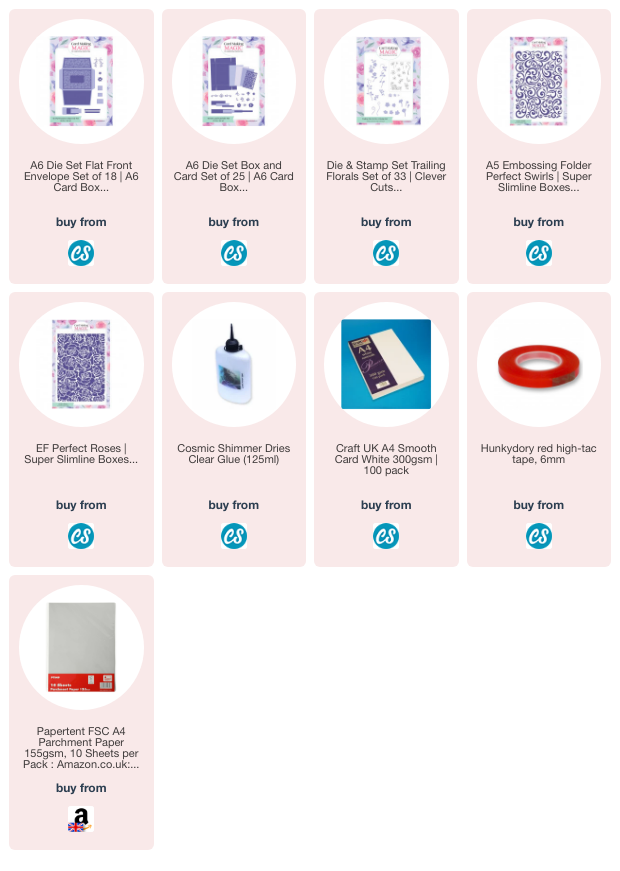
It is a large card as I used my A5 dies to produce it. I made the shaped base with the dies and then the layers to sit on the top just to give it a different look.

The fold is at the top as I usually do and it stands in tent fold

The detailed edging around the smaller frame is a lovely feature and makes the card look so elegant

I think the flowers have blended really well using the pencils, and don't forget to do this on the debossed side of the .parchment so that when you turn it over you have diffused look to your colouring 

Enjoy the process ... it is very relaxing.

The depth to the fame has been created using foam board from Arteza. The foam flattens a little as you cut if, but it really makes a difference.

It cuts like butter in your die cutting machine and the dies have no trouble at all with the intricate details.  

I wrapped my white ribbon vertically around the frame and added large white beaded flower to the bow.

The greeting was die cut using the foam board also  and I added another to the top using  Holographic silver card to make it stand out

And with what was left of the Poinsettia embossed parchment from yesterday I decide to continue colouring with my pencils and  I created this one with blue flowers.
This card is a 5x7 but I used the same A5 die set to get the layers. I double wrapped the ribbon and used a shiny centre for the knot.

Both really pretty cards and I am more than happy with the results.

More tomorrow ...
Hugs xx