Beautiful Card Designs Made Easy

Showing posts with label Water Colours. Show all posts

January 06, 2025

Water Colour Cards

Hi Everybody,

I was watching a young woman named
Shayda  Campbell
on YouTube
the other day and she was doing some really pretty stuff with water colours.

And so I thought I would get mine out again and try to follow what she did, and this is the result..

 I haven't done any water colouring for ages and I really enjoyed playing with them again.

I have a lot to learn but I liked Shayda's style of teaching and so I will be going back to her channel for more.

She finished some of her paintings with the fine black line around the edges and so I did that as well.

This blue card is created with a light wash of  over my water colour card and then with some silver paint I added in the  leaf following Shayda's instructions.

I used a black fine  liner pen to etch in the shape and added a little shading underneath to ground the image.

They are not brilliant but I was happy with both once I had finished.

Practice makes perfect 

Bye for now ...

Hugs xx


January 24, 2024

Fruit Cards

 Hi Everybody,

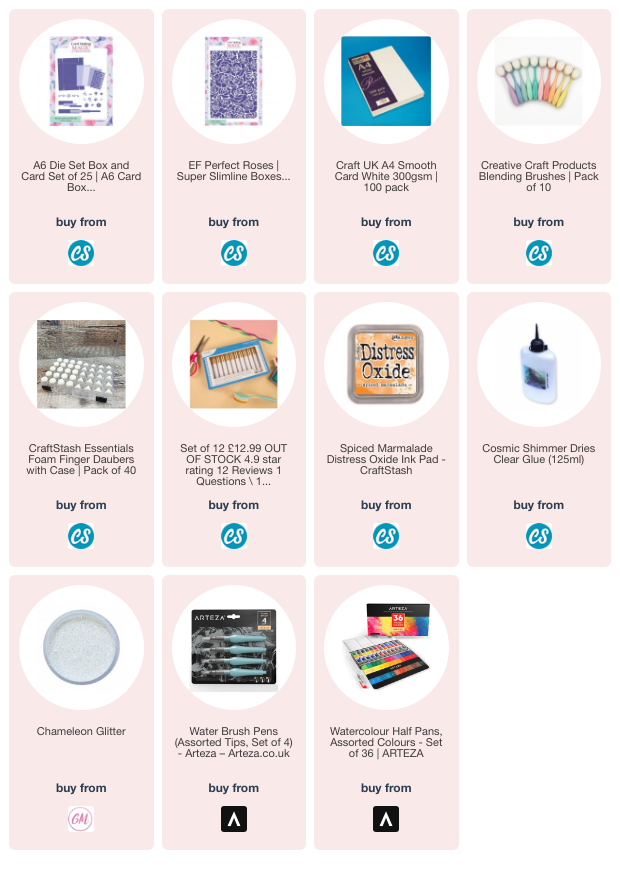
Just playing about with some water colours and trying ... and I repeat trying to draw some fruit.

They are not very good but I will try and get better with a LOT more practice and these are just some to be going on with until I do get better.

The top one is some mixed fruit and the bottom one is peaches would you believe.

I have used the A6 collection of dies to create the background for the top card and the bottom one has got a stencilled background 

I have made them both as Birthday cards and thought that they would suit a male theme.

Male cards are always a bit harder to do but fruit is neither one gender or the other so they make a perfect neutral base.

I don't think I will be sending these as they are more likely destined for the trash can but at least I had a go at them.

More tomorrow ...

Hugs xx
January 27, 2023

Friday Freebie - Water Colour Kit

Hi Everybody,

Todays offering is for those who would like to try water colouring but don't want the expense.

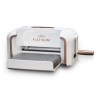
With this kit you can try it and see if it a medium that works for you with the Viviva Mini Colour Sheets.

These little sheets are something that I have featured on my blog in the past and they are really good to have in your stash as they don't take up a lot of room.

Along with these paint sheets you will get a water brush and some pre printed images for you to colour in.

There is also an A$ stamp sheet so there are lots for you to try your skills at. The magazine will give you more ideas and tips that you will find useful as you go along. 

So if this is something that you would like to try then leave me your comment at the end of this post with your FULL NAME

From those comments one name will be chosen at random as the winner, and added to a blog post over the weekend, so be sure to come back and check if it is your name that is shown.

More tomorrow ...

Hugs xx

February 22, 2021

Water Colouring with Arteza

Hi Everybody,

This very pretty floral card has ben created with some of the older pieces from my collections and the dies match the stamps for you to cut out and add to the card.

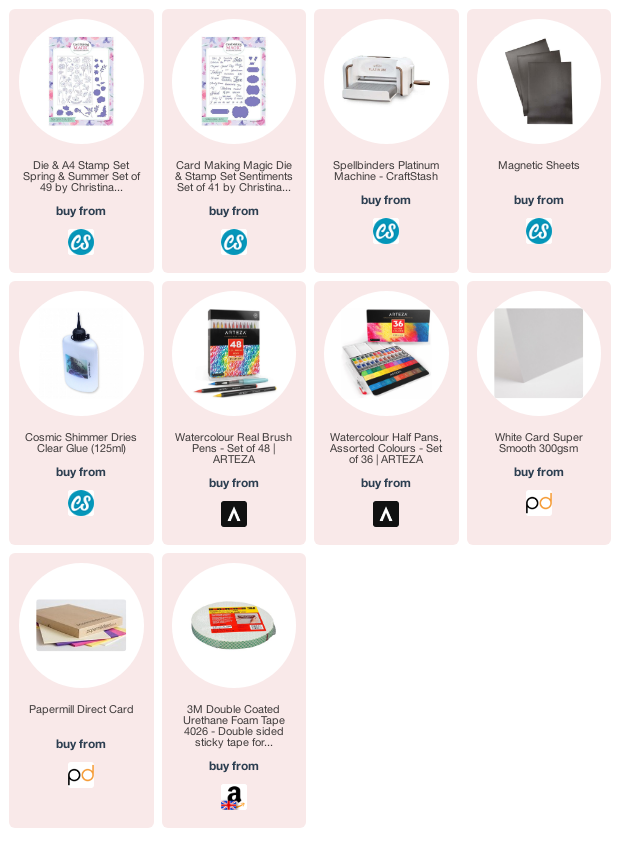
For the flowers and leaves I used the Spring-Summer Stamp and Die Set and they are all decoupaged onto the card and around the sentiment with foam pads underneath to raise them up

For the sentiment and panels I have used the Sentiments Stamp and Die Set and I have layered the matching panels in two different colours.

The flowers and leaves have been water coloured with  the Arteza Half Pan Paint set and this has very vibrant colours in it and is a pleasure to use

Just to sit and paint with water colours is very relaxing and I end up losing hours once I start to let it flow. It is a way to relieve any stress and just enjoy your self in the moment.

More tomorrow ...

Hugs xx
January 28, 2021

Lacey Nested Ovals & Viviva Colorsheets

 Hi Everybody,

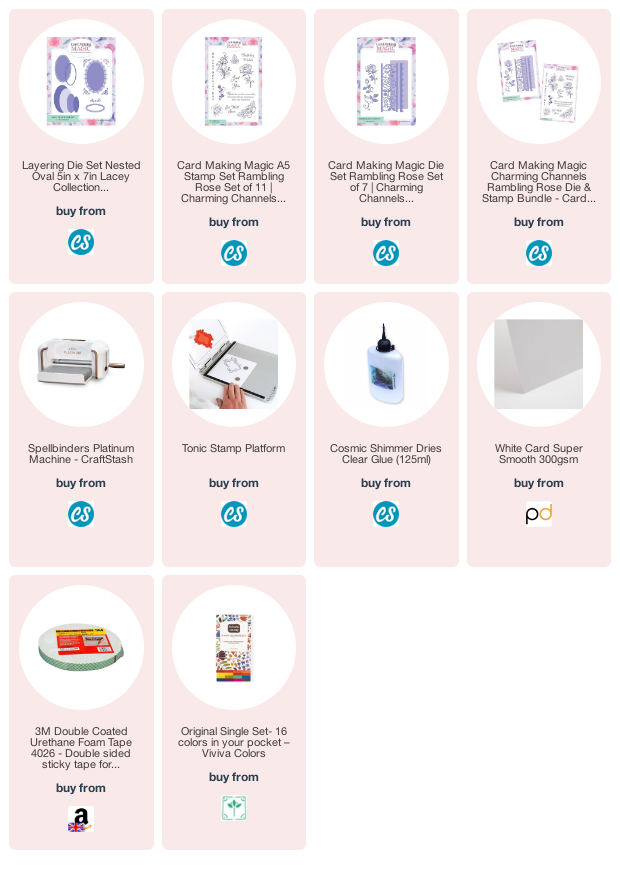
The Oval is always one of my go to shapes as I really like the elegance this shape gives. And this one has been layered with foam tape to give extra dimension to it.

The Roses are stamped and die cut from the Rambling Rose and after I have added them to the oval panel I have lifted the edge of each rose for more shape

The  Roses have been water coloured and I have used  Viviva Colorsheets  They are handcrafted patches of water colour that come in a booklet for you to use.

You only need a tiny dip into them with your wet brush to pick up the colour and they will last you for ages 

You can also mix your own shades on the mixing palette at the back of the booklet and so you will never be short of the shade that you want.

Once they are dry again the will fit neatly into a pocket, along with your water brush, for you to paint on the go whenever you would like


This  card could be for any occasion and added to another shaped card if you wished. I have just created this as a standalone version

Play with the shape and see what you prefer landscape, portrait or added to a 5x7 base
 
I thought I would use peachy orange as this is not a colour scheme I go to very often and I do really like it whenever I do.

More tomorrow ...

 Hugs xx
August 23, 2020

Matching Dies & Stamps

Hi Everybody,

In the new collection you will find these  beautiful flowers for you to stamp out and colour with your favourite medium,.

And then use the matching dies to give you the flowers that you need for your project.

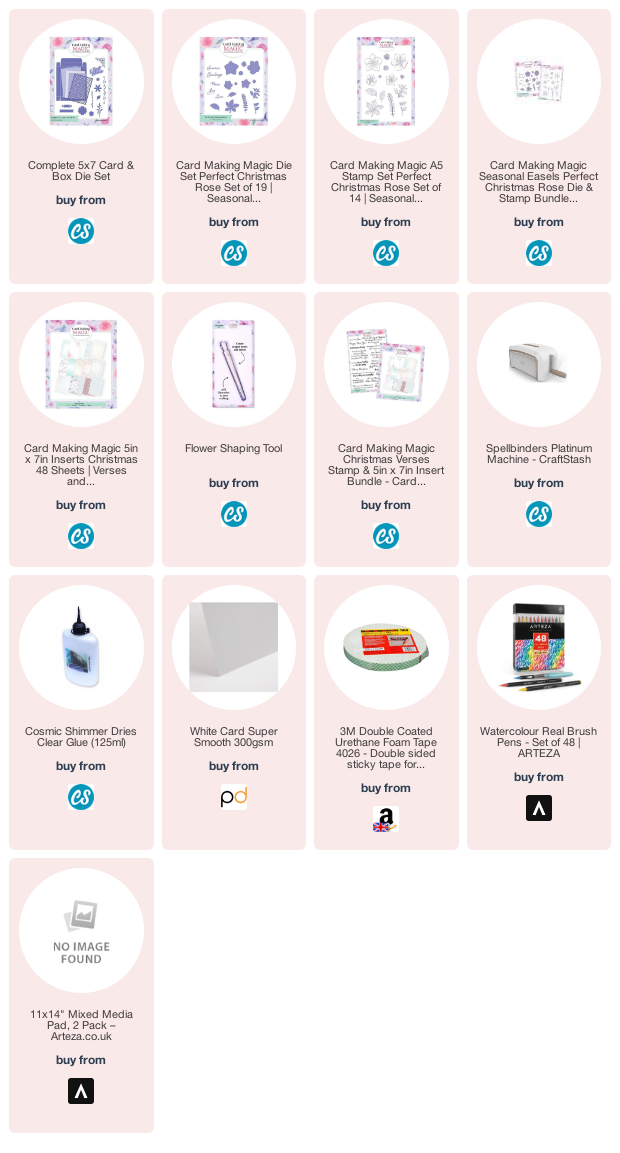
These are named Christmas Roses but can be used all year round as you can see from the sentiment on this card.

I have used water colours on water colour paper to make my flowers and then shaped the petals with the shaping tool.

The inside of the card is decorated the same and for that I have used the new Inserts and a Verse from the Birthday Verses  A5 stamp set.

These will give you a complete co-ordinated look for your cards and of course adding them to a matching box will also make them extra special too.

More tomorrow ...

Hugs xx

October 05, 2017

Butterflies & Lamination + Sequins !!

Hi Everybody,

Today I am sharing a card that has a laminated background behind the butterflies and it was really easy to do.

The laminating pouches are not expensive.  I got mine from the £££ shop and there are ten in the pack .. Cheap as Chips !!

The sequins and glitter I had in my stash and so I had fun making this card.

In the video I take you through each of the steps needed to make it and the supplies are listed at the bottom of the page for you to see what I used

Butterflies and Lamination   is just long enough for you to have a cuppa and maybe a biscuit or three

Each one of the cards has used the die cut aperture piece on another design

You just need to plan the background so that it will work with the second card

But using what is in effect the waste saves you time and money if you make use of it.

Have fun

More tomorrow ...

Hugs xx

April 25, 2017

Tuesday Tutorial - Dies and Birds !!

Hi Everybody,

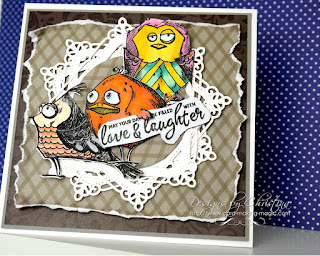
I thought I would have a little fun today with the Crazy Birds and I sat and coloured some with bright water colours for this card.  I add them to some ornate dies cuts and the result would be ideal for a male birthday card
Spellbinders Supplies
  • S$-383 Marvellous Squares
  • 6x6 Matting basics A
  • 6x6 Matting Basics B
  • Platinum die cutting and embossing machine
Other Supplies:
  • Crazy Birds
Instructions:
With die =7 from Matting Basics A cut two pieces in white to create a base card
With die #7 from Matting Basics B cut another layer in grey 
With die =6 from the A set cut another in some patterned paper
Cut a smaller layer in another pattern and distress the edges with your scissors.
Glue these layers together
With dies #4 and 5 cut three frames and layer them together with glue
Add the smaller distressed panel to the base with foam pads underneath 
Add the layered squares to the card front with foam pads cut into strips under them
Add a Crazy Birds of your choice to a die cut circle and carefully cut around part of the wing to tuck the sentiment under it
Layer up the other birds to fit around the central image
Add to the card front with foam pads underneath to raise them up.
And there you have a fun card that would be suitable for the men in your life

More tomorrow ...

Hugs xx


August 15, 2016

International Ambassadors Informal Blog Hop - Debi Adams

Hi Everybody,

Each month we like to get together and share with you the things that some of the Ambassadors have created.

We also try to have a theme and over the last few months we have featured our makes using dies from some of the Designers for Spellbinders.

We have featured Stacy Caron and Seth Apter dies and stamps and this month we have decided to go with Debi Adams.
  I have chosen to use her stamps and matching dies named  Floral Devine

I have teamed them with some other dies and embossing folders to get the look I wanted

The top card is a 5x7 and the bottom one is a 6" Square.

 Both have added pearls to add that little bit more

I have water coloured both cards and then added the flowers and leaves with different thicknesses of foam pads underneath to give height

These hops are to show you what we create and to thank you for all your support during the year so please pop along and see what the others have to offer you this month  as there is sure to be something that catches your eye

Linda Lucas     Australia
Christine Emberson   UK
Yvonne van de Grijp  Netherlands
Christina Griffiths ... You are here !!

They will be delighted that you stopped by and please leave them comments if you do.


More tomorrow ...

Hugs xx
July 15, 2016

Friday Freebie - Card & Die 3

Hi Everybody,

I have added another page for you to visit and this one will take you to all the Videos that I have done for Craft Stash along with the Magazine Freebie card videos

It will be a permanent feature and is situated in the  side bar to the right  and I will add any new videos as they are added.   So you now have lots of places to visit for ideas and I really hope you will enjoy watching them.

Video Tutorials
Tuesday Tutorials
Craft Stash Tutorials

Another pretty water coloured card is on offer in this weeks Friday Freebie and the die set that will be with it is Enhanced Pennant

This  little set has four parts to it and will look really good when added to your own designs

The card is water coloured with Distress Inks and the flowers blend with the colour scheme

If this is a card that you would like to have then all you need to do is leave me a comment at the end of this post.

You know the rules by now and the main one is to come back and check if it is your name in tomorrows blog post as the winner

More tomorrow ...

Hugs xx


July 01, 2016

Friday Freebie - Card & Die 1

Hi Everybody,

Every Friday I have given away one of the cards that I make and this week is no exception

The difference is that for the whole of July I will will be giving away a Celebrations die with each card

You will be able to add some pretty embellishments to your cards with any of the dies that will be on offer.

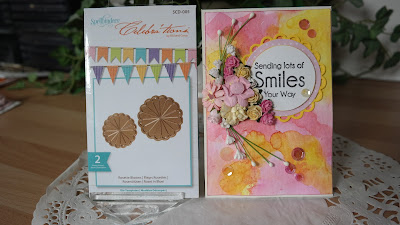
This first one is the Rosette Blooms and there are two dies in this set. The card has been water coloured with Distress Inks in one of my favorite colour combinations of yellow and pink.

So that is five Fridays with the chance to win a card and a Spellbinders die each week and all you need to do is leave me a comment at the end of the post.

Don't forget to come back in the morning and check if it is YOU

More tomorrow ...

Hugs xx


June 16, 2016

Bokeh Effect Card

Hi Everybody,

Todays little card is created with water colours and this is the Bokeh Effect.

Bokeh simply means blurred and it is a term used in photography when the light is blurred in a photograph

It is really easy to do and I have a video on  YouTube  that will show you how I made this card

I hope you will pop over to view it and then try this for yourself in different colours to vary the look.  And you will never get two that look the same no matter how hard you try

Bokeh Effect Card  can be done with any watercolours that you have and you are sure to like the result.  It will be trial and error for you until you find a really white ink that stays white as you stamp it.

The best one for me is the Colour Box Pigment Archival Ink called Frost White.

It is really juicy and great for heat embossing with as it stays wet for a long time.

So be careful you don't smudge it once you have used it  ... maybe dry it with your heat tool before you move onto the next step.

More tomorrow ...

Hugs xx


June 09, 2016

Brusho Flowers ...

Hi Everybody,

The video on YouTube today is once again using the Brusho Crystal Colours.

This one is simply called Brusho Flower and for this I have used a stamp and die set from Heartfelt Creations

This particular set has been around for quite some time but it is available on Amazon and the link is below the blog post

I have layered all the different sized petals together to create a really full flower and then added a little glitter ball from WOC to the centre.

It blends well with the diamante flourish from Want2Scrap  and the card is quite pretty. The addition of some Guipure lace  from Wild Orchid Crafts adds that extra touch and I used very little of it ... so a metre goes a long way

More tomorrow ...

Hugs xx