Beautiful Card Designs Made Easy

December 23, 2017

Card & Gift Winner ...

Hi Everybody,

A really quick post today as I have lots to do before the big day.  I did all my shopping yesterday but you can sign your name in the dust in my house and so to get that in order is the main task for today.

But the draw for a winner has been chosen at random to receive the card and gift from yesterday. It was the lovely nesting Family Ties dolls and sentiments.  The name chosen is you ...

Maggie Gardner

please will you email me your postal address to 
christina@card-making-magic.com
and they will be on their way to you straight away.

I hope you will put them to good use and please let me know when you have them safely.

More tomorrow ...

Hugs xx


December 22, 2017

Friday Freebie - Family Ties

Hi Everybody,

This little stamp and die set came free with Simply Cards and Papercraft 164 and was really popular.

It is one that can be used all year round and for many occasions and I had a lot of fun creating, from card, dolls that nested inside each other

Here is the video to show you how I did that 

I am offering you the chance to win the gift of dies and stamps along with the card I made using it.  And all you need to do is leave me a comment if you would like it

From those comments a name will be drawn and the winner announced in tomorrows blog post.
You will have 72 hours in which to claim it but if you know you are going away and won't be here to claim it then PLEASE don't add your name 

And only add your comment once please ... they will not show up until they have been moderated and duplicate entries will be removed  that keeps it fair for everybody

More tomorrow ...

Hugs xx

December 21, 2017

Being Creative ...

Hi Everybody,

Today I am using up all the little left over die cuts that I have sitting around in my craft room and making four cards with them.

 These are all extra pieces that are left over from making cards with my own collection and I cannot throw them away.

So a video as in order to show you how I used them all up and made a lovely background to go with them all.

The video is here for you to view
and  these are just two of the cards.

I hope you will have time to watch in this busy run up to Christmas and it's not long I promise you.

Just enough time to have a brew and relax for a little bit

More tomorrow ...

Hugs xx


December 20, 2017

Bumper magazine freebies ...

Hi Everybody,

This months issue of Die Cutting Essentials 32 is a bumper issue of goodies just for you.

Not only do you get the free gift of a seven piece Woodland Friends die set but there are also stamps with it too. They can help you to make cards like the one on the right.

You also have the opportunity to download some woodland themed papers and I have used them on the featured card

Then on page three of the magazine you can choose one of the four dies on offer and all you need to do is pay the postage of £2.49

There are three sentiment dies to choose from in that offer and they would make an excellent accompaniment to any design.

The video for this gift is here for you to view and in it I make a Shaker Card ...

It's not a long video and I hope that you enjoy it.
The magazine will be on  sale tomorrow the  21st December 

More tomorrow ...

Hugs xx

December 19, 2017

Tuesday Tutorial - Layered Butterflies

Hi Everybody,

For today's card I am using the Layered Butterflies from my own "Christina Collection" that is available from Craft Stash.  I have used Teal and Pink with a White base for my design and the ribbon is from my bits & bobs
Supplies Used:
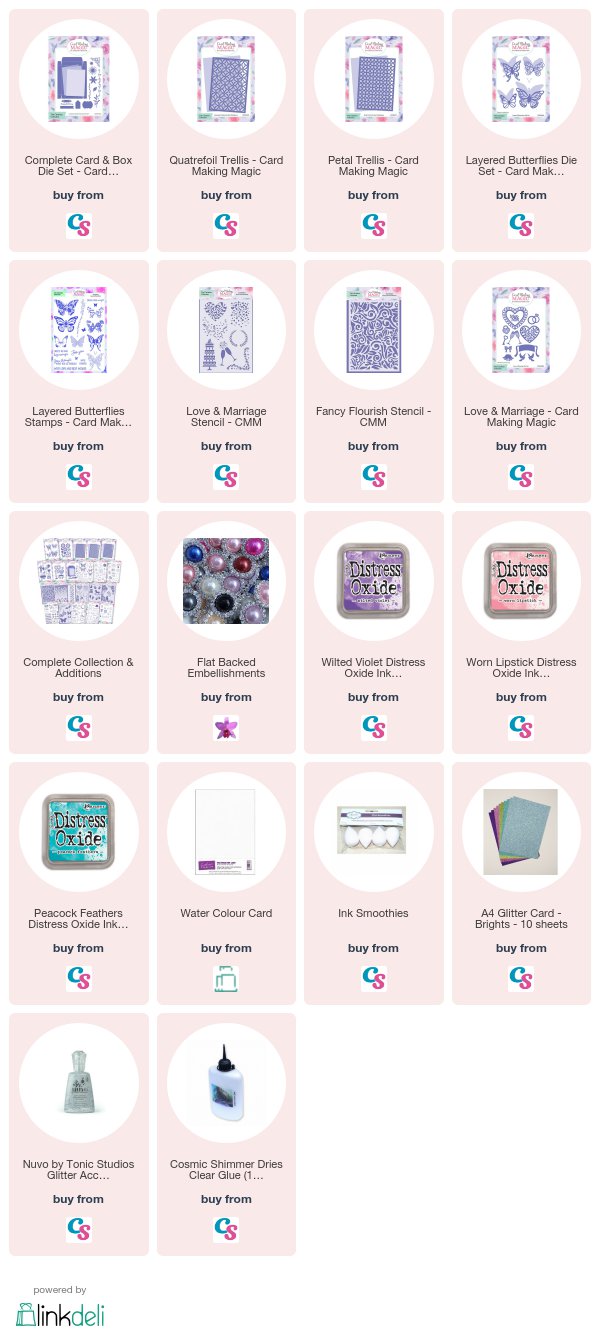
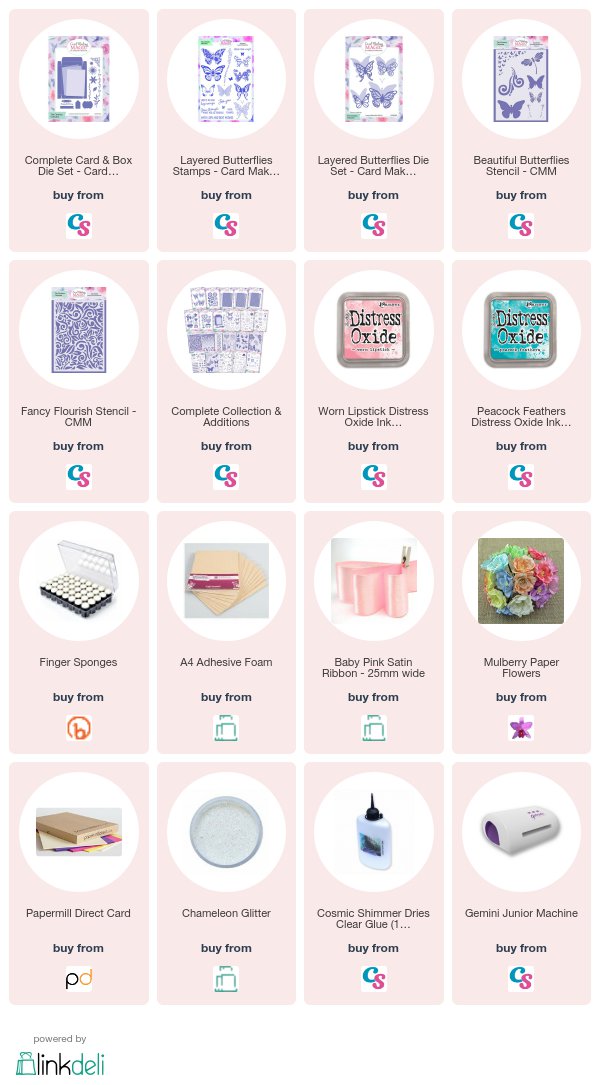
  • Complete Card & Box dies set
  • Layered Butterflies Dies
  • Layered Butterflies Stamps
  • Layered Butterflies Stencils
  • Fancy Flourish Stencil
  • Cosmic Shimmer dries clear Glue
  • Foam sheets
  • Distress Oxide Inks - Peacock Feathers & Worn Lipstick
  • Pink ribbon
  • 10mm roses from Wild Orchid Crafts 
Instructions:
Create a top folded base in white by folding the A4 card in half and placing the three cutting edged die with the non cutting edge over the open ends and die cut.
Score one of them about half an inch down and add glue to this narrow strip.
Adhere the two pieces together to create the base
Cut another mat in white using the stitched edge die and this is the layer we are adding the design too
Hand cut another mat in teal to fit between these two layers
On the white mat randomly stencil the tiny butterflies in Peacock Feathers
Lightly Stencil the Fancy Flourish to one side
Using the largest butterfly stamp and the two inks add the pattern over the card leaving some to overhang. Add to the teal mat once the ink is dry and wrap these layers with pink ribbon
Cut in Teal and Pink the other elements that you need and layer up the butterflies gluing along the body line only to allow the wings to be free.
I decided to leave out the two small tags and I cut two of the larger labels in White and Teal 
I cut the Teal one in half and created a shadow around the sentiment
The butterflies are dressed with tiny 10mm pink roses and they are then glittered for extra sparkle
This could be for any occasion by simply changing the sentiment

More tomorrow ...

Hugs xx