Beautiful Card Designs Made Easy

July 29, 2021

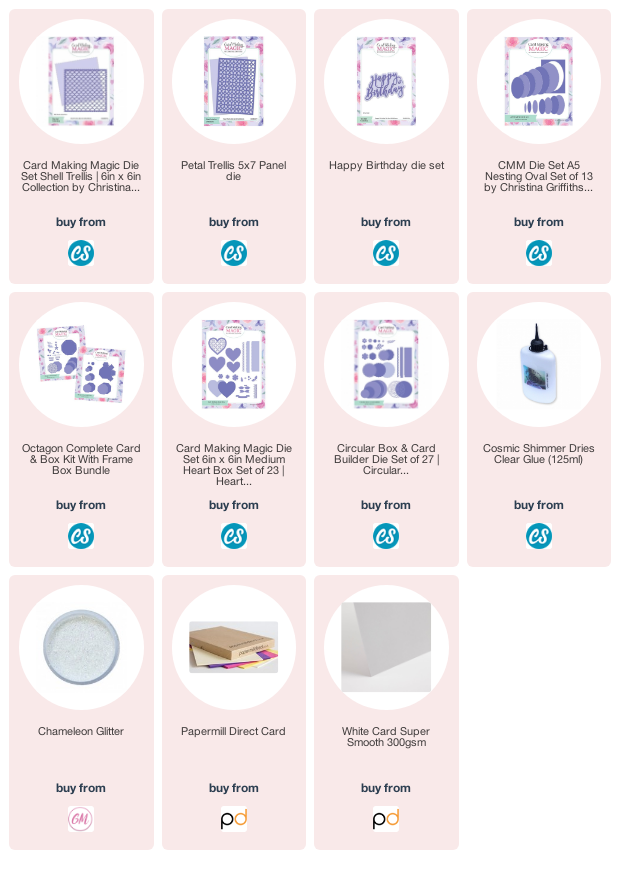
Layered Background with die cuts

Hi Everybody

I always want to get more from my dies and I look at them carefully to see what they will offer me. The more they will do for me the better the value.

If you look carefully at the background in the circle of this card you will see the pretty layered effect that has been produced. 

I have created this by simply cutting the same day several times in different colours and layering them together in an off set pattern. 

There are other looks that can be achieved with dies like this but this is the easy way to do it, and you may like to try this for yourself .

The video will show you how I made four cards using this technique and each one is different but just as effective in its look. 


One is a variation on the Panel Card and I have simply used a heart shape to span the front with the trellis pattern inside the heart.

 It looks gorgeous and is created in the same way as the other Panel Cards I showed you a few days ago. I hope you like the effect and enjoy the video.

More tomorrow ...

Hugs xx


July 28, 2021

Spring Summer Stamp & Die Set

Hi Everybody,

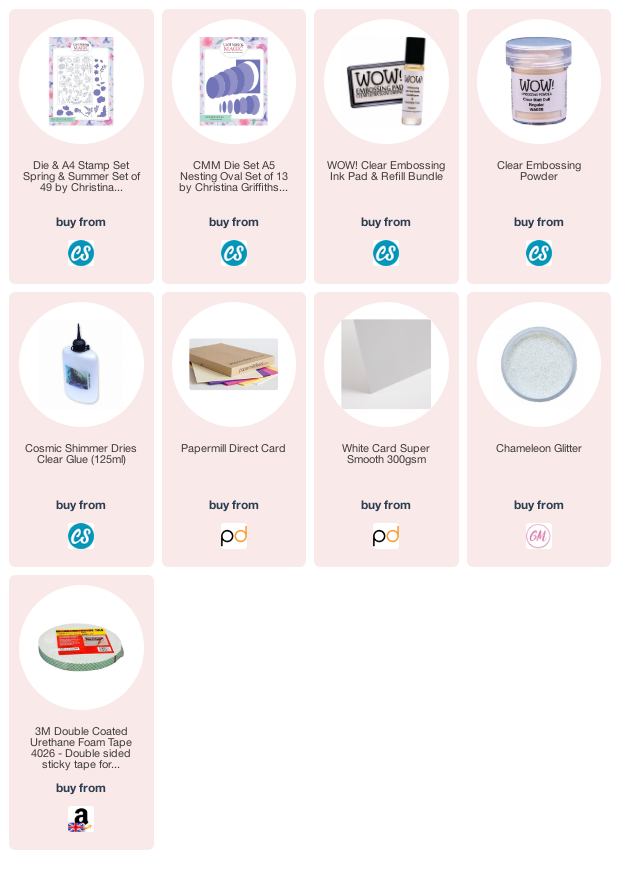
These two cards have been created using the Spring Summer Stamp & Die Set and I heat embossed the flowers with clear powder.

I coloured them with alcohol markers and then used the dies to cut them out. I had to fussy cut some of them and they give a really pretty effect.

The background has been inked with Distress Oxides and then I have used a text stamp over the top in black ink and heat embossed that with clear powder

I arranged the flowers on the card front, and popped up some of them with foam tape to give height. I tucked in some of the die cut leaves behind.

The flowers centres have had some glitter sprinkled into the centres and I have added black self adhesive pearls around them as an added extra. The sentiment is a die cut glossy black card

For this card I have used a new stencil, that will be coming soon, and some texture paste to create the trellis look  It has been added to a Gelli Plate background

I used the Nesting Ovals to create my frame and I added this to the card with foam tape around the edges.

The flowers have been coloured red with markers.  
and they have been added to the frame with foam tape also 

The sentiments are some that I had lying on my desk from a previous card and I added those along the bottom of the oval again with foam tape.

The little butterfly clinging to the frame is from the stamp set and I think he adds the finishing touch.

More tomorrow ...
Hugs xx

July 27, 2021

Birthday Wishes

Hi Everybody,

Now this photo definitely does not show up the glitter card that I have used on the background and it is a beautiful bronze colour that really sparkles.

This is a 5x7 card on a white base and the die that I have used is the Rectangles Perfect Panels die set from Card Making Magic. I cut the rose filigree panel four times and layered three of them together. 

I added them to some silver mirror card and then coloured in the flowers and the leaves through the pattern in the card. The silver shines though the colour and looks very pretty. 

The fourth panel was added to the top of these to cover up any marks outside the lines and then the whole panel is layered on top of the glitter card.

I cut the sentiment four times, three in white and the fourth one in black glossy card and added that to the front also. It doesn't need any further embellishment as the glitter card says enough. 

More tomorrow ...

Hugs xx 

July 26, 2021

Rainbow Butterflies

Hi Everybody,

This pretty card is a 5x7 and it is created with one of the dies from the original Card Making Magic Collections

It is the Butterfly Border Die Set and it comes in three separate pieces. The main butterfly section and the other two will help you to create the border to whatever width you would like and whichever side of the card too.

For my creation I have just used the main section and I have cut it four times in white card and layered them together. 

The final layer has been inked with Distress Oxides  in rainbow colours and then cut out with the same die and added to the top of the other layers. 

I have added them to the top of an embossed panel and then glued all of it to my base card. The embossed panel doesn't show up very well in the photo but it is there. 

I have dotted some rainbow sequins around the butterflies as  a finishing touch. 
They came in a box with separate compartments for each colour ... that is until I dropped it on the floor and now they are all mixed up.!!! 
 I don't have the patience to stand and sort them all out again and so they can just stay mixed up. 

More tomorrow ...

Hugs xx
 

July 25, 2021

Ruby Update

 Hello Everyone,

Are you enjoying all this hot weather ??  I can't say that I am, it is far too hot for me. 

But my mum takes me out early in the day or later  to avoid the heat and that is much better for me.

 We always take lots of water with us so that I can have a little drink every so often

The other week when we went to Lytham we saw a family of ducks on the water and I was really quiet so as not to frighten them. 

Well today we saw a family of  Teddy Bears in their rowing boat and they where having a lovely time cruising around on the water.

Lots of people where stood around watching them row along and every so often the little one at the back would wave. I barked to say hello, and everybody laughed at my greeting. 

I really wanted to get into the water with them,  coz you know I love to swim. But my mum wouldn't let me  jump in. There was another little black fella there and he wanted to get in as well and his mum wouldn't let him either.

Anyway once we get home I can have a snooze. I have a Cool Mat and it is lovely to lie on that for a while until tea time and then I can go for another little jaunt with my mum.

Bye for now

Love Ruby xx