Beautiful Card Designs Made Easy

March 14, 2025

Friday Freebie - Festive Florals

 Hi Everybody,

This beautiful stamp and die set will create flowers for your cards all year round if you make them in different colours, even if it is called Festive Florals

Add them to cards, boxes, picture frames or any other project you are making and they will look fabulous. 

It is from the range designed by Chloe Endean and there are some sentiment included in the A4 stamp set.

The magazine is full of ideas and inspiration that you may like to try for yourself  so it will be time for a cuppa and a biscuit or three once the gift arrives.

Would you like to have this in your crafting stash ???? 
Then all you need to do is leave me a comment at the end of the post with your FULL NAME

It has to be your full name in case there are two, or more, people with the same first name.
You will also need to come back and check if your name is shown as the winner over the weekend.
I will get it posted to you straight away if you are the winner and it doesn't matter where you live.

Bye for now ...

Hugs xx


March 13, 2025

Making use of your Nesting Dies

 Hi Everybody,

Nesting dies are such a useful addition to anybody's crafting collection as they and do so much, and many die sets have a lot of dies in them.

 You can create mats of different dimensions to fit the front of your design and lots of frames of lots to ad to your stamped images.

I have used a really old Pennant die set from Spellbinders simply because it is an unusual shape and will illustrate my point perfectly.

So from this set I have chosen the dies that will create the basic pennant and there are four that I need.


Will show you how these four dies will make twelve pieces that I can add to my cards in different ways by increasing or decreasing the size of the die cut.

I have made four cards but each one uses the pennants with subtle changes and you can do this with ANY nesting dies that you may have.

I have used squares, ovals and circles as well as odd shapes in the past and they have all turned out really well.

Here is another video using the same technique and this video is eleven years old.


I hope you will enjoy both videos and will also give this a try for your self. It will help you to give a completely different look to your cads,

Bye for now  ...

Hugs xx 

March 12, 2025

More Handmade Roses.

Hi Everybody,

This card has used the rolled flowers again but this time they are in a pale yellow. 

For the smaller flowers I inked with Spiced Marmalade and the edged them with the gold wax.

The larger Roses have been inked with Mustard Seed and  gold wax and to the centre of these flowers I have added a pearl .

The background paper has been created using the same colours as yesterdays card but for this I have added them in smooshing way with a sponge.

I once did the sponging technique in blues and turquoises in my bathroom and it was lovely.

 It was like sitting underwater when I as in the bath. It stayed like that for a couple of years until the next time I decorated and I loved it.

Anyway back to this card ... I have again added some of the large leaves, as well as some from the Rose Flourish die set but I also added some dried flowers and stems that I got from AnnaMarie Designs years ago.

There is also the addition of pine cones in the flowers but I don.t think you can fully pick them out.

It is a very pretty card and although made un a very similar way to yesterdays dosing it looks totally different.

Bye for now ...

Hugs xx  


March 11, 2025

Handmade Roses

Hi Everybody,

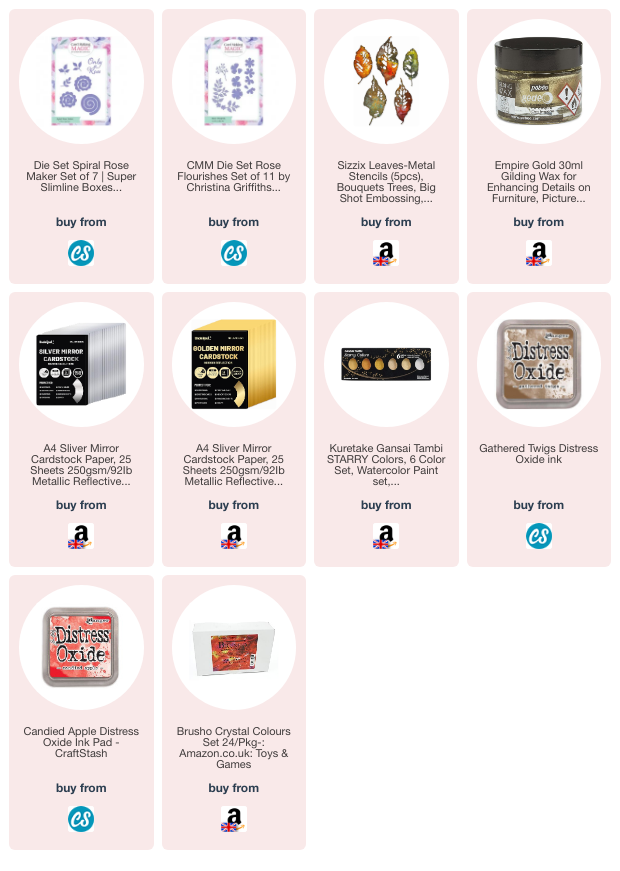
For this card I have used a really old die that produces spiral roses,  and they are a beautiful finishing touch to my cards.

I cut these from two shades of red card and then inked the inside portion of the die cut with a darker red before I rolled it up.

Once I had it glued down I went over the petals with some gold gilding wax and that added a lovely sparkle to the blooms.

I used another old die to give me the leaves I needed and I coloured them with Brushos,  they too have the addition of gold wax.

The background paper is hand made and for that I used Candied Apple and Gathered Twigs and then splattered the paper with gold paint.

I added a gold leaf sprig  from the Rose Flourishes die set to the display and I am really pleased with the look of this card.

Making your own flowers can save a lot of money as the shop bought ones can work out quite costly and there are many many videos on YouTube on how to make them from myself and other creators.

Bye for now ...

Hugs xx
 

March 10, 2025

Playtime Cards

 Hi Everybody

Both of these cards are A6 size with the fold at the top and both have flowers one them that are made from handmade paper design. using Distress Oxides.

I have used up any bit and pieces I could find on my desktop and they are items that are left over from other projects.

The leaves are cut from an old Creative Expressions die set and I hand coloured them also.

The sentiment strips have been sat in a tub just waiting to be used and I have added them with thin strips of foam tape to raise them up.

Both cards have been splattered in gold and the one to the right is added to a gold edged oval shape

The card to the left has an embossed panel underneath the flowers and that was an old folder called Hedgehog Maze from Couture Creations.

But it is so old that I don't know if it will be available anymore so just use any that you already have in your collections.

This is just an idea that you may like to try so that applies to any part of this card ... flowers, leaves, folders, sentiments or splatters simply use what you have already got, it doesn't have to be the same as mine

Bye for now ...

Hugs xx