Beautiful Card Designs Made Easy

July 03, 2017

Oh! Hello ...

Hi Everybody,

This fun card was made a while ago and uses one of the magazine freebies from 2016.

I took my inspiration for this design from my friend Christine Smith over at Crafti Potential as she has some of the most fabulous fun cards that are easy to make

I made it into a shaker card and added sequins and glitter to the jar and it made a novel birthday card to send to male or female and any age group

The Hello has had Glossy Accents added to give it that shine to the two tone look

It is a 5x7 card but the jar would fit onto a smaller design if you preferred

More tomorrow ...

Hugs xx


July 01, 2017

Card Winner ...

Hi Everybody,

It's weekend again and they come round so fast and are gone in a flash. Can you believe we are already at July.  So with out any more preamble here is the name of the winner of the Shabby Chic card from yesterday. It seems that many of you liked the owl that I added,

The name drawn at random today is you ...

Elaine

would you email me please your postal address to
christina@card-making-magic.com
and the card will be on its way to you.

There is so much going on with this card and I hope you will like it when it arrives

More tomorrow...

Hugs xx

June 30, 2017

Friday Freebie 25 - Shabby Chic

Hi Everybody,

Pretty in Blue for this card teamed with coffee flowers. I have also added metal to this one in the shape of leave and the owl

There is lace along the bottom and sparkle to the flowers and I will leave it to you to discover what else is on there if you are the winner

It is a 5x7  card and the inside is lined on this one and I don't think you will be disappointed with it if you should be the winner

If you would like to have this card then just leave me a comment at the end of the post ... but don't forget to come back and check for your name tomorrow

And if you wanted to become a follower than add your name to the  "Lovely Followers"  box on the right sidebar or follow me on  Bloglovin in the right hand sidebar

Please come back and check regularly as there is always something going on

More tomorrow  ...

Hugs xx

June 28, 2017

Papercraft Essentials 148 - Sunflower Dreams

Hi Everybody,

Papercraft Essentials 148 will be in the shops tomorrow and with it there is this lovely gift named Sunflower Dreams

I decided not to make my flowers yellow but to try something different to show you how versatile this stamp is

For this card I have gone for a Distress ink background and turquoise flowers and I quite like the effect. The video is here for you to view ... PE148 Sunflower Dreams

As well as the stamps and the embossing folder you can also download some papers  to save you time

I printed them off onto a 160 gsm paper as this is not flimsy and will give you a good look.

For this card I used only the papers and the labels from the paper stack.

On the revers of the packaging there is a seed packet template so that you can cut out any that you need to add a gift card or money too ... or even a packet of seeds.

Have fun as you play with this useful gift from

More tomorrow ...

Hugs xx

June 27, 2017

Tuesday Tutorial - Combining Spellbinders

Hi Everybody,

For todays card I am going back to some of the older dies that you may have in your collection and I am combining several sets to produce my design.  I have used a pretty lilac and white colour scheme and added in the flowers.
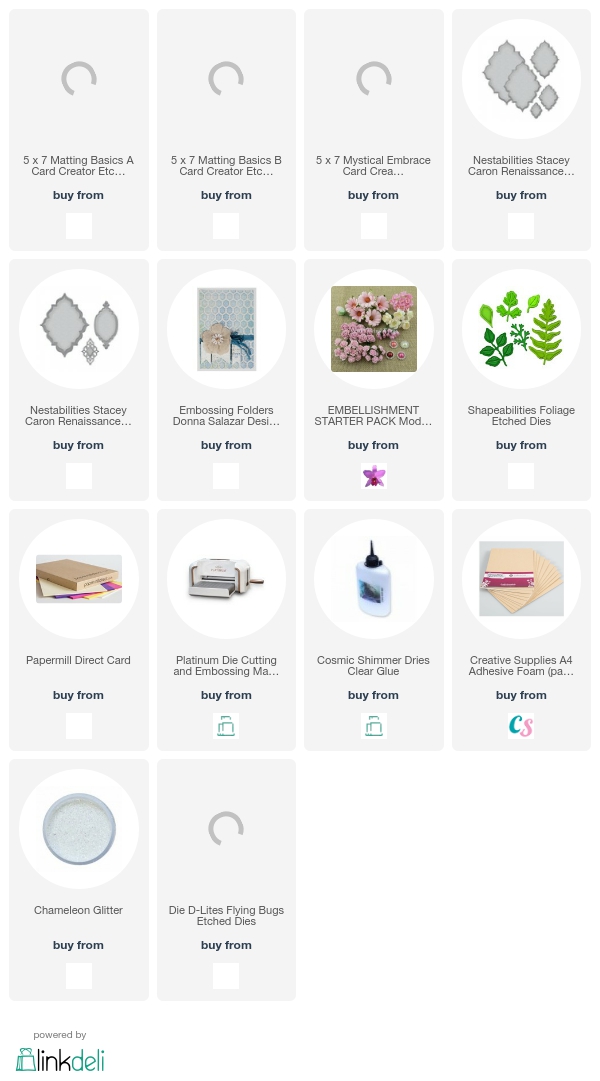
Spellbinders Supplies:
  • S6-001 5x7 Matting Basics A
  • S6-002 5x7 Matting Basics B
  • S6-012 5x7 Mystical Embrace
  • S4-647 Labels 56 Deco Elements
  • S4-646 Labels 56
  • S4-328 Foliage
  • SEL-009 Chicken Wire EF
  • S1-026 Flying Bugs
  • PL-001 Platinum Die Cutting Machine
Other Supplies:
  • Flowers from Wild Orchid Crafts
  • Glitter from Glitter Magic
  • Card from Papermill Direct
Instructions:
With die #7 from Matting Basics A cut two pieces in white card to create the base
With die #7 from Matting Basic B cut a layer in lilac and emboss this layer with a 5x7 folder
With the largest die in Mystical Embrace cut a layer in white
With die #3 from the Deco Elements cut one in white
And with die #4 from the [plain label;s cut one more in white and emboss the top layer
Stamp and emboss a sentiment
Cut tow butterflies from Flying Bugs
Cut several large leaves from Foliage
Select the flowers to match your colour scheme. 
I have used from the left ...
Roses in two sizes, Rosebuds, Cherry Blossom and Lily
Add the layers to the card with foam pads between the layers
Arrange the flowers and sprinkle with glitter
Add pearls as preferred

More tomorrow ...

Hugs xx