Beautiful Card Designs Made Easy

Showing posts with label Mei Flower. Show all posts

January 12, 2018

Launch Day of Nesting Dies ...

Hi Everybody,

I am so happy to announce that the third wave of
  Dies, Stamps and now Embossing Folders
from Card Making Magic is being launched today on the Craft Stash website and you can find me on their Facebook Live page at 10 am

I am really excited about this release as they will make such a difference to any designs especially the romantic floral cards that I love to make

And so I have the first video featuring the Nesting Ovals to share with you today and the card is really lovely and I am so pleased with the result

I will be making many more using my collection and there's still lots more to come in further waves

So I hope you will stay with me to share the wonderful news as it happens and watch my collection continue to grow 


The list below will link you to the new wave but be sure to check out the rest as it is growing into a large complete collection to cover all your 5x7" card and box needs.
They are available on the Craft Stash website now.

 The embossing folders are a new line of  5x7" designs and they are lovely.
 I am absolutely delighted with everything and I hope you will be too.
Come and join us at 10 am Craft Stash Facebook Live

More tomorrow ...

Hugs xx

November 14, 2017

Tuesday Tutorial - Spellbinders Heart Leaf Frame

Hi Everybody,

This pretty card is created by simply folding an A4 sheet in half and then cutting in half. 
It will produce two cards for you to decorate as you wish. 
But it fits perfectly the Spellbinders Heart Leaf Frame designed by Marisa Job. 
So a quick and easy card for today

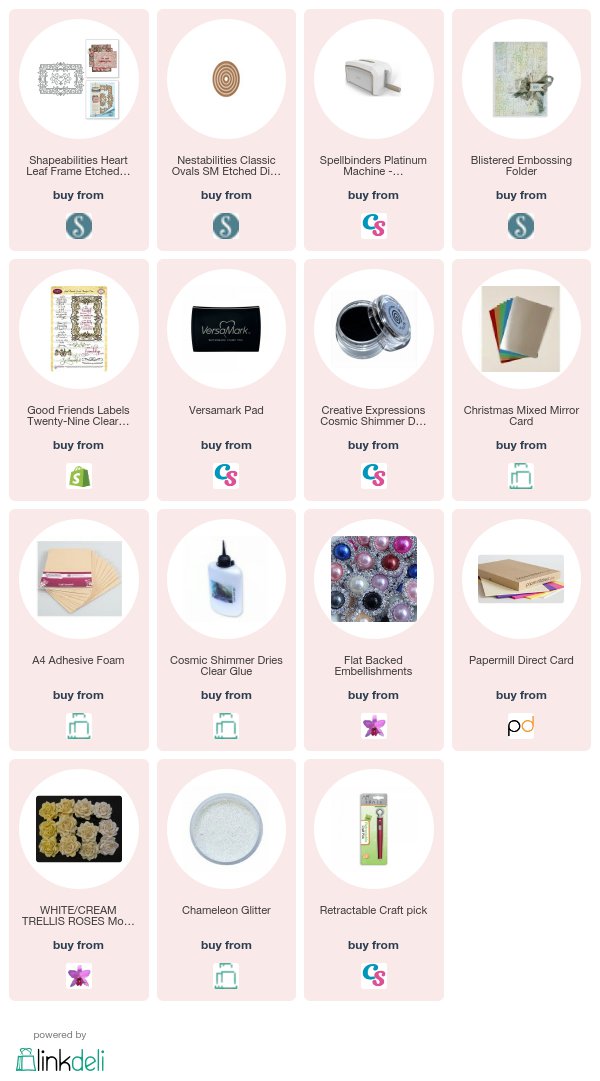
Spellbinders Supplies:

  • Heart Leaf Frame
  • Blistered Embossing Folder
  • Classic Ovals
Other Supplies:
  • Card from Papermill Direct
  • Flowers from Wild orchid Craft
  • Glitter from Glitter Magic
  • Ribbon from Mei Flower
  • Gold card from Craft Stash
Instructions:
Fold an A4 piece of white card in half along the short side and then cut in half to produce two tent fold cards
Cut another slightly smaller layer to leave a small border around the edges and emboss this piece
With bright gold card cut the Frame die and if you care fully position the die into the centre of a 5x7  panel then you will get all three pieces from the die as shown above.
I will be using the two pieces to the right but the other one will be kept for another project
Savvy Crafting !!
Add the filigree piece to the embossed panel. 
Add the smallest solid piece with foam pads underneath to the centre of the card. 
Wrap with ribbon around the layers before adding to the base card
Stamp and emboss the sentiment of your choice and cut with the oval to fit the verse
Add to the centre with foam pads
Dress with flowers, dot with glue and sprinkle with glitter.
Adhere the bow and the dazzler to cover the knot.

Your comments please ...

Craft Stash are asking for your first thoughts on my new collection that was launched on the 20th October, If you bought some of it would you please consider taking part in the is survey 

More tomorrow ...

Hugs xx

October 24, 2017

Trellis Weaving

Hi Everybody,

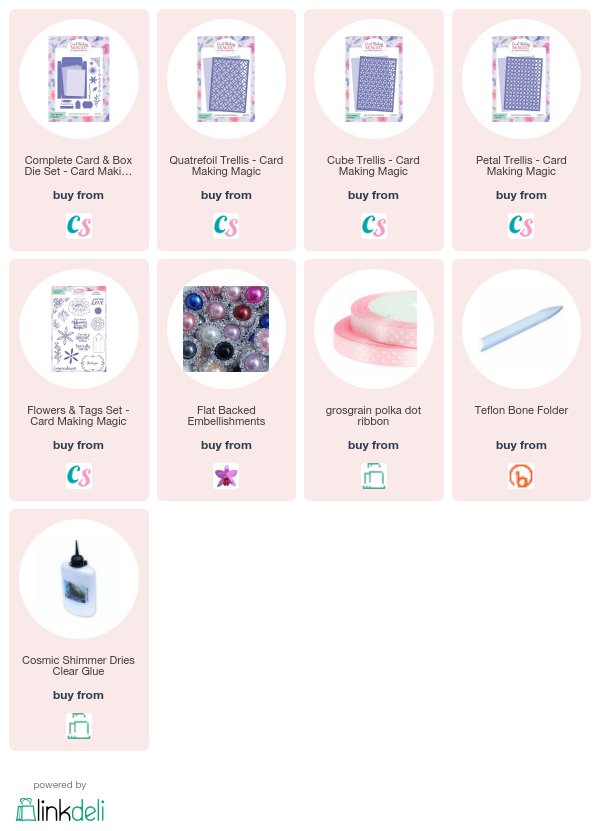
This pretty card has used the Petals Trellis Insert from the 
Card Making Magic - "Christina Collection"

For this one I have added some yellow ribbon through the slots and it creates a look that is different for your own cards.

It is easy to do and the effect can be quite luxurious
depending on the ribbon or thread that you use.

In the video   Trellis Inserts    I have shown you four examples weaving the ribbon in various directions.

I have altered the colours too so that each one looks unique

The "Christina Collection" is available exclusively with  Craft Stash

If you are an existing customer and you add the code WOWCMM10 then you will get a 10% discount at the checkout


If you are a brand new customer then you need to leave your email address at the Craft Stash website.

They will email you a code that will give you a big 20% discount off your first order ... bringing the whole collection to a bargain price but you need to be quick as this offer is closing today

More tomorrow ...

Hugs xx


October 17, 2017

Tuesday Tutorial - Rouge Royale

Hi Everybody,

Glitter cards is used on today's card for a really sparkly effect that was quick and easy to make. The addition of the flowers takes it to another level and it would suit many occasions
Spellbinders Supplies:

  • Rouge Royale Flourish
  • Standard Ovals
  • Standard Circles
  • Blistered Embossing Folder
  • 6x6 Matting Basics A and B
  • Platinum Die Cutting Machine
Other Supplies:
  • Glitter card
  • Flowers
  • White Ribbon
  • Button from my stash
  • Birthday Stamp
Instructions:
With die #8 Matting basics A cut two pieces in white to create the base card.
With die#8 Matting Basics B cut another in white and emboss in the folder ... moving it along as needed
(Die #1 is always the smallest)
From the Glitter card cut the largest Flourish die
Cut a white oval from the largest and the next die down in Glitter card
Stamp the sentiment and cut with a circle
Add to the card front as shown and wrap with ribbon wrap with white ribbon before adding to the base card.
Add the other elements with foam pads underneath adding a little extra wet glue when adding the layer to the Glitter Card
Choose the flowers. I have used from left to right:
Roses in two colours and two sizes ... Anenome ... Tulips in two shades
I added them with a glue gun.
Dot with wet glue and sprinkle with glitter 
I added a bow and placed a button over the knot 

More tomorrow ...

Hugs xx


September 12, 2017

Tuesday Tutorial - Lunette Arched Borders

Hi Everybody,

Today's card is using another die from Becca Feekens Venice Lace Collection.
 This one is called Lunette Arched Border.   The links are all at the end of the post.
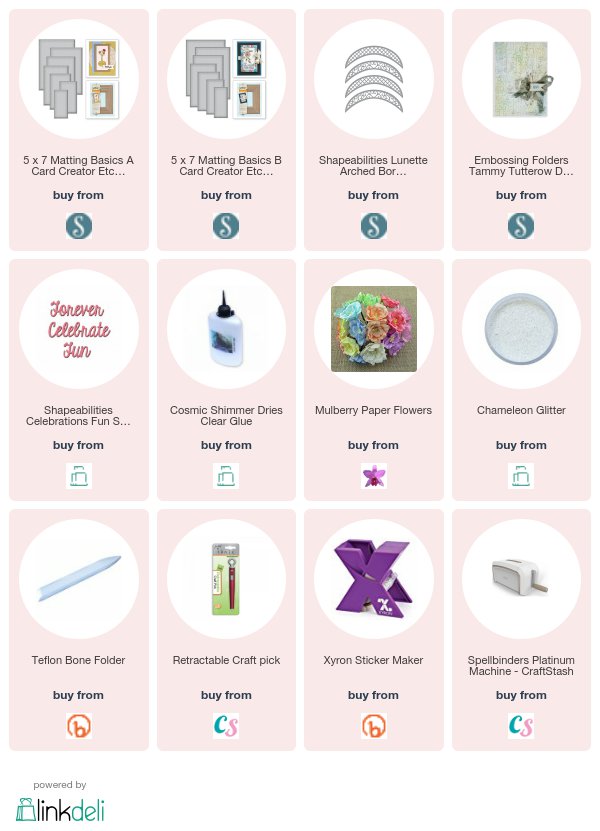
Spellbinders Supplies:
  • 5x7 Matting Basics A
  • 5x7 Matting Basics B
  • Lunette Arched Borders
  • Shapeabilities Sentiments
  • Platinum Die Cutting Machine
  • Blistered Embossing Folder
Other Supplies:
  • Flowers from Wild Orchid Crafts
  • Glitter from glitter Magic
  • Ribbon from Mei Flower
  • Card from Papermill Direct
Instructions:
With the largest die from Matting Basics A cut two panels in white and create the base card
With the largest die from Matting Basics B cut another in turquoise
Use the 5x7 Blistered Embossing Folder to add texture to the card
With one of the patterned dies and the outer cutting edge from the Lunette Arched Borders cut three panels in various shades of turquoise moving the dies up each piece as you go.
Layer them all together and wrap with ribbon around the top
Add them to the embossed layer
You can have these arches facing upwards or down the choice is yours
I added mine to face upwards
The flower selection is from the left ...
Roses, Carnations, Anemone, Tulips added with hot glue gun.
Dot with glue once added to the card and sprinkle with glitter
Add in the bow as you like.

More tomorrow ...

Hugs xx
July 11, 2017

Tuesday Tutorial - Imperial Square

Hi Everybody,

Todays card is really pretty in pink and white and shows the versatility of turning a square die into something other than it's intended. Use any embossing folder that you have to add some texture to the card.
Spellbinders Supplies:
  • S6-021 Imperial Square
  • S6-001 5x7 Matting Basics A
  • S6-002 5x7 Matting Baiscs B
  • S2-082 Happy Birthday 
  • SEL-006 Embossing Folder
  • PL-001 Platinum Machine 
Other Supplies:
  • Papermill Direct Card
  • Craft Stash Foam sheets
  • Cosmic Shimmer Glue
  • Mei Flower Ribbon
  • Wild Orchid Crafts Dazzler
Instructions:
With Matting Basics A die #7 cut two pieces in white for the base card
With Matting Basics B die #7 cut one piece in black
With die #6 from the A set  cut one in pink and emboss this piece in any folder that you have
With the largest die from Imperial Square cut two pieces in black and pink
Cut these two in half  trim to fit the front of the layers from the previous step
And layer them one on top of the other to leave a shadow effect
Add foam pads to the back of these panels and add to the embossed layers
Wrap with pink ribbon to cover the join and secure on the back of the card.
Add these layers to the base card
Cut  the corner pieces and the centre piece in white and add a corner to each side panel 
Ink through the die to the centre piece in pale pink

Add foam pads to the back 
Add at an angle to the centre of the card and add the Happy Birthday sentiment to the middle of the panel .
Add a bow with the same pink ribbon and place a centre piece to cover the knot.

More tomorrow ...

Hugs xx

June 23, 2017

Friday Freebie 24 - Shabby Chic

Hi Everybody,

Todays card is pink and green with lots of lace and sparkle added and the finished size is 5x7.

I have  used lots of Spellbinders to create this card and the background is Letterpressed with Distress Inks

There is a little verse that has been stamped and embossed and then coloured and surrounded with beautiful flowers

I still have many more shabby chic cards to give away over the next few weeks but if you would like this one then you need to leave me a comment at the end of the post

You will need to come back tomorrow to check if you have won and then you will have 72 hours in which to claim the card

More tomorrow ...

Hugs xx

May 24, 2017

Beautiful Backgrounds

Hi Everybody,

Todays card was shown in the video that I added last week using stencils that are available from Craft Stash

I really loved this little card once it was finished and it was very quick and easy to do.

The longest part was waiting for the embossing paste to dry ... and I left that overnight to make sure it was really dry.

I mixed Dusty Concord Distress Ink with my paste and added it to the card than dressed it up with my usual Flowers,  Ribbons and Pearls

The flowers and lace are from Wild Orchid Crafts  and the ribbon is from Mei Flower

All the layers are raised up with foam pads and that gives depth and interest to the card.

It is much prettier in the hand that the photo shows ... hope you like it

More tomorrow ...

Hugs xx

May 04, 2017

Papercraft Essentials 146 - Floral Wishes

Hi Everybody,

May is now with us and the days are getting warmer and this months Papercraft Essentials 146 will be in the shops today.

The free gift is Floral Wishes and consists of an embossing folder, stamp set and three small dies

On this card I have created a background with the flowers and leaves and enclosed them in an oval frame

This idea and others can be seen on the video Papercraft Essentials 146 - Floral Wishes

This is the card created in the video with a bow background in bright colours

Very easy to do and relaxing at the same time. Card making should be fun and this free gift will help you to enjoy the process.

The magazine itself is full of useful information and ideas on getting the look that you want.

There are lots more photos of cards created with the free gift so you will never be stuck for ways to use it

So get a cuppa and enjoy the read.


More tomorrow ...

Hugs xx


April 18, 2017

Tuesday Tutorial - Ornamental Doily

Hi Everybody,

Doilies are always lovely when added to your cards and this beautiful die from Spellbinders will create the perfect one for you every time.  I have simply used white card and added it to some dramatic background paper and I am really pleased with the effect
 Spellbinders Supplies:

Other Supplies:
  • Flowers from Wild Orchid Crafts
  • Ribbon from Mei Flower
  • Glitter from Glitter Magic
  • Card from Papermill Direct
  • Pink Dotty card from AnnaMarie Designs
Instructions:
With white card create a 15 cms base card and keep the fold at the top
With Pink Dotty card create a amt that is slightly smaller 
With plain pink card create a mat that is slightly smaller
With some dramatic card create another mat that is slightly smaller 
With both parts to the Ornamental Doily cut them in white card.
Stamp a sentiment onto the smaller piece and heat emboss in clear powder
Flat glue the Dotty card to the base and the dramatic card to the pink layer then wrap with ribbon.
Add foam pads to the back before adding these layers to the base layers
With foam pads under the Doily add this over the top of the ribbon
With foam pads under the sentiment layer add this to the Doily
The flowers I have used are from left to right:
Top row ... Roses in 10mm 15mm 20mm and two different colours
Chrysanthemum, Cosmos Daisy
Bottom row ... Rosebuds, Gypsophilia, Tulips 
Add to the right hand side of the card and dot with glue.
Sprinkle with Glitter for a sparkly effect 
Add the bow to the left of the Doily and add one small rose to the centre

More tomorrow ...

Hugs xx