Beautiful Card Designs Made Easy

Showing posts with label AnnaMarie Designs. Show all posts

February 19, 2024

Knitted Background Card

Hi Everybody,

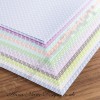
This is the card I bought at last weeks craft show and it is the knitted background from Anna Marie Designs.

This particular piece was the cover card in the front of the pack and rather than waste it I turned it into a card front instead.

It shows you all the colours that are in the actual pack and it is really petty card.

The flowers  and leaves  are cut from 300 gsm smooth white and then coloured with Distress Oxide Inks.

The larger ones are cut from silver card and tucked behind

The sentiment I have had for some time and they are also from a craft show that I went to.


This card is using a larger portion of the card and this time it is a A4 size.

I chose the grey from the pack and the hearts are some that I did from Acetate and the
technique shown  in the video above

The flowers and leaves are also cut from smooth white card and coloured with Distress Oxides

This link will take you to me website where there are nose photos of the same technique
Caught In Crystal Technique

I have added some white splattering to this card and a couple of butterflies for effect.

I really like this knitted card and the finish is suitable for male or female cards.
 
More tomorrow  ,,,

Hugs xx
August 29, 2019

Arteza Coloured Tilda & Edwin

Hi Everybody,

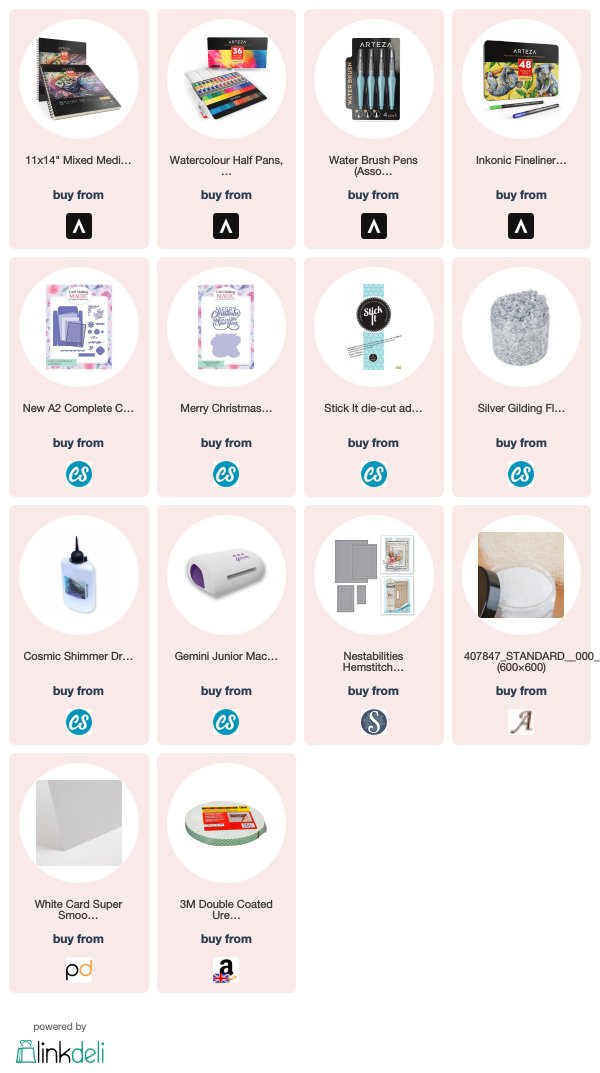
Something a little more elaborate today but still using Arteza Water Colours in the 36 Half Pan set.

The stamp is very old and I have masked it to place the trees around the couple.

I have tried to find a link to this stamp from Magnolia Stamps without success so it has probably been discontinued by now.

I used a white gel pen to add pattern to their clothes ... spots for her and stripes for him.

The tiny snowballs have been added with dots of  Dries Clear Glue and they are from AnnaMarie Designs

They are very tiny and fly away  and there are loads in a pot, so use a tray to catch them all if you use them, and they will last you a long time.

The sentiment is snipped from the new die from Card Making Magic and added to a snowflake covered with silver gilding flakes.

I have edged it all with a black Arteza fine liner to make them black stand out again, as it became a bit lost in the process of colouring

More tomorrow ...

Hugs xx

November 20, 2017

Silver Wedding Anniversary Card

Hi Everybody,

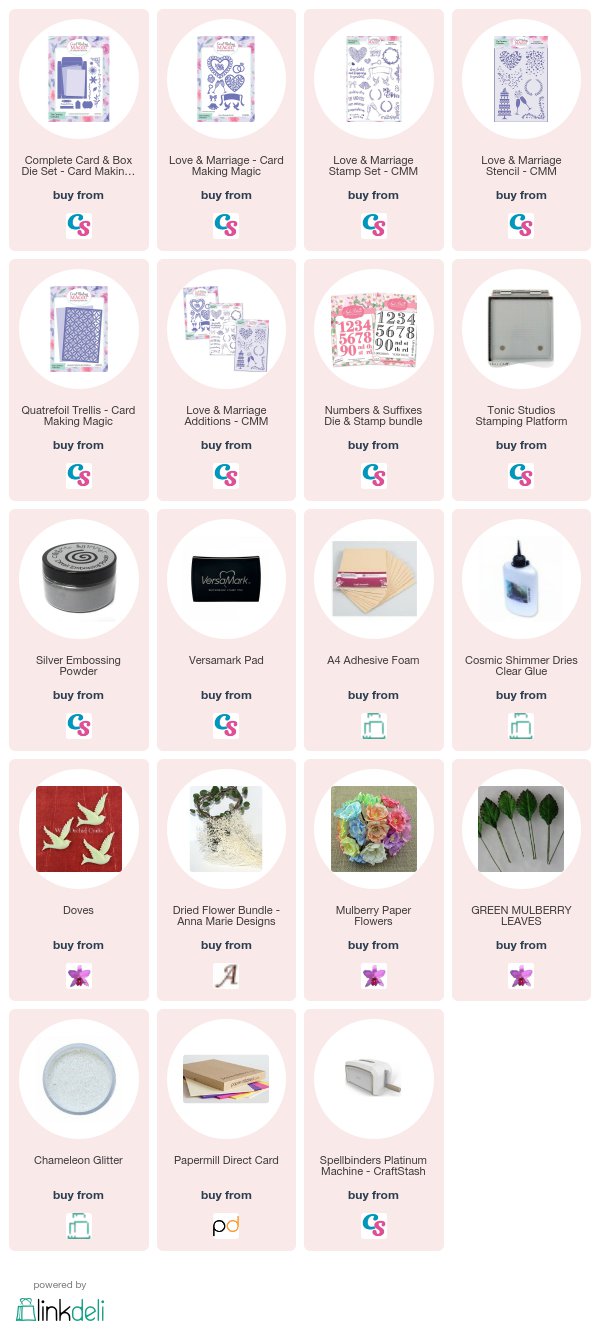
This beautiful card was made with the Love & Marriage Die Set  that is part of the New Additions to the Christina Collection available from Craft Stash

I have made it in silver and white and it is much better in the hand then the photo shows

My flowers, Leaves and the Dove are all from Wild Orchid Crafts and they have been sparkled up with glitter from Glitter Magic

The fibres that are on both card and box are from AnnaMarie designs and they are some that I use often on my Shabby Chic Cards.

It has its own matching box made with the Complete Card & Box Die Set and I really enjoyed making this .... I just need someone to send it too !!

But with yesterdays card and the addition of the five stencilled cards to one box I am trying to show you just how versatile this new collection can be 

I hope you are enjoying it as much as I am and thanks for all your lovely comments

Moe tomorrow ...

Hugs xx


September 20, 2017

Papercraft Essentials 151

Hi Everybody,


This bumper issue of Papercraft Essentials will be on sale tomorrow and the paper pack that comes with it is lovely.

I used one of the scene sheets for my card here and added the other elements as I went along.

The video  .. Sending Christmas Wishes .. will show you what I did to make this one

It can be used all year round though so change the papers and give it some florals instead.

The postbox is really suitable for male cards too

The magazine will be in selected supermarkets and WHSmiths as well as direct from More Mags 

More tomorrow ...

Hugs xx

September 08, 2017

Friday Freebie 35 - Shabby Chic Owl

Hi Everybody,

This is a card that was offered weeks ago and the winner never came forward to claim it.
 It is a really pretty card filled with lots of metal work in the shape of the Owl and the leaves. 
There are a lot of dried grasses and sisal on this one and it is far better in the hand.
It is in shades of pale blue and autumn colours and so I am really hoping that someone will love it this time enough to give it a new home

If that is you then all you need to do is leave me a comment at the end of the post and from those comments a name will be chosen at random

You will need to come back and check if it is your name that is shown and then you have 72 hours in which to claim it .... otherwise I will have to offer it yet again !!

More tomorrow ...

Hugs xx

August 11, 2017

Friday Freebie 31 - Shabby Chic

Hi Everybody,

Here is another Shabby Chic card on offer and this one is a delicate pink and green colour scheme

It is done as  a birthday card but the wooden sentiment can always be removed if you wished.

The flowers cascade down the card and are around a little picture frame at the top.

The flowers have been glittered and are a mixture from
Wild Orchid Crafts

If this is a card that you would like to have then all you need to do is leave me a comment ... and then pop back over the weekend to see if it is your name listed as the winner

You will have 72 hours to claim the card so you will need to check as I have no way of chasing you up if you don't

Good luck everybody and you can enter whenever you like even if you have won one before.

More tomorrow ...

Hugs xx
June 20, 2017

Tuesday Tutorial - Fluer de Circle

Hi Everybody,

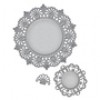
For todays card I have used one of the newer dies from Spellbinders. 
To create this look I have used a quality white card and then simply inked through the die with the card still in place to bring out the detail. This way I am sure that everything matches my desired colour scheme
Links to all the suppliers are now listed at the end of the blog post
Spellbinders Supplies:

  • S5-276 Fluer de Circle 
  • PL-001 Platinum Die Cutting Machine
Other Supplies:
  • Card from Papermill Direct
  • Distress Ink from Craft Stash (Lucky Clover)
  • Glitter from Glitter Magic
  • Dried flowers from Anna Marie Designs
  • Paper Flowers from Wold Orchid Crafts
  • Adhesives from Craft Stash
Instructions:

With die #3 from the Fluer de Circle cut one piece in white and ink through the die whilst the card is in place
Ink the solid centre with the same colour ink
Cut the filigree die in white and add the sentiment to the smaller centre part in the same colour ink
Create a card base to fit the Fluer de Circle
(All I did was fold in half an A4 white card and then cut to the size of the die cut panel)
Create a smaller layer in white and ink around the edges with the same colour as before
Create another smaller white panel and emboss this in any folder you have.
(Not a lot of this panel will be seen so you can skip this step if you prefer)
Flat glue the embossed panel on to the one with the inked edges 
Add pieces of foam pad under the filigree layer and add this to the card front making sure that when you add the sentiment panel the words will lie level
Use a double layer of foam under the sentiment 
I have used a mixture of dried flowers on the left and paper flowers on the right
Add the layers to the base card and dress with the flowers. I use a hot glue gun to keep everything in place. Dot with wet glue and sprinkle with glitter

More tomorrow ...

Hugs xx


April 18, 2017

Tuesday Tutorial - Ornamental Doily

Hi Everybody,

Doilies are always lovely when added to your cards and this beautiful die from Spellbinders will create the perfect one for you every time.  I have simply used white card and added it to some dramatic background paper and I am really pleased with the effect
 Spellbinders Supplies:

Other Supplies:
  • Flowers from Wild Orchid Crafts
  • Ribbon from Mei Flower
  • Glitter from Glitter Magic
  • Card from Papermill Direct
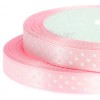
  • Pink Dotty card from AnnaMarie Designs
Instructions:
With white card create a 15 cms base card and keep the fold at the top
With Pink Dotty card create a amt that is slightly smaller 
With plain pink card create a mat that is slightly smaller
With some dramatic card create another mat that is slightly smaller 
With both parts to the Ornamental Doily cut them in white card.
Stamp a sentiment onto the smaller piece and heat emboss in clear powder
Flat glue the Dotty card to the base and the dramatic card to the pink layer then wrap with ribbon.
Add foam pads to the back before adding these layers to the base layers
With foam pads under the Doily add this over the top of the ribbon
With foam pads under the sentiment layer add this to the Doily
The flowers I have used are from left to right:
Top row ... Roses in 10mm 15mm 20mm and two different colours
Chrysanthemum, Cosmos Daisy
Bottom row ... Rosebuds, Gypsophilia, Tulips 
Add to the right hand side of the card and dot with glue.
Sprinkle with Glitter for a sparkly effect 
Add the bow to the left of the Doily and add one small rose to the centre

More tomorrow ...

Hugs xx


March 31, 2017

Friday Freebie 012 - Lilac Creation

Hi Everybody,

I really like todays card and it is lined inside too. It is in shades of lilac and white with complimenting flowers along both sides

There is even a matching hat pin with this one and lots of layers.

So if this is a card that you would like then all you need to do is leave me a comment at the end of the post.

From those comments a name will be chosen at random and the winner announced in tomorrows blog post.

You will have 72 hours in which to claim it.

I don't think you will be disappointed with this one as it is much nicer in the hand than the photo shows

More tomorrow ...

Hugs xx


March 17, 2017

Friday Freebie 010 - With Love

Hi Everybody,

This weeks card is pretty in blue and white and the finished size is 5x7.

I have used the blending Dotty and Striped card from AnnaMarie Designs  and the  Modern Stationery  die from Spellbinders

The delicate Sentiments has been cut twice ... once from card and the other from foam and glued together to create a thicker look

If this is a card that you would like to have then all you need to do is leave me a comment. 

From those comments a name will be chosen and announced in tomorrows blog post. Please be sure to come back and see if it is you.

You will have 72 hours to claim the card and then it will go to someone else at a later date.

More tomorrow ...

Hugs xx

February 27, 2017

Tonic Studios - Combining Dies

Hi Everybody,

For todays card I am working with some really lovely Tonic Studios Dies.
 The large layering die will give you a really good sized base and then you can add decoration or other layers as you wish.
 I decided to keep this one really simple and let the dies do all the work for me and this is the result in a lovely pink and white 
The large die is Swirling Frames  and I have embossed the top white patterned layer.
The Large Numbers dies are a useful addition to any crafting collection and can help you to personalise cards for any occasion or age group.
The Birthday Swirl is another large die and I created my sentiment in gold glitter card for my top layer and then added it over the numbers for a different look.

The links will take you to all the products on the Tonic UK website but the option to switch to US is there for you if that is where you are based. Have a good browse whilst you are there for more lovely dies