Have you bought one of the Belly Band dies from Spellbinders and now don't know what to do with it ??
Well hopefully this little tutorial will show you one way to use it.
I have done my card in pink and white
And on the small Labels I have stamped and embossed my sentiment and added it to the card
From #7 5x7 Matting Basics A cut two in white for the base and join these two pieces together as a Hinged Card Style
From #7 5x7 Matting Basics B cut one in pink (#1 is always the smallest die)
Hand cut a piece of patterned card slightly smaller than the pink layer .. so that there is just a thin border around the edge
To this piece of card I have added #4 from Belly Band One
This will create an opening in the card for you and on each of the sides there will be a slot in the card
This is for you to thread some ribbon through and secure it on the back
 Once you have glued the ribbon in place you need to add some glue only to the areas that I have shaded ... don't stick the central part to the card as you need this open for the next step.
Layer this onto the pink layer and than all can be added to the base card
And you should now have the card looking like this with the channel still there for you to use
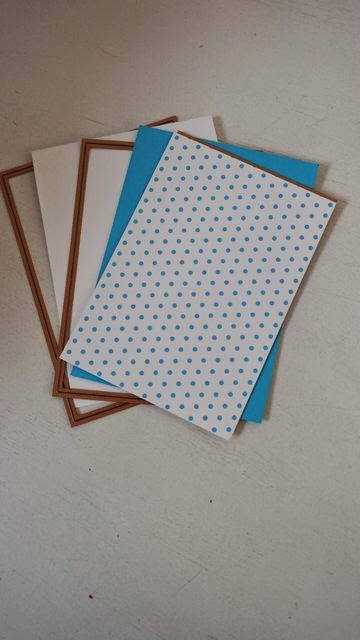
I have added some brown card to show you what I mean
So for the next part I have cut a solid base and a filigree panel from Radiant Rectangles
If you don't have this particular die then use any of the rectangles that you have that will cut the solid piece too
Glue both of these pieces together
Once they are dry slot this card into the channel on the base card and decorate as you wish.
I added my card at a jaunty angle but you can add yours straight if you prefer.
It will be held in place by the Belly Band but you can add a little glue if you prefer.
Pretty card suitable for any occasion and leave off the flowers and ribbons for any male cards you make
The other ingredients for the card are Pearls from Want2Scrap
Ribbon from Mei Flower
Flowers from Wild Orchid Crafts
Glitter from Glitter Magic
Reminder ...
And just in case you missed it here is a reminder of the tutorial that was on Spellbinders Blog last week... Especially For You ... so two for the price of one today
More tomorrow ...
Hugs xx


