Beautiful Card Designs Made Easy

Showing posts with label Want2Scrap. Show all posts

August 21, 2019

Lilac Floral Birthday

Hi Everybody,

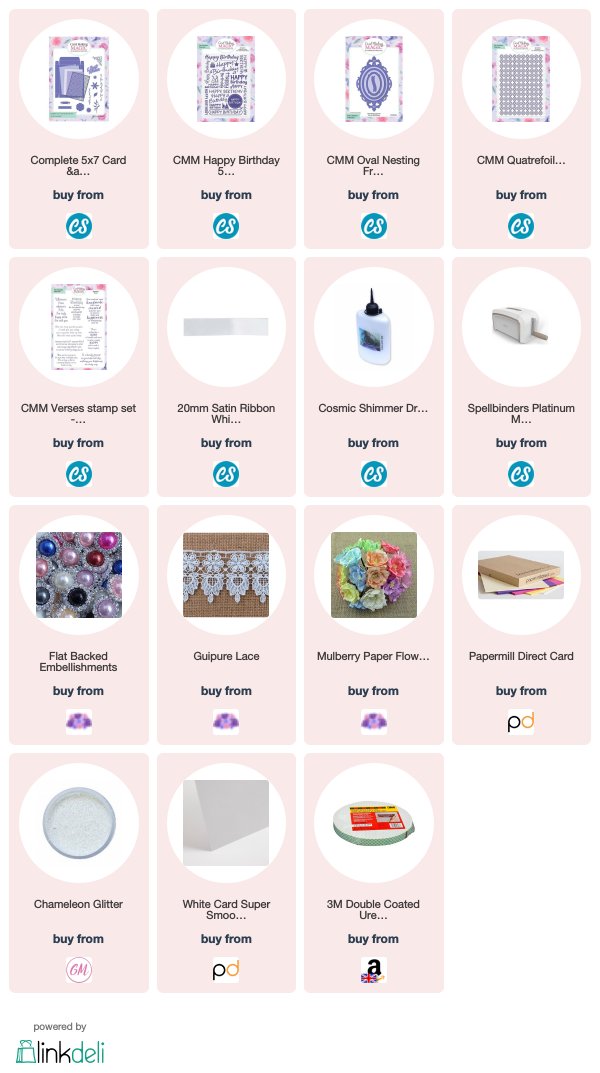
Another floral delight for you today and this one is not quite as elaborate as yesterdays but just as pretty.

I love the addition of the lace on them as it gives it a real luxury finish. And you only need a small piece so a metre length goes quite a long way.

I embossed the lilac card for the background in the Happy Birthday Folder and the layered the oval to the top with foam tape to give dimension

If you cut the large oval two or three times and then stack them together, you will have a lovely thick base that is almost like chipboard.

Run the top layer through the embossing folder before gluing in place for extra pattern and add with foam tape to the base card

More tomorrow ...

Hugs xx
July 09, 2018

Clean and Simple

Hi Everybody,

This little card is created very simply in shades of grey and peach.

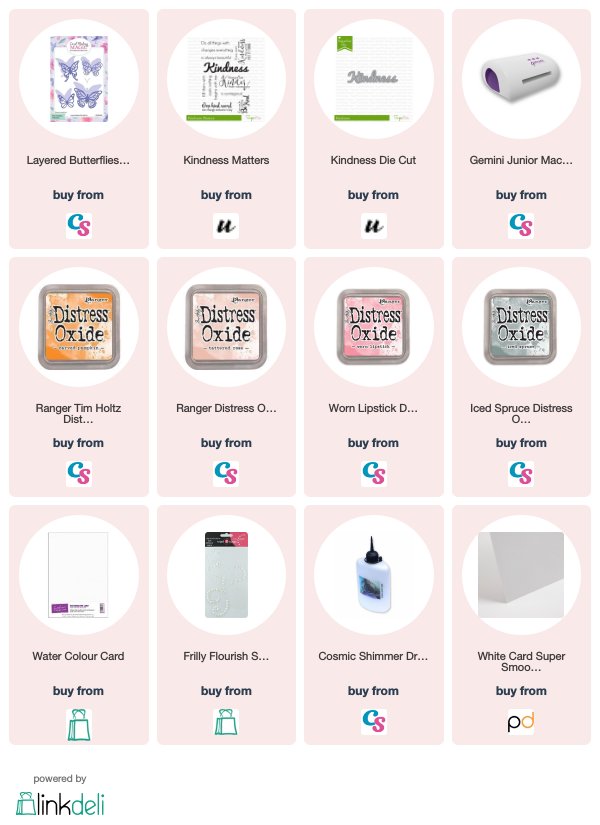
I did the ink smooshing technique on some water coloured card with Distress Oxide Inks and then cut both layers of the butterfly from it

I have die cut the words in black three times and stacked them for depth and used a black mat to tie the layers all together

The stripes are made with a stencil and some grey ink very lightly for the background and tiny hearts added in the same grey

The butterfly is from the Layered Butterflies die set from Card Making Magic.

The flourish along the body line and for the trail is from Want2Scrap  

Very easy and very simply but really pretty in the hand and would be suitable for a male card too. Swap out the sentiment to match the occasion 

More tomorrow ...

Hugs xx


October 31, 2017

Tuesday Tutorial - Kitty Cats Dies

Hi Everybody,

A super quick card to day using the Kitty Cat dies from Spellbinders. Purrfect for those friends who are cat people and have a birthday coming up. Easy to make in no time at all.
Spellbinders Supplies:

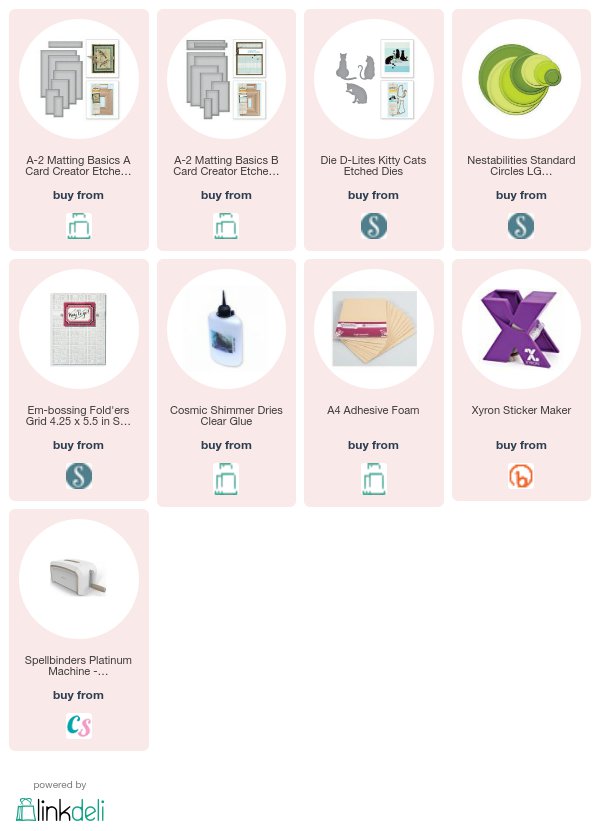
  • A2 Matting Basics A
  • A2 Matting Basics B
  • Grid Embossing Folder
  • Kitty Cats Dies
  • Classic Circles
  • Platinum Die Cutting Machine
Other Supplies:
  • Black/White card from Papermill Direct
  • Pearls dots from Want2Scrap
  • Distress Inks from Craft Stash
  • Foam Sheets from Craft Stash
Instructions:
With the largest die from Matting Basics A cut the base card by folding an A4 piece in half and placing the die just off the edge of the fold
With the largest die from Matting Basics B cut another piece in white.
Cut a circle that fits the front of the card,  into some scrap card,  and use as a mask to ink in the blue background
Emboss this panel in your folder added texture to the car front 
Cut the cats from black card. 
I cut each one twice and stacked them up for strength
Add a piece of foam pad to the back of each
Stamp a little sentiment onto the thin banner die from either set and arrange on the card with foam pads underneath
Sit two of the cats onto the banner and place the other underneath.
With my Dymo I added "Purrfect" to my stamped   "Aged To"
Dress with pearls

More tomorrow ...

Hugs xx

August 09, 2017

Magazine Freebie ...

Hi Everybody,

So tomorrow, 10th August, sees the sale of
 Simply Cards and Papercraft 166
 and this is a magazine that I have been subscribed to for years.

There are some fantastic articles in it each month and it is the relaxation that I need each time it pops through my door

The gift this month is 
 Lavish Label Layers
 and the video shows you how I made this card using the Labels as a frame 
It was designed to co-ordinate with the gift 

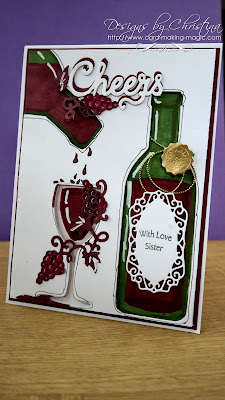
That magazine was on sale last week, 3rd August,  and it was a wine bottle and glass.

Here you can see that I have added the Label to the wine bottle and stamped a sentiment into it

Two free gifts that work really well with each other ... but in case you missed that wine bottle there is a template on the back of the Labels package  for you to hand cut your own

More tomorrow ...

Hugs xx


August 07, 2017

Big Thoughts ...

Hi Everybody,

Every so often there is a card that turns out to be one of the favorites and this card is one of those cards.

I really loved this once it was made and the parchment background was the touch that made it special for me

I liked it so much that I made several in different colours and gave them to family for birthdays

And I even did a  Tuesday Tutorial  on how to make it for your self

The soft Lemon goes beautifully with the white and green and the flowers just seemed to fall into place without any help from me.

I added some diamante flourish behind the display 

The finished card was 5x7" and obviously it will not fit easily into an envelope and so a box had to be made for the cards I gave to family

They were all very well received and I was really happy with the result.

More tomorrow ...

Hugs xx

August 01, 2017

Tuesday Tutorial - Spellbinders Trailing Hearts

Hi Everybody,

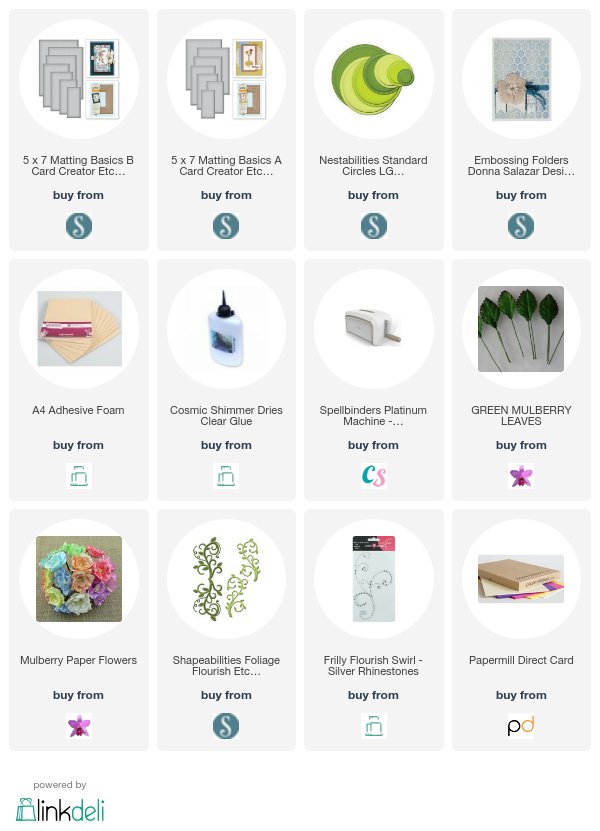
This pretty card is created with only two dies from Spellbinders and a little bit of glitter to add some sparkle. Very quick and easy to do and with a few flowers I think it is very effective
Spellbinders Supplies:
  • S5-314 Trailing Hearts
  • S5-131 A2 Matting Basics A
  • PL-001 Platinum Die Cutting Machine
Other Supplies:
  • Diamante Flourish from Want2Scrap
  • Tonic Nuvo Glitter
  • Flowers from Wild Orchid Crafts
  • Dymo Label Maker
Instructions:
With the largest die from Matting Basics A cut two panels in white to create the base card
Add double sided sticky sheet to another piece and cut this to the same size
With Trailing Hearts cut one piece in pink 
And add this to the sticky sheet pressing down to adhere it all
With the silver glitter sprinkle some to the double sided sheet making sure to press it into all the open spaces in the die cut
Add foam pads to the back and add it to the base card
Trim to leave a small border around the edge
 Cut three Hearts from the smaller filigree piece and stack them together for thickness
Add to the centre part of the pink die cut
Dress with flowers as you like 
From the Diamante Flourish cut several pieces to add behind the flowers.
(I kept them attached to the carrier sheet and simply glued that in place)
Create a sentiment with the Label Maker and add to the  stacked Hearts

More tomorrow ...

Hugs xx


May 02, 2017

Tuesday Tutorial - Arched Diamonds

Hi Everybody,

As you build your collection of dies it is good idea to add one large statement piece, and with that one die there is so much variation that can be done
For todays card I have used such a die to show you different ways to alter your design.  
I have used the Arched Diamonds from Spellbinders along with the Border Sentiments for both cards and varied them in colour and style one for men and the other for women 
It is quite a large die and will make a perfect focal point for your creations
Spellbinders Supplies:
Other Supplies:
  • Card
  • Flowers
  • Ribbons
  • Pearls
  • Glitter
  • Distress Ink
Instructions:
With white card create a top folded base that measures 5x7" in landscape
Cut a smaller mat in deep turquoise and another smaller one in white to leave narrow borders around each edge
Layer these panels onto the base
With the die cut the white card twice and ink through the die before removing the card.
Add foam pads to the back in strategic places so that they can not be seen from the front
Layer these two panel onto the base layers
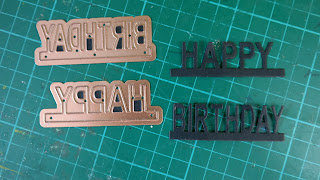
Die cut the Happy Birthday from the border sentiments three times and glue together for strength
Add to the card front where you would like them
I have kept this version clear of flowers for a more masculine card.
For this version I have used the 5x7 in portrait and made the layers in pink and white and embossed the smallest white panel
I have used just one die cut and added it across the card with pink ribbon around it.
The triple bow has flowers in the centre and a pearl flourish adds the extra touch.
The addition of the flowers, ribbons and pearls give it a more feminine look

More tomorrow ...

Hugs xx


May 01, 2017

Spellbinders Water Lilies Strip

Hi Everybody,

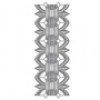
Today I am going to show you three different cards made using the same die set and each is very intricate and pretty in its own right,  This is the Water Lilies Strip from Spellbinders and the die is in three pieces. One central patterned piece and two separate cutting edges

This means that you can choose to  leave the pattern in the card by omitting the cutting edges or choose one edge and cut that with the patterned piece or do as I have done for the this card

For the first card I have simply used all three pieces to remove the die cut from the card and then added them, with foam pads beneath, as separate panels to the front of a layered 5x7 base


For this second card I have create a tent fold card in 5x7 and then added one cutting edge and the patterned die to the outer part

From white and pink patterned paper I have created layers to add to the left of the card and lined the inside to match

I have tied ribbon around the left panels and add a pearl string, a bow and a centre piece for the knot

The words are layered up to give thickness and the top layer is in black

The last card has had the die placed into  the centre of the A4 card to add the pattern

I cut one extra die cut patterned layer to add to the top of this for strength

Then other blue panels have been cut for back and front and embossed and the sentiment added to the front of the card

So with just one die set you can have three totally different looking cards and I am sure that you will come up with many more ways to use this versatile die

More tomorrow ...

Hugs xx


March 31, 2017

Friday Freebie 012 - Lilac Creation

Hi Everybody,

I really like todays card and it is lined inside too. It is in shades of lilac and white with complimenting flowers along both sides

There is even a matching hat pin with this one and lots of layers.

So if this is a card that you would like then all you need to do is leave me a comment at the end of the post.

From those comments a name will be chosen at random and the winner announced in tomorrows blog post.

You will have 72 hours in which to claim it.

I don't think you will be disappointed with this one as it is much nicer in the hand than the photo shows

More tomorrow ...

Hugs xx


March 28, 2017

Tuesday Tutorial - Intertwined Spirals

Hi Everybody,

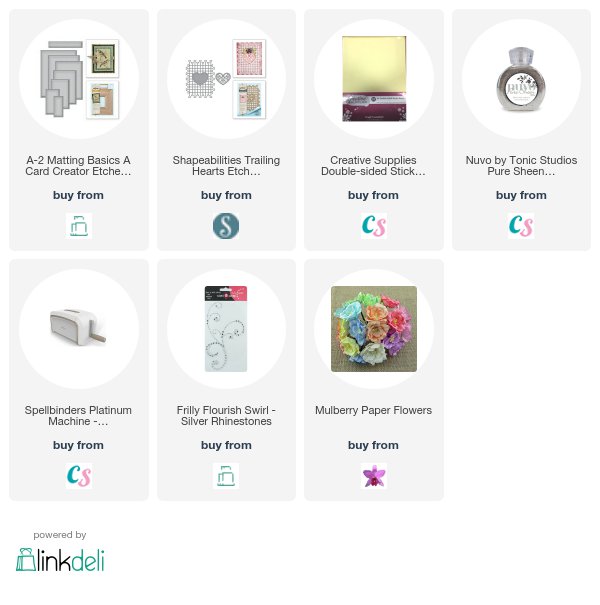
For todays tutorial I am using one of the newer dies from Spellbinders and this is the Intertwined Spirals designed by Becca Feeken.  It is delicate and intricate and makes the most beautiful cards for you with just the one die set.
Spellbinders Supplies:

Other Supplies:
Instructions:
With the outer frame cut two layers to create the base card
With frame and insert one cut a layer in the pale pink
Add foam pads to the back of this and wrap with ribbon before adding it to the base card
With the two solid parts cut one of each in the pale pink and add foam pads between.
The foam pads are only 1 mm but give a pleasing depth to the overall look
With the shaped solid and the matching insert cut this in white
Stamp and heat emboss the sentiment onto some white card and either die cut or punch it into a circle to fit the front
Select pink and white flowers. 
I have used from the left:
Rosebuds, Sweetheart Blossoms, Cosmos Daisies, 20 mm Green leaves and Roses in three different sizes 10 mm 15 mm 20 mm 
Add a small bow to the front and one small rose to cover the knot.
Arrange the flowers along the left side and dot with glue then sprinkle with glitter to make them sparkle.
Add some small pieces of pearl flourish around the flowers and three small pink ones to the sentiment circle

More tomorrow ...

Hugs xx