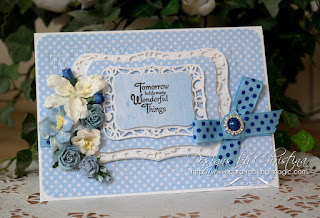
The title of todays tutorial sounds very intriguing but it simply refers to the heart die that I have used for the centre piece. It is very lacey and I think if makes a really lovely choice for the card just in time for Valentines Day.
Spellbinders Supplies:
- S6-001 5x7 Matting Basics A
- S6-002 5x7 Matting Basics B
- S2-022 Vines of Passion
- S4-475 Fleur de Elegance
- E3D-017 Oval Accent
Other Supplies:
- White and red card from Papermill Direct
- Organza Ribbon from Mei Flower
- Red rose from Wild Orchid Crafts
- Decorative Metal Corners from WOC
Instructions:
With #7 from matting basics A cut two panels and create a hinged card
With #7 from matting basics B cut one panel in red
With #6 from matting basics A cut another white panel and dry emboss with any folder that you have
(Please remember that die #1 is always the smallest)
From #3 of the Fleur de Elegance set cut one large shape in red
With Vines of Passion cut two base hearts in red and then cut both dies together and create two more shapes in white.
Layer them together with small pieces of foam tape.
Layer the large shape onto the embossed white layer with foam tape, and then place this on top of the red panel. Wrap all these with red ribbon
Add the two hearts in place on the front so that they overlap each other a little and hang just over the ribbon, and glue the single rose over the knot in the double tied bow
Stamp the sentiment onto a length of parchment that is wide enough to wrap around the layers and heat emboss in silver.
Fold the parchment around the layers so that the sentiment is where you want it to be.
Glue in place so that the all the workings are hidden at the back.
Add all this to the base card
In opposite corners of the parchment strip place the metal corners and they will tie in the silver embossed word
More tomorrow ...
Hugs xx


