Beautiful Card Designs Made Easy

October 07, 2017

First Card and Gift Winner

Hi Everybody,

Thank you so much to everybody who took part in the first card and gift "Give Away" I wish I could send the Little Bird to everybody but sadly I only have one set to offer. 

There will be another gift and card on offer next week and to see what is going to be given take a look in the winners page in the sidebar to the left.

But the first one is going to you ...

Diana Lawton
would you email me your postal address please to
christina@card-making-magic.com
and they will be on their way to you straight away

I hope you enjoy the gift and make some really pretty cards with it.

More tomorrow ...

Hugs xx

October 06, 2017

Friday Freebie - Little Bird Card and Gift 1

Hi Everybody,

From today until Christmas I am giving away one of the freebies that was attached to a magazine.

I will also add the link to the video that shows you some of my ideas with each gift

This is the first one and this is Little Bird.

I will also be sending you one of the cards that was made for the video. 

All the gifts are quality products and you will have fun playing with them

So if this is something that you would like then all you need to do is leave me a comment at the end of this post.

From those comments one name will be chosen and added to the weekends blog post. It is down to YOU to come back and check if it is your name listed and then you will have 72 hours in which to contact me.

Should any of the gifts not be claimed I will simply tag them on at the end and offer them again

Good Luck

More tomorrow ...

Hugs xx


October 05, 2017

Butterflies & Lamination + Sequins !!

Hi Everybody,

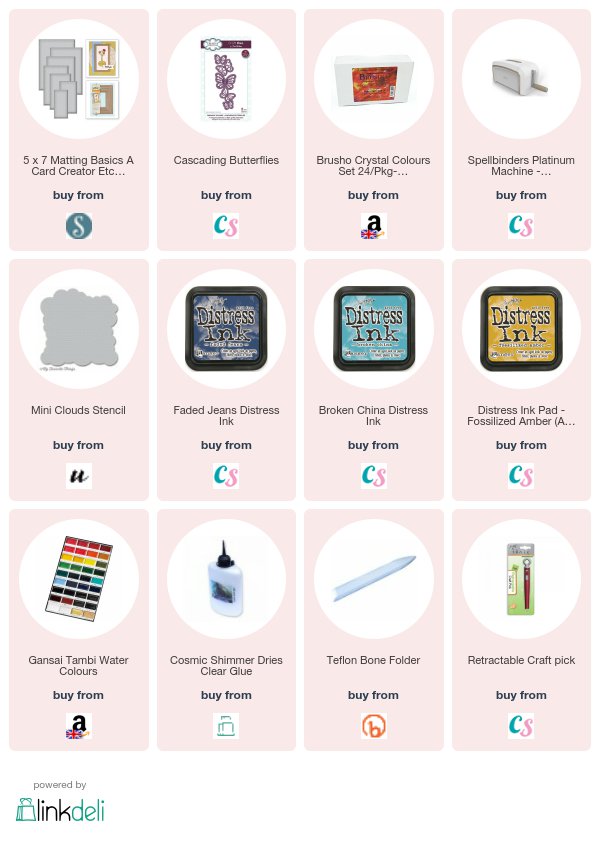
Today I am sharing a card that has a laminated background behind the butterflies and it was really easy to do.

The laminating pouches are not expensive.  I got mine from the £££ shop and there are ten in the pack .. Cheap as Chips !!

The sequins and glitter I had in my stash and so I had fun making this card.

In the video I take you through each of the steps needed to make it and the supplies are listed at the bottom of the page for you to see what I used

Butterflies and Lamination   is just long enough for you to have a cuppa and maybe a biscuit or three

Each one of the cards has used the die cut aperture piece on another design

You just need to plan the background so that it will work with the second card

But using what is in effect the waste saves you time and money if you make use of it.

Have fun

More tomorrow ...

Hugs xx

October 04, 2017

A gift for Carter

Hi Everybody,

I had to show you the gift that I have made for my Great Grandson Carter who is just a year old. 

I thought that these would look wonderful on his bedroom wall and I bought the frames from Dunelm

The Critters are from Tonic Studios and they are a lot of fun to work with. You can make them any colour you wish for even more fun


They are perfect and my Grand daughter loved them for her son and she will get his daddy to put them up

Carter loves animals and is learning to say the names of them and so these should encourage him to name these too.

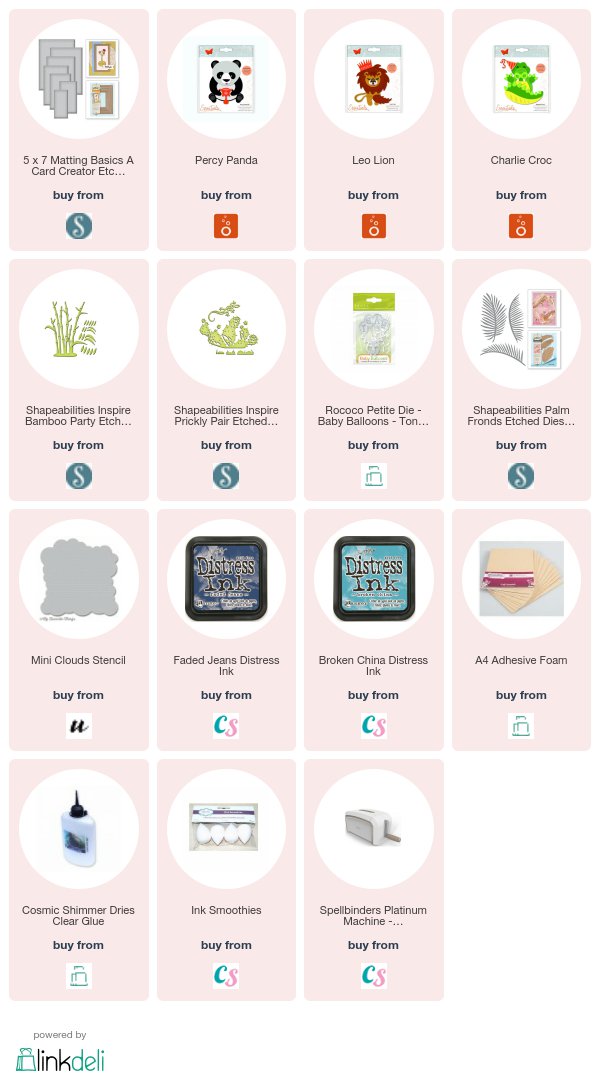
 I used some Spellbinders for the added pieces to the pictures like the palm fronds and the bamboo shoots

The supplies will be listed at the bottom of the page for you to see the ones I have used

And don't forget I did a video showing how I did one of the characters ... Cute Critters

More tomorrow ...

Hugs xx
October 03, 2017

Tuesday Tutorial - Tumbling Blocks

Hi Everybody,

Today I am using one of the dies from Spellbinders Designer Lene Lok 
 Here I have created two cards ... one for the boys and the other most definitely for the girls with Flowers, Ribbons and Pearls ... and Pink !!
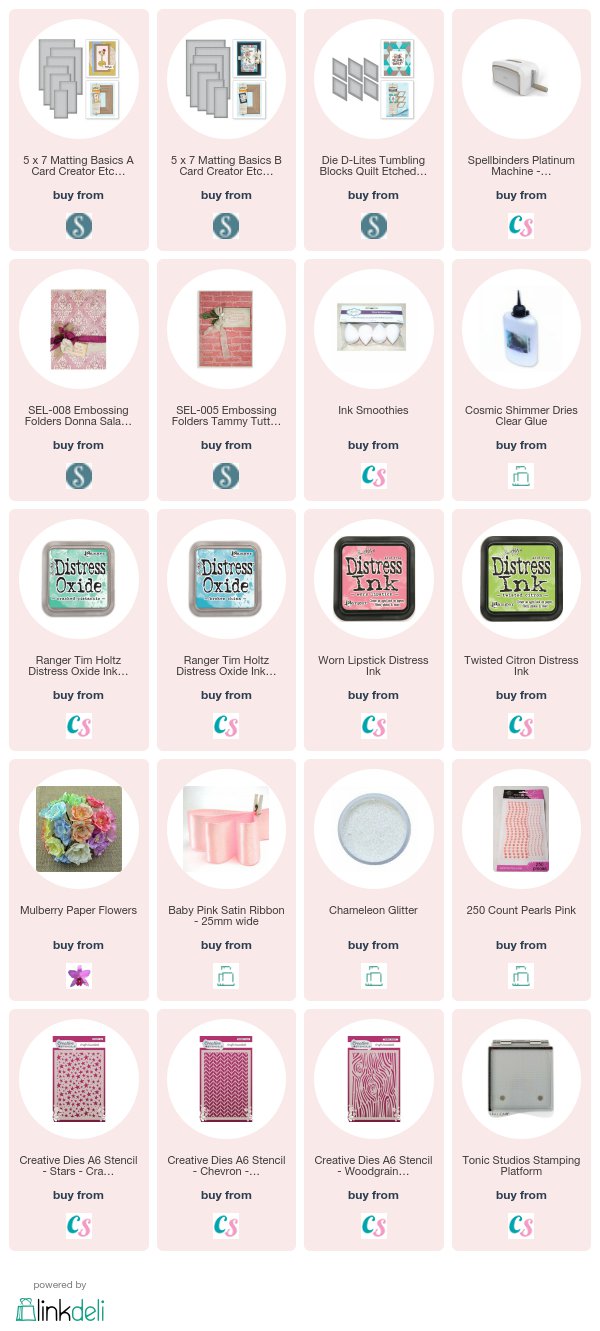
So first the card  with a male theme and all the links are at the bottom of the page
Spellbinders Supplies:
  • S2-276 Tumbling Blocks
  • 5x7 Matting Basics A & B
  • Platinum Die Cutting Machine
Other Supplies:
  • Distress Inks in your favourite colours
  • Sponges
  • Flowers
  • Ribbons
  • Pearls
  • Glitter
Instructions:
With die # 7 from Matting Basics A cut two pieces in white card to
  Create A Hinged Card
With die #7 from the B set cut another in white 
With this layer stamp the sentiment on to the top right corner and heat emboss with clear powder.
Then emboss in the brick folder
With the die and some white card cut as many of the shapes as you need. 
Stencil a pattern on to the shapes with sponges and inks while the card is still in the die.
Then ink the edges of each shape once it has been removed. 
I added in another layer with a similar colour to one of the inks I used
Add foam pads to the back of each shape
Have a practise run,  before you remove the backing, to see how you will add them to your card
When you are happy with your chosen design then go ahead and add them to the embossed layer and trim if needed then and add the layers to the base card
That one is for the men in your life
BUT ...
You can definitely pretty it up for the girls too. 
I add the shapes in a different orientation and glued ribbon across the layers before I added them to the base card. 

The colour choices are yours but this one simple die can be used for any occasion and I am sure the boys will love it too 

More tomorrow ...

Hugs xx