Beautiful Card Designs Made Easy

August 25, 2022

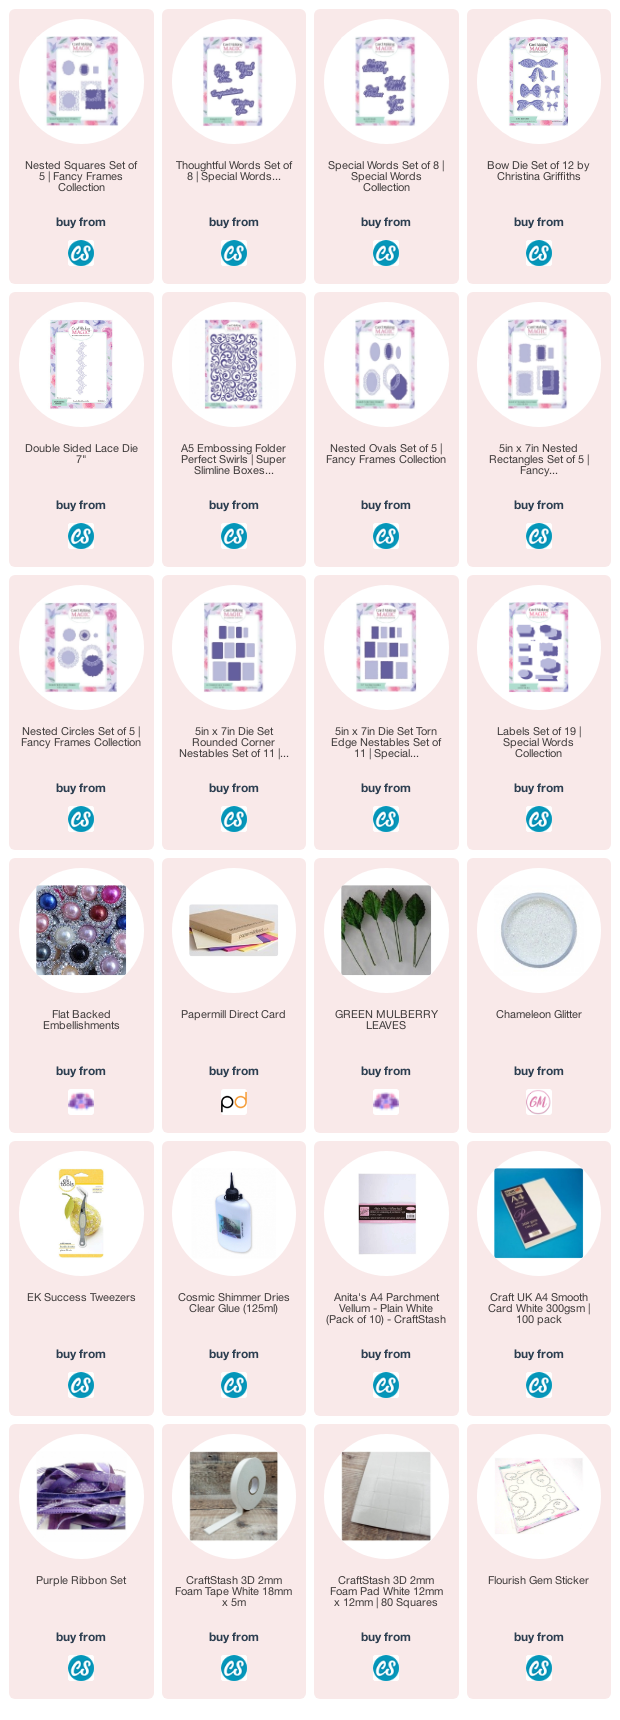
Nested Fancy Frames - Squares

 Hi Everybody,

Today I am featuring the Nested Squares from the new collection of Nested Fancy Frames.  I  have already added videos for the other shapes in the collection and they are all in a playlist on YouTube for you to view.

In this video I show you how I have created eight cards from this set and once you start to play the list goes on.

I have really enjoyed playing with all these new dies and the cards they can help you to create can be decorated as much or as little as you wish

I always go to town once I start to add stuff and I never know when to stop.

Some of the cards are planned out and put together as the plan but others where spur of the moment ideas inspired as I played with the dies.

This card is a little A6 style and was done as a quick idea to use up the extras.

I liked the outcome though and placing the die cuts the other way round to put the pattern in the centre of the card instead of at the sides. 

And don't forget whatever styles I have demonstrated here can also be achieved with any of the other shapes in the collection.

Just play and have fun as you die cut and see what they can make

This is one of my favourites and I haven't made this style for such a long time, but I will be using this idea again as it looks really elegant once made up.


I hope you enjoyed the video, and the others in this 
Nested Fancy Frames & Special Words playlist on YouTube

More tomorrow ...

Hugs xx

August 24, 2022

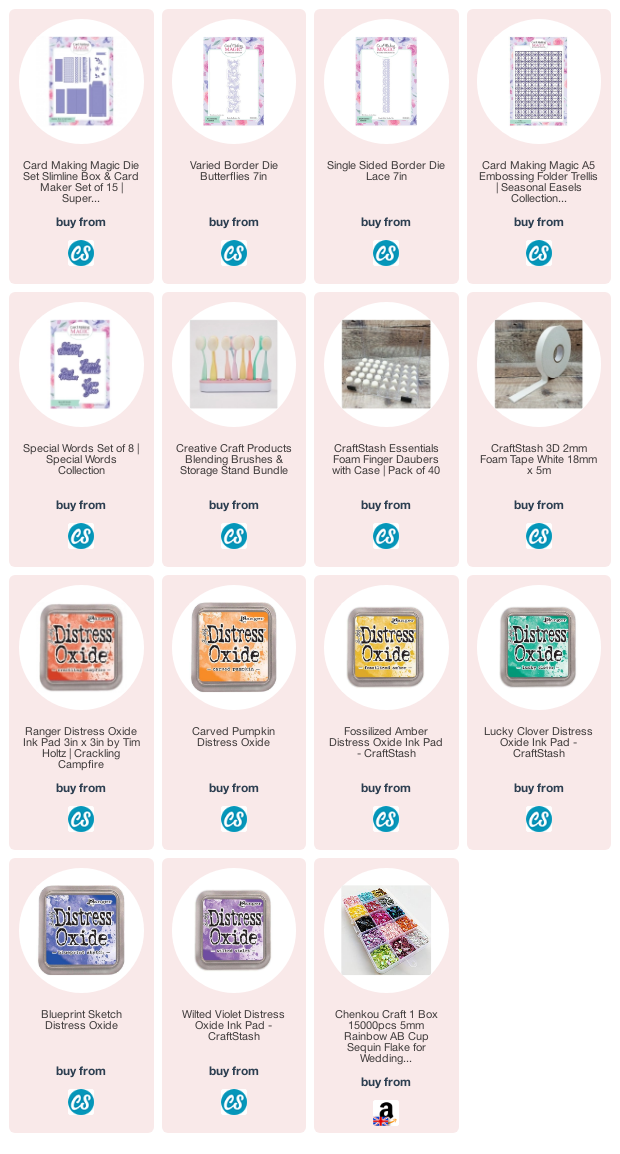
Rainbow Butterfly Card

Hi Everybody,

This pretty card is a slimline version and I have used older die sets to get the look. Make the most of what you already have and that way you will get your monies worth from the product.

I have used the Trellis embossing folder to add texture to the panel and then added it to the card base.

From white card I have blended the inks in a rainbow order and used the Butterfly Border die to cut them out. 

This die set comes in three sections that will cut the butterflies and the outer sections separately.  That way you can create a background for your butterflies any width you prefer.

I kept the outer dies the same width and removed the butterflies die before cutting again to give me the back drop in white. I layered the two portions together.

I cut two of the Single Sided Border strip in white and glued them in place to the back of the butterflies and then added all to the card with foam tape underneath to raise them up. 

I dotted the panel with corresponding sequins and the sentiment is cut from Blue Holographic card, and I like the effect of it all.

More tomorrow ...

Hugs xx

August 23, 2022

Playtime ...

 Hi Everybody,

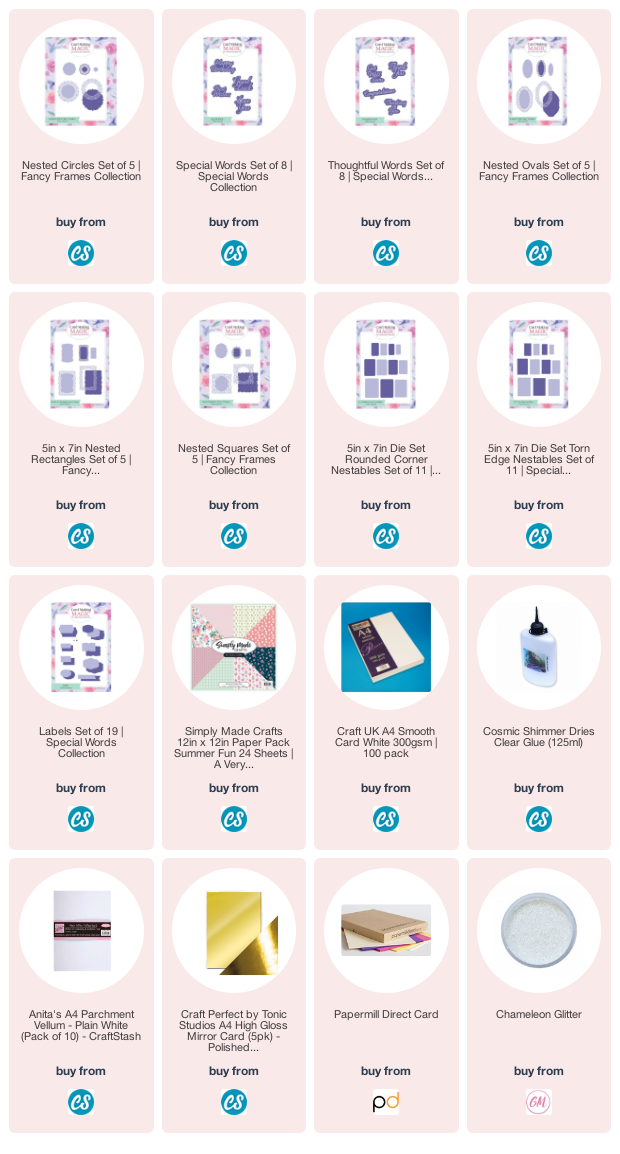
For these two cards I used the Crackling Campfire Distress Oxide Ink and a blending brush to create an Ombre Effect on my cards.

Once I had done that I ran the panels through my embossing folders, this one is the Perfect Rose folder, and I used a different one for each card. 

With the raised side of the card uppermost I then used the same brush and ink to go over it again but this time with a heavier hand.

That picks up all the raised areas and makes them stand out more on the card front.

I used items left over from other cards that had been cut in white and with foam tape I added them to the card panel.

The orange sequins have been added for effect, and the card bases are both from one A4 piece that has been folded and then cut in half.
For this one I did the same technique with the ink for the background and then used the Trellis folder for this card.

I again brushed over the raised side with my blending brush and it made the pattern stand out on the panel.

The sentiment is from the large Decorative Words die set which I cut three times and stacked together for a really sturdy stand out look. 

Again I have dotted sequins on the front and I am really happy with both of the cards. 

Quick and easy, clean and simple ... for me any way !!

More tomorrow ...

Hugs xx
August 22, 2022

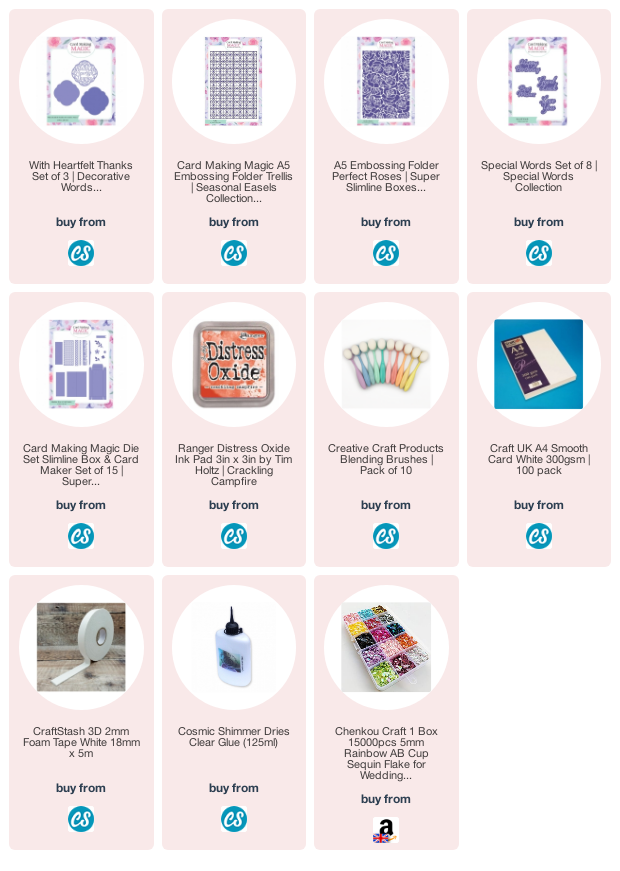
Nested Fancy Frames - Circles

Hi Everybody,

Today the star of the show is the
Nested Fancy Frames - Circles
and in this video I have shared how I made a Gatefold Card.

The picture shows a circular card using the largest outer die to create the shape but there are lots of ways to use any of these sets.

In the video I shared the other day using the Nested Fancy Frames Rectangles I have shown you how to alter the shape to the die cuts. 

And you can do the same thing to any of the shapes in this new collection to give you even more possibilities for your designs.

I have created a playlist on YouTube to feature all these new dies and here is the video for the Circles


I have also created an Easel Card and that was really easy to do

The papers I have used on this card are from the Simply Made Crafts Summer Fun Pack 
by Helen Griffin.

There are lots of 12x12 paper with lovely designs to them and I have used several of them on my cards.

I hope you enjoy the video and it is just the right length for a brew at the same time !!

More tomorrow ...

Hugs xx

August 21, 2022

Ruby & Ella ...

Hi Everybody, 

This lovely photo is Ruby lying on my bed in the sunshine and Ella trying so hard to sneak up to her for a cuddle.

Ella follows Ruby around wherever she goes and sometimes it gets bit too much for Ruby. 

Shortly after this was taken Ruby realised what was happening, got up and not only jumped off the bed but she left the room.

But we are making progress bit by bit and when I put food down for Ella,  Ruby will share the same dish. But when I put Ruby's food down she chases Ella off it.

Both are happy and healthy and getting on OK.

The weather has been too hot for Ruby who chooses to lie in the shade but Ella loves being outside.

Here she is sitting on a log trying to catch butterflies.

More tomorrow ...

Hugs xx