Beautiful Card Designs Made Easy

December 01, 2022

Die Storage Holder

 Hi Everybody,

This is not a card but a large cardboard holder that I have covered to store some of my floral dies in. 

I wanted to keep them all close to hand so that I can easily grab them to make flowers I may wish to add to my cards.

The woodgrain is from the Craft Show I went to last weekend and the flowers are from an old Altenew die set.

I have used the Glossy Accents on these as it brought the colour out in the inked card used for the flowers and the leaves.

In this I have pockets with magnetic sheets in them and on these I have stored the dies I like to use for flowers. 

They are from different companies that I have collected over the years, some are big and others are small, but all will be used to make a full floral display for any project that I am working on.

More tomorrow ...

Hugs xx

November 29, 2022

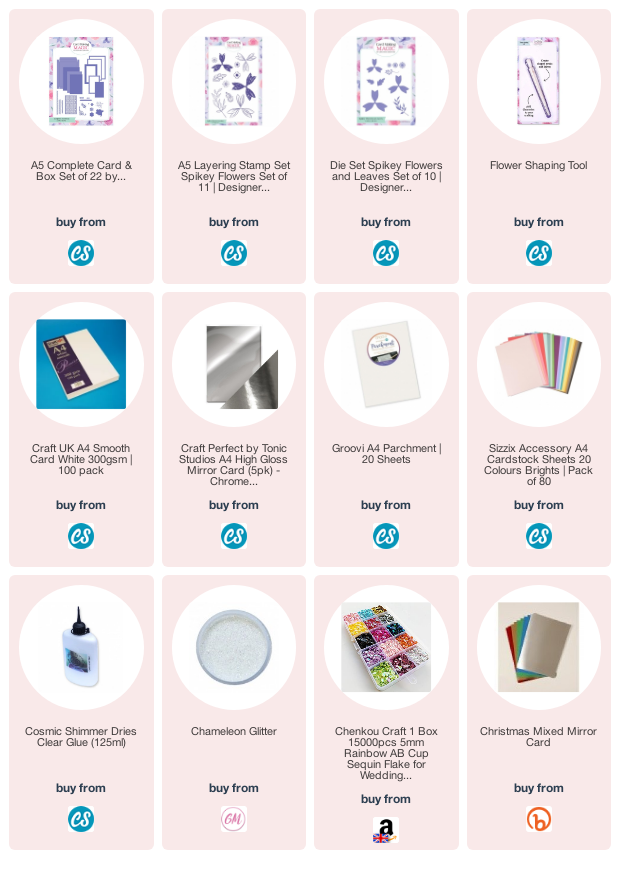
Spiky Flowers

 Hi Everybody,

These large and pretty flowers have been die cut from pink Vellum,  that was bought at a craft show, and I have had it for a long time, and I have shaped them with a ball tool to add curve to the petals.

On the end of each petal I added some glue and then sprinkled it with the fine glitter and allowed it to dry before layering them up.

I used two of each size petal to create a full flower and then used the silver mirror card to make the centre portion and the leaves

The butterfly is again one left over from another project and the card is some I got at last weeks craft show.
This one has the addition of some glitter card leaves but the flower has been cut and curled in the same way.

This landscape card is an A5 so you can judge for your self how large the flower is. 

It makes a real statement on the card and is not for the faint hearted. I love it.

The inside of this card has the same pink card as the front and the base card is black.

More tomorrow ...

Hugs xx

November 28, 2022

Roses everywhere ...

Hi Everybody,

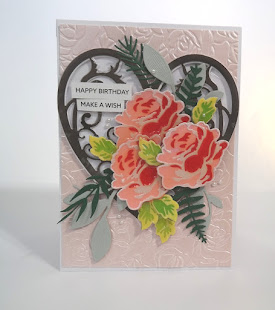
The cards I am showing you today have all been cut with the Layered Christmas Rose die set from the original Christina Collection.

I have covered all the flowers and leaves with Glossy Accents to give them the appearance of enamel and they do look very pretty.

I have added in leaves, as fillers, from other die that I have and that makes the display look better. I have also dotted small pearls around the flower for effect.

They have been added to a mirror card heart that has been cut from the Landmark Collection, which is another older die set, and the result can look completely different depending on the colours you use


These roses have also been covered in Glossy Accents but while it was still wet I sprinkled in some fine glitter.

The background to this one is a vellum overlay that has ben embossed in a folder then added to some pale pink card.

It also has the addition of leaves from other sets and some of them are cut in silver.

Again small gemstones have been dotted around and all the sentiments are from a set of pre printed ones that I bought at the Craft Show last weekend.

This card is one I showed you a few days ago but it was a little too plain for me.

So I added in more leaves cut in glitter card and used another of the butterflies left over from another project to the centre of the card.

I added some ink to the wings before adding it in and the simple glued it to the card along the body line only. 

I am much happier with the look now that all these changes have ben made, but for me the middle card is the favourite as I love the vintage look of it.

I am pleased with all the cards and so if you have this die set in your collection then maybe it is time to get it out and play with it again.

And sadly it is not available any more. 

More tomorrow ...

Hugs xx
November 27, 2022

Black Friday Deals

 Hi Everybody,

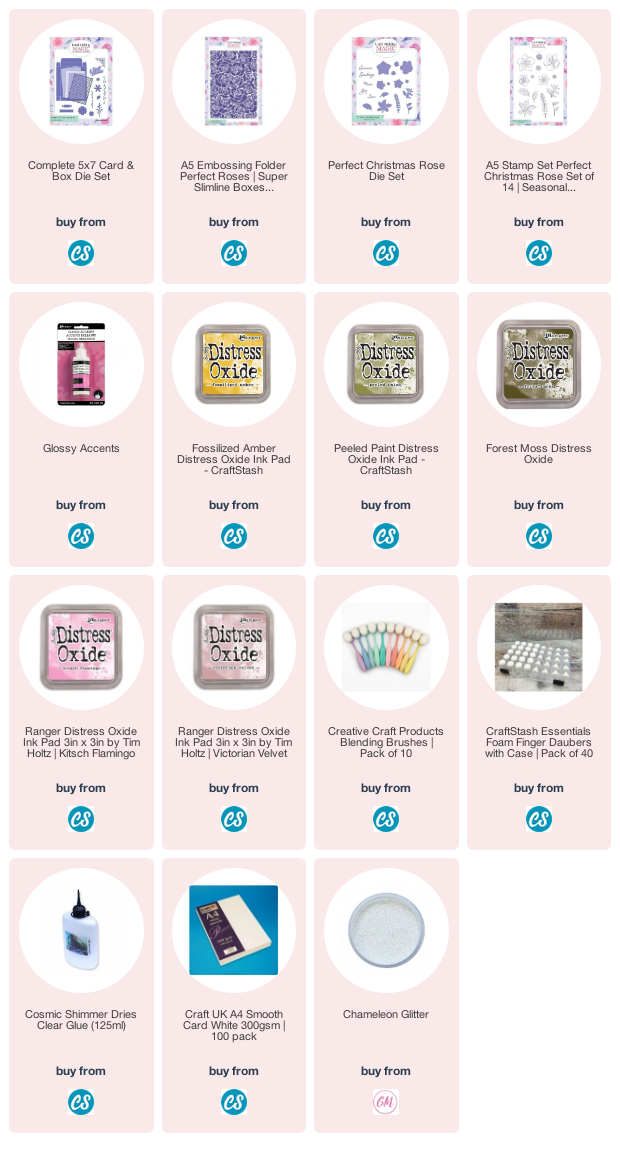
So we are coming to the end of an amazing week of special offers in the Craft Stash website and today sees the die sets of Decoupage Delight being offered with 40% off.

The featured flower here is one of the flowers in the Hellebore set and I have covered this with Glossy Accents to add the shine.

This makes a really large flower that create a real statement on your projects. There ere three flowers in the set and this is the largest of them

I have also cut the butterflies from the Perfectly Matched panel that I had on my desk left over from another project.

Both the flower and the butterflies have been inked up and added to the Trellis background die.


This one uses the Polyanthus die set and this has four different flowers in it. I have used coloured card to make these in varying shade of yellow but they would look just as pretty in any colour

It can be added to any of the background dies in the collection, but here I have just used an embossing folder to create the texture.

These flowers are not as large as the previous one but equally as effective and can be added to anything you are making.


And last but not least is the large flower from the Camelia die set. Those leaves are amazing and would look good tucked into any other floral display.
I have stamped the sentiment onto vellum and heat embossed it in gold then wrapped it around the Trellis background before adding it to the card.

Altogether some really good deals have been offered this week, for anything that takes your eye in the Black Friday Event, but it finishes tomorrow at midnight so there is not much time left to grab yourself a bargain.

More tomorrow ...

Hugs xx

November 26, 2022

Winner

 Hi Everybody,

Are you all ready for Christmas ? It's not long now, just four weeks and already the trees are up in some homes. It is not my favourite time of year and I try to avoid it as much as possible. Once children have grown up the excitement seems to disappear as they are the ones that make it fun.

But life goes on and the draw has been done for this weeks Japanese Dreams set. It is a lovely set from Paper Discovery and it comes with stamps, an embossing folder as well as the magazine for you to browse in your own time and is full if good ideas. 

The name this week is 

Tina Zapusek 

so if you would email me please with your postal address to 
christina@card-making-magic.com
then I will get the pack in the post to you straight away.

I hope you enjoy playing with it and please be sure to let me know that you have it safely.

More tomorrow ...

Hugs xx