Beautiful Card Designs Made Easy

Showing posts with label Wild Orchid crafts.. Show all posts

August 21, 2019

Lilac Floral Birthday

Hi Everybody,

Another floral delight for you today and this one is not quite as elaborate as yesterdays but just as pretty.

I love the addition of the lace on them as it gives it a real luxury finish. And you only need a small piece so a metre length goes quite a long way.

I embossed the lilac card for the background in the Happy Birthday Folder and the layered the oval to the top with foam tape to give dimension

If you cut the large oval two or three times and then stack them together, you will have a lovely thick base that is almost like chipboard.

Run the top layer through the embossing folder before gluing in place for extra pattern and add with foam tape to the base card

More tomorrow ...

Hugs xx

July 03, 2018

Fancy Nesting Rectangles

Hi Everybody,

Today's card is created in soft green and lemon and I know it's not everyone's cup of tea but it is really pretty in the hand

I added in lace, flowers and ribbons and some lovely  rainbow gems from Crafti Potential for added sparkle


The flowers are from Wild Orchid Crafts and I have added a mixture of  Roses, Daffodils and Tulips in yellow and white

I always add them with a hot glue gun for extra security but you need to be careful if you try a hot gun as the glue gets very hot and it will burn your fingers if you don't take care
 .....  How do I know this ????   Ouch !!!!

More tomorrow ...

Hugs xx

November 28, 2017

Tuesday Tutorial - Quatrefoil Trellis - Card Making Magic

Hi Everybody,

The Tuesday Tutorial is changing from this week and instead of other companies dies I am going to be featuring my own collection from Card Making Magic
This whole set of dies, stamps and stencils are available only from Craft Stash and each week I will be using a different piece to show you just how versatile it is.
More will be added to the collection in the coming months and the links to the products I have used will be at the bottom of the post 
Supplies:
  • Complete Card & Box Die Set
  • Quatrefoil Trellis
  • Cream & White Card
  • Guipure Lace
  • Pearl clusters
  • Altenew Inks
  • Finger daubers
  • Cosmic Shimmer Dries Clear Glue
  • Foam Sheets
Instructions: 
With the card making element from the Card & Box Die Set create a tent fold card base in cream
Cut another in white with the Stitched Mat
With the outer part to the Trellis die cut a layer in cream and then with the two dies cut the patterned piece in cream and glue these two layers together
Wrap with the lace and glue it on the back so that the edges cannot be seen
Arrange the foam tape to avoid the lace and creating more bulk 
From the flowers and leaves in the Card & Box Die Set cut as many as you would like
Cut extra if you intend to decorate the box in the same way
Cut several Happy Birthday sentiment and stack them together for strength  
Add these to the Banner die cut
Ink and shape the flowers and leaves with a ball tool and inks of your choice
Stack them with as many layers as you prefer to create as many flowers as you need
Arrange the flowers and leaves as pleases you and glue the pearl clusters to the centre of each flower
Add the sentiment banner to the top of the lace with foam pads and a little extra glue to hold it securely.

More tomorrow ...

Hugs xx

May 08, 2017

Little Boxes with Tonic .. In two styles !!

Hi Everybody,

Little boxes are always handy for those small gifts we like to give  Or as favor boxes at Weddings or Christenings. Fill them with sugared almonds for each guest. Decorate them with flowers, ribbons and pearls.in the colours to suit the wedding.

This comes to you as a kit from Craft Stash and it is the Tonic Cardmaking Collection Issue 2

It consists of the Tonic die,  an embossing folder and some stamps for you to decorate the boxes that you make

In the video I show you two different ways to make the boxes

This four panel box is big enough to hold perfume, jewellery or maybe some tea lights.

You could even fill it with confetti for your guests to throw ... the confetti not the box !!

I have lined this two panel box with gold and added a  pearl string handle and some flowers

Perfect for adding a bridesmaid gift too, of maybe a little necklace to celebrate the wedding.

So many different way to use these and so many ways to decorate them
This two panel box has been decorated with the stamps in the kit and would be perfect for a childs party.

Fill them with sweets or a small toy for each child

Add their names to really make them feel special

This one has had some of the embossed panels added to it and they have been enhanced with the stamps

The video
will show you how to create both of these styles 


And once you have the die then you can make these any time you need them for any occasion.

And that  has to be less expensive than going out to buy them

More tomorrow ...

Hugs xx

May 05, 2017

Friday Freebie 017 - Three to go ...

Hi Everybody,

This week I am giving away the three cards pictured here to three winners, but I can't guarantee which one you will get

They are all really pretty with flowers and one of them has a hatpin tucked into the display.

The petals are all sparkled with glitter and they are a small US A2 size.

They look much better in the hand so I don't think you will be disappointed with any of them

If you would like one of these cards than all you have to do is leave me a comment at the end of the post.

Please come back to see if you are the winner when the name is announced in tomorrows blog post.

More tomorrow ...

Hugs xx

April 04, 2017

Tuesday Tutorial - Iron Romance

Hi Everybody,

This is one of the newer dies from Spellbinders and this is called Iron Romance. 
The overall size of the die it about 4 1/2 x 6" so a good one as the complete focal point on your cards
I have used two shades of orange for my design and teamed it with cream for a really bright look
Spellbinders Supplies:
Other Supplies:

With Matting Basics A and die #7 cut two pieces in cream to create the base card
With Matting Basics B and die #7 cut one layer in the darker shade of orange
With A #6 cut another layer in the paler shade of orange
With B #6 cut another layer in cream 
Cut in cream #3 and #4 dies in the Iron Romance and several of the smaller spiked die
Cut two of the small frame dies and add them around a sentiment
Add foam pads to the back of all the large layers
 Emboss the top layer of cream card.
Flat glue the layers to the base card 
Add the cream layers from the previous step
Arrange the flowers as you like them. 
I have used from left to right:
Carnation, 15 mm Rose, Gypsophila, Iris, Anemone, Geum, Rosebuds, Tulip
Dot with glue and sprinkle with glitter to add sparkle to the petals.
Line the inside to compliment the front 

More tomorrow ...

Hugs xx


March 21, 2017

Tuesday Tutorial - Heirloom Rectangle

Hi Everybody,

Todays card features a die that has been around now for quite some time and you may have this is your personal "stash"   If you do it maybe time to get it out again and try this really easy card. 
 The dies do all the work and the flowers are the crowning glory in soft shades of lilac and white
The card has been created with just the one set of dies
Spellbinders Used:
Other Supplies:
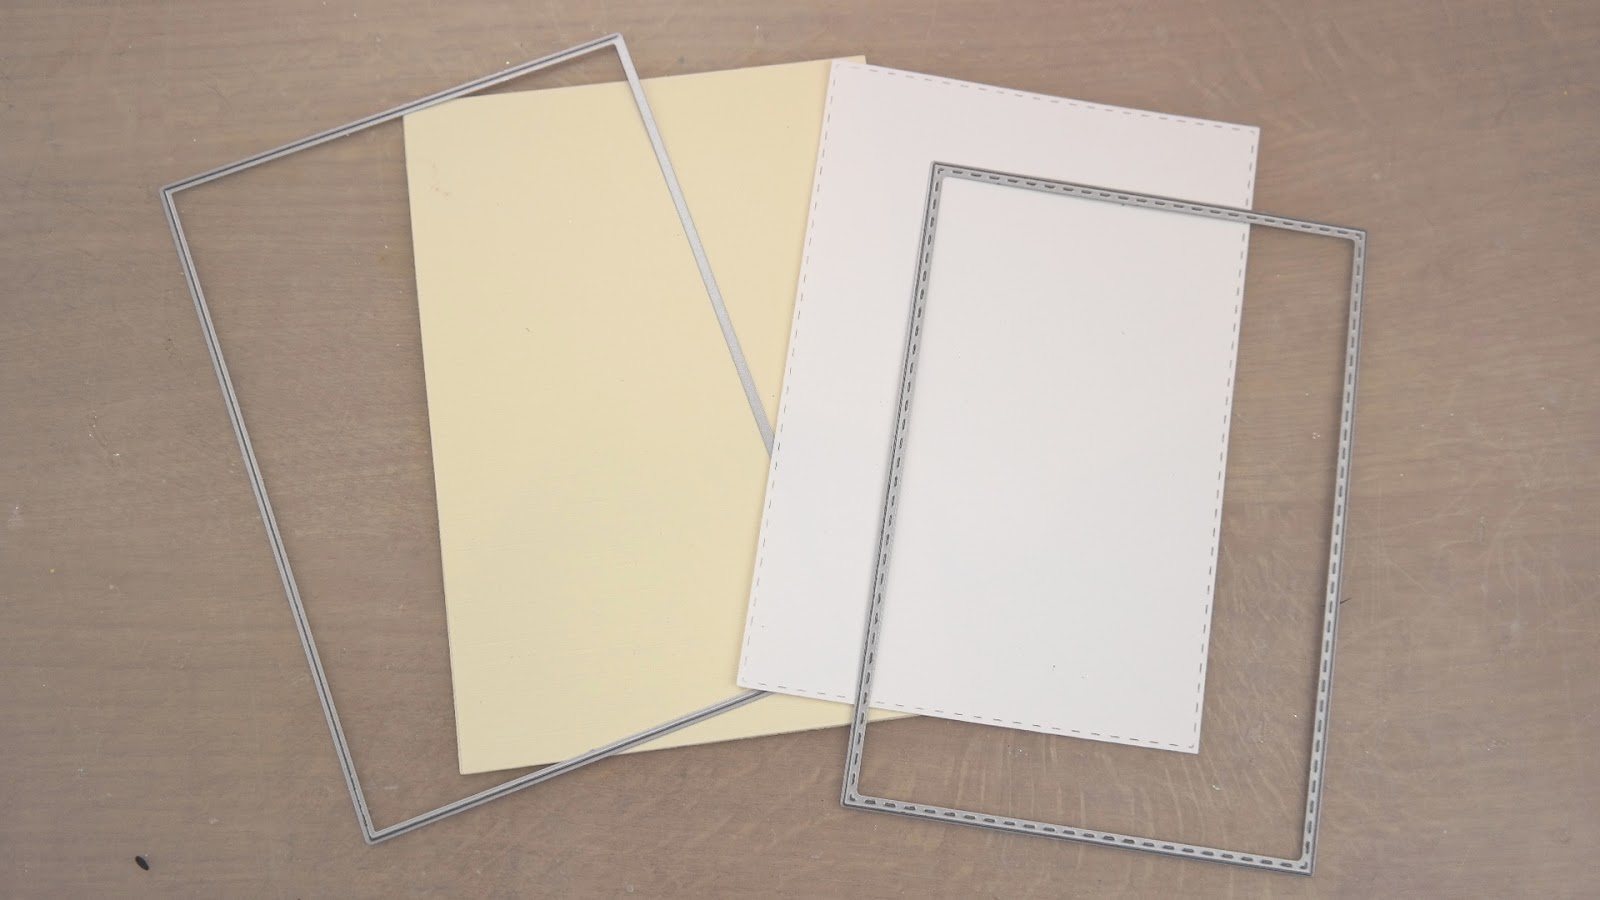
With die #4 and white card cut two layers for the base  and a layer in lilac
With dies #3 and 4 together cut another layer in white for the patterned piece
Create the base with the two white pieces by scoring along one a little way down and gluing them together along the small panel
Add foam to the back of the other two and layer the lilac and patterned pieces together
Wrap ribbon around these layers before adding to the base card
Cut die #2 in lilac and emboss this piece for more texture. Add foam pads to the back and arrange over the top of the ribbon
Stamp the sentiment of your choice and cut out with the smallest die
Cut two more in white and one in lilac
Glue the white ones together keeping the sentiment one for the top. This will give depth to the panel
Cut the lilac one in half and arrange around the sentiment panels to leave a small border.
Attach foam to the back of these
Select the flowers you would like.
From left to right I have used:
Gypsophila, Chrysanthemum, Cosmos Daisies, Tulips, Roses
Arrange the flowers in a pleasing display on your card and dot with glue then sprinkle with glitter.
Add the bow and small pearls around the flowers

More tomorrow ...

Hugs xx

December 01, 2016

Magazine Freebie from Tonic

Hi Everybody,

With the December issue of Die Cutting Essentials there is a really useful tag set that comes free and in the new video I have tried to show you some ways in which to put it to work for your creations

The magazine will be in your shops on the 8th December so if you like the look of this free gift then place your order now ... or order it direct from Moremags

This one is truly feminine with pretty designer paper from AnnaMarie Designs as the background and blending flowers from Wild Orchid Crafts

Then with the next card I have gone for something really contemporary that would suit a teenager

I have used just the two smallest tags for this card and really bright block colours.

 You could use coloured card for this or simply colour white card with your marker pens to the colours you require

Either way it is a quick and simple card to make with your free gift and the video will show you more ideas that you may like to try....

More tomorrow ...

Hugs xx

November 27, 2016

Video Collaboration ....

Hi Everybody,

A little while ago I was asked if I would like to do a video collaboration with a fellow YouTuber and I was delighted to say "Yes"

My new YouTube friend is Olga Direktorenko and she makes the most beautiful cards.

Her blog is Building Your World and if you pop over there be sure to leave her a comment as you browse her pages.

So Olga and I decided that we would each make a card with a matching box or envelope and have a little "Give Away" at the same time.

This is the very first time I have ever done anything like this and so it is all new to me ... but I will learn how to do it better in the future

The photo shows you the set that I have made on My Video  Tonic Studios - Envelope Die Set   and I will be giving that and some flowers along with some pearl flourish too to one lucky winner. You will need to leave me a comment to win the "Goodies" 

There will also be a gift for you on Olgas Video  

The comments to win need to be left under the videos on YOUTUBE and not here. 
The winner will be announced on YouTube and I will add a blog post too on the 4th December

I hope you enjoy both mine and Olgas collaboration and hopefully there will be many more

More tomorrow ...

Hugs xx

October 28, 2016

Friday Freebie 141

Hi Everybody,

This pretty card  was made earlier this year and it is Letterpressed in Lilac and is a 5x7 size.

The flowers compliment the scheme

I have added in one of my hatpins to the display after the photo was taken so you won't see it here.

I have added lace and ribbon to the bottom of the card and lace leaves in with the flowers.

The inside is finished on this one

So if you would like to have this card then all you need to do is leave me a comment.

From those comments a name will be chosen as the winner.

I will add that name to tomorrows blog post so you need to come back and check if it is yours that is listed.

More tomorrow ...

Hugs xx


October 14, 2016

Friday Freebie 140

Hi Everybody,

Todays FF card was featured the Tuesday Tutorial Floral card way back in May

All the instructions to make the card where given in that  post and today I am offering it as a gift to one lucky winner.

So if this is a card that you would like to have then all you need to do is leave me a comment

A name will be chosen from them and the winner announced in tomorrows blog post.

But you need to come back and check if it is you as the card will be offered to someone else at a later date if you don't claim it.

More tomorrow ...

Hugs xx

August 02, 2016

Tuesday Tutorial - Old Meets New

Hi Everybody,

Having a collection of dies is no good unless you put them to good use and just because you buy new dies doesn't mean that you need to discard the older ones. So for todays card I am using the new Labels 56 and combining it with one of my old time favorites Label 8 Decorative Elements
Spellbinders Supplies:

Other Supplies:
  • Flowers, Leaves and centres from Wild Orchid Crafts
  • Glitter from Glitter Magic
  • Ribbon from Mei Flower
  • Card from Papermill Direct
Instructions:

With die #7 from Matting Basic A cut two white layers to create a hinged card
With #7 from Matting Basic B cut one in pink
With #6 from Matting Basic A cut another white panel and emboss it with your folder.
The folder will not be big enough to take all the card so emboss one side and then turn the card around and emboss the portion that is not done.
 It may leave a join mark but we are able to cover that with ribbon 
(Remember that die #1 is always the smallest)
With #4 from Labels 8 Deco Elements cut one in pink and add foam pads to the back of this
With dies #2 and 3 cut these layer with the larger one in pink
Add a sentiment to the smaller panel  in black ink and heat emboss with clear powder
With #3 cut this panel in white and add foam pads to the back of each one
Layer the Labels 8 Deco panel to the white embossed layer and then add both to the pink layer and wrap with ribbon.
Add all these layers to the base card and layer on the rest of the panels to assemble the card
The flowers I have added are a mirror image of each other at the top and bottom of the centre panel.
And if you struggle with your floral displays then here is a video that may help you with your arrangement ...  Adding Flowers To Cards 

More tomorrow ...

Hugs xx