Hi Everybody,
 |
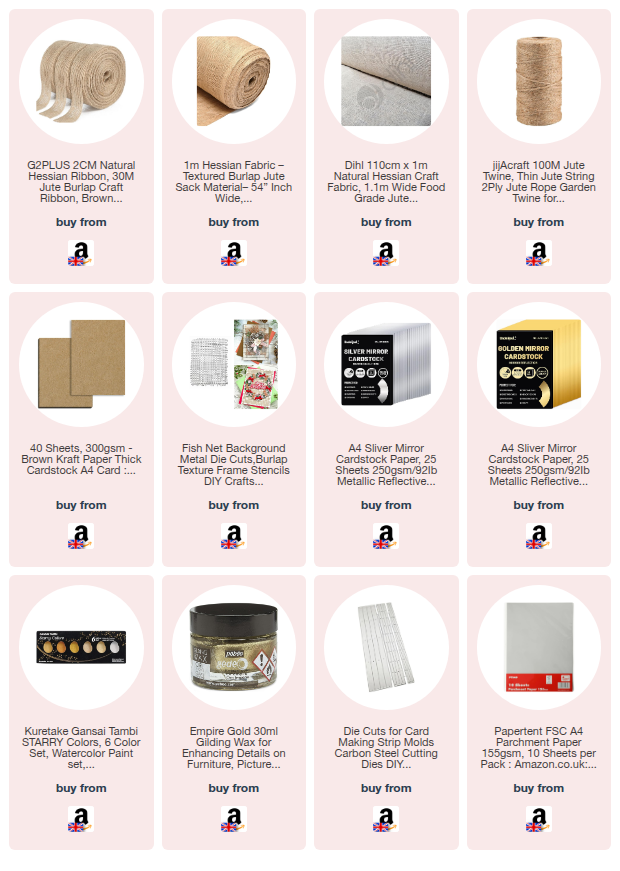
| Real Hessian .................... Die Cut Kraft Card |
Last week I promised to show you the difference between the die cut hessian look and the real Mccoy.
And as you can see there is a vast amount of difference between the two. You may have a preference but I personally like the real hessian on the left better.
It looks more rustic and more tactile then the die cut version and for me it adds a lot to the design.
Here's the video ...
Here's the video ...

Having said that I will use the die whenever I need a quick card and I don't have any real hessian ready to use.
To show you what it looks like on a finished card here they are ....
This is the real stuff and I have added the flowers that have been made in the other videos.
I have used any leaf dies that I have and of course my favourite one is my own design "Rose Flourish" which is sadly no longer available
The other card has the die cut on it and although it is still a good looking card it lacks the authentic look of the real hessian,

Both the flowers have been cut from the stiffened hessian and I have used the same die.
I used Seedless Preserves to colour one and used a similar centre peice on both and yet they look so different.
I hope you like the cards and let me know which you prefer
Now before I go I also wanted to share with you another idea that came to me and that was to cut the stiffened Hessian into 1cm strips and weave the two different colours together.
The end result was very pleasing and if you would like a longer video on this technique then let me know in the comments and I will do one.

It would look different again if I had used just one colour but as I had the two sitting here I thought I would give it a try and see what happened
It is very textural and I do like it but I would do it bigger the next time I try it and in just one colour too.
Bye for now ...
Hugs xx