Hi Everybody,
You can visit Rebun all year round but in the summer months there is an abundance of flowers.
My little corner of Blogland where I can share my creations with you. There are many video tutorials as well as links to good quality websites for all your crafting needs.
Hi Everybody,
You can visit Rebun all year round but in the summer months there is an abundance of flowers.
Here are the first cards that I have made using my washi tape from The Washi Tape Shop and I have to say I am really pleased with the outcome.
These are the photos of the steps I took and I ended up with two cards from one attempt.
I cut lots of flowers and leaves and used what was left over from making the gold frame to create the second one, so nothing was wasted.
I used dies to cut out the shapes and I cut plenty to add to my design;
This beautiful tape has gold foiling on it and it really shines in the light.
This made a nice deep frame to sit on the front of my card.
It was the smaller oval that was left over from cutting this frame that I used to create the second card.
 But then I have never had Washi Tapes like these before and so I will certainly be trying them again on many many cards and envelopes.
So thanks again to The Washi Tape Shop for their beautiful Washi Tapes and if you wanted to try some for yourself then don’t forget you can get a 10% discount off your order by adding in the code CHRISTINA10
More tomorrow ...
Hugs xx
A little while ago I was asked by The Washi Tape Shop if I would like to try some of their products.
I am very new to Washi Tape and have very rarely used it.
To me it is something that holds your dies in place while you run them through the machine. It is not something I would think of to make a complete card.
But I had a look at The Washi Tape Shop website and was very pleasantly surprised by what I saw.
They have some amazing designs and some of the tapes are quite wide. I loved the gold foiled ones and so I made my choices and waited for them to arrive.
Well I now have them and I am going to make some cards and add Washi Tape to my designs.
Here is a short video to show some of the ones that I have and I will add more as I make the cards.
If you want to try some of the Washi Tape for yourself you can get a 10% discount if you add the code CHRISTINA10
More tomorrow ...
Hugs xx
Hi Everybody
I hope you are all well and looking forward to the weekend. It’s a bit dull here but it won’t stop me going out with Ruby later. It is the firework contest tonight but I don’t think we will be going to see them.
And here is a tip for all you owners of dogs that are food orientated …. Ruby is one of those dogs and the last time we went to see the fireworks she spent the entire walk hoovering the pavement looking for doughnuts. She managed to scoff three before I could stop her.
On to the draw which has now been done and the name this week is ….
Carole Eaton
Would you send your postal address please to
christina@card-making-magic.com
and the magazine pack will be on its way to you straight away. Please let me know when you have it safely and I hope you will enjoy playing with it.
More tomorrow…
Hugs xx
Hi Everybody,
When I was on Facebook Live last Friday I showed some of the ways that I have folded the cards from the one card die and I promised I would make a little information video to refresh your memory should you have forgotten, or even missed the show.
I haven't made a card in the short tutorial, but instead shown the different ways of folding your card.
I showed some samples on Friday, this Gate fold was one of them, and some other styles on Monday.
In the video there are lots more that you may like to try.
They will all fit into the box or envelope that can be made from the die set, with the exception of the Bridge card.
Although that folds flat it will need a bigger envelope to post it.
Still I hope you will enjoy these ideas and maybe try some for yourself especially if you are new to card making.
Do you have one of those adult colouring books and you can't think of hat to do with the finished pages?
There are many many of these books that you can buy but consider the feel of the paper inside. Some of it is is glossy and you will not get a good result from it.
This is the one that I have, and I have had it for years. I got mine at a Craft Show I went to a long time ago.
Alcohol markers would tend to bleed through the paper and water colours would make it buckle.
I always keep a thicker piece of board behind the page I am colouring to prevent and indentation on the sheet underneath.

 |
| Altenew Just Jasmine |
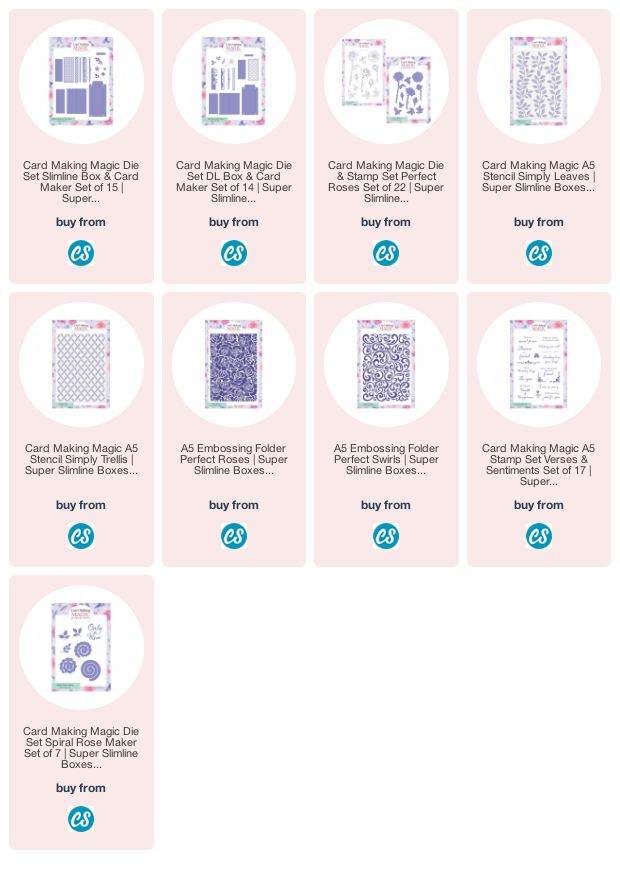
This beautiful set is from Altenew and I bought mine from Craft Stash. when they had the set on special offer. It consists of a stencil, dies and a stamp set to give you this lovely Just Jasmine Flower.
I added my design to a slimline card and used a pink mat to pick out the colour in the flowers, and the result is very pleasing. I am a big fan of Altenew and always ready for a bargain from them.
Layering stencils are so good especially if you are not a fan of colouring yourself. They make things so much easier for you as all you need to do is add the steps from the guide that comes with them.
 |
| Altenew Bitterroot Flower |
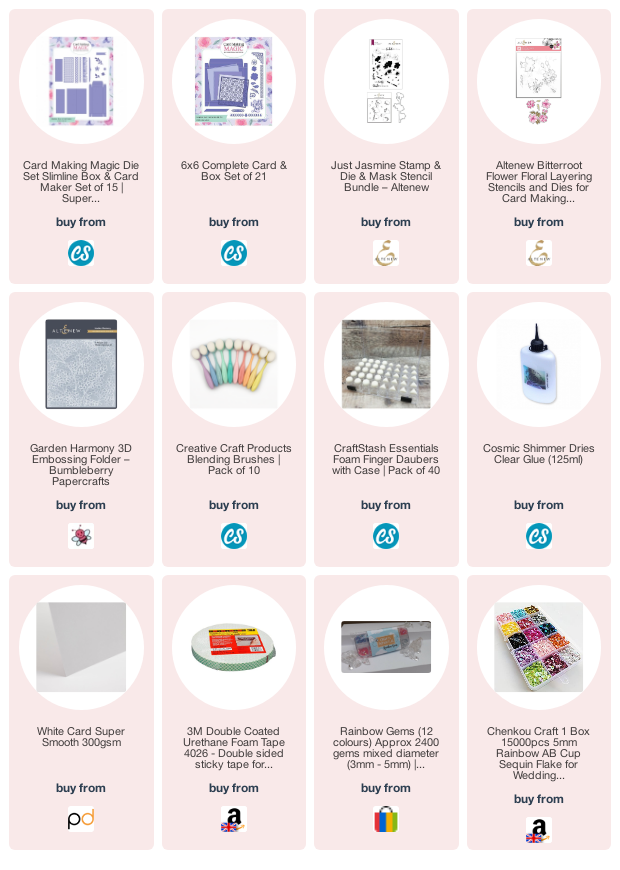
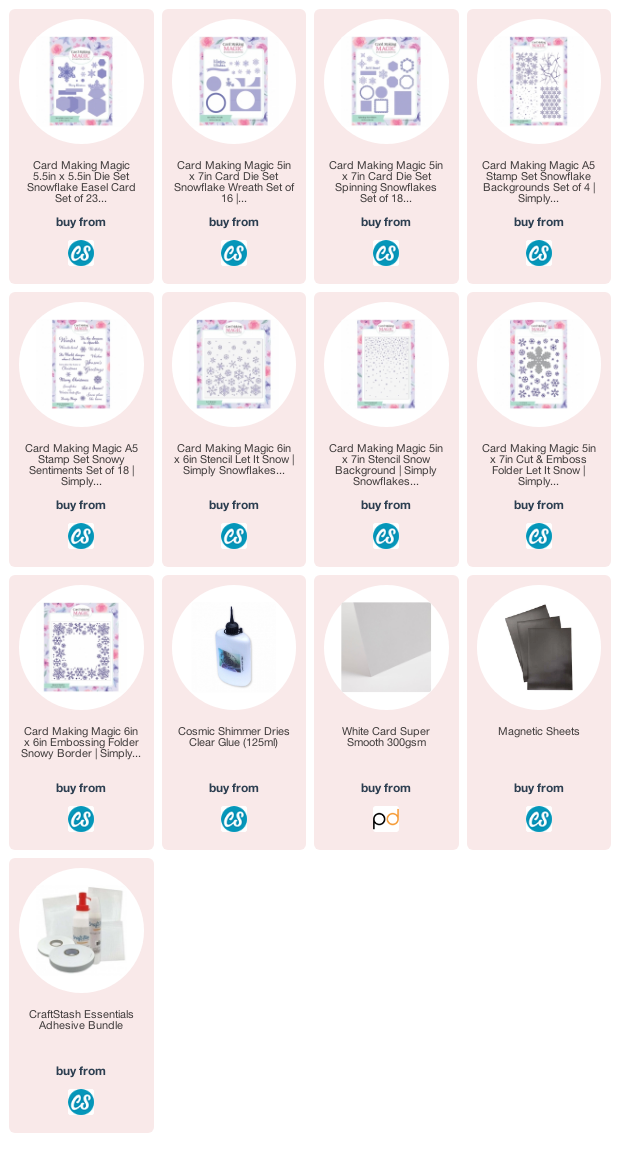
Todays card is using one of the the new Snowflake Collection Die Sets, from Card Making Magic, that is available at Craft Stash.
It was showcased last Friday on Facebook Live on the Craft Stash page so I hope you managed to join us.
I have used the Snowflake Easel Die Set to produce the standard Easel card and the effect is really very pretty., and it stands quite high for an easel card.
This is the original style and with a little tweaking here and there you can easily create the other style to produce a different look for your designs.
Hi Everybody,
This is a peaceful Saturday morning after the incident yesterday. I was due to be on Craft Stash Facebook Live at 12.30 and I set off good and early for what is usually an hour and a half journey. I filled up with fuel and dropped Ruby off at Vickie’s house to play with Dougal and left.
I got on the motorway and was on the very busy M6 when I heard the bang. I thought at first that I had hit something lying on the road but there was nothing to see and everybody else was whizzing past me. But I knew something was wrong as my car is usually so reliable.
I made my way over to the hard shoulder and got out and my front passenger tyre had blown out and was as flat as a pancake. Scary prospect at 70 mph. I stopped next to one of the SOS boxes and rang but hearing what was being said was nigh on impossible with all the traffic noise.
Any way long story cut short a young patrol woman came out to me and we sorted out help. But I was stranded on the motorway for two hours. I rang Nicola at Craft Stash to explain what had happened and she said not to worry just get it sorted and she would alter the show times.
I eventually got there and at 2.30 the show went “Live” If you where waiting for me at the expected time then my apologies at the delay but there was nothing I could do about it.
It was a relief to get back home, but the breakdown had had to fit the spare Space Saver tyre and with that your speed is restricted to 50 mph. So I felt as if I had crawled along the motorway. At one point a woman driver behind me flashed her lights and shooed me on with her hands. I won’t tell you what I did back.
Anyway all is well and the winner for today has been chosen at random and the name this week is
Jackie Allibone
Please could you email me your postal address to
christina@cad-making-magic.com
and I will get it in the post to you just as soon as I can. I hope you enjoy the pack and be sure to let me know when it arrives with you.
More tomorrow…
Hugs xx
This fabulous pack has a large sentiment die in it from Tonic and a 25 piece stamp set to go with it. No reason not to make some of those Christmas Cards if you win this.
You will also get the magazine, Simply Cards & Papercraft, to browse for even more ideas and what's more I have several of these packs to give away over the next few weeks.
All you need to do is leave me a comment if you would like to win one of these, with your FULL NAME and you will be included in the draw.
From those comments one name will be picked at random as the winner and shown in a blog post over the weekend
You will need to come back and check if it is your name listed and you will have 72 hours in which to claim your prize. The draw is open to every body regardless of where you live and it doesn't matter if you have won before. And if you don't win this week you may be lucky next time so keep trying
.More tomorrow ...
Hugs xx
Hi Everybody,
Today see the anniversary of Creative Stamping Magazine that is celebrating 100 issues of fabulous ideas and inspiration. This is a magazine that I have done many articles and videos for in the past and it is full of useful information that you can try out for yourself.
The video below was one that advertised the sale many issues ago but it contained one of my most favourite of all time stamp sets. I am adding it again so that you can see the value of the stamps that are attached to this magazine. By now of course that magazine will no longer be available to purchase.
But there is the new one in the shops now with all the Birthday wishes from designers who have contributed to the success in the past. The pages are filled with ideas for you to try for yourself that will show you how to get the best from the stamps that are attached.
Hi Everybody,
Once again I cut the stamped image up and added them with foam pads to different areas of the card front.
You can get a lot of use from one stamp set by simply cutting it up and using parts of it, or all of it in different areas.
I used a different embossing folder for this one and this is 5x7 card
I will show you some cards when I use the next kit that I already have and the new one that was out on Sunday is on its way to me and I will be sure to sho you some of those too.
More tomorrow ...
Hugs xx
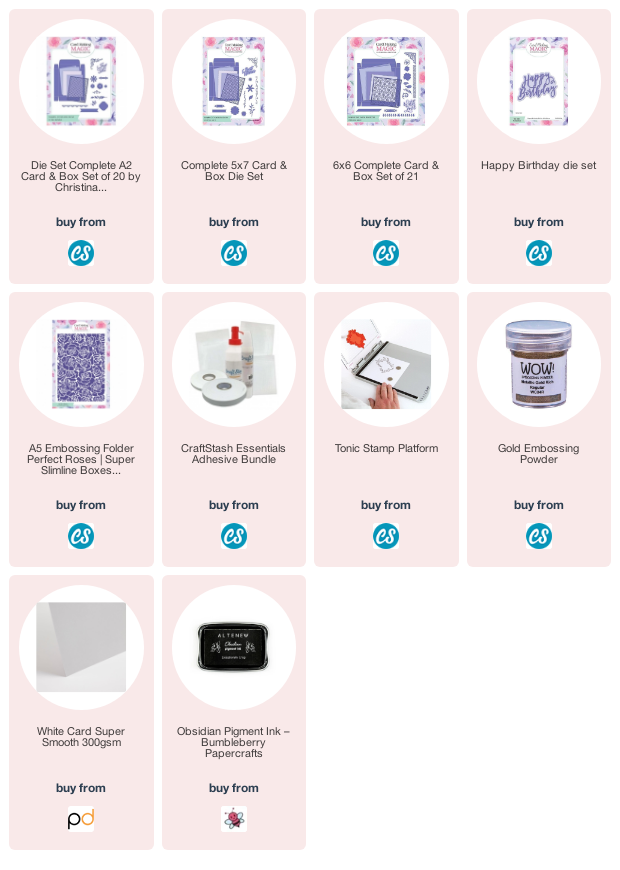
Todays card is created from the new Festive Portals Collections. It is 6" Square and very intricate.
I used some of the snowflakes for the inside of the frame and they are supposed to shake .... but underneath them is glitter card and so they are stuck to that.
Plus I added far too many and so defeated the object.
But even after all that it is still a pretty card and the video will show what I did and how not to make a shaker card ... need I say more !!
