Beautiful Card Designs Made Easy

July 11, 2024

Birthday Cards

Hi Everybody,

Birthday Cards are my most regular makes for family, friends or simply to donate to the charity shop. And I make loads of them in the course of a month.

These are just some that I have made over the past few months and all these feature apertures in them with a bright and beautiful background.

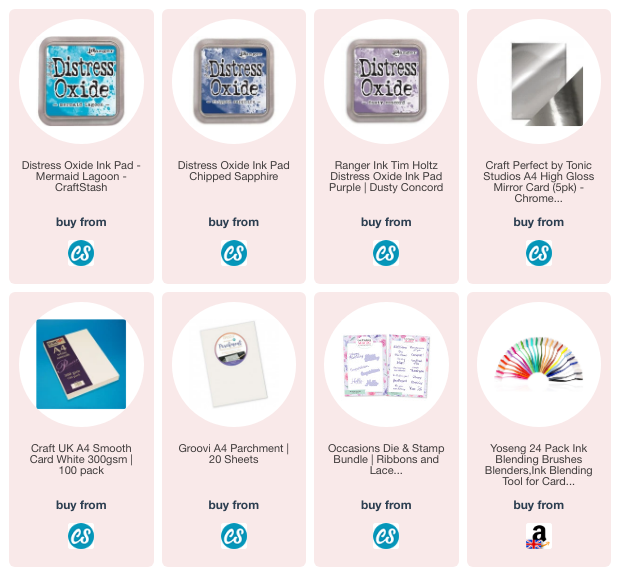
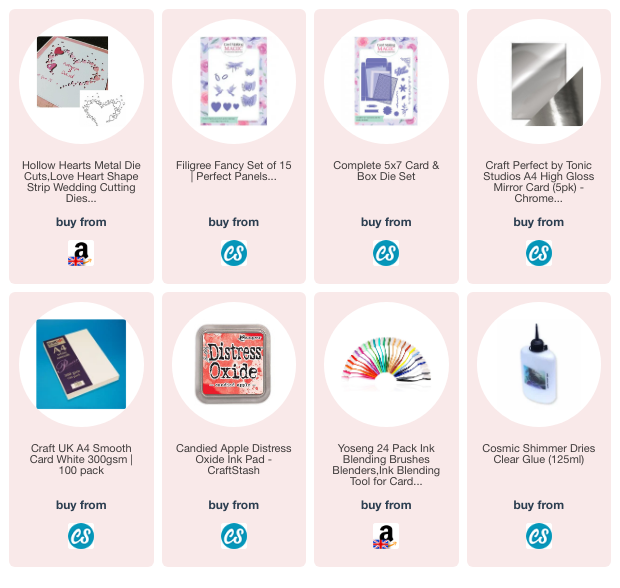
They have all been teamed with a bright gold mirror card and butterflies are used on all of them. The season of butterflies is upon us and so why not use them in your designs.

They are something I use a lot ... along with leaves, flowers, hearts and feathers ... all of which make a beautiful additions to your creations

This card has a really delicate sentiment stamped onto the front of it with my favourite Rose Flourish leaves added behind.

For this card I have used a vertical sentiment to compliment the vertical aperture.

Again I have used gold mirror card to cut the leaves and the butterfly,  plus I have added them all to parchment.

Then I backed the sentiment onto a gold panel as well.

These cards are all 5x7 with the fold at the top,  to create a tent fold card that will stand better on it's own.

And despite having the butterflies that are reasonable flat and will fir into  standard sized envelope for posting.

This card has been created using desktop finds of the gold card and added to the design.

This sentiment is cut from a die, but the others are stamped from older Card Making Magic sets that you may have as well.

I particularly like the vertical stamps as they make a change to the way I add my greetings.

More tomorrow ...

Hugs xx


July 10, 2024

Desk top finds ...

Hi Everybody,

So this is another card using up all the left over bits that are lying about on my desktop.

 It is amazing what can be created with the bits you can find from a previous crafting session. So keep them all in one box and have a rummage when you next need something.

The background to this card is one I had left over from making my own Distress Oxide papers and using a stencil.

The smaller panel is  cut in white and added to a really old Spellbinders die and that has also been added to an inked piece of paper hat was left over.

The leaves are from my favourite die set,  the Rose Flourish, along with smaller leaf dies tucked into the mix, and they have been cut in white and gold.

The flowers are more odd bits and they have been layered together and added to the card with small peach coloured resin centres.

The sentiment is also in gold on a parchment shadow and that is an old Card Making Magic die set.

I have used the antique type of gold card for this rather than the bright gold mirror card as it seemed to fit in better with the overall look.

More tomorrow ...

Hugs xx

July 09, 2024

Gelli Plate Background

Hi Everybody,

The little panel to this card is created with the use of a Gelli Plate,  Distress Oxide Inks and a stencil.

I was having a playtime with the plate and I produced quite a few backgrounds that I can use on my cards ... but I didn't film the process.

So I will get it all out again and make some more using the plates and the Distress Oxides and this time I will actually get on film what I use.

And make some cards in the process using the panels that I create.

I have had the Gelli Plate for a long time and I got mine from Amazon, but you can get an equivalent one cheaper elsewhere, and they come un lots of different sizes.

I have used it very little and I always feel a little intimidated by it, but having said that I do like the card that is shown here.

 I have used acrylic paints in the past and they I am not comfortable with as they are far too messy for me. I am not the cleanest of crafters and they are too much even for me. 

I will get lots more practice in over the next few weeks and then I will feel more confident with it to film what I am doing. 

To thus card I added a frame around the panel and then added it to some gold card for the mat.
I topped it with some feathers cut from white, gold card and parchment. 
The self adhesive  pearls I have had for a long time and they need a little extra blob of glue to help them stick.

More tomorrow ...

Hugs xx


July 08, 2024

Make the most of Acetate

Hi Everybody,

Over the years I have used Acetate in many different ways and it makes whatever you add to the card appear as if it is floating. 

It is an excellent materials for adding to boxes either as a complete lid or simply to line the top of the lid to display the beautiful card inside. 

I have even made complete small boxes and filled them with sweets for children.

Or you could make the ever popular shaker cards too.

But  I really like the look of card bases made from the thicker acetate that can be bought, and it can be frosted, embossed or left clear which ever you please

Here is the link to the video on YouTube for you to view ... Make The Most Of Acetate

I am now adding the links direct to YouTube as that will increase my viewing on that channel and I would appreciate it if you would click the link to go there and leave a comment,

The top card is left clear but the pink one has a frosted back to it and it does make such a difference.

But if you do use acetate don't make the same mistake I did.       Stupid me !!!!

 I did not remove the protective covering from the sheet and I was not happy with the look at all.

Then I realised what I had done and had a good laugh at myself,  and once that layer was peeled off I had a lovely bright acetate base to adorn and I was very relieved.

It is a very versatile product to work with and try some of the patterned or coloured sheets that are on the market for yet more ways to make your cards look different.

For the card to the right I have used an embossing folder.

I simply ran the folded card base though the machine and then removed the protective layer after.

You could also achieve another look by sanding the embossing 

More tomorrow ..,

Hugs xx< 

July 07, 2024

Maggie Coleman - Winner

 Hi Everybody,

So today dawns bright and dry and will be a good day to take Ruby for a short walk. I feel so guilty not taking her further but she gets tired and sticks to my heels like glue when she has had enough.
Then I know it is time to head for home again. 

I hope you are enjoying the videos I have added lately and I have been doing two every week for a few weeks now. They are all on YouTube so if you could leave a comment at the end of the videos on YT that would be great. It lets YT know that you like that kind of video and then they will promote it even more.

Tre draw has been done for the offering on Friday and the name this week is

Maggie Coleman

would you send me your postal address please to
christina@card-making-magic.com
and I will get it sent to you straight away.

Please be sure to let me know that you have it safely and I hope you enjoy playing with the gift.

More tomorrow ...

Hugs xx

July 05, 2024

Friday Freebie - Textures

Hi Everybody,

Today I have more dies and a paper pack to give away and this one is from Textures by Lou Collins.

The die is one piece with lots of words written onto it and this will fit the whole front of a card. 

You could just cut into it if you wanted the words for your project.

The paper pack is  from the Art Deco Collection and there are some lovely patterns in this set that can be used to decorate your card front or die cut into it.

So if this is something that you think you would like to have then all you need to do is leave me a comment at the end of this post with your FULL NAME

From those comments one name will be drawn as the winner and shown in a blog post over the weekend so please be sure to come back and check if it is your name that is there.  

I have no way to contact you so you will need to let me know your email address, if you are the winner, and you will have 72 hours to let me know where you are

More tomorrow ...

Hugs xx

July 04, 2024

Floral Tag Card

 Hi Everybody,

Todays card is in really pretty colours of Saltwater Taffy and Shaded Lilac. 

I blended them over some white card and then added some heat embossing to the top. 

The video will show you how I got the look and I am very pleased with the result. Blending my own colours onto the paper always gives a lovely effect.

The flowers are created from the same coloured card and topped with gold mirror card and the finished card is a 5x7.

I didn't want to waste any of the card that was left and so I made another DL card using the bits I had left over.

The butterfly was cut from the back panel before is was added to the base and no one will ever know that there is a hole in this panel.

The background for this card was created with a Ribbler and it is something that I have had for absolute years ad not used for a long time,

If you are seasoned card maker then you will probably know what one is.

It is just a peice of equipment that the card is run through and it produces the rippled effect. 

Very simple but very effective and I should use it more seeing as how I  have it in my stash.


I hope you enjoy the video and you may have noticed that I am trying to remain consistent with my YouTube Channel and I  have been adding two videos every week, on Monday and Thursday, for the last few weeks.

If you  would watch them in there entirety. including the short adverts ,  it is really big help so that YouTube will promote my channel on a regular basis and it gives me a little money so that I can continue to make more videos for you to enjoy. 

Thank you for your support

More tomorrow ...

Hugs xx

July 03, 2024

Inked Background

Hi Everybody,

For today's card I have used a background that I have created with inks and then cut into a smaller panel that has been framed with a stitched white card.

I have added this to an embossed panel and the finished card is an A6 size and is reasonable thin to go into an envelope for posting.

The blue gemstones have been added in random areas and the sentiment has been cut from the same inky background.

I used silver mirror card to cut the leaves and added them to a white base layer.

Looking back at the card now I would do the butterfly differently because I have cut it from the same inked card and it does not show up in the design.

So I decided to swap it out for one that would stand out more on the card .

Everything else is the same just the central focal point and I think this looks much better than with the blue one that was there before.

This is fast becoming my most favourite butterfly die and it is one I am using such a lot just lately.

What do you think ??? Was I right to swap it out ??

More tomorrow ...

Hugs xx


July 02, 2024

Blended Backdrop

 Hi Everybody,

This is another card from yesterdays video and the background for this card is ink blending. 

I started lightly in the middle and worked my way outwards fading the colour out even more as I went.

I have used Shaded Lilac in the Distress Oxides and then splattered the panel with gold.

It is a separate panel that has then been added to 5x7 card with foam tape to raise it up, and to leave a wide border around the edges.

The leaves have been cut in white, gold and some left over ink smooshed card using an assortment of leaf dies that I already have.

They have been arranged behind the ink blended  and gold detailed butterfly. The wings have been left loose to give the appearance of fluttering on the card.

And again no sentiment has been added as yet because this card would suit many different occasions.

I am deliberately using older dies and products to see just how many ways I can make my cards look interesting without buying more items to swell out my already extensive stash.

I hope you like some of my creations.

More tomorrow ...

Hugs xx


July 01, 2024

Use Your White Scraps

Hi Everybody,

This pretty card is created using some of my white scraps and an inked background that has been cut into heart shapes. 

I have used the same background for the gold detailed butterflies too.

They have all been added to some gold card and then layered onto an embossed panel that has gold splatters on it.

The finished card is an A6 and I have not added a sentiment as yet because it can be for any occasion .

I like to keep some cards on one side that are ready to send, for any that I am asked for, and  all I need to do is just add a sentiment  for the occasion the person wants


This is the other portion of the inked panel and this has been used to cover this card.

I also created the flowers and some of the leaves to go on this and I added them to the gold netting.

Some of the leaves are white and others are gold as are the flowers centres.

Both are very pretty colours and just need an A6 envelope to send them

More tomorrow ...

Hugs xx


June 30, 2024

Sue Cockerham - Winner

Hi Everybody,

What a bad nights sleep I have just had. I don't think I managed to string two hours together and I really don't know why. It's not that hot and I have nothing on my mind that is bothering me ... I just couldn't sleep. Maybe I will have a nana nap later to see if that helps.

In the meantime the draw has ben done and the bane today is ..

Sue Cockerham

would you send me your postal address please to
christina@card-making-magic.com
and I will get it sent off to you straightaway.

Be sure to let me know that you have it OK and I hope you enjoy playing with it.

More tomorrow ...

Hugs xx

June 28, 2024

Friday Freebie - Paper Discovery

Hi Everybody,

Today I have another die and paper pack bundle to give away and this one is from Paper Discovery.

The die set is the Pyramid Set and there are twelve different dies inside the pack to help you create the design you would like.
 
This would look so pretty on a Christmas table with a battery candle inside to shine thought the shaped apertures.

Or you could use the paper pack to decorate this pyramid for a nursery, again with a battery light inside that would keep the child feeling safe in the soft glow of the light.

Is this something that you would like ??? Then all you need to do is leave me a comment at the end of this post with your 

FULL NAME

From those comments one name will be chosen at random as the winner and announced in a blog post  over the weekend so be sure to come back and check if it is your name that is shown as the winner.

More tomorrow ...

Hugs xx

June 27, 2024

Using Shapes

Hi Everybody,

I always have bits and pieces lying around on my desk after a crafting session and  don't like to throw them away. It pays to look at what you have left and see how you can make it work for another card you may want to make

These particular cards I have created with odd die cuts that are in shapes I may have used elsewhere and they have come in handy to create these two cards shown in the video.

The one to the right has been coloured with Chipped Sapphire and this is a gorgeous dark blue that goes really well with the gold.

It has taken over as my favourite blue from Blueprint Sketch as it is a much deeper shade and looks so rich.

The other colour I have used in the video is Shaded Lilac and of course different shapes to complete the card.

This is a good way to use up any scraps of white card that you may have lying around, and as long as the die fits on the top it can be any shape that you may like.

I have also used stencil and small stamps to add the pattern into the shapes and I am really pleased with the results. I hope you like too ....

More tomorrow ...

Hugs xx

June 26, 2024

More butterflies ...

Hi Everybody,

This pretty little die is one I got from Amazon some time ago and it was very inexpensive. 

It cuts the pattern into the card and I have backed the aperture with some ink blended card in red Candied Apple. 

The hearts that were cut out of the design I have also inked them in red and added them in different areas to the front.

The card is a 5x7 and I have used a smaller stitched edge die to give me the layer that I wanted for the top.

Thee sentiment is from an older stamp set and it has been stamped in black and cut into a banner shape and added with foam tape undeneath to give it height. 

This was a quick and easy card to make using items that I already have in my stash and nothing new has been added to make it.

More tomorrow ...

Hugs xx

June 25, 2024

Ancient Dies ...

Hi Everybody,

Todays card is created with dies and an embossing folder that must be at least ten years old and has been in my stash ...  for ever. 

The embossing folder is called Need A Rope and it is from Spellbinders and I have used cream card to make the layer and base card.

I have then ink smooshed a panel and added a  newer netting die to the top, again cut in cream. 

On the top of that I have used a flower from a Spellbinders set called Make A Wish and again this is ancient too and I don't know if they are still available.

But even though they are old the card is still really pretty and one I would be happy to send or receive.

Swap out the sentiment to fit your occasion. The one I have used is a sticker type that  I have added to some cream card and cut out. 

I must admit that I am am enjoying playing with my older stuff and it is fun finding things that I had forgotten about stuffed in drawers and cupboards. And I am not spending any money. 

More tomorrow ...

Hugs xx