Beautiful Card Designs Made Easy

Showing posts with label Altenew Project Life Kit. Show all posts

July 19, 2023

Altenew Layered Stencils

 Hi Everybody,

Sorry there was no post on Monday but I had a lovely day out with my youngest daughter. 

Both Ruby and Dougal go to doggy day care (Playschool) on Mon, Tues, Wed and so we took advantage and went out for the day on our own.

The weather was good all day and it was lovely to be out in the sunshine. 

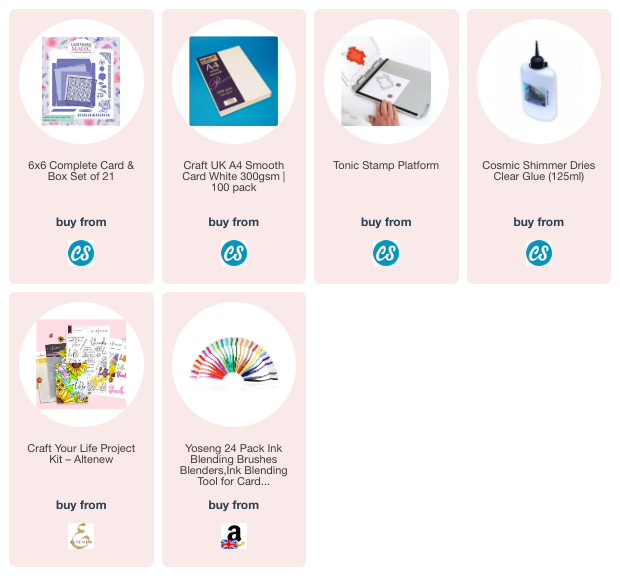
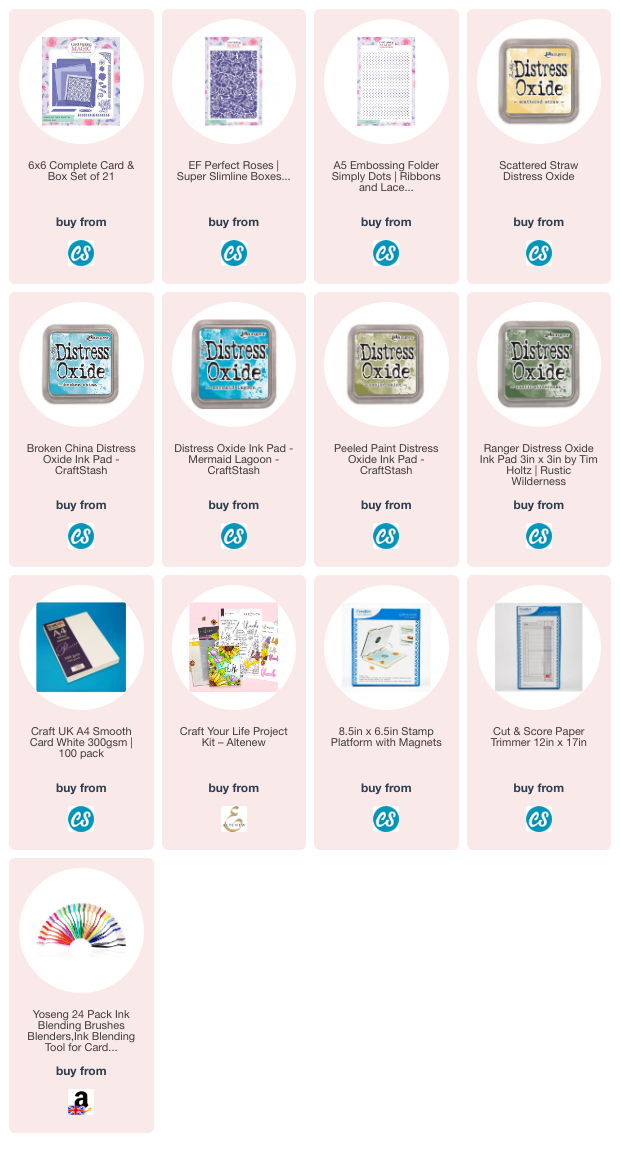
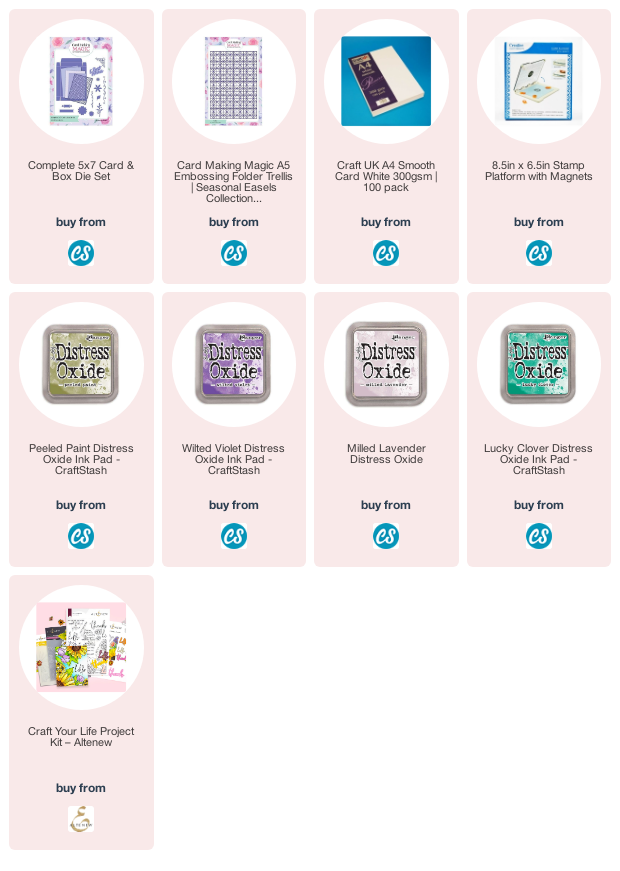
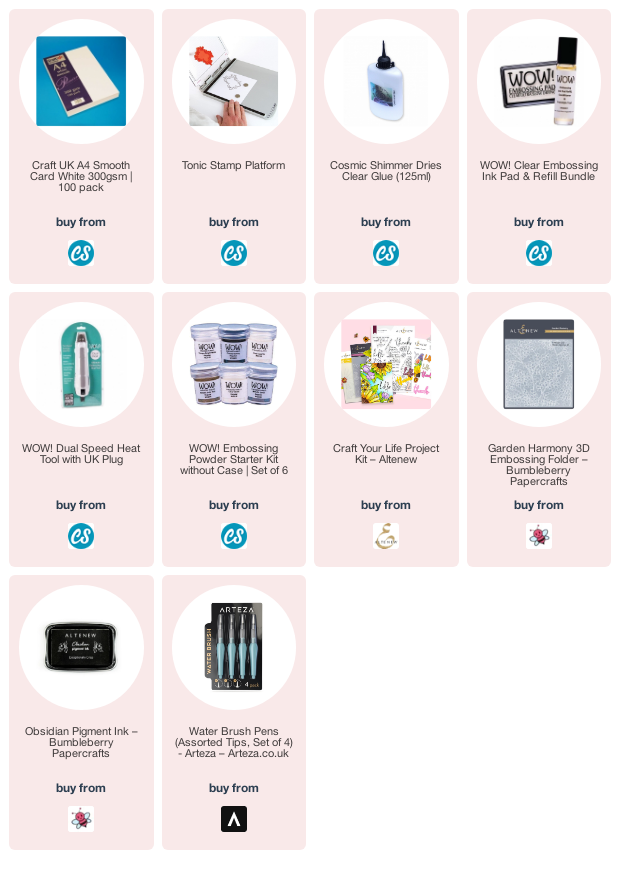
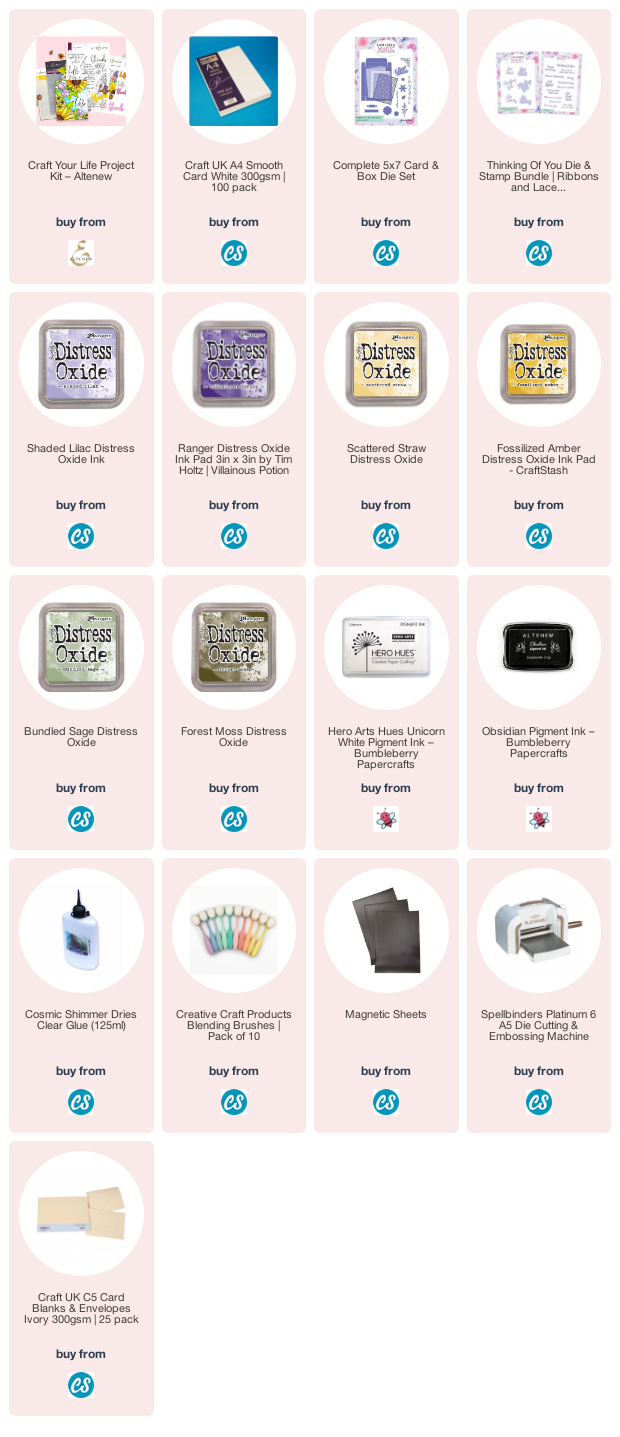
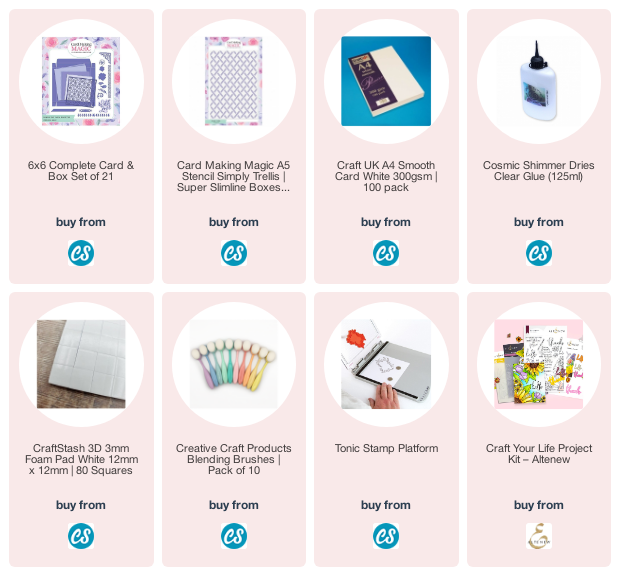
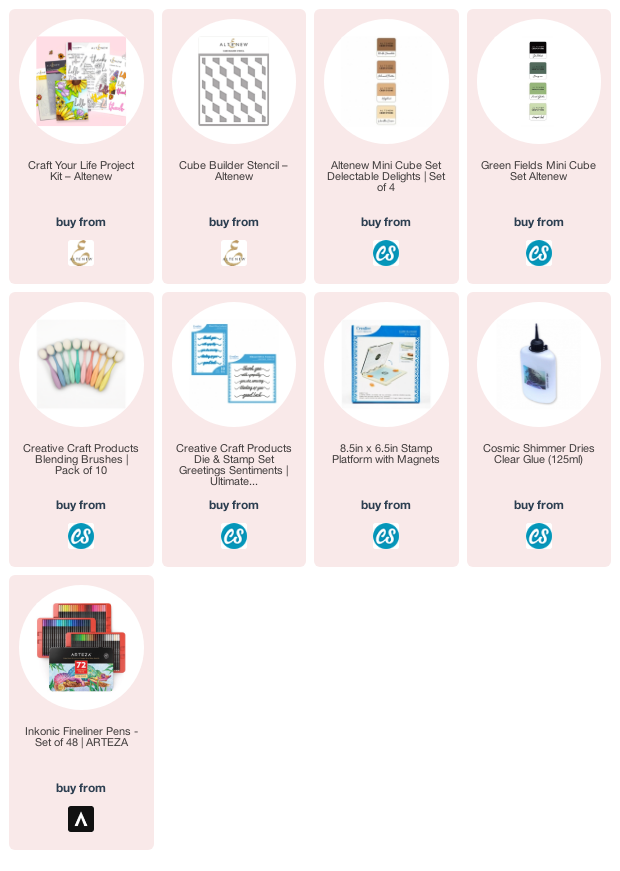
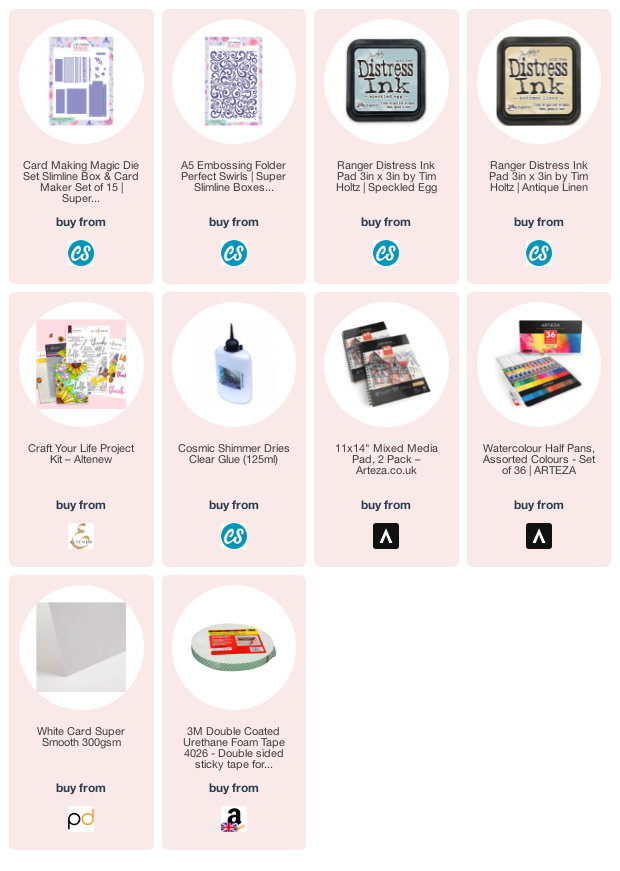
This card is created with a layered stencil from one of the Altenew Project Life kits, and because it is layered it is very easy to colour.

I used Distress Oxide Inks and my blending brushes and then cut it out with the matching die.

I used foam pads and added it to a really old Card Making Magic embossing folder for a very pleasing result.

Altenew make the most beautiful floral stamps and dies and they make spectacular flowers to add to your cards. I have lots of them and use them whenever I can.

The sentiment is part of a pack of pre-printed strips that I have in my stash

More tomorrow ...

Hugs xx

July 10, 2023

Playing with Altenew Florals

Hi Everybody,

Todays card is using the Altenew project life kit that I have been collecting and not using nearly enough.

This kit is the Silk Art from June 2022

For this card I created a shaped front using the die in the kit and then coloured the embossed image with the layering stencils.

I used my own Card Making Magic Simply Dots embossing folder for the background and the Perfect Roses for the inside.

The finished card is a 6x6 and I am happy with the result. The sentiment is from a pack that I bought at the craft show I went to ages ago.

This is the card from a different angle to show the shaped card front.

I stacked the die cut of the flowers three times and added it to the panel and so it is raised from the actual card base and I think you can just make that out in the photo.

It will still fit into a standard sized envelope and so the postage wont be any more expensive.

More tomorrow ...

Hugs xx

April 20, 2023

Altenew Flower

Hi Everybody,

For this card I have been using one of the Craft Your Life kits from Altenew that I have collected over the years.

It has been coloured in using the layered stencil and then added to an embossed background done with a 3-D folder. I used pale blue card and a leafy folder to get the look

One it was embossed I ran over the raised areas with white ink pad to bring them out even more and that panel has been layered onto some glitter card.

I used a wet glue for this, as sticking things to glitter card can sometimes cause problems, as it doesn't stick very well.

The flowers have been added with foam pads to give dimension and one single pearl placed in the centre of the flower.  

I made an envelope from the Lidl paper to go with it and I am quite pleased with the result.

More tomorrow ...

Hugs xx


September 27, 2022

Altenew Craft Your Life Kit

Hi Everybody,

This beautiful flower is Elegant Motifs from Altenew and is part of their Craft Your Life Kit for last November.

There are so many lovely arrangements in this stamp set that can be used all together or apart as I have done here. 

The background is an embossing folder from my own Card Making Magic  and I have Letterpressed this using Distress Oxide Inks. 

I also went direct to paper with the ink pad to give me the fuller look and then cut it out with a circle die.

The flowers have been coloured with the stencil in the kit and then added to the card front with foam pads.

Altogether a quick and easy card to make and the sentiment can be added later when I have an occasion to use it.

More tomorrow ...

Hugs xx

July 14, 2022

Altenew Magnolia & Blooms

 Hi Everybody,

The cards featured today are from the latest Altenew Project Life Kit and this one is named Magnolia & Blooms.

For this 6x6 card I have stamped and Gold embossed the image and then water coloured it using the Viviva water colour pad that I have 

I used the  embossing folder to add the depth and  then cut it out using the matching die. 

I have added it to another 3-D Altenew embossed panel with foam pads and simply stamped and die cut the sentiment to add to the front. 

For this one I have just used the stencil to arrange my own design on the front panel.  The base card has been lightly stencilled too to add some pattern to the card.

The little sentiment is one of several that are on the stamp sheet and they cover all kinds of occasions.

The finished size of this card is a DL and it will fit into a standard envelope .

You can use the stencil to create the pattern with the flowers anyway that you like and it is such an easy way to add colour to them without stressing about your colouring skills.

This card is a super slimline and it only measures 3x6. I have heat embossed the image in silver and added it to another embossed panel.

I have used it in Landscape and backed it with some blue card to match the colour scheme

I have inked the stamped image and coloured it with the stencil

It has been embossed  in the folder to give some depth to the die cut and then I snipped into it to fit the size of the card. 

Three cards in three different sizes and all just as pretty as each other.

More tomorrow ...

Hugs xx

June 28, 2022

Altenew Always Sunshine

Hi Everybody,

Todays cards is using the Altenew Craft Your Life kit for May named Always Sunshine 

There are stamps, dies, stencils and a 6x6 3-D embossing folder and the possibilities are endless.

For this card I used the stencils to colour the die cut flowers and an embossing folder for the background. The finished card size is 5x7 and my colour scheme is lilac and white.

I used Distress Oxides to colour the flowers onto a cream card stock, with some blending brushes from Craft Stash. 

Craft Stash has some card and matching envelopes in the large A5 size if you prefer not to fold your own, and these of course can always be trimmed down to the size you want.  

For this card I used only the embossing folder and ran some pale blue cardstock though the machine.
If you spritz the card with a little bit of water first it helps to get a deeper indentation in the card and prevents it from cracking

Alternatively wipe over both sides of the card with a baby wipe and that has the same effect.  

Make sure that the card is dry before moving on to the next step.

And for that all I have done is lightly sweep over the raised areas of the card with white pigment ink.

Both cards would suit any occasion and the bottom less intricate one would even be ok for a male card.

More tomorrow ...

Hugs xx

June 20, 2022

Pretty In Pink

Hi Everybody,

Thank you all for your comments on my surgery and I am pleased to say that it gets better each day.

 The eye patch is now off and my vision is so much clearer. 

So today I am adding a card that I made last week and this is using the Altenew Craft Your Life Kit for April called Fragrant Florals

I have used an old stencil and a text stamp to add interest to the background

The flowers are cut out with the matching die and mounted on foam pads.

I add the black dots to the flowers with a fine liner pen, and the completed size is 6x6. 
I have made this a birthday card but it would suit any occasion with the appropriate sentiment added

More tomorrow ...

Hugs xx 

May 03, 2022

Never Stop Dreaming

Hi Everybody,

Todays cards is created with the Altenew Kit called Never Stop Dreaming that was available earlier this year.

 I have used the layering stencils in the kit to colour the flowers

This is such an easy way to get some colour into your designs especially if you are not a fan of actually colouring.

I used blending brushes for the flowers and also for the background stencil and it was  a pleasure to create.

The black lines on the background panel are created with fine liner pen for added interest, and I dotted some sequins around to finish it off.

The sentiment strip is from Craft Stash and there are others words to choose from depending on what you need. But once the sentiment is stamped it is easy enough to use the matching die to cut them out.

Another pretty card that could suit any occasion.

More tomorrow ...

Hugs xx

January 26, 2022

Feathered Lilies

 Hi Everybody,

For todays card I have used the Feathered Lilies and created an inked background for something different.

The card size is the Slimline and the front panel I have coloured with Distress Inks.

I added my two colours, Speckled Egg and Antique Linen,  to a glass mat and spritzed them with water, then added the water coloured card to the puddle.

I repeated this process but dried the card between each layer until I got the look I wanted.

I added splatters to the panel using the same colours as the flowers and background inks, with a little black and white thrown in for good measure

Then I embossed in the Perfect Swirls folder from Card Making Magic

The flowers have ben stamped from the kit and coloured on water colour paper.
Before die cutting them out I have added them to the embossing folder and the extra definition in the card makes such a difference and is well worth doing.

Foam pads have been added to the back for the flowers and black sequins have been dotted around the card front. I used a white gel pen to add spots to the Lilies.

More tomorrow ...

Hugs xx

December 16, 2021

Project Life Kit

Hi Everybody,

In the time that I have been unable to blog I cannot say I have been productive. In fact totally the opposite 

I seem to have lost my drive and been so fed up trying to sort the problems out I have just wanted to hide from the world.

And to top it all off I had my eyes tested, as my eyesight is getting so bad, and it turns out I have cataracts that need to be seen too.

But in that time my latest kit from Altenew arrived and I did attempt to make some cards with that bundle.. 

They all still need sentiments adding to them but at least I have made a start again.

The flowers in the kit are quite pretty and can be added in any way you would like for your design . 

On these cards I have coloured my flowers all in the same tone and just added the die cuts to the card front with foam pads,

I used the embossing folder for the backgrounds and lightly rubbed ink over the top to bring out the pattern in two of them.

On the last two I have also added in some Washi Tape and I will add the tape to the envelopes as well. to complete the look
For this last card I have used one of each colour of flower and added them to a plain embossed background and this and the first card are both Slimline cards used in different orientations.

I will most likely turn these into birthday cards with matching envelopes and then they will be ready to send.

On another note I want to thank you for all the lovely comments that have been sent to me, both here on the blog, by email. 

And also to those of you who noticed something was wrong with the blog and took the trouble to email me and let me know.
Thank you so very much

More tomorrow ...

Hugs xx