Beautiful Card Designs Made Easy

Showing posts with label Papermill Direct. Show all posts

January 12, 2018

Launch Day of Nesting Dies ...

Hi Everybody,

I am so happy to announce that the third wave of
  Dies, Stamps and now Embossing Folders
from Card Making Magic is being launched today on the Craft Stash website and you can find me on their Facebook Live page at 10 am

I am really excited about this release as they will make such a difference to any designs especially the romantic floral cards that I love to make

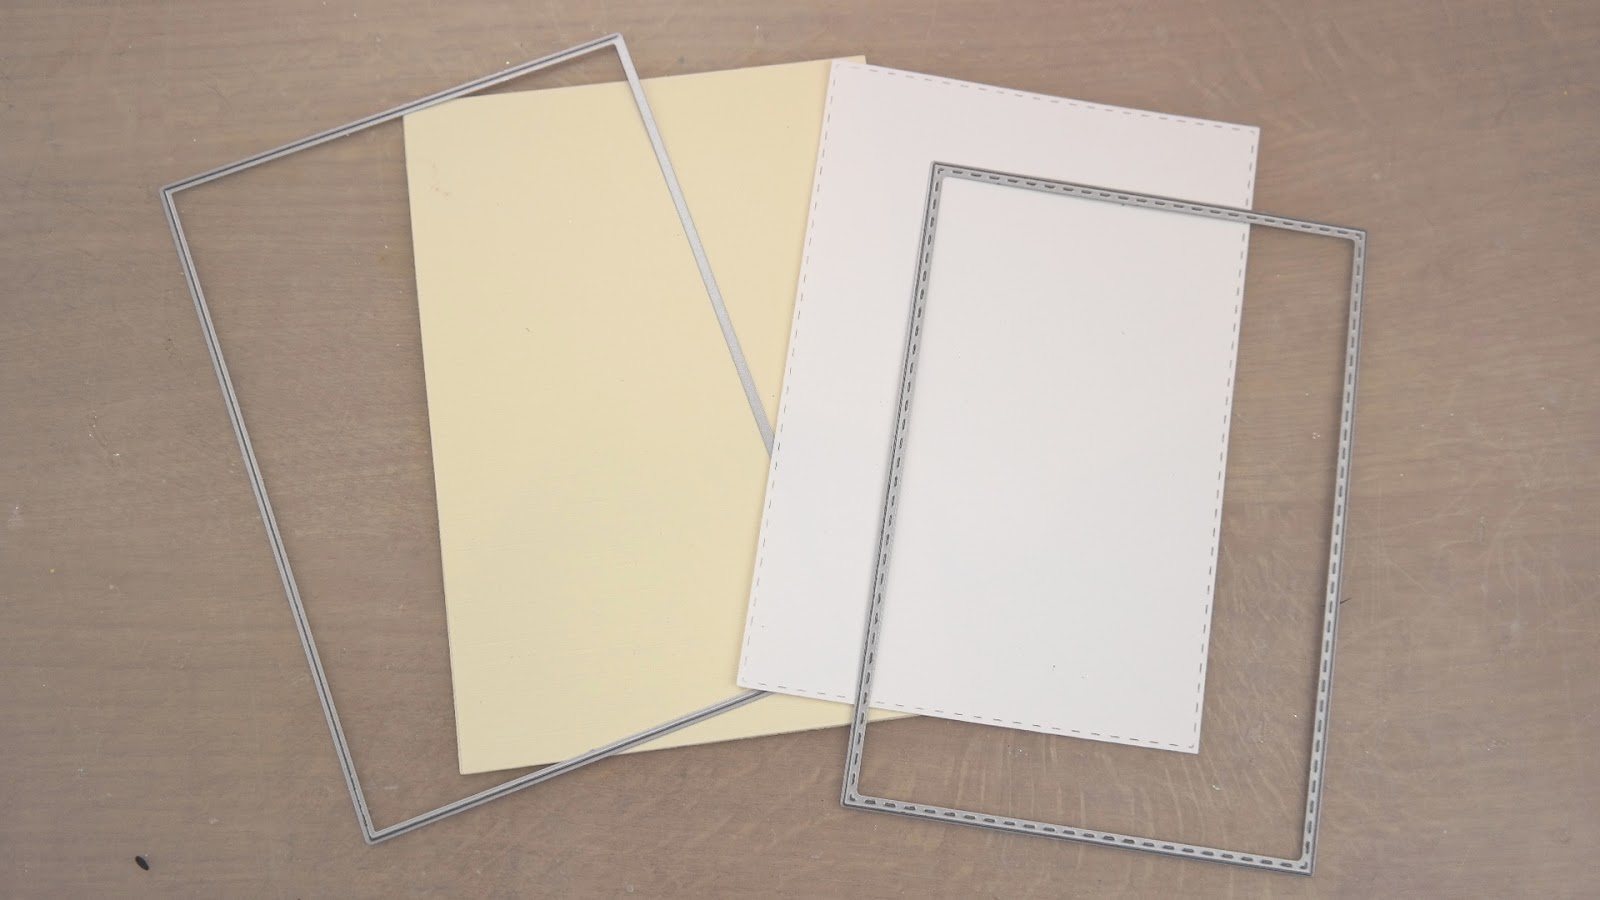
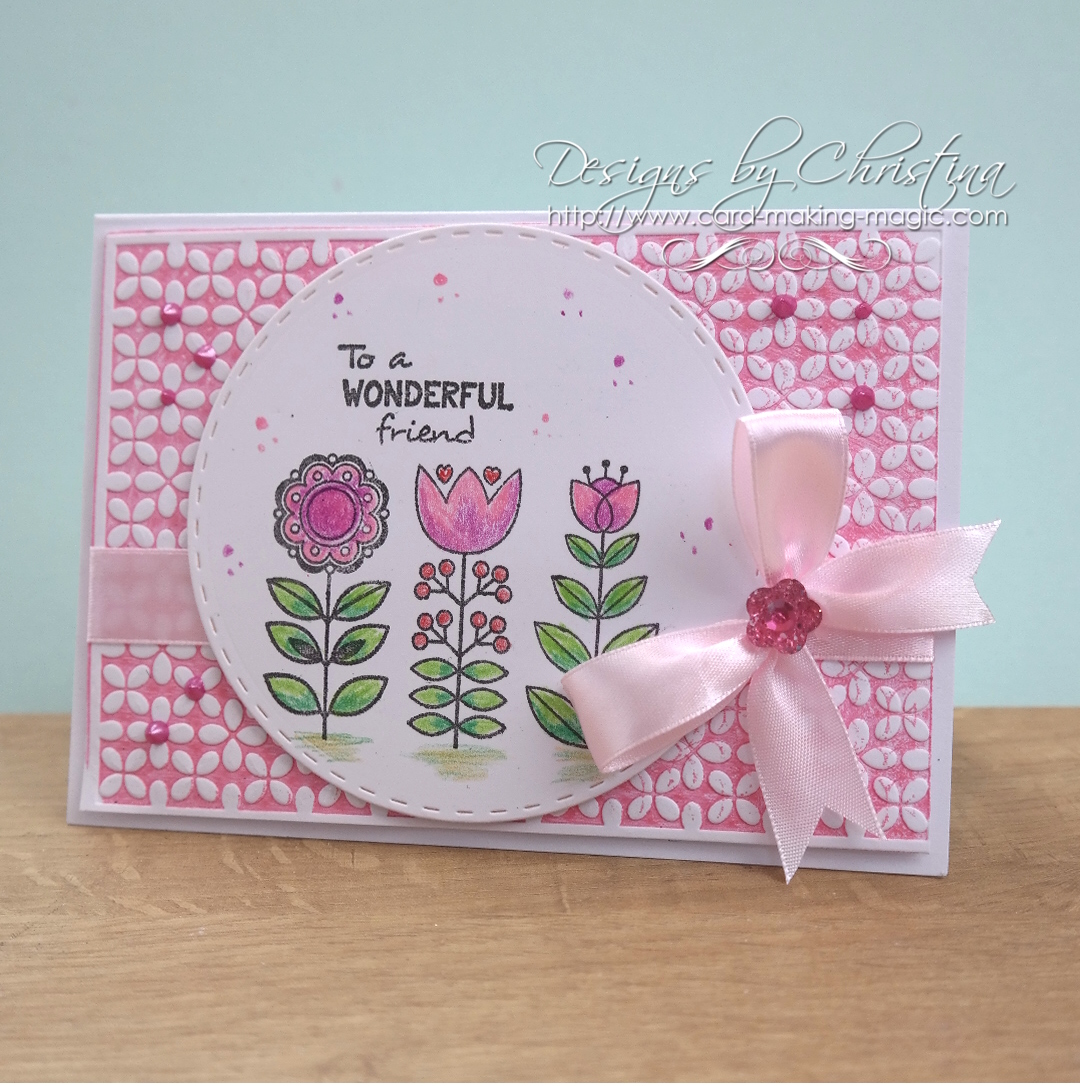
And so I have the first video featuring the Nesting Ovals to share with you today and the card is really lovely and I am so pleased with the result

I will be making many more using my collection and there's still lots more to come in further waves

So I hope you will stay with me to share the wonderful news as it happens and watch my collection continue to grow 


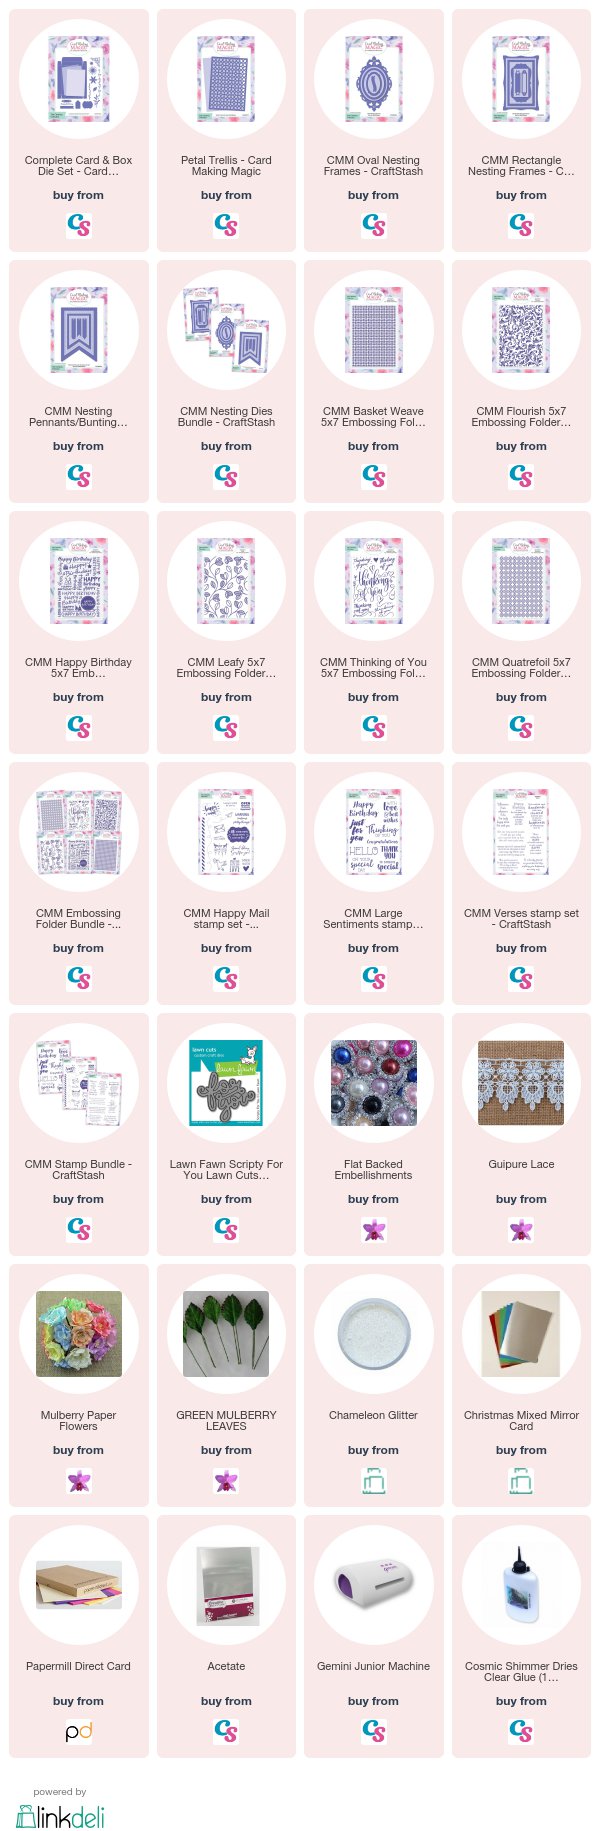
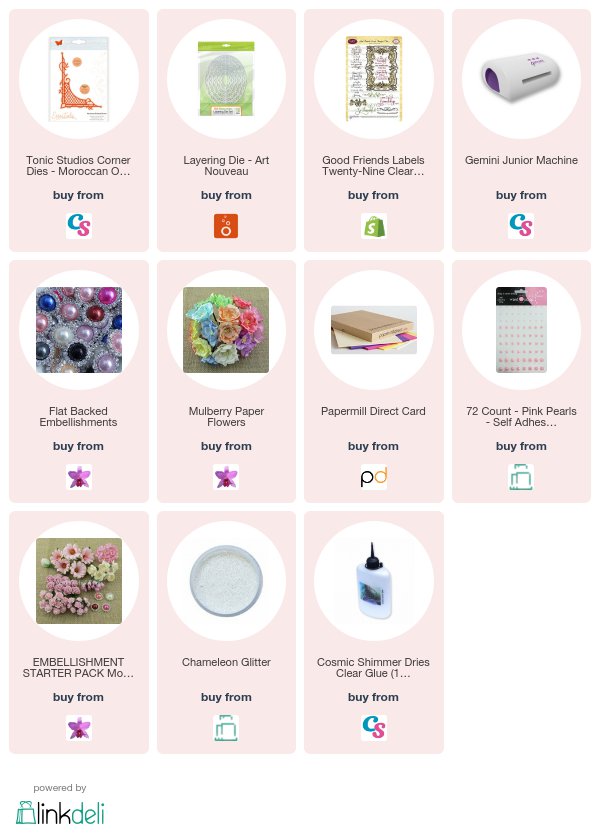
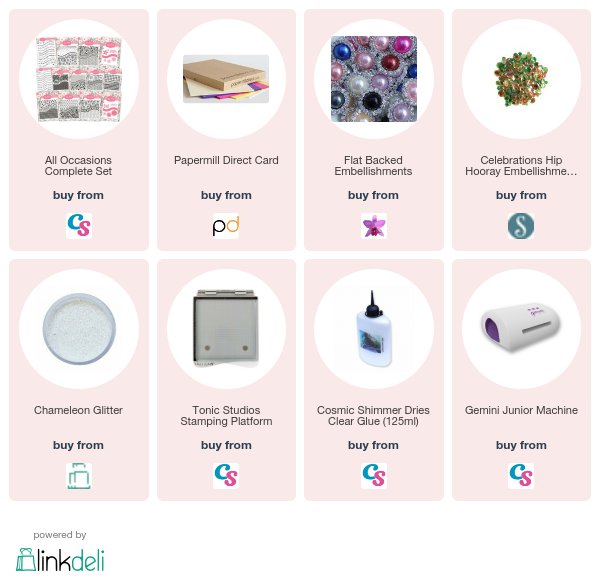
The list below will link you to the new wave but be sure to check out the rest as it is growing into a large complete collection to cover all your 5x7" card and box needs.
They are available on the Craft Stash website now.

 The embossing folders are a new line of  5x7" designs and they are lovely.
 I am absolutely delighted with everything and I hope you will be too.
Come and join us at 10 am Craft Stash Facebook Live

More tomorrow ...

Hugs xx

January 04, 2018

Tonic Studios - Moroccan Orchard

Hi Everybody,

Well as I promised I am now going to be doing adding more videos to the blog pages.

Thank you for letting me know that you enjoy them and that you would prefer this type of tutorial

The links to the products will be at the bottom of the post for you to view 

For this beautiful card I have used the Tonic Studios Moroccan Orchard Corner and it is quite a large die in two sections.


The Pink and White card is from Papermill Direct and most of the card I use is from them and weighs between 255 - 300 gsm

This is a good solid base for any of my designs


The video will show you in detail how I made this card and it is really lovely in the hand. So I hope you will enjoy the tutorial and will continue to join me as I make more for you to view.

And don't forget the  "Give Away"  is running until Friday so add your comment if you want to be in with a chance

More tomorrow ...

Hugs xx

December 13, 2017

Papercraft Essentials 154 - Heart & Flowers Embossing Folder

Hi Everybody,

Issue 122 of Papercraft Essentials sparked off a whole new range of items from the embossing folder that was given free with it.

It was called  "All Occasions" and I did some videos using it.

It was so popular it sold out time after time, and now there are dies, stamps and even more folders in that collection

Did you get "That Embossing Folder" ?

Well here is the opportunity for you to expand your collection because another one is being given away this month.

The video ...   The Hearts & Flowers Embossing Folder & Stamp Set  will show you how I made this card and there are lots more ideas for you to try inside the magazine

It will be on sale tomorrow the 14th December so keep a look out for it as it is surely going to sell out quickly.  
And pop over to Craft Stash to see the other items in this ever growing 

More tomorrow ...

Hugs xx

December 07, 2017

Cards for men ....

Hi Everybody,

Making male cards is something that many people struggle with ... including my self.

And so to bring out some additions to my own collection that would help with that was blessing

The Masculine Additions were added to the original collection in November and have been really well received.

So over the next few days I am going to be adding some vidoes that will show you the ideas I came up with using the versatile stamps, dies and stencils 

The first one is the card shown here and it is 

A quick and easy fun card that could be sent to any of the male members in your family.

I hope you enjoy the little video and the rest will follow this week 

More tomorrow ...

Hugs xx

November 28, 2017

Tuesday Tutorial - Quatrefoil Trellis - Card Making Magic

Hi Everybody,

The Tuesday Tutorial is changing from this week and instead of other companies dies I am going to be featuring my own collection from Card Making Magic
This whole set of dies, stamps and stencils are available only from Craft Stash and each week I will be using a different piece to show you just how versatile it is.
More will be added to the collection in the coming months and the links to the products I have used will be at the bottom of the post 
Supplies:
  • Complete Card & Box Die Set
  • Quatrefoil Trellis
  • Cream & White Card
  • Guipure Lace
  • Pearl clusters
  • Altenew Inks
  • Finger daubers
  • Cosmic Shimmer Dries Clear Glue
  • Foam Sheets
Instructions: 
With the card making element from the Card & Box Die Set create a tent fold card base in cream
Cut another in white with the Stitched Mat
With the outer part to the Trellis die cut a layer in cream and then with the two dies cut the patterned piece in cream and glue these two layers together
Wrap with the lace and glue it on the back so that the edges cannot be seen
Arrange the foam tape to avoid the lace and creating more bulk 
From the flowers and leaves in the Card & Box Die Set cut as many as you would like
Cut extra if you intend to decorate the box in the same way
Cut several Happy Birthday sentiment and stack them together for strength  
Add these to the Banner die cut
Ink and shape the flowers and leaves with a ball tool and inks of your choice
Stack them with as many layers as you prefer to create as many flowers as you need
Arrange the flowers and leaves as pleases you and glue the pearl clusters to the centre of each flower
Add the sentiment banner to the top of the lace with foam pads and a little extra glue to hold it securely.

More tomorrow ...

Hugs xx

November 21, 2017

Tuesday Tutorial - Spellbinders Christmas

Hi Everybody,

It's not that far away now and so here is a Christmas Card to get me in the mood to make more. This one is using Spellbinders A2 sized dies but I have made the card bigger and I will show you how I did this as the layering progresses 
Spellbinders Supplies:
  • A2 Matting Basics A
  • Water Lilies Deco Accents
  • Merry Christmas 
  • Mosaic Vine Leaves
  • Platinum Die Cutting Machine
Other Supplies:
  • Flowers and Holly leaves from Wild orchid Crafts
  • Glitter from Glitter Magic
  • Card from Papermill Direct
Instructions:
With dies #6 and 8 from Matting Basics cut the larger die in gold and the smaller in some patterned paper (Die #1 is always the smallest)
From the Water Lilies dies cut #3 in red and #2 in gold
Layer the patterned piece onto the red layer and then both onto the gold card with foam pads between
Layer these onto another piece of patterned paper and let these now determine the size of your card base ....
... by placing them onto the fold of an A4 piece of gold card and trimming to the size you want it.
You can make your borders as wide as you like ... I kept mine quite narrow
Cut the sentiment die out twice in red and gold and layer them together.
See which way round you prefer them to be stacked  ... I decide on the red shadowed by the gold
I added the words to my card front with a double layer of trimmed foam pads underneath to give a really deep effect and the picture shows you how it looks from the side
Cut the vine and trim to the size that you require and add to the card front with Poinsettia flowers and Holly leaves  Dot the flowers with glue and sprinkle with glitter for a sparkly effect
There is your pretty card all ready to send for someone to display on their mantle shelf 

More tomorrow ...

Hugs xx

November 20, 2017

Silver Wedding Anniversary Card

Hi Everybody,

This beautiful card was made with the Love & Marriage Die Set  that is part of the New Additions to the Christina Collection available from Craft Stash

I have made it in silver and white and it is much better in the hand then the photo shows

My flowers, Leaves and the Dove are all from Wild Orchid Crafts and they have been sparkled up with glitter from Glitter Magic

The fibres that are on both card and box are from AnnaMarie designs and they are some that I use often on my Shabby Chic Cards.

It has its own matching box made with the Complete Card & Box Die Set and I really enjoyed making this .... I just need someone to send it too !!

But with yesterdays card and the addition of the five stencilled cards to one box I am trying to show you just how versatile this new collection can be 

I hope you are enjoying it as much as I am and thanks for all your lovely comments

Moe tomorrow ...

Hugs xx


November 14, 2017

Tuesday Tutorial - Spellbinders Heart Leaf Frame

Hi Everybody,

This pretty card is created by simply folding an A4 sheet in half and then cutting in half. 
It will produce two cards for you to decorate as you wish. 
But it fits perfectly the Spellbinders Heart Leaf Frame designed by Marisa Job. 
So a quick and easy card for today

Spellbinders Supplies:

  • Heart Leaf Frame
  • Blistered Embossing Folder
  • Classic Ovals
Other Supplies:
  • Card from Papermill Direct
  • Flowers from Wild orchid Craft
  • Glitter from Glitter Magic
  • Ribbon from Mei Flower
  • Gold card from Craft Stash
Instructions:
Fold an A4 piece of white card in half along the short side and then cut in half to produce two tent fold cards
Cut another slightly smaller layer to leave a small border around the edges and emboss this piece
With bright gold card cut the Frame die and if you care fully position the die into the centre of a 5x7  panel then you will get all three pieces from the die as shown above.
I will be using the two pieces to the right but the other one will be kept for another project
Savvy Crafting !!
Add the filigree piece to the embossed panel. 
Add the smallest solid piece with foam pads underneath to the centre of the card. 
Wrap with ribbon around the layers before adding to the base card
Stamp and emboss the sentiment of your choice and cut with the oval to fit the verse
Add to the centre with foam pads
Dress with flowers, dot with glue and sprinkle with glitter.
Adhere the bow and the dazzler to cover the knot.

Your comments please ...

Craft Stash are asking for your first thoughts on my new collection that was launched on the 20th October, If you bought some of it would you please consider taking part in the is survey 

More tomorrow ...

Hugs xx

November 08, 2017

Simply Cards & Papercraft 170 - Floral Friends

Hi Everybody,

The new copy of Simply Cards 7 Papercraft 170 will be on sale on the 9th November

There is a fabulous free gift called Floral friends with it and you can have some fun making up your own scenes and backgrounds

This cute fox is one of the stamps and I did a little reverse stamping with him to make him face the other way

I coloured this one with Spectrum Noir 

But this one was coloured with Prisma Pencils

The background is Letter pressed and I show you the process in the video.


And this is the card for the girls ... in the video there is also one for the boys that was just as quick and easy to make

More tomorrow ...

Hugs xx


November 07, 2017

Tuesday Tutorial - Spellbinders Oval Regalia in Blue

Hi Everybody,

For today's card I am using a die that has been out for quite some time and maybe it is one that you have in your collection. I have used a lovely shade of blue to compliment the bright white and added in a mixture of flowers
Spellbinders Supplies:

  • 5x7 Matting Basics A
  • 5x7 Matting Basics B
  • Oval Regalia
  • Classic Ovals
  • Ribbon Banners
  • Platinum Die Cutting machine
  • Blistered Embossing Folder
Other Supplies:
  • White satin Ribbon 
  • Blue organza Ribbon
  • Dazzler
  • Flowers from Wild Orchid Crafts
  • Card from Papermill Direct
  • Stamp free with magazine
Instructions:
With die#7 fr pom Matting basics A cut two panels in white and create the base card
With die #7 from Matting Basics B cut another in blue
With die #6 from Matting Basics A cut another white panels and  emboss in the folder
With Oval Regalia die #3 and #4 cut layers in white
With die # 2 cut a layer in blue and with the largest oval cut another shape in blue
Stamp and emboss your sentiment and cut out with the banner
Cut the blue banner in half along the length and add behind the sentiment 
Layer all of these with foam pads between to give dimension
Wrap with the two ribbons before adding to the base card
Double tie a bow in both ribbons and cut an extra piece to add to the side where the ribbon tail faces to the back
Select the flowers in shades of blue.
From left to right I have used ...
Roses in three different sizes
Tulips in three shades of blue
Cherry Blossom and a Carnation
Gypsophilia and small rose buds in two shades

Arrange as you like and then dot with glue and sprinkle with glitter for a sparkly effect.

More tomorrow ...

Hugs xx

October 10, 2017

Tuesday Tutorial - Eliza Lace Corners

Hi Everybody,

Today's card is a really pretty A2 size in pink and white. Perfect size to send in the post and will fit a standard sized envelope. Add any sentiment to the front that suits your occasion and send with love.
Spellbinders Supplies:
  • Rebel Rose Untamed Tags
  • Eliza Lace Corners
  • Gossamer Knot
  • Hello sentiment
  • Embossing Folder
  • A2 Matting Basics A
  • Platinum Die Cutting Machine
Other Supplies:
  • Cosmic Shimmer Dries Clear Glue
  • White & Pink card
  • Docrafts Liquid Pearl drops
Instructions:
With the largest die from Matting Basics A cut two pieces to create the base card
Hand cut a slightly smaller panel to leave a small border around the edge
With this panel add the inner cutting dies from the Eliza Lace in each corner
Then add to your folder and emboss
With the smallest Gossamer Knot cut one panel in pink and one of the tags also
Cut "Hello" several times in white and stack them together
Layer up all the die cuts to the front of the card and dot with some liquid pearls
Set aside to dry.

More tomorrow ...

Hugs xx