Beautiful Card Designs Made Easy

October 31, 2017

Tuesday Tutorial - Kitty Cats Dies

Hi Everybody,

A super quick card to day using the Kitty Cat dies from Spellbinders. Purrfect for those friends who are cat people and have a birthday coming up. Easy to make in no time at all.
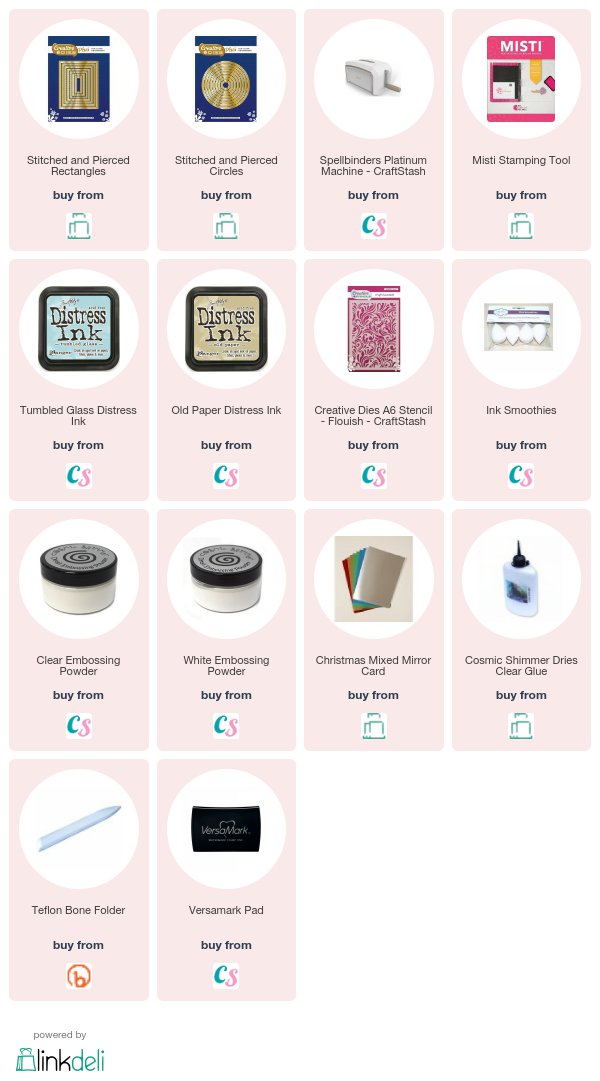
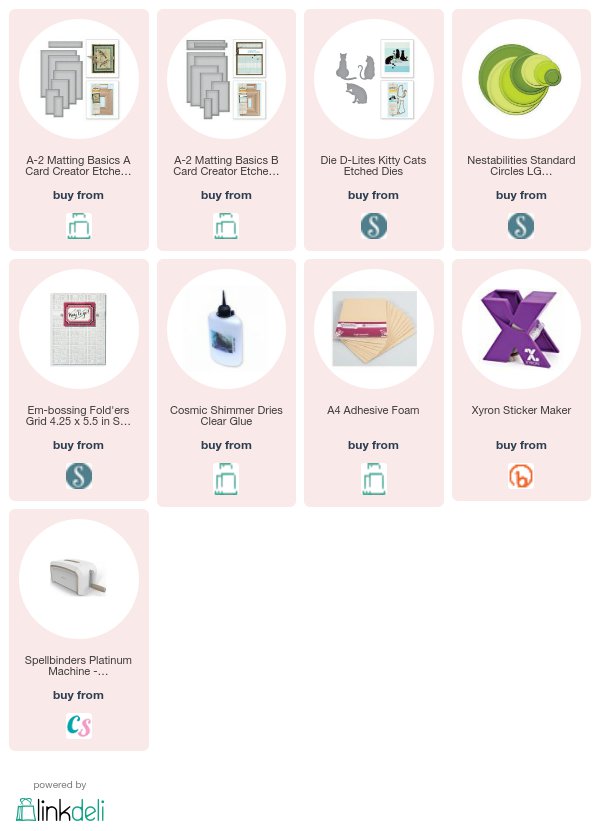
Spellbinders Supplies:

  • A2 Matting Basics A
  • A2 Matting Basics B
  • Grid Embossing Folder
  • Kitty Cats Dies
  • Classic Circles
  • Platinum Die Cutting Machine
Other Supplies:
  • Black/White card from Papermill Direct
  • Pearls dots from Want2Scrap
  • Distress Inks from Craft Stash
  • Foam Sheets from Craft Stash
Instructions:
With the largest die from Matting Basics A cut the base card by folding an A4 piece in half and placing the die just off the edge of the fold
With the largest die from Matting Basics B cut another piece in white.
Cut a circle that fits the front of the card,  into some scrap card,  and use as a mask to ink in the blue background
Emboss this panel in your folder added texture to the car front 
Cut the cats from black card. 
I cut each one twice and stacked them up for strength
Add a piece of foam pad to the back of each
Stamp a little sentiment onto the thin banner die from either set and arrange on the card with foam pads underneath
Sit two of the cats onto the banner and place the other underneath.
With my Dymo I added "Purrfect" to my stamped   "Aged To"
Dress with pearls

More tomorrow ...

Hugs xx
October 30, 2017

Christmas Easel Card - "Christina Collection"

Hi Everybody,

This beautiful card has been created using the dies from the  Christina Collection  that is available only from Craft Stash. There is a lot of depth to this but it still fits quite comfortably inside the box. And it looks much better in the hand so somebody is going to be happy with it at Christmas
I have made it in the Easel Style and in the video I take you step by step through the process so that it is easy to follow if you are new to card making.


All my supplies are from Craft Stash so easy to shop as they are all in one place and the prices are good too.

The video is Christmas Easel Card  and I really enjoyed working with the dies.

Lots more videos to come using this collection and if you bought the set then I hope you are enjoying playing with them


More tomorrow ...

Hugs xx


October 29, 2017

Water Coloured Flowers + Box

Hi Everybody,

I am really enjoying playing with these new dies from my Christina Collection and the possibilities are endless for things that you can do with them.

For today's cards I used the same techniques throughout and yet they are all different.

Simply by varying the arrangement of the flowers and adding different Trellis panels to them can make such a big impact.


The video will show you how I got this look and it is not hard to do.

I have also changed the orientation of each card using all the ways to make them with the three cutting sided die that is in the Complete Card and Box pack

And it is no secret that my favourite is a 5x7  card in tent fold. 

That way I can add lots to the front and it will still stand
I hope you are enjoying the videos on my new collection and thanks again to those of you who have already bought it

More tomorrow ...

Hugs xx


October 28, 2017

Card Winner and a Thank You !!

Hi Everybody,

First of all I want the say Thank You  to everyone who bought some of my new collection that was launched last Friday.

In a matter of days many parts of the Christina Collection have sold out.

Craft Stash are in the process of re-ordering so if you want any then you can pre-order it now.

Today I am adding the video   Five Foiled Cards and One Box  which is yet another way to put your boxes to good use. I have added five different cards complete with envelopes to one box that could be given as a gift.  

Card Winner

So now lets get on with choosing today's winner for the card and gift from yesterday. The name drawn from the hat this morning is you ...

MaryEllen Brown

please would you email me your postal address to
christina@card-making-magic.com
and they will be on the way to you straight away

More tomorrow ...

Hugs xx


October 27, 2017

Friday Freebie - Happy Days Card & Gift

Hi Everybody,

Today's offer is for the Happy Days Die and Stamps set and with this I had a great deal of fun coming up with all kinds of designs

In the video Happy Days  I show you several ways in which I have used the gift

I am sure that you will come up with many more once you start to play.

So if you would like this set then all you need to do is leave me a comment.

Then pop back tomorrow to see if it is your name chosen from those comments to be the winner and you have 72 hours to claim it by email if it is YOU

More tomorrow ...

Hugs xx

October 26, 2017

Tuesday Tutorial (On a Thursday) - Labels 34

Hi Everybody,

Sorry for the delay in the Tuesday Tutorial but I am sure that you can understand why. I have been so busy with the launch of my new collection. I hope to be back on track again next week and the Friday Freebie is back this week

But for today we are using the Labels 34 from Spellbinders and this has matching decorative dies and a beautiful embossing folder which Letterpresses with a deep pattern

Spellbinders Supplies:

  • Labels 34 
  • Labels 34 Decorative Elements
  • Labels 34 3D Medallion Embossing Folder
  • 5x7 Matting Basics A and B
  • Platinum Die Cutting Machine
Other Supplies:
  • Flowers from Wild Orchid Crafts
  • Self adhesive pearls
  • Foam tape from Craft Stash
  • Glitter from Glitter Magic
  • Distress Ink from Craft Stash
  • Ribbon from my stash
Instructions:
With die #7 from Matting Basics A cut two pieces in white to make the base card
With die #7 from Matting Basics B cut another panel in white
With the ink and embossing folder create a Letterpress Technique on the card
With dies # 6 and 4 from the Labels set cut two pieces in a green to match the ink
With die #4 cut one layer in white
Select the flowers you want to use
Add the sentiment to the smallest green die cut
Cut enough ribbon to wrap around the layers and make a bow
With foam between the layers assemble the card and place the flowers so that they please you
Dot with glue and sprinkle with glitter.
Add pearls around the flowers

More tomorrow ...

Hugs xx

October 25, 2017

Die Cutting Essentials 30 Stained Glass Noel Die Set

Hi Everybody,

It's time for this months Die Cutting Essentials 30 and this months free gift is the Pretty Quick Stained Glass Noel Die Set

This does what it says on the pack and that is make cards for you pretty Quick. 

This gift will also work with the gift from last months magazine DCE29 and if you missed that one then you can get back orders from Moremags,com

I have kept both of the cards in the video 
quick and simple as I know we have a busy time with Christmas cards.

So I hope you enjoy this video 

More tomorrow ...

Hugs xx


October 24, 2017

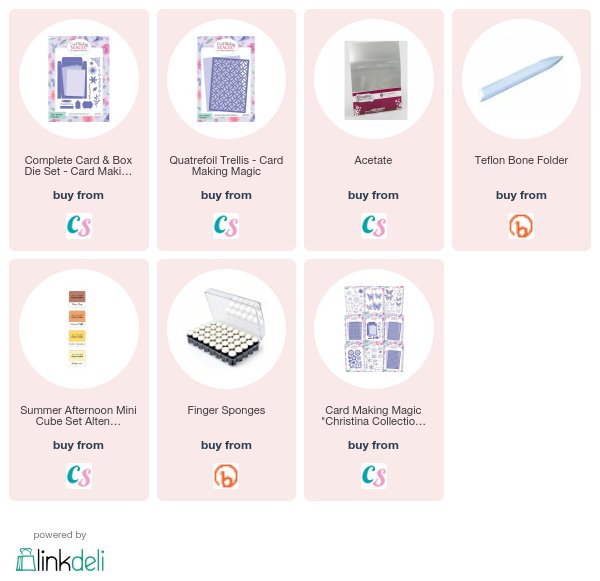
Trellis Weaving

Hi Everybody,

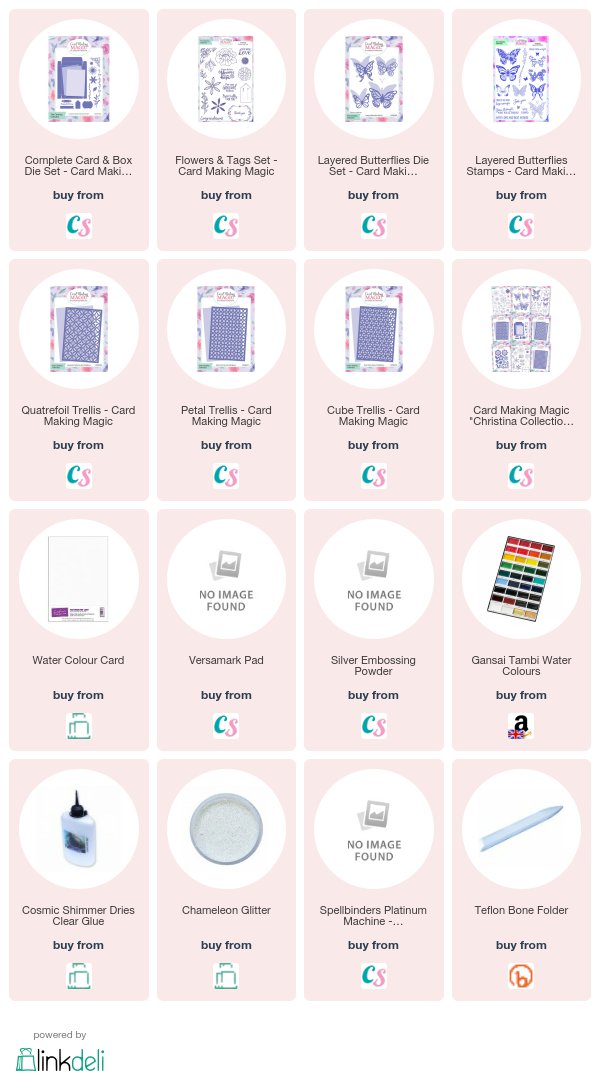
This pretty card has used the Petals Trellis Insert from the 
Card Making Magic - "Christina Collection"

For this one I have added some yellow ribbon through the slots and it creates a look that is different for your own cards.

It is easy to do and the effect can be quite luxurious
depending on the ribbon or thread that you use.

In the video   Trellis Inserts    I have shown you four examples weaving the ribbon in various directions.

I have altered the colours too so that each one looks unique

The "Christina Collection" is available exclusively with  Craft Stash

If you are an existing customer and you add the code WOWCMM10 then you will get a 10% discount at the checkout


If you are a brand new customer then you need to leave your email address at the Craft Stash website.

They will email you a code that will give you a big 20% discount off your first order ... bringing the whole collection to a bargain price but you need to be quick as this offer is closing today

More tomorrow ...

Hugs xx


October 23, 2017

Layered Butterflies - Card Making Magic

Hi Everybody,


I love the look of butterflies and I like to add this effect to my cards from time to time.

And so this creation was born using my new dies from Card Making Magic

I am really so excited about this collection and I have been playing with it so much since it arrived.

There is so much that I want I want to show you, and so many things that can be done with this whole collection and  I have lots of videos to be done.

This first lovely card is created in the video Rainbow Butteflies and it is another that is easy to re-create 

Each part of the collection can work individually but they all work so well together and will help you to make cards for all genders, age groups, seasons and occasions

The "Christina Collection" is available exclusively with  Craft Stash  and if you are an existing customer and you add the code WOWCMM10 then you will get a 10% discount at the checkout

If you are a brand new customer then you need to leave your email address at the Craft Stash website and they will email you a code that will give you a big 20% discount off your first order ... bringing the whole collection to a bargain price

The second video is creating a more masculine theme but still with the same butterfly dies and stamps.

We have a card and matching bow with silver embossing powder and the effect is much better in the hand than the video or photographs show.

I hope that these are something you will have a try at re-producing for your self and have fun in the process
Silver Butterflies - One for the men  

More tomorrow ...

Hugs xx

October 22, 2017

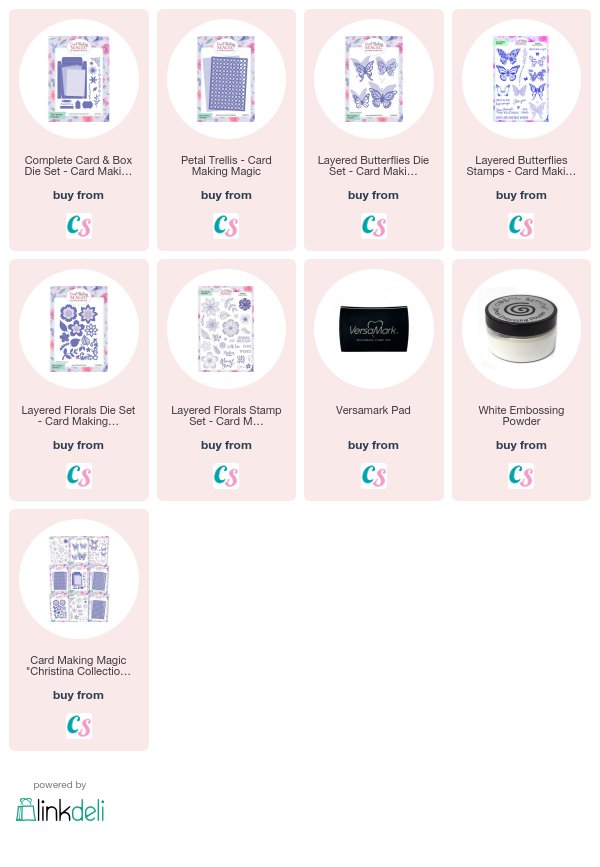
Layered Flowers and Stamps

Hi Everybody,

First of all a really big THANK YOU to everyone who bought from my new

I am so happy at the reception it has received and the comments that I have had are so encouraging.

To answer some of the questions about other sizes and more additions to the collection all I can say is "Watch This Space"
Today's card has been made using the flower element of the collection and the video Pastel Flowers  will show you how this one and the acetate box was made. 

I added the photo from this angle to show you the depth in the flowers and it is a beautiful card that I was really happy with once it was finished.

I am having so much fun playing with the dies and stamps and I have lots more videos to share with you

There was a little glitch with adding the code at the checkout but that has now been fixed.

But because of this the offer has been extended until Tuesday morning.

If you have any problems then contact their customer services at the address at the bottom of their webpage

So if you are an existing customer then add the code   WOWCMM10   at the checkout and get 10% off your order

If you are a brand new customer then add your email address to get the Craft Stash newsletter and they will email  you a code that gives you a huge 20% off your first order making the bundle a real bargain

More tomorrow ...

Hugs xx

October 21, 2017

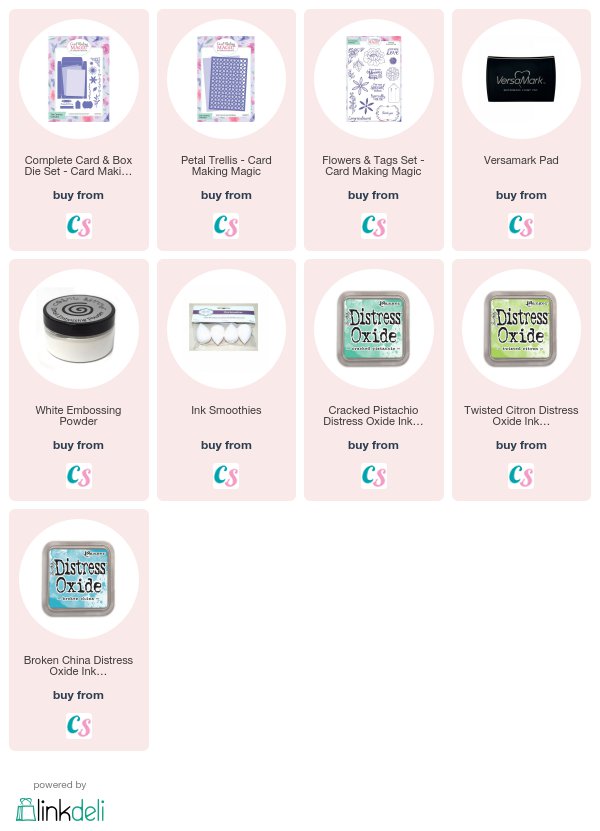
Inked Card and Box - Christina Collection

Hi Everybody,

 Today's card is using the Complete Card & Box Die Set but adding some customising to both.

You can make this as unique for your own recipient as you wish

I have used the stamps from the collection to add greetings all over the box.

The video will show you how to achieve the look 


There are so many ways that this can be used and the dies will save you a lot of time measuring

With new vidoes I hope to show you just how much fun you can have with this new collection.

You can get a 10% discount on all the elements if you add the code 
WOWCMM10 at Craft Stash checkout

More tomorrow ...

Hugs xx

October 20, 2017

Yellow Floral Card and Box Die Set


Hi Everybody,

This is a most exciting time for me and so much has happened in the last few months. I am in a whirlwind since I have had the opportunity to launch my own brand of dies and stamps.
 Craft Stash came to talk with me a while ago and here is the link to that if you wanted to read the full interview    Launch "Christina Collection"
Today at 10am I will be on Facebook “live” with Craft Stash 

Yesterday to tell you exactly what the box die will help you to do quickly I added a video that showed you two different ways to create them

And although the original idea was for the cards you make with depth to them there is no limit to the uses you can put these boxes too.

In that video I  filled mine with tea lights to give as a gift over the coming Christmas Season.

But you could add soaps. perfumes, scarves, handkerchiefs or any small toy or book for a child.  

Then once you know how to make the boxes  you can decorate them as you like and why not go ahead and create the card to go with it.

This set has used only the dies that are in the pack and I think the results are just lovely.


Yellow Floral Card & Box

The collection is exclusive to. Craft Stash and they are offering a 10% discount if you enter the code WOWCMM10.    If you are having trouble with the code then contact Craft Stash customer services

More tomorrow ...

Hugs xx


October 19, 2017

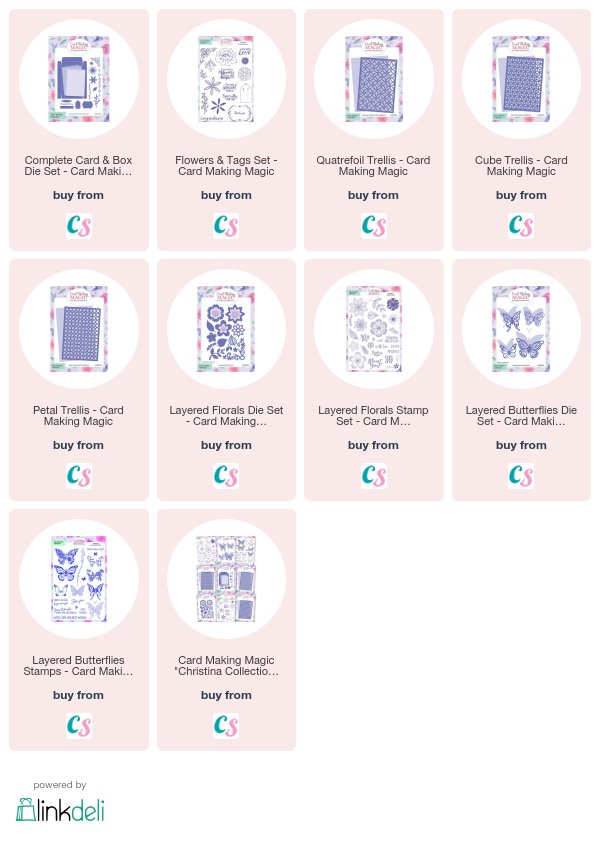
The "Christina Collection"

Hi Everybody,

I have been crafting now for quite a few years and I have had this dream for a long time to bring out my own collection of dies, stamps and stencils.  And I am so excited to tell you that my dream has come true. This is the first wave of new goodies that I will be bringing to you and they are being launched a day early from Craft Stash and they are offering you a 10% discount if you enter the code WOWCMM10  at the checkout

This is the news I have been waiting to tell you about.  Today my collection of dies and stamps will be on sale for you to buy. And I am so happy to be able to show you and tell you all about it

I have been so busy making videos and samples to showcase my collection and this one will explain to you exactly what it all does.

I really hope you enjoy the video and that you may want to make your own beautiful cards complete with their matching box.

Don't forget to add the discount code WOWCMM10 at Craft Stash

I will be doing lots more videos featuring all the parts to my collection and so please join me to see more of what you can do with these dies and stamps

More tomorrow ...

Hugs xx

October 18, 2017

Magazine Freebie Videos

Hi Everybody,

So today I have two vidoes for you to view.
 Simply Cards & Papercraft 169 and Papercraft Essentials 152 and both will be on sale on the 19th October.

I decided to keep these cards really quick and easy to do as I know that some of you make lots of them to sell for Charities.

They are just as pretty though and so I hope you will enjoy the process.

The supplies are listed at the bottom of the page for you to see.

This one is simply silver embossing powder which brings out the design in the stamp really well

What could be easier when you have lots to do. 

The video will show you how these two are made
Simply Cards & Papercraft 169 - Hunkdory
The second video is for Papercraft Essentials 152 which will be on sale on the same day and this is the really cute Penguin die set

And if you have either of these magazine then the
 "Cat is out of the Bag"
as you will have read the article in there about my new adventure ... and I will tell you all about it tomorrow


Hugs xx

October 17, 2017

Tuesday Tutorial - Rouge Royale

Hi Everybody,

Glitter cards is used on today's card for a really sparkly effect that was quick and easy to make. The addition of the flowers takes it to another level and it would suit many occasions
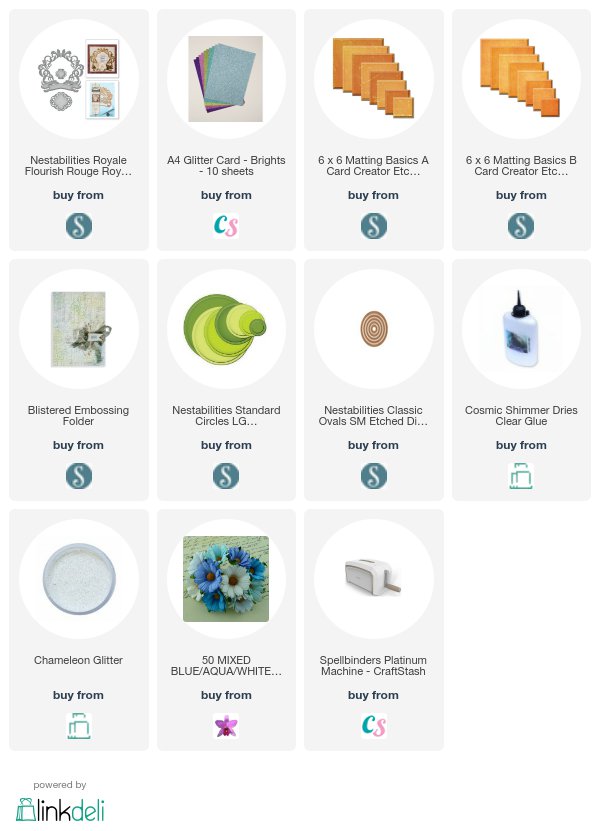
Spellbinders Supplies:

  • Rouge Royale Flourish
  • Standard Ovals
  • Standard Circles
  • Blistered Embossing Folder
  • 6x6 Matting Basics A and B
  • Platinum Die Cutting Machine
Other Supplies:
  • Glitter card
  • Flowers
  • White Ribbon
  • Button from my stash
  • Birthday Stamp
Instructions:
With die #8 Matting basics A cut two pieces in white to create the base card.
With die#8 Matting Basics B cut another in white and emboss in the folder ... moving it along as needed
(Die #1 is always the smallest)
From the Glitter card cut the largest Flourish die
Cut a white oval from the largest and the next die down in Glitter card
Stamp the sentiment and cut with a circle
Add to the card front as shown and wrap with ribbon wrap with white ribbon before adding to the base card.
Add the other elements with foam pads underneath adding a little extra wet glue when adding the layer to the Glitter Card
Choose the flowers. I have used from left to right:
Roses in two colours and two sizes ... Anenome ... Tulips in two shades
I added them with a glue gun.
Dot with wet glue and sprinkle with glitter 
I added a bow and placed a button over the knot 

More tomorrow ...

Hugs xx