Beautiful Card Designs Made Easy

September 20, 2017

Papercraft Essentials 151

Hi Everybody,


This bumper issue of Papercraft Essentials will be on sale tomorrow and the paper pack that comes with it is lovely.

I used one of the scene sheets for my card here and added the other elements as I went along.

The video  .. Sending Christmas Wishes .. will show you what I did to make this one

It can be used all year round though so change the papers and give it some florals instead.

The postbox is really suitable for male cards too

The magazine will be in selected supermarkets and WHSmiths as well as direct from More Mags 

More tomorrow ...

Hugs xx

September 19, 2017

Tuesday tutorial - Boo to You !!

Hi Everybody,

Ghosties and ghouls are on their way and so I thought I would make a card to go with the season.
This was super quick to make ... just a little inking and die cutting and there you have it.
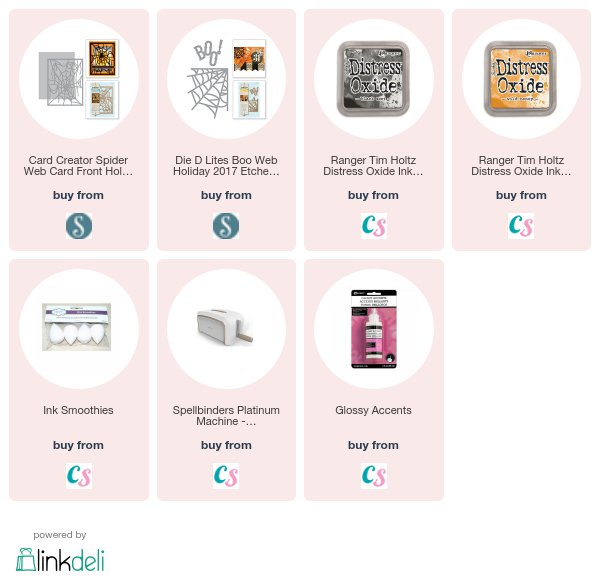
Spellbinders Supplies:
  • S2-262 Boo Web Holiday Die
  • S4-836 Spider Web Card Front
  • Platinum Die Cutting machine
Other Supplies:
  • Orange Ink
  • Grey Ink
  • Black Ink
  • Versamark
  • WOW sparkle embossing powder
  • Glossy Accents
Instructions:
With the outer die of the Card Front cut the base by folding an A4 card in half and placing the die with one of the short cutting edges off the fold
Cut another layer slightly smaller than the card
With both dies together cut the Spiders Web
Ink over with Black and Grey inks
Dab the Versamark on in random areas and sprinkle with the sparkle embossing powder.
Heat until melted
With the extra layer sponge on orange and black inks in random areas and then spritz with clean water and blot off to leave a mottled effect
Cut the web and BOO! twice in black card and stack together
Add the inked layer to the base card and glue the web on top 
Add the smaller web into one corner and the word Boo! to the centre of the web
Add Glossy Accents to the word and some areas of the web
I used a label maker to produce my Greeting

More tomorrow ...

Hugs xx


September 16, 2017

Card Winner ....

Hi Everybody,

This post is very late going up because today I have been to Alexandra Palace and had a lovely day shopping for crafting goodies. I also met Christine Smith from Crafti Potential
  This is the first time I have been to this craft show but it was really good to meet up with some old friends and catch up with what is happening in their lives

So now I am back at the hotel  and we have just done the draw for the Shabby Chic card from yesterday

The name this week is you ...
GJ 
would you email please with your postal address to
christina@cad-making-magic.com
and the card will be on its way to you.

Please let me know when you get it and I hope you will like it

More tomorrow...

Hugs xx

September 15, 2017

Friday Freebie 36 - Pretty in Pink

Hi Everybody,

This card is a 6" square and has shades of Pink, Aqua and Yellow in it and lots of pearls.
 The inside is also lined and there is some very lovely floral lace attached along the left side.
This is another that looks better in the hand and it would love to find a new home soon.

So if this is a card that you would like to have then you know what to do !!
Leave me your comment at the end of the post and from those one name will be chosen at random as the winner.

I will add that name to a blog post over the weekend and then you have 72 hours in which to claim it for your self

More tomorrow ...

Hugs xx


September 14, 2017

Fun Stencil ...

Hi Everybody,

I have been having a splurge with stencils just lately and there are so many designs that I like.

This one was so unusual and I couldn't resist. I tried it in two different colour ways and I really like both of them.

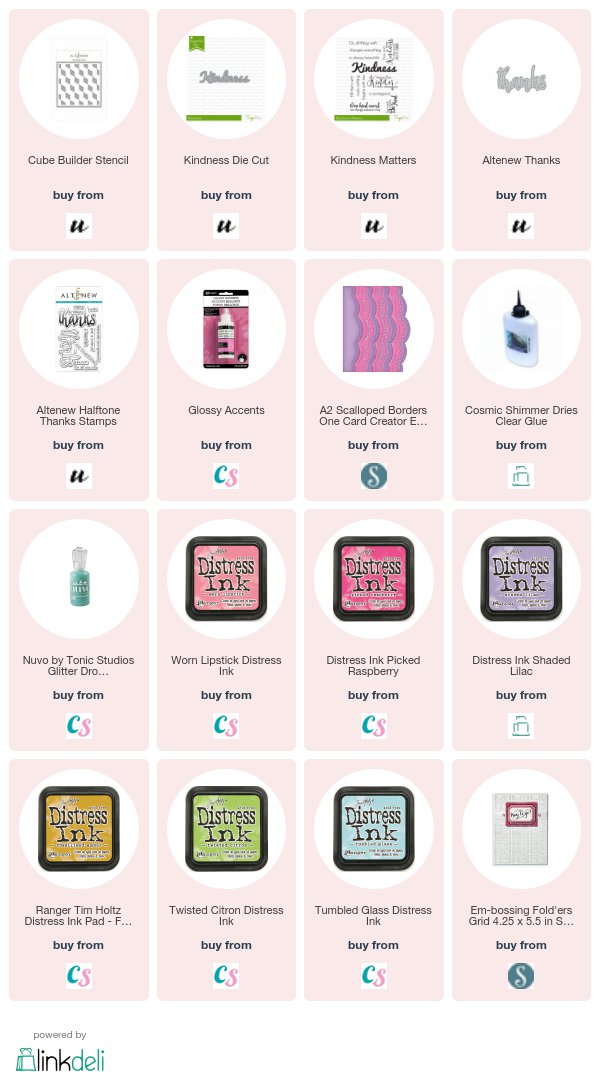
The options are endless with this one. For this card I used Worn Lipstick, Picked Raspberry and Shaded Lilac and I edged the layer with gold Gansai Tambi

On both cards the dies are from Sevenhills Crafts and there are accompanying sentiment stamp with them both

The colours on this one are Fossilised Amber, Twisted Citron and Tumbled Glass

I have added Glossy Accents to both sentiments words

This stencil makes for a look that is modern and would suit any age group male or female ... so altogether a useful addition to my crafting stash

More tomorrow ...

Hugs xx


September 13, 2017

Creative Stamping 48 - Christmas Stamps

Hi Everybody,

Everything is gearing up for Christmas now and for card makers there is never a wrong time to start the cards that you may need.

This months Creative Stamping is no exception.

They have an A4 stamp set called Away In A Manger and the featured designer this month is Wild Rose Studios

On the sheet there are lots of other designs and I have used water colours on mine for a soft and gentle look.

The video
is using water colours and I have my favourite Gansai Tambi and a number 4 brush.

I like this size brush because it is fine and has a really good point to it which is ideal for getting into small areas on the image.

More tomorrow ...

Hugs xx

September 12, 2017

Tuesday Tutorial - Lunette Arched Borders

Hi Everybody,

Today's card is using another die from Becca Feekens Venice Lace Collection.
 This one is called Lunette Arched Border.   The links are all at the end of the post.
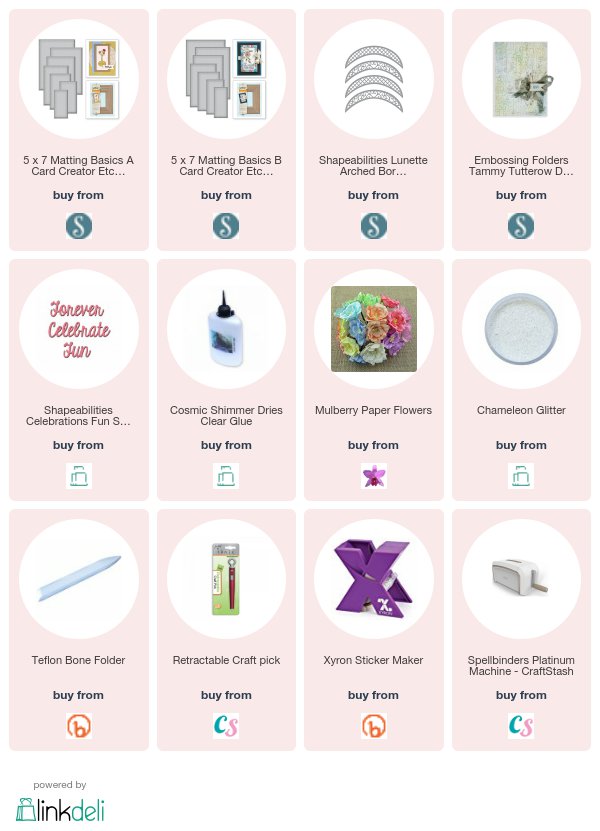
Spellbinders Supplies:
  • 5x7 Matting Basics A
  • 5x7 Matting Basics B
  • Lunette Arched Borders
  • Shapeabilities Sentiments
  • Platinum Die Cutting Machine
  • Blistered Embossing Folder
Other Supplies:
  • Flowers from Wild Orchid Crafts
  • Glitter from glitter Magic
  • Ribbon from Mei Flower
  • Card from Papermill Direct
Instructions:
With the largest die from Matting Basics A cut two panels in white and create the base card
With the largest die from Matting Basics B cut another in turquoise
Use the 5x7 Blistered Embossing Folder to add texture to the card
With one of the patterned dies and the outer cutting edge from the Lunette Arched Borders cut three panels in various shades of turquoise moving the dies up each piece as you go.
Layer them all together and wrap with ribbon around the top
Add them to the embossed layer
You can have these arches facing upwards or down the choice is yours
I added mine to face upwards
The flower selection is from the left ...
Roses, Carnations, Anemone, Tulips added with hot glue gun.
Dot with glue once added to the card and sprinkle with glitter
Add in the bow as you like.

More tomorrow ...

Hugs xx

September 11, 2017

Christmas Fairy ...

Hi Everybody,

This beautiful fairy is from the CD The Next Big Thing from Just Inklined and I think she is adorable.

I added her to a Foiled background after she was coloured with Spectrum Noir pens and pencils.

I have used this image in the past but sadly the CD is no longer around.

So if you have a copy then treasure it and if you haven't used it for some time than now may be a good time to review it.

The foils are something else that I am enjoying playing with at present and both of the videos with this product are doing really well on YouTube

My channel has now topped over nine million views  and I am so pleased with the way the numbers grow.

More tomorrow ...

Hugs xx


September 10, 2017

Pretty Quick Stamps ...

Hi Everybody,

I have two new vidoes for you today with products that are now available at Craft Stash.

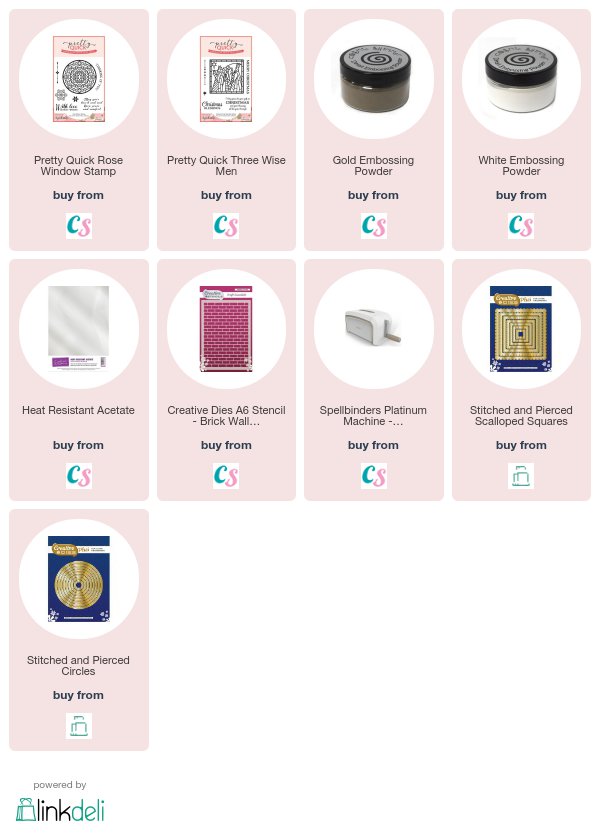
The first one it the Rose Window Stamp Set and for both cards I have used some heat resistant acetate.

The video will show you more ideas and can be viewed here


The links to the products will all be listed at the end of the post for you to see.

The  Pretty Quick Three Wise Men  is the second video and I hope you will enjoy both of them.

They are perhaps a little more time consuming to make than others but both are really easy and very pretty once finished.

More tomorrow...

Hugs xx

September 09, 2017

Card Winner ...

Hi Everybody,

Thanks to everyone that enters to win one of my cards every week ... it is a real honour to me that you like them enough to want to have one for yourself.

 I am always happy to send them to you wherever you are and all I ask is that you let me know it has arrived with you safely.

What I don't understand are the people who leave their names and then don't come back to check if they are listed as a winner.  You may need to scroll back through some posts if you leave it a day or two to check but your name will be listed on the Saturday post.

I also add the names to the Winners Page and that is a permanent fixture in the left sidebar.  Take a look now and see if you are one of the ones listed that didn't come back to claim the card.  And the thing is that those people still visit the blog often 

So this weeks winner has been drawn from the hat and the name this week is you ...


Jean 

please email me your postal address to 
christina@card-making-magic.com
and the card will be on its way to you straight away.

Thank you for taking part to everyone who left their comments

More tomorrow ...

Hugs xx


September 08, 2017

Friday Freebie 35 - Shabby Chic Owl

Hi Everybody,

This is a card that was offered weeks ago and the winner never came forward to claim it.
 It is a really pretty card filled with lots of metal work in the shape of the Owl and the leaves. 
There are a lot of dried grasses and sisal on this one and it is far better in the hand.
It is in shades of pale blue and autumn colours and so I am really hoping that someone will love it this time enough to give it a new home

If that is you then all you need to do is leave me a comment at the end of the post and from those comments a name will be chosen at random

You will need to come back and check if it is your name that is shown and then you have 72 hours in which to claim it .... otherwise I will have to offer it yet again !!

More tomorrow ...

Hugs xx


September 07, 2017

Beautiful Foils

Hi Everybody,

I have been buying again and this time I have got some beautiful foils to play with. These are all from Deco Foil and I got them from Amazon.

The two outer edge ones have to be my favourites at the moment but that could change as I have more colours on the way.

The one on the left is a gorgeous two tone blue and the result is a real WOW factor This is one I shall be using a lot and I will show you the cards I make with it as well as some more ways to use it in a video.

The one on the right is so elegant and it is called Opal. It looks perfect for wedding cards and it so pretty. This is another one I shall be using regularly  So keep a look out for both.

I have used all these with Stencils and Transfer Gel 
But I have a video with other ways to use any of these foils ...  
More Ways with Foils 

Here are some of the cards made with these lovely colours

The card above is using that two tone blue and I just love this one and this cute little girl is added to the Opal on Black for a look that is different

I hope you will enjoy the video and join me for more as I learn about Foils

More tomorrow ...

Hugs xx

September 06, 2017

Simply Cards & Papercraft 167

Hi Everybody,

This months free gift with Simply Cards &Papercraft 167 can help to solve many of your male card issues as the stags head can cover many occasions.

The video shows the making of this card using the bonus paper pack that is also free with this issue.

SC&P 167 - Majestic Moments

There are some other ideas too that you may like to try.
One example here is for a birthday and the other is for a Christmas card so lots of choice for you to experiment with

In the video I show you how to line up the stamped image using the Tonic Stamp Platform but you can still get a good result with out one.

As usual I hope you enjoy the video

More tomorrow ...

Hugs xx

September 05, 2017

Tuesday Tutorial - Victoriana Crest

Hi Everybody,

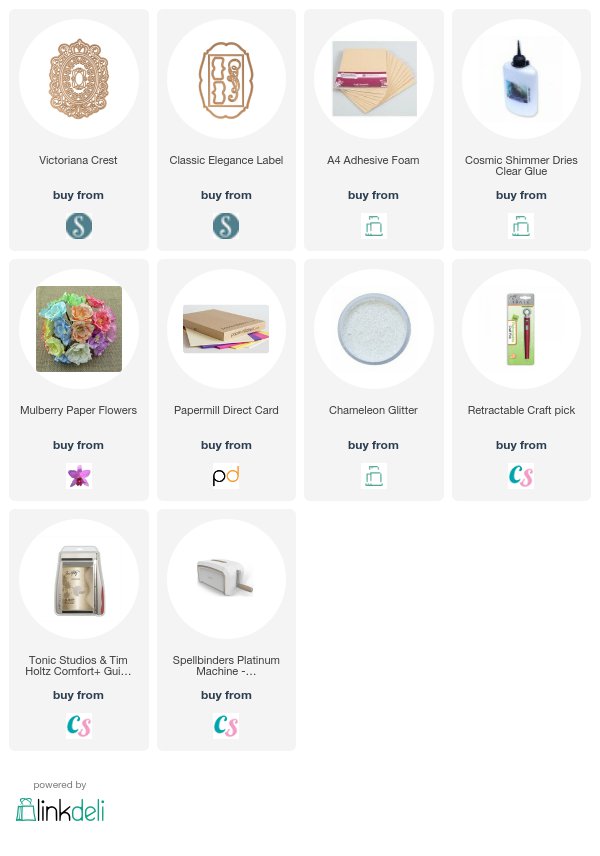
This beautiful die is one of the new ones from Spellbinders and was designed by Becca Feeken.
It can be dressed up any way you wish but I have kept mine to a simple white with autumn coloured flowers.
Spellbinders Supplies:
  • S6-125 Victoriana Crest
  • S6-082 Classic Elegance Labels
Other Supplies:
  • Flowers from Wild Orchid Crafts
  • Pearls from Hobby House
  • Glitter from Glitter Magic
  • Card from Papermill Direct
Instructions:
With outer die cut two pieces and score one of them and bend it back
Add glue to this small strip and glue the two together to form the base card
Level the back piece so that the card will stand
With the two largest dies cut and emboss another panel in white
Add foam tape to the back
With the other dies in the collection cut all in white card
Stamp a small greeting onto the smallest piece
Glue the filigree oval to the plain layer
Add foam to the back of the other pieces
The foam taps adds depth to the layers 
Cut two of the flourishes from the Labels die in gold coloured card
Add to the centre panels of the card front
Choose Autumn coloured flowers and glue onto the flourishes
Dot with glue and sprinkle with glitter
Add tiny pearls around the edge of the oval
Add in the sentiment tag

More tomorrow ...

Hugs xx
September 04, 2017

Fuzzy Lemon Dies

Hi Everybody,

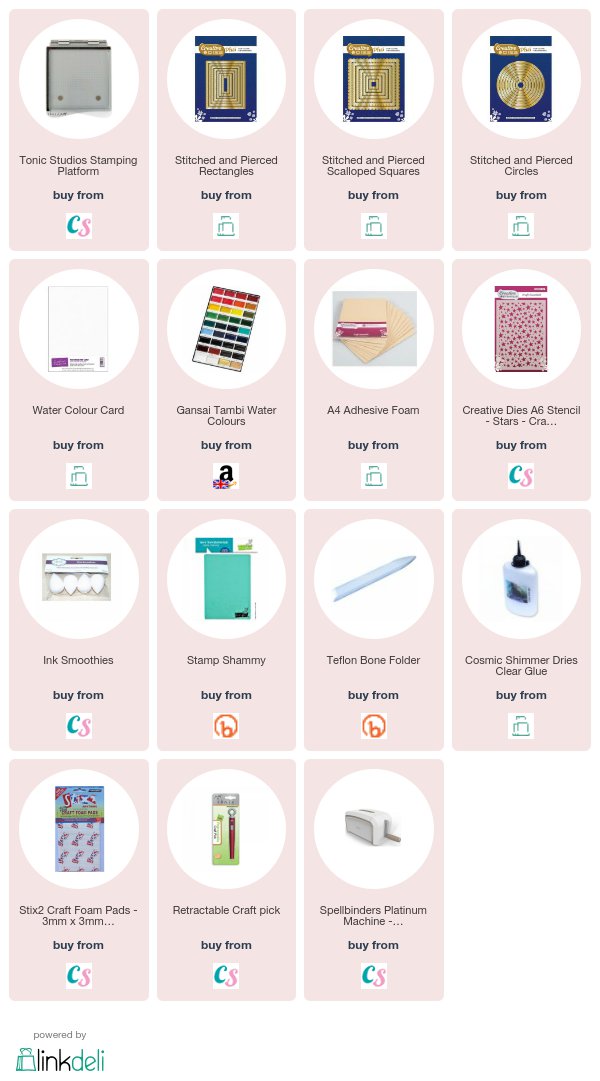
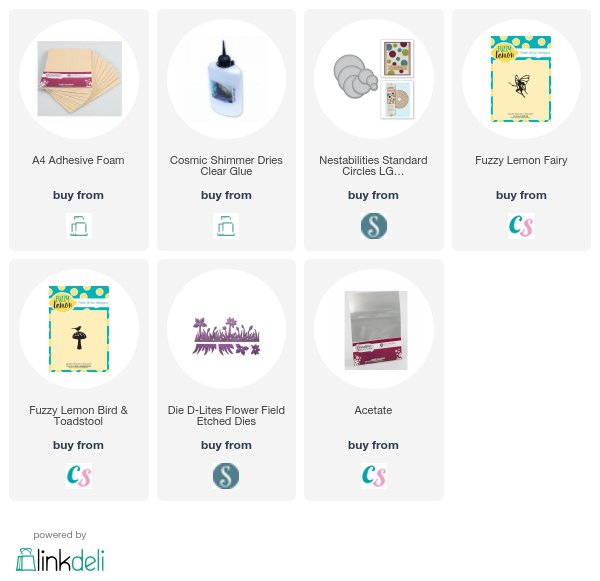
Today I have two new videos for you using dies from the Fuzzy lemon Collections at Craft Stash.

The first video is with the Fuzzy Lemon Fairy and I have turned this into a shaker card.

The sequins I have used are from the £££ shop and there are so many in a pack they will last you for ages.

I will add the links at the bottom of the post to the supplies


For this card I used the Toadstools cut from one card and add them to another ... so two for one here and no waste.

I have hand drawn the lights between the birds and coloured with Spectrum Noir and Glossy Accents


Get a cuppa and a biscuit or two and relax. I hope you will enjoy both of them 

More tomorrow ...

Hugs xx