Beautiful Card Designs Made Easy

March 30, 2024

Everyday Items - Sponged Backgrounds

 Hi Everybody,

A really cheap and easy way to vary the look of your cards is to use items that you are sure to find around the home.

This card has been created with an everyday household sponge that I have cut into pieces to use with water based inks.

Quick, easy and very effective and if you change the colours you will vary the look.

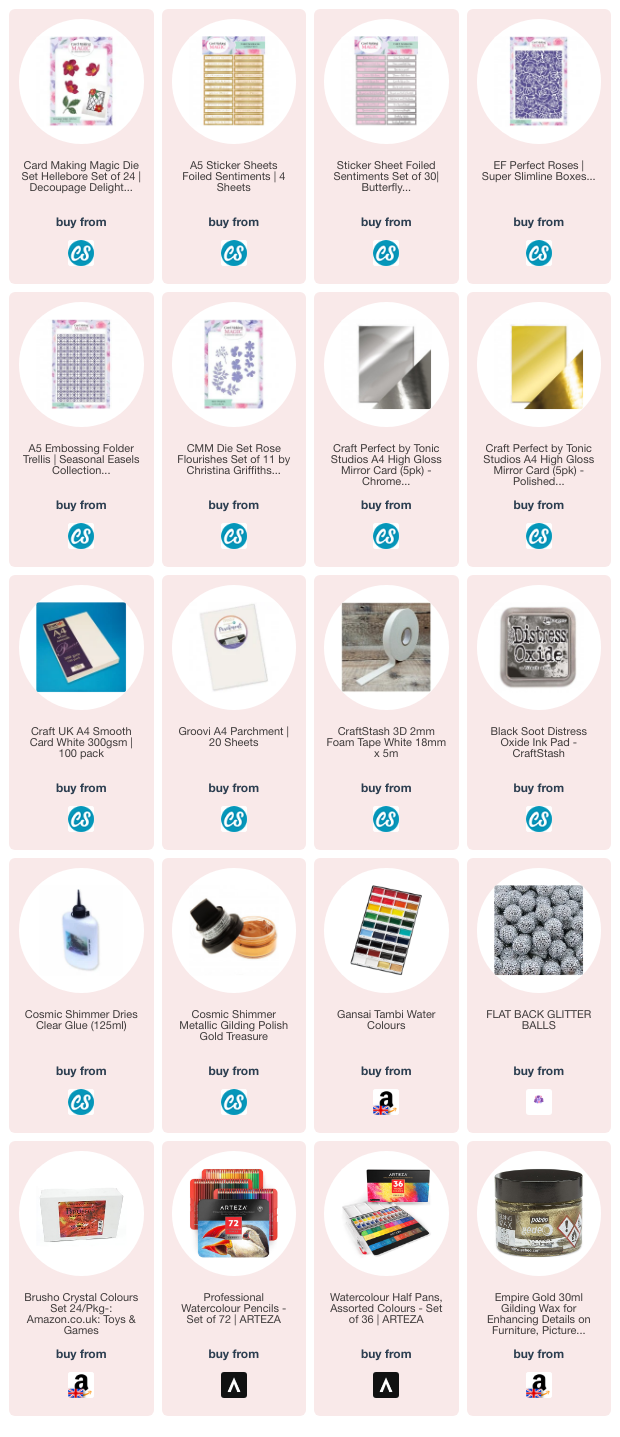
I have used the pre printed and foiled sentiment strip that came with the  most recent paper packs that have been released and there are such a  lot in each of the packs.


The video is not too long but will give you time to relax with a cuppa and hopefully a new idea.
You may have already tried this in the past or you would like to do so now. 

More tomorrow ...

Hugs xx


March 27, 2024

Inked Embossing Folder

Hi Everybody,
 
This pretty card is done with an embossing folder and I showed you some of the others  a few days ago. 

I added a video to Craft Stash that shows a slightly different variation to this one.

But in this video I show you that you can use any embossing folder that you have and any water colours that will blend together. 

This card has been created with Brushos and a little parchment to diffuse the background

I also used any card that I had to add the colours too, and any black ink in my stash. 

I always have the gold wax, flowers and parchment on hand but you can leave them out if you prefer.


On this card to the left I have added in a light dusting of the wax and the butterflies are cut from gold card.

It gives such a pretty look and it will be different each time you do it.

You could also try a colour other than black to the infill and that would give you another look to your designs. 

It really is playtime with this technique and you are sure to enjoy the process.

For the card to the right I used pinks and purples to create the base and then added Villainous Potion to the embossing folder for the other colour.

I highlighted the design in gold gilding wax with my fingers and added the decoupaged flower and leaf to the card with foam tape.

I hope you enjoy the video and be sure to let me know if you try this for yourself.

More tomorrow ...

Hugs xx

March 26, 2024

Lace Stamped Background

Hi Everybody,

This was a technique that I covered a few years ago now and I may have shown other cards from the idea but I don't think that this was one of them.

The background has been inked with an Ombre colour scheme going from dark blue to a paler shade at the top. 

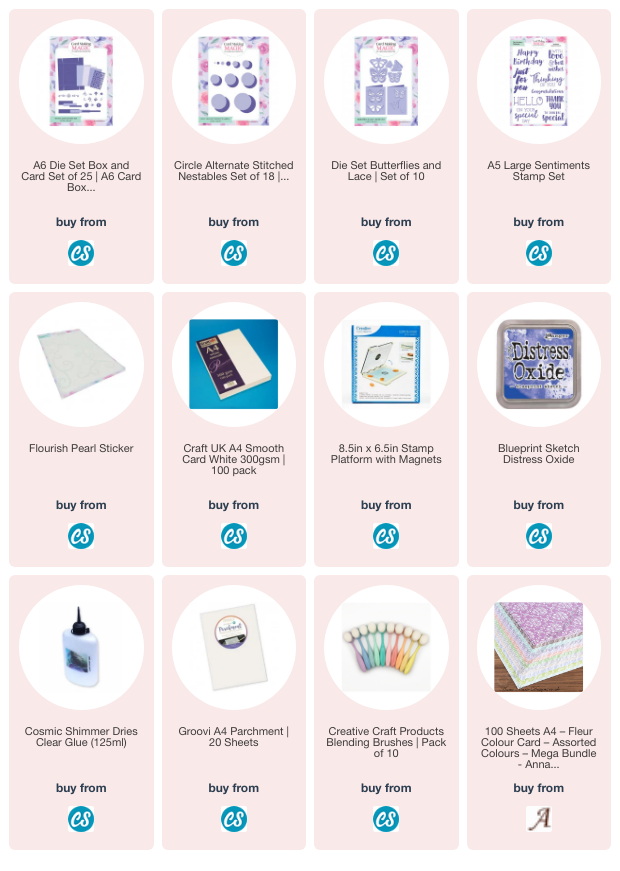
Then once that was dry I stamped at the bottom of the card the lace border in Versamark. 

It uses a stamp that I bought at a Craft Show and I have had this for many years and I don't know if it is still available

Once stamped it was sprinkled with white embossing powder.

The powder stands out much more once it is heated and is slightly raised from the card too. I added self adhesive pearls to each of the points on the lace

The sentiment is stamped in black and then clear embossed to give it the shine.

The flower display has been added to trail down the left side of the panel and as usual I have dotted it with glue and sprinkled it with glitter.

Smaller pearls have been added around the display and then that panel has been added to a top folded 5x7 card base.

It is a very pretty card and the techniques is easy to do. Take a kook at some of the stamps in your collection and try using them in this way for spectacular results.

More tomorrow ...

Hugs xx 

March 25, 2024

Altenew & Parchment

Hi Everybody, 

Today it is pouring down and quite cold so not a lot being done outside in the garden.
But yesterday I managed to get some of my very big plants re-potted  and some of the new plants used to fill out the other pots so they look pretty again. 

Then the whole garden ... back and front ... was jet washed to get rid to the grim that has collected this year, and now it all looks clean again and ready to face the world. And that's another job off my list of things to be done, and it is going down steadily.

This card is using another stamp and matching die set from Altenew and these have ben coloured in with the layering stencil.

Once these have been die cut I have added it to a piece of parchment that I have torn into shape and add to another panel that has  also been coloured with stencils.

The parchment diffuses the background and allows the flowers to show up more. 

Then the whole lot has been added to some knitted card with foam tape between each of the layers. 

The little sentiment is from a Card Making Magic paper pack and I added that to some white card for strength.

The card looks prettier in the hand than it does here and it is one that I am not unhappy with

More tomorrow ...

Hugs xx

March 24, 2024

Mixed Flowers

Hi Everybody,

Not been around much this week but I have got loads of jobs done around the house. There are times when crafting has to take a back seat while other things get done and this is just one of those times..

This card was done on the spur of the moment and it is a 5x7 card with the fold at the top. 

I have made a background from some Fleur card from Anna Marie Designs and stamped some text onto the card.

The stamp was free with a magazine and the small twirly bits are from the same set. I added black pen around the edges as faux stitching.

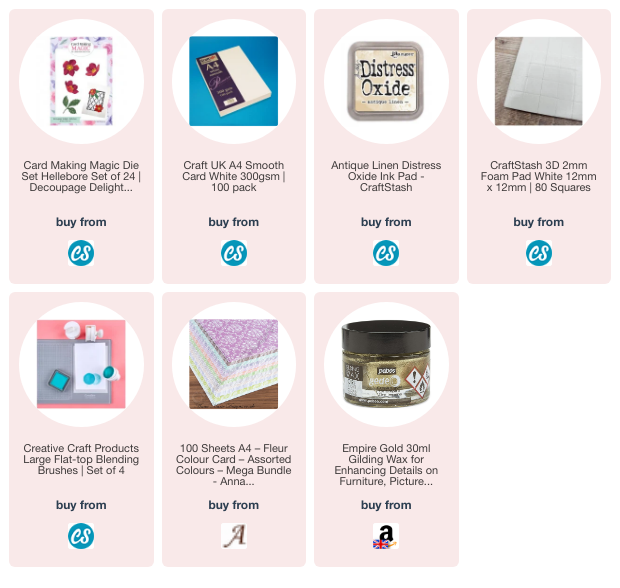
I inked the edges with Antique Linen and added the flowers with foam pads to raise them up.

The large purple flower and the leaves are from the CMM Hellebore Decoupage set but the Roses are from the Layered Roses set that is o longer available.

The sentiment is from a pack bought at the Craft Shows and U cut off wat I need and add it to the card with foam tape. 

Quick simple and easy card that is now ready to send.

I will try to do better this week ... I promise

More tomorrow ...

Hugs xx

March 21, 2024

Inked Embossing Folders

Hi Everybody,

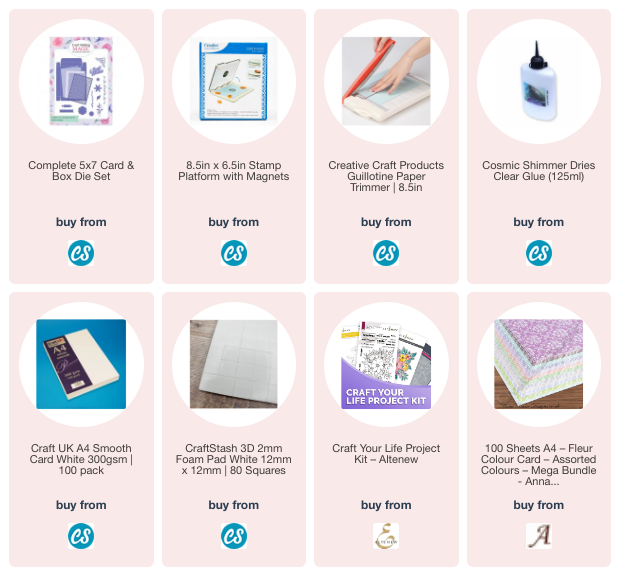
This pretty A6 card is created with inks and a 3-D Embossing Folder from Altenew. It was part of one of the Create Your Life kits that I used to get 

It is a very easy technique to do and if you prefer it in a  video then be sure to let me know and I will do one straight away.

The result will be different every time you do it and of course can change drastically depending on the colours that you use.

I am very happy with this one and I think the flowers stand out really well especially with the gold edging to them.

Here is another done in more vibrant colours and added to some of the knitted card from
 Anna Marie Designs.

To thus circular card I have also added in some Mulberry flowers.

If you like to use flowers on your cards and always got them from Wild Orchid Crafts then it was a great disappointment when they stopped shipping to the UK.

But one of my regular readers has given me a kink to a new place that has the same types of flowers at much the same prices as WOC

So a great big Thank You to Ann Topp for the tip about Carroway  Cottage   

They have the most amazing range of flowers that you could need,  in all colours and sizes and types, and when I need more flowers I will definitely be giving them a try. 

They are a family run business based in Scotland and so will ship to you in the UK.

More tomorrow ...

Hugs xx


March 20, 2024

Bits and Pieces

Hi Everybody,

This card has been made up from all the bits and pieces of left overs from the technique I have shown in the past couple of days mainly using the Elastic bands to create the background. 

The strips that were left are far too  pretty to just put in the trash can and so I put them to good use instead.

I added them to some double sided sticky sheet and then added that to a 5x7 card base.

The flowers are from an Altenew kit called Bitteroot Flower that I have had for some time and it has layered stencils to colour it in. 

They have been added with foam pads underneath to raise them up. 

They have also been added to a die cut that has been cut from Parchment, and that has been added with foam tape placed strategically under the flowers so that it doesn't show 

They say crafters never waste anything and in this case it is true as those pieces that were left have made a really pretty card that some one is going to enjoy getting.

More tomorrow ...

Hugs xx

March 19, 2024

Sympathy Card

Hi Everybody,

I know we don't like to make this type of card but sometimes a Sympathy card is the only thing that is needed. 

This very elegant card is created with the Elastic Band Technique that I shared with you yesterday and it is perfect.

It is not to colourful and over powering and yet the background does a lot to make the card impressive, and it is very easy to do  

For this card I have used black card and brushed over it with anti static. In my case I use talcum powder as it has the same effect as the more expensive powder but this makes my card smell lovely.

I then sprinkled it with silver embossing powder and gently heated it.  The result is really pretty and the silver sentiment and leaves echo the colour.

I added them to a piece of parchment just to make them stand out a little more but it doesn’t detract from the card design..

The card is elegant and suits the occasion well 

More tomorrow …

Hugs xx


March 18, 2024

Everyday Items - Elastic Bands

Hi Everybody,

Do you have lots of elastic bands lying bout round your home?? I know I do and I use them in  lots of different ways. 

But I found this pack of really cheap bands in my drawer and so I thought I would put them to some good use.

I created some backgrounds to use on my cards and these are really pretty, and depending on the colours you choose they can be used for make or female cards.

I had so much fun creating these and I tried it with every colour of embossing powder that I have. Some I liked more than others  and those I made into cards.

Use your dies to cut the card base into different shapes and add layers to accentuate the patterns you create.

This circular card has several layers in pink and silver and the embossing on this was done with pink embossing powder for a more subtle look.

You may not like to add flowers to your cards so if that is the case then leave them clear. 

The actual technique will create lots of interest on your designs just as it is. 

More tomorrow ...

Hugs xx

March 15, 2024

Butterfly Cards

HI Everybody,

My apologies but there is no Friday Freebie this week instead I have used these butterflies and added them to backgrounds that are all circles but created in different ways to create some really clean and simple pretty cards.

This one has an inked backdrop to a lovely piece of embossed and glittery acetate that has ben cut with a circular die. I have had the acetate for years and I got it at a craft show

I have used small foam pads in strategic areas to add this to another panel that I have hand drawn around the edges.

This has had Thank You stamped at the bottom in black ink and then all of it added to a card base card with foam pads.


The butterflies have all been cut from 300gsm white card and adhered to a piece of parchment.

This has then been glued to the  centre of the circles along the body line only.

The card to the left has again got an inked circle but to the top of this I have used a stencil to add darker colour. 

This butterfly as been coloured with the same Blue Print Sketch ink.

This one has been turned into a birthday card using a stamp that was free with a magazine.

For this card I have cut a circle from the Fleur Card from Anna Marie Designs and add it to slightly larger piece of peach card.

I have hand drawn around the edge of the circle and the card for decoration and this is also a Birthday Card.

All the butterflies have the addition of pearl flourishes added to the body line and to crate the butterfly trail onto the card itself.

All the cards are an A6 size and will fit into s standard envelope 

More tomorrow ...

Hugs xx


March 14, 2024

Altenew Embossed Card

Hi Everybody,

Todays Card is using the Silk Art stamp from Altenew that is part of the Create Your Life Project kits

I have used this because the flowers are solid and after stamping them in a black ink they could be embossed  with a clear powder. and heated to melt it to create the shine.

I also used the matching die to cut the flowers out and they have then been added to a background card from Anna Marie Designs with foam pads to raise them up.

The little sentiment stamp is from the same set, but the hearts and ink lines around the edge have ben hand drawn with a fine liner pen just for a little extra decoration.

The completed card is a 5x7 base and I have kept the fold at the top.

It can be for any occasion you need it for. Simply swap out the sentiment to suit your recipient.

I could have made the card smaller by using the coloured centre card only but I wanted to add it as a central panel that was offset to enhance the design

More tomorrow ...

Hugs xx


March 13, 2024

Desk Top Finds

 Hi Everybody,

So the background to this card is what was left over from the Washi Tape Circle that I featured yesterday and I couldn't waste it.

I have added a parchment pocket that has been embossed in a folder,

I filled it with sequins to create a shaker card and then added the other bits and pieces that I found on my desk to decorate the front.

The bird is from a Tim Holtz set that I have had for years and he has been sitting in a cellophane bag just waiting patiently to be used.

I am happy to put him to good use and it makes a change from all the highly decorated ones I have been doing lately.

It is good to change your style every so often as it stops you getting bored with the same old things.
So although it is very different from my style I hope you think he is cute all the same.

More tomorrow ...

Hugs xx

March 12, 2024

Using Washi Tapes

 Hi Everybody,

Here as promised is the latest video where I have used Washi Tapes on my cards. I have a box full of these and I rarely think to use them on my cards.

I should do really because they are so pretty. And that is why I thought to get them out again and put them to good use.

The one shown to the right is using Washi Tapes with some Acetate for a really lovely look that seems to hover above the card base.

I will be trying this again with other colours and shapes and seeing what I come up with


And I also put the cut off bits to some use as well.
Waste Not ... Want Not !! And this card is just as pretty.

Just add the pieces in a random way over the card panel and die cut it if you prefer before adding it to your cards.

Today we have made some flowers from the Washi using flower dies to get the look.

Yesterday I showed you a pink card that had the acetate cut into a heart shape and that would be so useful for occasions like Valentines Day.

Whichever shape you create it will look good and Washi Tape comes in many colours, patterns and widths that you are sure t see somethings hat takes your fancy.

And its not expensive either.

More tomorrow ...

Hugs x

March 11, 2024

Using your Washi Tape

 Hi Everybody,

Washi Tape is not something I use a lot of but I do have a good few rolls in my stash and so I thought that a little playtime to use some of it up was a good idea.

This card is an A6 and I have added the Washi in strips across an extra panel that will be attached to my base. The large sentiment is one I have had for many years and I added that in black.

The butterfly is from my own Layered Butterflies Collection and that has been cut in white and layered onto a parchment backing. 

I have added flat back pearls to the body line and left the wings free from the card for a pretty floating effect.

This card has used all different sized pieces added randomly an extra card panel and to make sure they are all stuck down I have run this through the die cutting machine.

The sentiment for this is another I have had for years and it is from Creative Expressions and that has also been cut in black.

I have added the words with foam pads under them and also under each of the individual letters to raise then all up.

The butterfly is once again cut in white and added to a parchment backing. This card is a5x7 and both have the folds at the top so they stand in tent fold.
This  6x6 card has had the Washi added in strips to a piece of Acetate, with a small gap between each strip, and cut out with a heart die.

Then under each of the strips I have added  thin strips of foam to raise the heart up. This makes the acetate heart look as if it is floating.

The panel it is added to is irked and embossed in a folder. The word is the same as the first card as is the butterfly, which has black pearls added to the bodyline.

Even though they are all pink they look different because of the size and layout of the Washi Tapes, and each one is pretty card that is ready to send.

I am adding a video to show you how I got the
Acetate Look for my cards.

More tomorrow ...

Hugs xx
Two Cards - One Colour Scheme

 Hi Everybody,

Following on from last weeks video of using the same
dies and card to make some cards I have now created these two using card from Anna Marie Design.

The dies are the same for both cards and once again I have dragged out older sets to put them to good use.

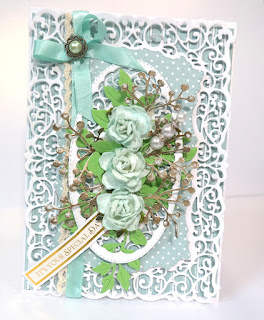
These are the Nested Fancy Frames and I have used the 5x7 for the larger background piece and the Ovals for the top.

The sentiment is a sticker from one of the paper packs I have launched but they can be bought separately and save me having to stamp something out. 

I have added mine to extra white card to make it stronger

The colour scheme for both cards is  a pale teal and white and the ribbon matches them but has been added in a different direction, and each one has some cream lace added.

All the flowers are Mulberry paper and I got mine from Wild Orchid Crafts ... but they no longer ship to the UK ... Sorrreeee !! They have been glittered up for extra sparkle

I have used the leaves from my all time favourite Rose Flourishes and each one has decorated hat pin pushed into the centre of them.

So although they are made with the same card, dies and flowers they look different because things have been laid out in a different way.

I really enjoyed making these two and it was nice to get back to adding the Flowers, Ribbons and Pearls again to my designs.

More tomorrow ...

Hugs xx

March 10, 2024

Maureen Wood - Winner

 Hi Everybody,

Happy Mothers Day to you all and I hope you have something good planned for the day.
My family are all meeting up for a Sunday lunch at a lovely pub and we are really looking forward to it.
We can take the dogs too so Ruby and Dougal will get an outing as well. 

It is raining though so they won't get much of a walk.
But yesterday will have made up for that a little bit as we walked  around the grounds of Lytham Hall for a couple of hours, and it was dry and fine.
 We like to take a look at the little garden centre in there as they always have a wide variety of plants for sale at reasonable prices .
Plus the café is very handy as well for coffee and cakes !!

The draw has been done for the In The Garden die and stamp set and the winner this week is

Maureen Wood

wound you email me please with your postal address to
christina@card-making-magic.com
and I will get the pack off to you straight away.

Be sure to let me know that you have it safely and I hope you envy playing with it, and the Pokey Tool is tucked into the pages of the magazine.

More tomorrow ...

Hugs xx

March 08, 2024

Friday Freebie - In the Garden

Hi Everybody,

Todays offering is a beautiful due set that depicts all the items you would need in your garden to make it grow.

And they can be arranged any way you want to suit your own designs.

The stamp set that accompanies it has many occasions on it to suit your recipient and I am sure you will have some fun using this set in the coming summer months.

There is also a Pokey Tool added to the pack that has been handmade by yours truly and that is tucked into the magazine , which in itself is a really good read full of ideas and inspiration that you may like to try.

Would you like to have this in your own personal collection????

Then all you need to do is leave me a comment with your FULL NAME 

at the end of the post and then make sure that you come back to see if it is your name listed as the winner.

More tomorrow ...

Hugs xx
March 07, 2024

Recreating a Design

Hi Everybody,

Todays card shows how I have varied the look of each one by simply changing the colours.

They are all 5x7 and they have all used the exact same dies with the same layers.

 The card is all good quality and the patterns have been varied in each card. The ribbon and bow is different on each card too.

But they all have the same amount of layers, and I have added Mulberry flowers to each one  with the addition of the Rose Flourish die for all the leaves on them.

I have also made a box for each one as they are far too deep to fit into an envelope. 

I have changed the position of the flowers and I think every one of them is a really beautiful card in its own right.

I filmed a video of the process too and I am adding it here for you to view, and I really hope you enjoy watching it.

But it just goes to show what can be done when you can't think of something new.

There is nothing wrong with working with an idea that you know you love, that will work for you and that you know you can create easily each time.


I also been a new video that has been added to Craft Stash using the Just Peacocks Collection and that shares an inking technique and some gold gilding wax , here is the link to that video ...

2-4-1 With Just Peacocks 

More tomorrow ...

Hugs xx

March 06, 2024

Just Peacocks - 3 Ways

 HI Everybody,

Today I am using the new collection called
Just Peacocks
and this time I am adding a video to show how I made three cards using the same die set.

The whole collection is very versatile and can be put to good use throughout the year for lots of occasions.

And you can use the sentiments from other collections to ring the changes if the ones in the collection are not appropriate.


I must admit that this card is my favourite of the three made in the video and it was so quick and easy to do

The gilding wax adds the finishing touch to it, though it does make a mess of my fingers. 

The Pebeo one was the gilding wax I used and I have had it for years but I have added an alternative from Craft Stash in the list below as it is less expensive.

The video is not too long and I hope you enjoy my efforts and the cards created.

More tomorrow ...

Hugs xx

March 05, 2024

More Peacocks


 Hi Everybody,

Here are some mire samples from the Just peacocks Collection and this one uses the single sided Stand Proud die on the Background Perfection Panel.

I have done this one in pink and the finished card is a 5x7.

I have trimmed the Stand Proud peacock from the rest of the card and added it with foam pads to the base, rather than adding all the die cut to the card.

But the result is quite stunning and would make a lovely effect for any occasion. 

Vary the colours for different looks, or use the peacock as a complete panel for the front of your card 

The card to the left is using the Double Elegance to crate a gatefold card.

I have added these panels to some acetate which gives it strength, and the inside of the card is created using the papers from the pack.

Any sentiment could be added to this design or indeed any one of the die cut sentiments in any of the packs.

And this style would make a really elegant Wedding Card.

More tomorrow ...

Hugs xx


March 04, 2024

Just Peacocks

Hi Everybody,

A lovely new collection has been launched at Craft Stash and this is the Just Peacocks Collection.

There are some beautiful dies to help you create gatefold cards or simply add a pocket to the front of your design.

And the papers are such good quality that they will die cut to perfection to enhance your designs.

I have added  a video that has been added to the Craft Stash channel but I will be adding some more to my own channel and of course putting them on the blog as well.

These two cards are showing just some of the items in the collection. 

The top photo is using the die to cut out the feather, ink blended with some lovely shades of teal, gold and blue.

The bottom one is a Letterpressed technique using the embossing folder.

The die and the folder are the same size and can be used individually, as I have done here,  or they can be used together and layered  if you wanted them to,

It is a collection to have fun with and can be used in many different ways.

More tomorrow ...

Hugs xx
March 03, 2024

Ursula Longworth - Winner

 Hi Everybody,

Here we are again on this beautiful Sunday Morning. I am hoping it will stay this way as we plan on meeting up later for a dog walk along the promenade. This is my birthday week and my family want to meet up today to celebrate. Next Sunday of course is Mothers Day and that is already planned out.

So for now the draw has been done and the name this week is 

Ursula Longworth

would you emaki me your postal address please to
christina@card-making-magic.com
and I will post it off to you straight away.

I will also include one of the  handmade Pokey Tools for you and I will tuck that into the pages of the magazine.. I hope you enjoy all the pack and please be sure to let me know that you have it safely.

And just to let you know that there is a special promotion going on over at Craft Stash to get a really good discount of lot s of Card Making Magic items 

More tomorrow ...

Hugs xx

March 01, 2024

Friday Freebie - Spring Special Kit

 Hi Everybody, 

Todays offering is this beautiful A4 stamp set that is full of flowers, leaves and two lovely insects for you to stamp onto your designs.

There are also sentiments in the stamps and some paper to match your cards are included in the pack.

You will also get an A6 embossing folder that can leave a border around the edge of your card.

And the magazine is an excellent read that is full of inspiration and ideas that you may like to try out for your self.

So if you think that you could make use of this and enjoy the process at the same time then all you need to do is leave me a comment with your FULL NAME at the end of this post. 

From those comments one name will be chosen as the winner and announced in a blog post over the weekend so be sure to come back and check.

Good Luck Everybody

More tomorrow ...

Hugs xx