Beautiful Card Designs Made Easy

October 05, 2017

Butterflies & Lamination + Sequins !!

Hi Everybody,

Today I am sharing a card that has a laminated background behind the butterflies and it was really easy to do.

The laminating pouches are not expensive.  I got mine from the £££ shop and there are ten in the pack .. Cheap as Chips !!

The sequins and glitter I had in my stash and so I had fun making this card.

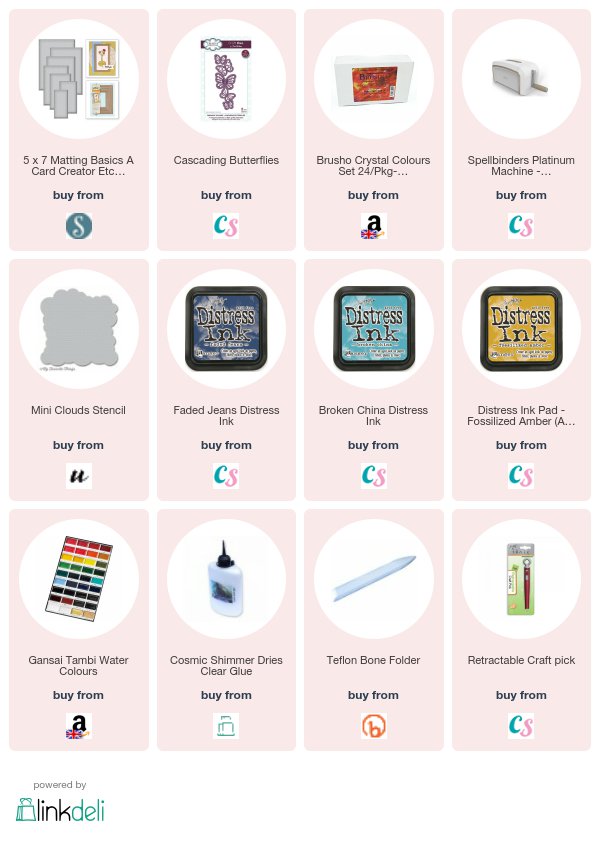
In the video I take you through each of the steps needed to make it and the supplies are listed at the bottom of the page for you to see what I used

Butterflies and Lamination   is just long enough for you to have a cuppa and maybe a biscuit or three

Each one of the cards has used the die cut aperture piece on another design

You just need to plan the background so that it will work with the second card

But using what is in effect the waste saves you time and money if you make use of it.

Have fun

More tomorrow ...

Hugs xx

October 04, 2017

A gift for Carter

Hi Everybody,

I had to show you the gift that I have made for my Great Grandson Carter who is just a year old. 

I thought that these would look wonderful on his bedroom wall and I bought the frames from Dunelm

The Critters are from Tonic Studios and they are a lot of fun to work with. You can make them any colour you wish for even more fun


They are perfect and my Grand daughter loved them for her son and she will get his daddy to put them up

Carter loves animals and is learning to say the names of them and so these should encourage him to name these too.

 I used some Spellbinders for the added pieces to the pictures like the palm fronds and the bamboo shoots

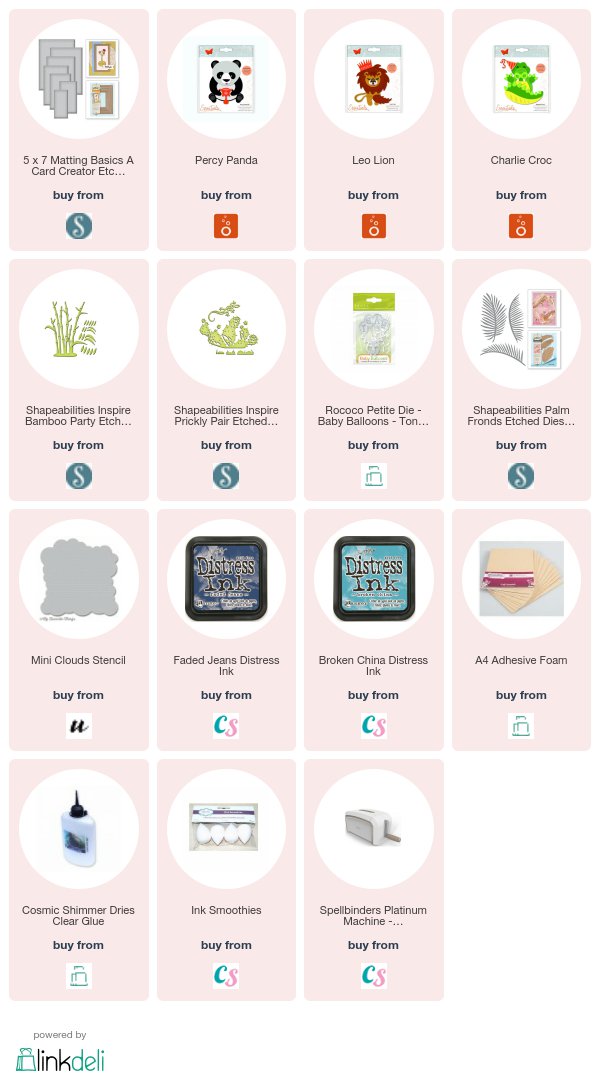
The supplies will be listed at the bottom of the page for you to see the ones I have used

And don't forget I did a video showing how I did one of the characters ... Cute Critters

More tomorrow ...

Hugs xx

October 03, 2017

Tuesday Tutorial - Tumbling Blocks

Hi Everybody,

Today I am using one of the dies from Spellbinders Designer Lene Lok 
 Here I have created two cards ... one for the boys and the other most definitely for the girls with Flowers, Ribbons and Pearls ... and Pink !!
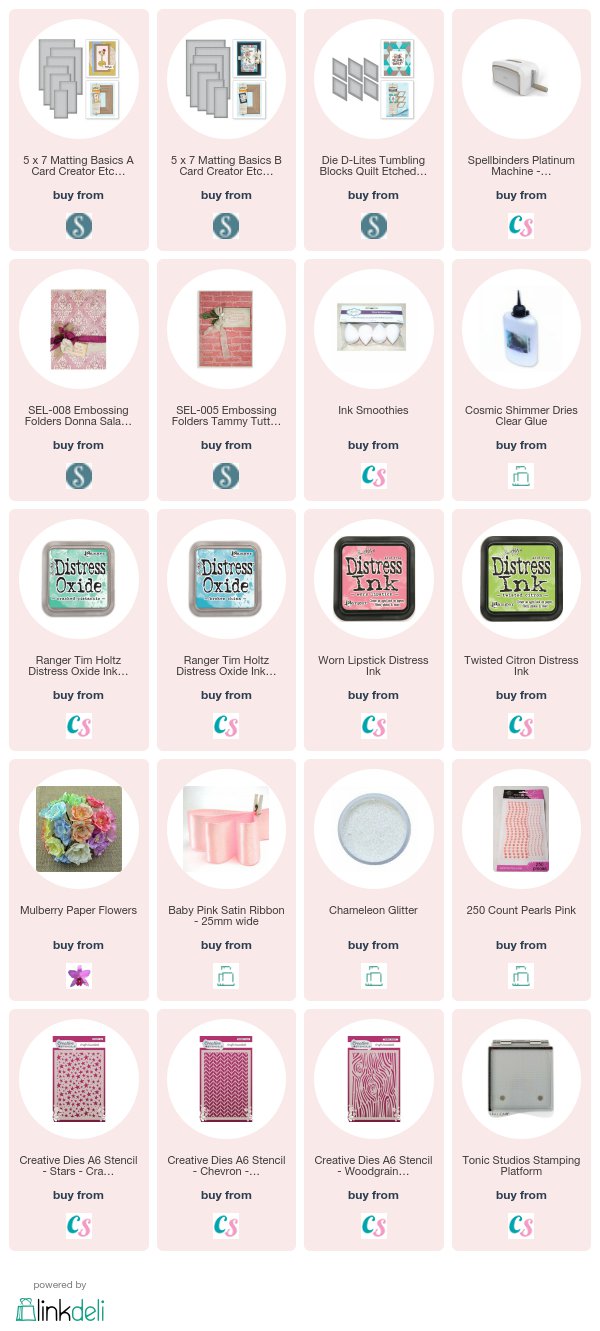
So first the card  with a male theme and all the links are at the bottom of the page
Spellbinders Supplies:
  • S2-276 Tumbling Blocks
  • 5x7 Matting Basics A & B
  • Platinum Die Cutting Machine
Other Supplies:
  • Distress Inks in your favourite colours
  • Sponges
  • Flowers
  • Ribbons
  • Pearls
  • Glitter
Instructions:
With die # 7 from Matting Basics A cut two pieces in white card to
  Create A Hinged Card
With die #7 from the B set cut another in white 
With this layer stamp the sentiment on to the top right corner and heat emboss with clear powder.
Then emboss in the brick folder
With the die and some white card cut as many of the shapes as you need. 
Stencil a pattern on to the shapes with sponges and inks while the card is still in the die.
Then ink the edges of each shape once it has been removed. 
I added in another layer with a similar colour to one of the inks I used
Add foam pads to the back of each shape
Have a practise run,  before you remove the backing, to see how you will add them to your card
When you are happy with your chosen design then go ahead and add them to the embossed layer and trim if needed then and add the layers to the base card
That one is for the men in your life
BUT ...
You can definitely pretty it up for the girls too. 
I add the shapes in a different orientation and glued ribbon across the layers before I added them to the base card. 

The colour choices are yours but this one simple die can be used for any occasion and I am sure the boys will love it too 

More tomorrow ...

Hugs xx

October 02, 2017

White Embossed Cards

Hi Everybody,

These lovely cards have been created with a lace stamp and some white embossing powder on coloured card

They are all blue but the effect is really pretty especially with the addition of the flowers which are all from Wild Orchid Crafts

I have used two different stamps. This first one is Lace Medallion Labels from JustRite Stampers and I Inked over the design with Faded Jeans and Broken China 

I have simply stamped along the bottom edge for this one and added Glossy Accents to the words


This is the same stamp used as an all over design and again an arrangement of flowers and small leaves with dies from Spellbinders

The sentiment on this card is cut in silver and a whole bunch of leaves added too.

I have dressed all the cards with pearls as a finishing touch and they are much prettier in the hand

I am sorry but the stamp is one that I have had for some time and I cannot find a link for it.
This last one has used the Borders and Backgrounds stamp from W+9  and I have wrapped ribbon around the layer before adding it to my card 

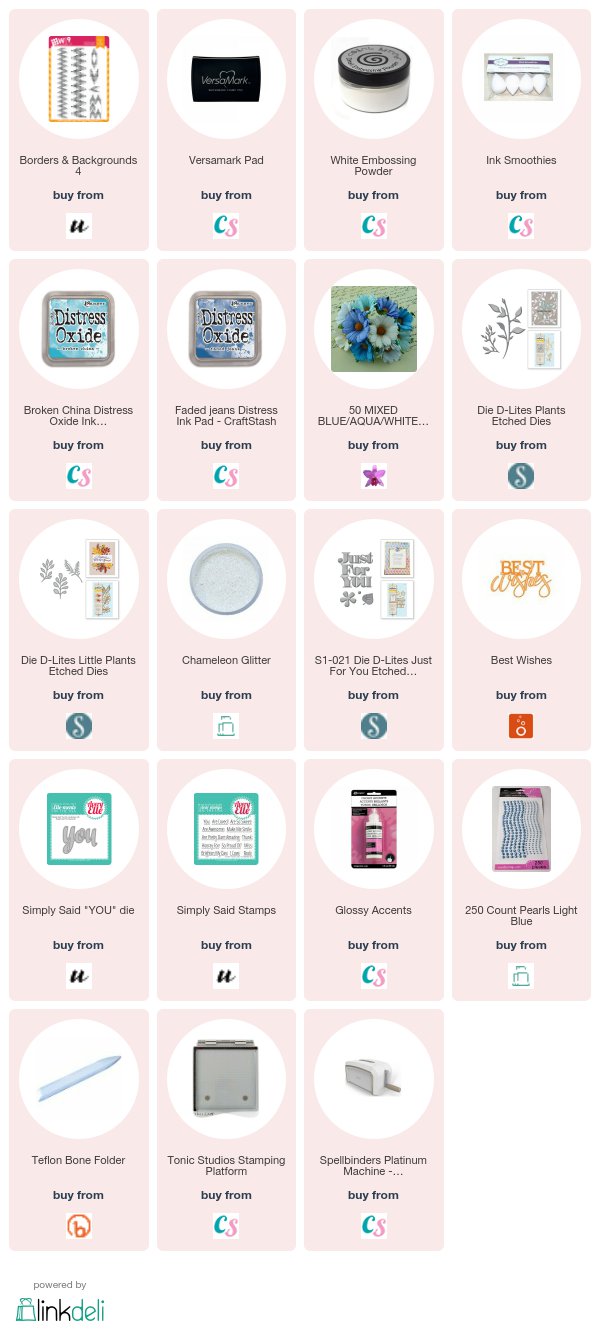
I have added the links to the products for you to see at the end of the post.

More tomorrow ...

Hugs xx

October 01, 2017

Ruby Update

Hello Everyone,

I have not been to visit you for a little while but I have been up to mischief as usual. 

I have had a bit of an ear infection but apparently its quite common with Spaniels and I have got rather long floppy ears !!

I like to go out in the car and walking with my mum and my best friend Dougal and we have a lovely time. 

This is me sat in the drivers seat ready to take us all out for the day.

"Where we going Mum ???"
 One of the things I like to do is dig holes and with this one I think I excelled myself !!

Only joking ... but I do fit in it really well 


But after all that playing and digging,  along with barking and chasing Dougal I am tired

And so it was time to curl up for forty winks before I have my chicken dinner Mmm Mmm !

More next time ...

Hugs xx

September 30, 2017

Card Winners

Hi Everybody,

Hello to a wet and windy Blackpool today and I was going to go out dog walking this morning but I am a fair weather walker and so the walk is off. Ruby will be back tomorrow for her latest up date so I hope you will join her then.

And next week I have some really pretty cards to show you and one that is great for men in the Tuesday Tutorial and very easy to make.

Next Friday the card and gift "Give Away" begins and I have got the first five ready to go. They are listed on the winners page if you wanted to see which ones are coming up

But for now the draw for the two cards from yesterday has been done and hopefully they will find new homes this week.  I can't guarantee which one you will get but the names of the winners are ....

Bill Ali 
EFT Christine
please can you both email me to
christina@card-making-magic.com
with your postal address and the cards will be on their way to you

I hope you will like them and please let me know when you have them safe and sound.

More tomorrow ...

Hugs xx


September 29, 2017

Friday Freebie ... 2 Shabby Chic cards

Hi Everybody,

Today I am offering two Shabby Chic Cards and these are the last ones for now because next week I have something really good to offer you.

Both of these cards have been on the blog before and were unclaimed... for whatever reason.

So here they are again and if you would like one of them then all you need to do is leave me a comment


The card above is a 5" square and this Christmas card is quite a large one at 7" square

I am happy to send them wherever you are and all I ask is that you let me know it has arrived safely with you.

So there you have the last two Shabby Chic for a while but please pop back next week for a really special run up to Christmas

I am giving away a free gift with the card that was made with that gift.

They are from the magazine freebies but it is too expensive for me to send the actual magazine each week especially if you live overseas .... so sorry if you thought it was the magazine as well

More tomorrow ...

Hugs xx

September 28, 2017

Layered Stencils

Hi Everybody,

I have been playing a lot recently with stencils as there is so much you can do with them to add that extra something to your design

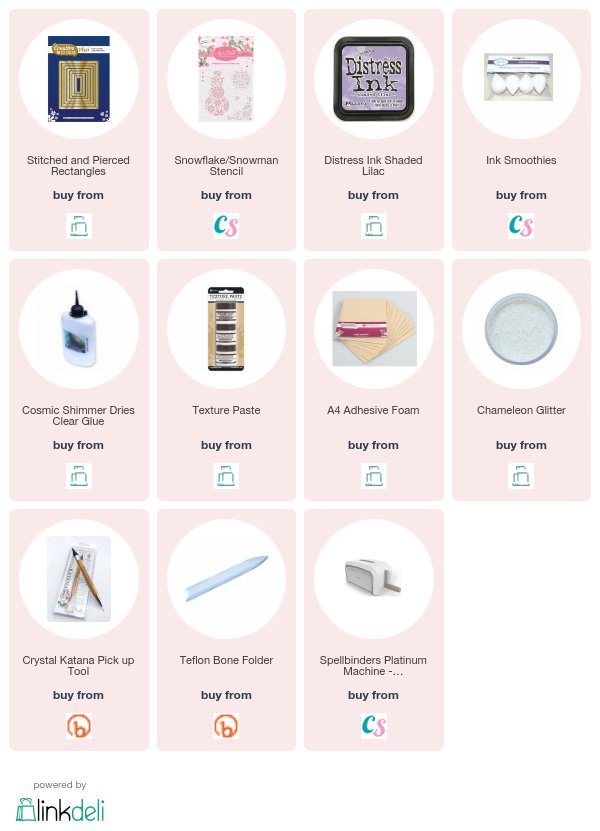
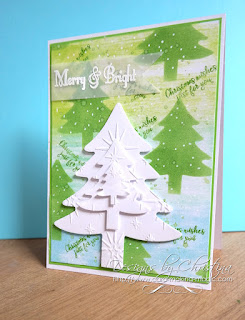
This is a new one that has been added to Craft Stash and this is the Snowflake/Snowman stencil duo

There are several to choose from and this one was so easy to use.

The video will show you how I created some different ones with this set and it is not long

Snowflake/Snowman Layered Stencil  has been used for this card too but they look totally different and this one is a little more sophisticated

Have a look at the other designs and there may be one that really appeals to you.

But whatever you do have fun playing

More tomorrow ...

Hugs xx


September 27, 2017

Magazine freebies ...

Hi Everybody,

There are two new magazines on sale tomorrow so here's a sneaky peak at what you can do with them. 

Each one has a video to show you how I made the cards featured here.

The first one is Die Cutting Essentials 29 and the video will give you other ideas as well.

This one is quick and easy ... just what you need when you have lots of Christmas cards to make.

The next one is Simply Cards & Papercraft 168  which has three border dies for you to create a scene.  

It is called Scenic Winter but I have created other cards from the same die set to show you that it is something that can be used all year round and for many occasions

So here we have the winter scene and I have used lots of glitter on the snow for this card.

I used Spectrum Noir to colour in plain white card and I created a winter sky behind it.

But this is the same die set and for this I created a summer scene 

I added the two people to one side and they are flying a kite on the hillside with a cloudy summer sky behind

I had a lot of fun using this die set and I am sure that you will come up with many more as you play.

There are lots of ideas within the pages of the magazine too for you to try.

More tomorrow ...

Hugs xx


September 26, 2017

Tuesday Tutorial - Bella Clair Border

Hi Everybody,

Today we are making a Gatefold Card and it is easy to do using one of the new dies from Spellbinders designer Becca Feeken. 
This die comes in three parts with two cutting edges and the patterned panel for the border.
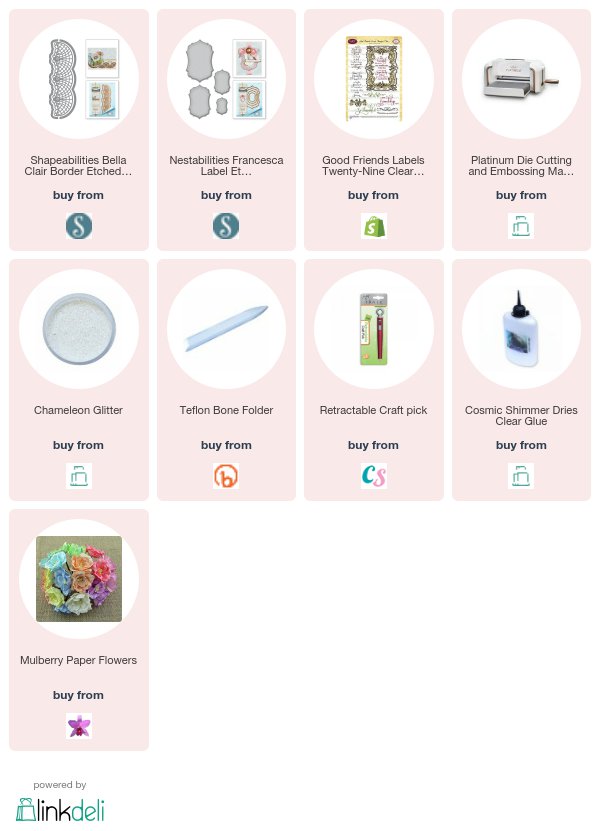
The links will be at the bottom of the post for you to see my supplies
Spellbinders Supplies:
  • Bella Clair Border
  • Francesca Label
  • Platinum Die Cutting Machine
Other Supplies:
  • Pink Pearls
  • Flowers from Wild Orchid Crafts
  • Glitter from Glitter Magic
  • Thin pink ribbon
Instructions:
With the colour of your choice take a 20cms piece and measure in 5cms from each side, score and fold towards the centre. Don't worry about the length at present as we will trim it to the required size later
Place the patterned die and the curved cutting piece on the outside edge and cut
Tape in place so the the dies can't cross as you cut.
Move the dies to the other side and making sure that they are level cut these also
Trim the card as need to remove the surplus pieces and make it the length of the die
With the card flat add a line of pearls along each of the front panels as shown
I also added flowers to mine
Stamp the sentiment of your choice and with the Francesca labels die #3 cut it out.
Use the same die and trace around the outside edge onto some pink card  and cut it out.
This will give you a Faux Nestie that is slightly bigger then the sentiment label
(If you need a more detailed explanation please visit Faux Nesties )
Line the back of the card with some pretty paper and add the sentiment with foam pads
Use a piece of patterned paper to line the inside back of the card
With the largest die cut another piece in white and level the bottom
Score a little way down and add glue to this area
(For other ways to make a card stand please visit Creating a Card Stand )
Glue the small strip to the back of the card making sure that the straight edge is level with the bottom of the card
This will allow the card to stand correctly
Add some matching ribbon and slot it through the holes in the Gatefold edges
You can tie this into a bow or leave it open if you prefer.
The back of the card will look like this and stand unaided and leave to more room to add your signature 

More tomorrow ...

Hugs xx

September 25, 2017

New Videos ...

Hi Everybody,

Today I have some new products that are on the Craft Stash Website and these are all geared up for Christmas.

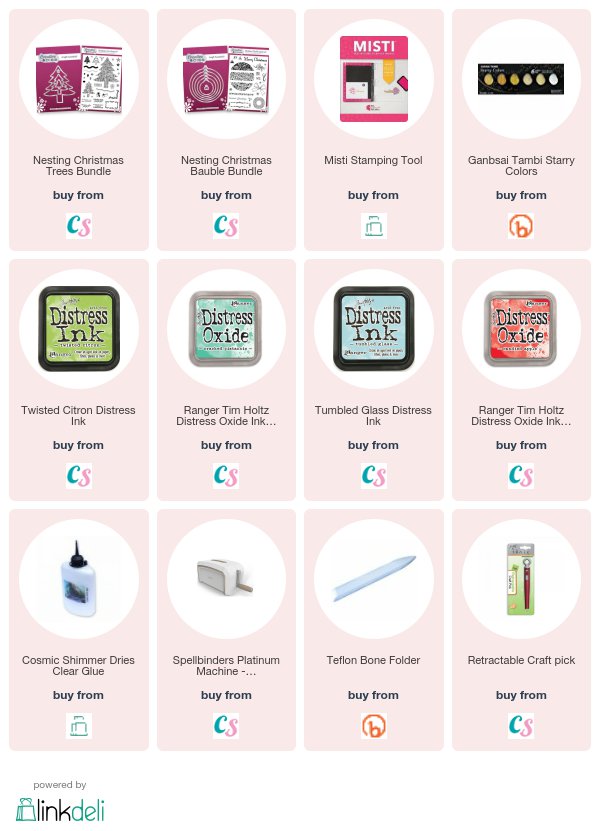
Both of these sets are Nesting Dies and they also have a stamp set that will compliment them.

They can be bought individually if you prefer but the price for the bundle is well worth considering.

The Nesting Christmas Tree has been done with Distress Inks and is in contemporary colours ... but it was fun to make and is very vibrant.    Click the links to view the videos

The Nesting Christmas Bauble has been created with Card Candi and I bought loads of this from a craft show.

I have simply glued it direct to the die cut and filled the spaces with glitter.

Another pretty card and again easy to make.

The stamps can be used as additions to any other cards you make but both work really well together.

The links at the bottom of the page ill show you the products I used to make them

More tomorrow ...

Hugs xx

September 24, 2017

Weekend Away ...


.

Hi Everybody,

Last weekend was brilliant and you know part of it as I went to Alexandra Palace to the craft show there.

I met Christine Smith from Crafti Potential for the first time even though we have chatted and been friends for over a year on Facebook. 

We met up with Natalie Helyer and Amy Gray from Craft Stash and had a good natter.

Here we are with the large stained glass window and it was beautiful

And a really big THANK YOU to ALL the ladies who visit my blog and came over to make them selves known and say "Hello"  it was so lovely to meet you all 

On the Sunday Griff and I went to the Harry Potter Studio Tour and that was amazing.

We spent almost five hours in there and we looked at everything.
We tried the Butterbeer ice cream and it was delicious


This was our walk down Diagon Alley and all the sets are just as they are used in the films.

 It makes me want to see them all over again and I do have my own boxed set that my daughter bought for me at Christmas

We came home yesterday in very heavy traffic, but what a really good weekend we had.

And that explains my absence from posting for a few days.

But now it is back to normal again until the next time we go away for a little break

More tomorrow ...

Hugs xx


September 23, 2017

Card Winner ...

Hi Everybody,

Hope you are all enjoying the weekend. This is a quiet weekend compared to the last one and I will tell you more about that tomorrow.

This morning I have added an extra box on the left hand side to link you to the Spellbinders Posts that I do for them.  There are more ideas that you may like to try.

 But for today we have done the draw for yesterdays Shabby Chic.
I just hope the winner claims it this week as it really is a pretty card.

So the name chosen as the new owner is you ....

Margaret Wilson
if you would email me please with your postal address to 
christina@card-making-magic.com
then the card will be on its way to you straight away.

I hope you will like it and please let me know when it arrives with you.

More tomorrow ...

Hugs x


September 22, 2017

Friday Freebie 37- Shabby Chic

Hi Everybody,

This week I have another Shabby Chic card on offer and it is one that was here a few weeks ago.

It is really pretty in Lilac with lots of glitter and flowers. It is being offered again because it was not claimed and so if you would like this one then leave me your comment at the end of the post. 

I ask that it if you are going away on holiday and know that you will not be able to claim it then please do not add your name. 

It stops someone else who really would like it from claiming it.

Can I also add please that you leave your full name as the other week I had two people with the same first name claiming one card 

I have two more cards that I can offer as the FF and I will add both of them next week.

Special News

 Starting on the first Friday in October  I am going to be doing something a little special.

I will be offering a card that used a magazine freebie to make it. So along with the card I will be giving away the actual freebie too. 
(The GIFT and not the magazine)
 I will show you the picture of both gift and card so that you can decide if you would like to enter and win that particular one. The card will also have been in a video to make it

This offer will run all the way up to Christmas so lots of chances for you to be a winner.  

More tomorrow ...

Hugs xx

September 21, 2017

Tonic Craft Kit 01

Hi Everybody,

Today I am playing with the new September kit from Tonic Studios.

There are some really lovely papers in this kit full of texture and all in Autumn colours

The die set is quite big and there are seven pieces to it. There is also a stamp set and other items to add to your crafting stash.

The video 
is not very long and it shows you how I made this card.

The next kit will be along soon and has even more goodies in it for you to play with.

So I hope you will make a cuppa and sit and relax for a little while as you watch the video

You can find out more about the kits at by clicking the link  and watch the video on their page to see what is in the next months kit ...

UK & Europe  
US & North America

More tomorrow ...

Hugs xx