
In the last stage I added all the patterns that I wanted on my jewel box and left it to dry.
Although not shown in the photo I have repeated the process on the two side doors and the lid.
Today I have been back to it and given everything a coat of clear satin finish varnish and then left it to dry again.
That will protect everything from some wear and tear.
Tomorrow I will put it all back together and add all the "Bling" that I want to add.

They are about 7cms long but they are much prettier in real life than they look on the photo.
I can add these to cards or any project where a butterfly is needed.
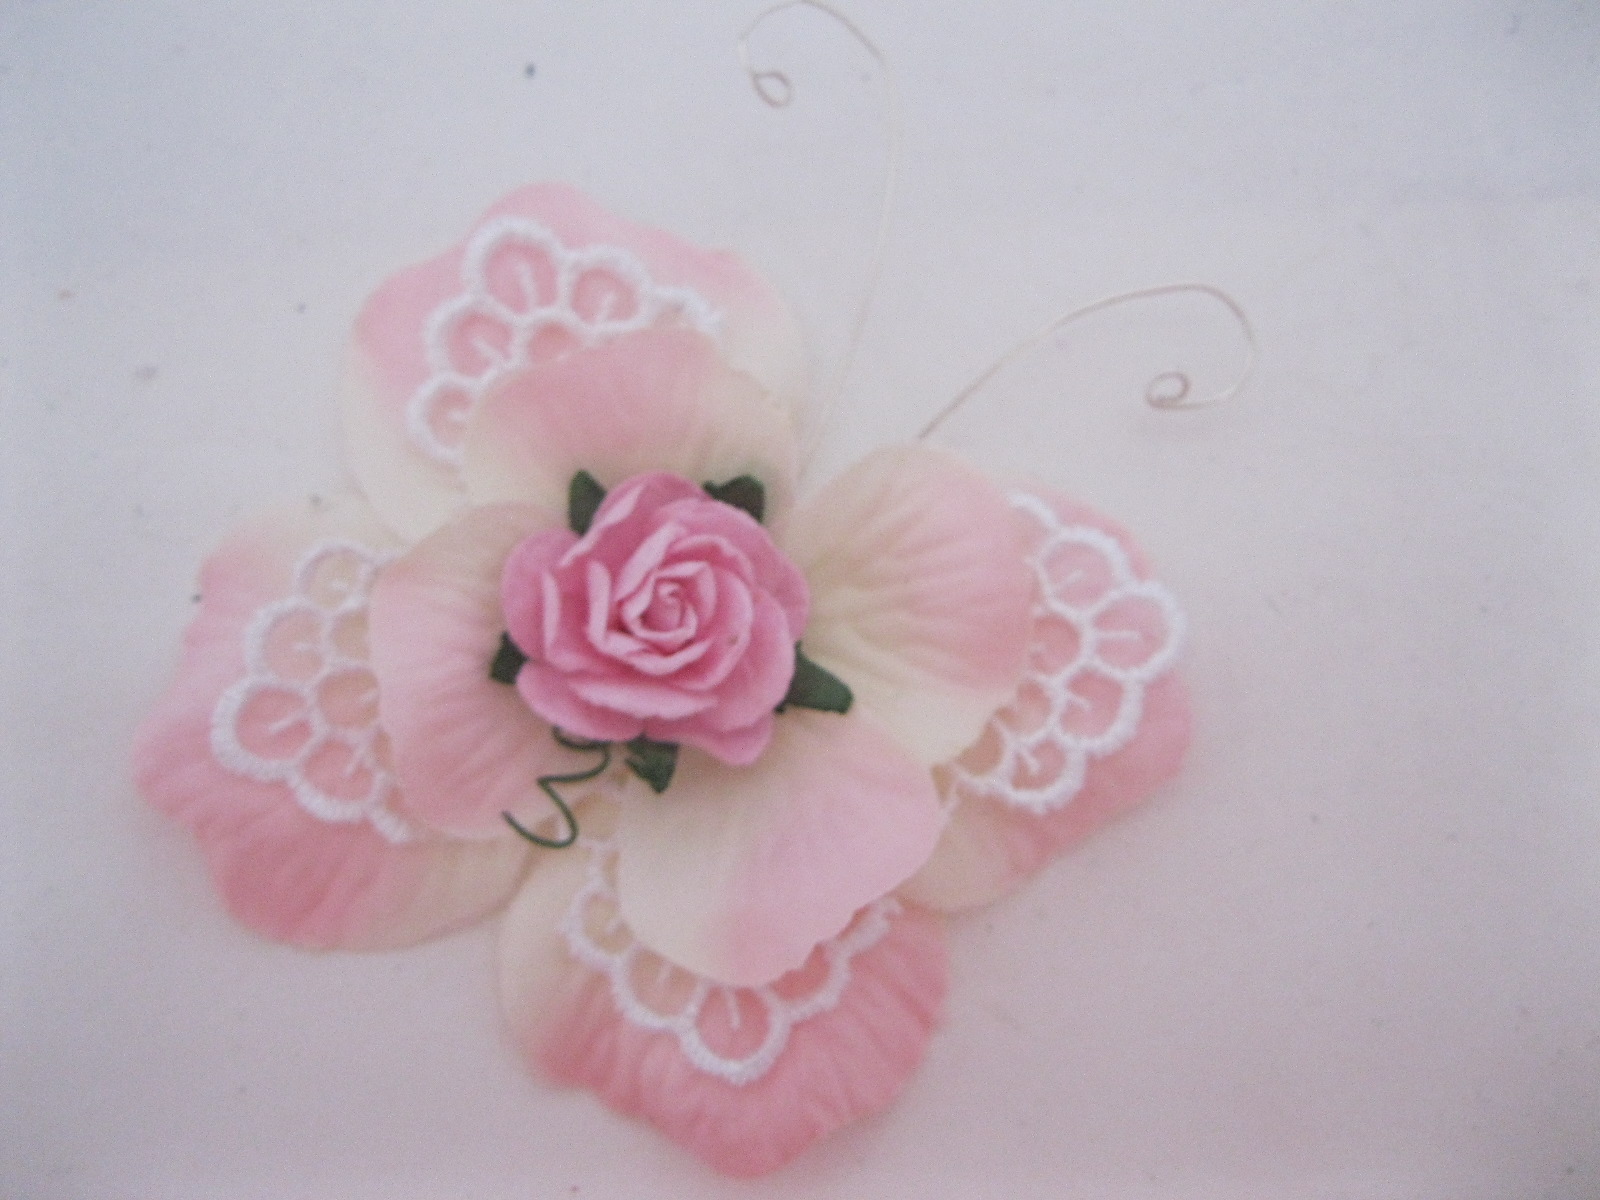
I have curled the antennae from some silver wire, and cut up a small piece of lace that I had in my stash.
It is a good way to use up all your odds and ends and here is a tutorial on how I got the look.
Making Butterflies is the written instructions but I will have a video out soon.
 |
| Click to Enlarge all the photos |
More on the jewel box saga tomorrow.
Hugs xx
Jewel box looking great, can't wait for the finished box. These butterflies are wonderful just had a look at how to make them and will have to try this.
ReplyDeleteWilma x x
Love it so far Christina. I can't wait to see the finished project! Did you videotape the making of this?
ReplyDeleteHello Christina, what a great idea. Thank you for sharing another of your fantastic ideas.
ReplyDeleteHugs
Patricia. xx
You amaze me Christina, I can't believe how beautiful your Jewerly box is turning out, Mine is sanded and now Michael is sick which explains why I am writing this early. I can't wait to see your Jewerly box together!!! Love the design and how you put it on. The butterflies are stunning and I am on my way to check out the written tutorial!!! hugs
ReplyDeleteLooking good Christina. Those butterflies are going to next on my list of 'to do' they look so very pretty. xxx
ReplyDeleteHi Chirstina the box looks good cant wait to see it finished.
ReplyDeleteI love the butterflies they look gorgeous.
you are one clever lady.
Love Marion
That jewellery box is looking gorgeous Christina. Thanks for sharing how to make the butterflies - they look really pretty. Pat x
ReplyDeleteCant wait to see all done!!
ReplyDeletetaking notes Christina ;) I have a jewelry box that could use a make over...perhaps another project inspired by you! Love it.
ReplyDeleteThe box is looking fabulous!! And wow, the butterflies are gorgeous!! Have a great day :)
ReplyDeleteLisa
A Mermaid's Crafts
That looks realy beautiful dear, you never cease to amaze me. Love Patricia xxxx
ReplyDeleteLove what you have done to your Jewerly box so far. Can't wait to see the finished project.
ReplyDeleteYour butteerflies are gorgeous.
ColleenB
Your jewel box is looking GORGEOUS...I can't wait to see it finished!
ReplyDeletethis box is looking good, will your daughter fight you for it?? lol
ReplyDeleteThe jewellery box is looking good can't wait to see it finished x
ReplyDeleteYour butterflies are amazing you are so talented xx
This is looking so amazing - wow ! Can't wait to see the finished project. TFS
ReplyDelete