Hi Everybody,
This beautiful die is one of the new ones from Spellbinders and was designed by Becca Feeken.
It can be dressed up any way you wish but I have kept mine to a simple white with autumn coloured flowers.
Spellbinders Supplies:
- S6-125 Victoriana Crest
- S6-082 Classic Elegance Labels
Other Supplies:
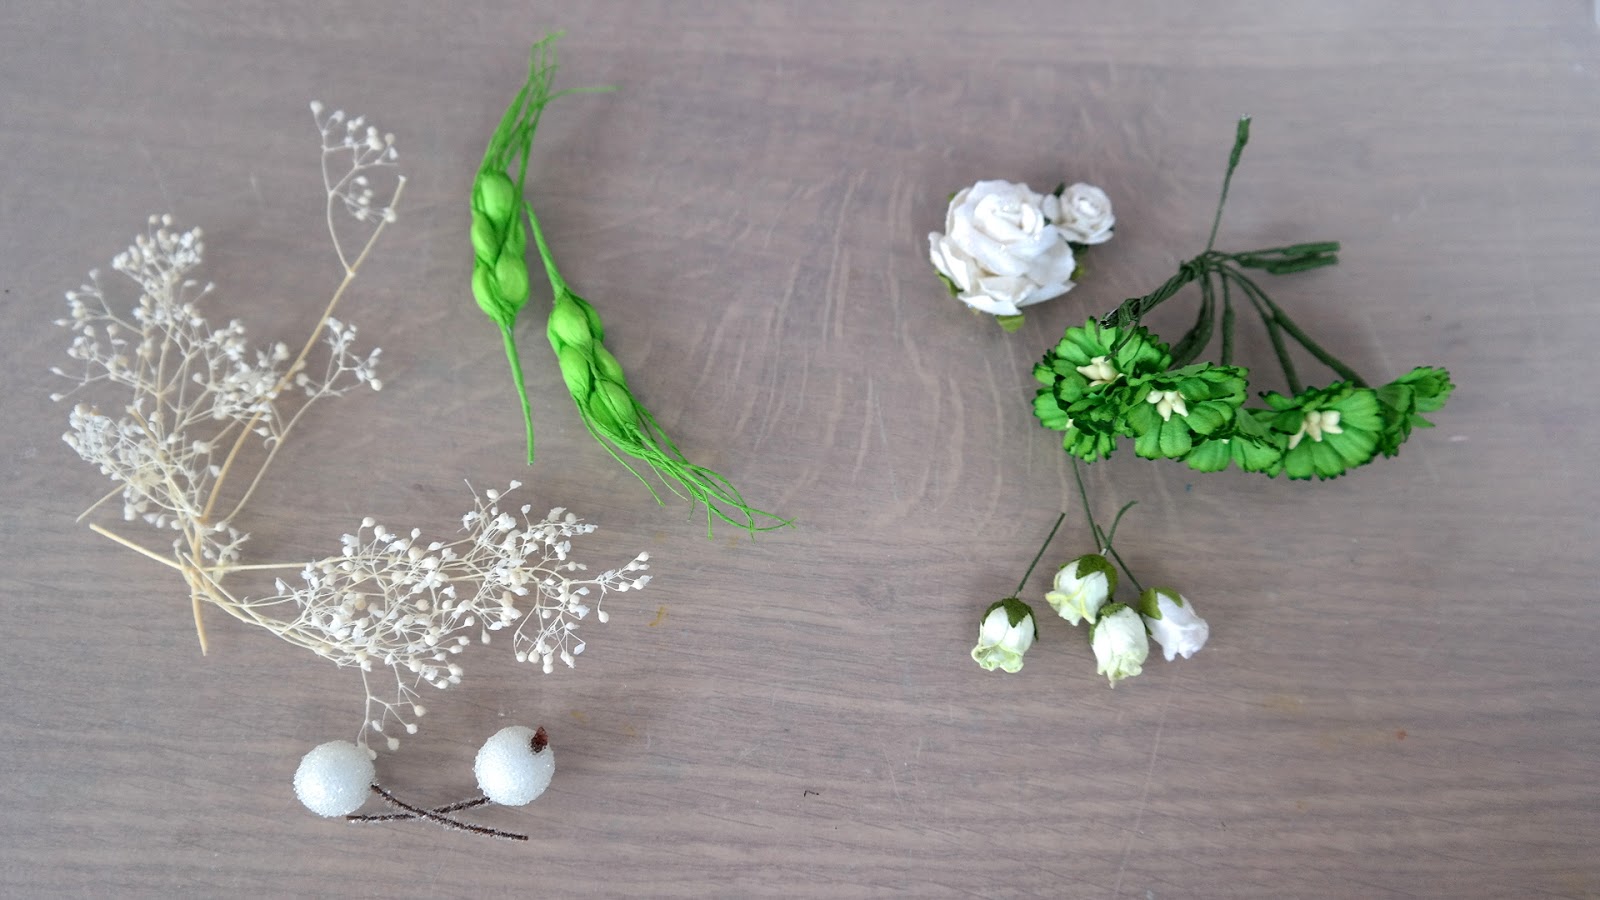
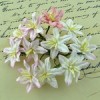
- Flowers from Wild Orchid Crafts
- Pearls from Hobby House
- Glitter from Glitter Magic
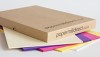
- Card from Papermill Direct
Instructions:
With outer die cut two pieces and score one of them and bend it back
Add glue to this small strip and glue the two together to form the base card
Level the back piece so that the card will stand
With the two largest dies cut and emboss another panel in white
Add foam tape to the back
With the other dies in the collection cut all in white card
Stamp a small greeting onto the smallest piece
Glue the filigree oval to the plain layer
Add foam to the back of the other pieces
The foam taps adds depth to the layers
Cut two of the flourishes from the Labels die in gold coloured card
Add to the centre panels of the card front
Choose Autumn coloured flowers and glue onto the flourishes
Dot with glue and sprinkle with glitter
Add tiny pearls around the edge of the oval
Add in the sentiment tag
More tomorrow ...
Hugs xx