Beautiful Card Designs Made Easy

September 04, 2015

Friday Freebie - 083

Hi Everybody,

This weeks card is a vision in white and features some of the dies from the Victorian Collection from Spellbinders.

This one is  Royal Circle  and I have backed it onto some silver mirror card for effect.

I have just cut one of the circles and then cut it in half to form the semi circles on the card.

Stagger them as you add them and then across the centre I have added a white panel that is also backed with mirror card and around that I have tied some wide satin ribbon from Mei Flower

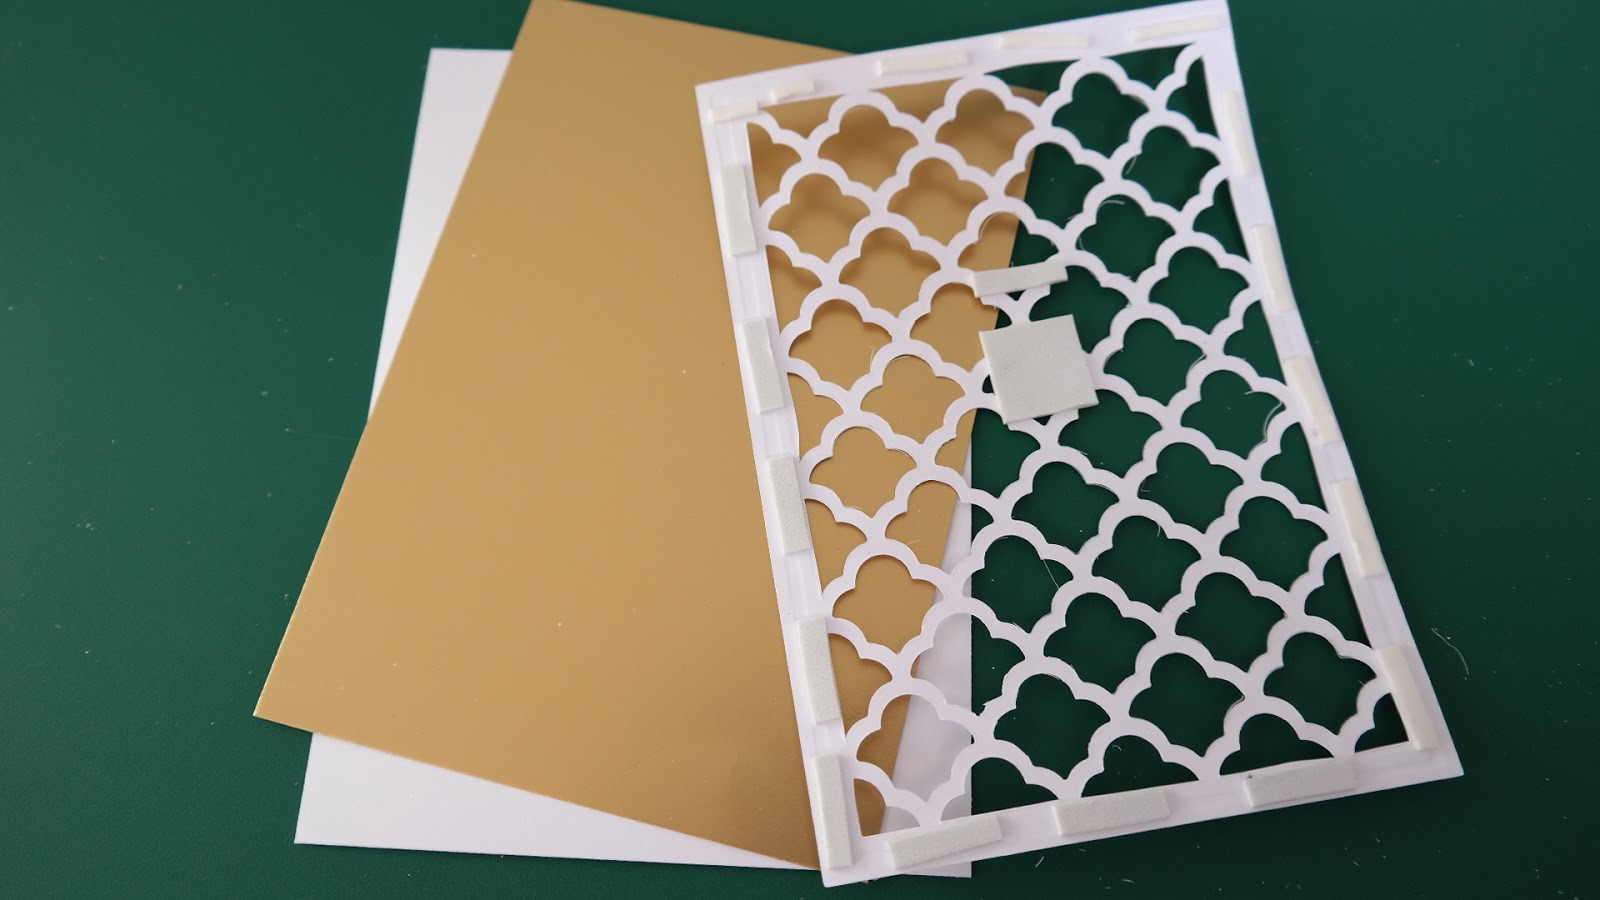
The centre to the bow is one from my "Stash"  Use any embossing folder that you have to create some texture on the base panel and then layer it onto silver card before adding it to the base card

Layer the sentiment in the same way to complete your look.

So would you like to win this one ?? Then all you need to do is join the group of followers and leave me a comment at the bottom of the page.  It is from those comments that a name will be selected as the winner

The name will be in tomorrows blog post so please make sure that you come back and check if the winner is you.  You will have 48 hours to claim the card by sending me your postal address.

More tomorrow ...

Hugs xx

September 03, 2015

Special Wishes

Hi Everybody,

This card is a little more subdued than yesterdays but uses the same dies for the sentiment and the same pink spotty card from  AnnaMarie Designs

This card is 5x7 created with  Matting Basics  and I have used both the A and B sets to give me the layers that I need.

The next layer is parchment and I have embossed it with the Tied Together folder

Now this folder sells out every time it comes back onto the market so you may need to search for it.

I have trimmed the top and bottom of the parchment with  Scalloped Borders One

I have added it to my card with foam pads that sit under the sentiment and the ribbon and lace so that they cannot be seen

Into the cross sections I have added tiny pink pearls from  Want2Scrap

The sentiment has been stamped and embossed and then layered on tot the card front with foam to raise it up and I have used Standard Circle Lg  and matted it onto Lacey Circles

Have you joined in the new "Give Away"  yet .. you have until next Monday to add your name so what are you waiting for ??

More tomorrow ...

Hugs xx

September 02, 2015

Two of a Kind


Hi Everybody,

The Tuesday Tutorial from last week with the Scalloped Pop Up Box has been very well accepted and I have had several requests to make this box in a video tutorial.

Well what can I say except "Yes" ... I am always happy to oblige and so it will be done. 

I have some tutorials already in the pipeline but give me a little time and I will be with you soon.

Here is another variation and this was done with a darker card and different types of flowers. But it is just as pretty.  I like the fullness of both of these but as I said to you in the original post they are to full to fit into an ordinary envelope.

They are very pretty and well worth the effort of cutting the card and flowers to get such a lovely result. Watch this space the video will be with you soon

Don't forget that there is a new "Give Away" running and so if you have not yet entered your name to win the prize then click this link to go to the page ...  "Bank Holiday Give Away"

Please also join me today as I am showing you some Spellbinders dies on the Pick of the Day.  The shows are split between Ideal World and Create and Craft starting off at 8 am on Ideal World.

Send in an email to the shows and you may win one of the cards that I make.  
Also I have added a new video to the Inspiration page and if you click the photo in the top left of the screen it will take you to the page.

More tomorrow ...

Hugs xx

September 01, 2015

Tuesday Tutorial - Grateful Lattice

Hi Everybody,

Todays tutorial is another of those that will give you two cards for the price of one .. and no waste at all.  I have created two cards one gold and the other silver and just by varying the colors and the way you add in flowers, ribbons and pearls will create a new look for you each time.
Spellbinders Supplies:
Other Supplies:
Instructions:

With die #7 from Matting basics A create two card bases (Please remember that #1 is always the smallest die)
With die #7 from Matting Basics B and the Grateful Lattice die cut out one panel.
Carefully remove the Lattice work from the die leaving all the waste pieces in place. 

Trim away the side bits of the Lattice panel to tidy the edges.
Cover the waste pieces with double sided adhesive sheet and sprinkle with glitter of your choice

I used a fine silver glitter for mine and pressed it on to the adhesive sheet making sure that it is all covered.
Continuing with the silver panel I have got my base as a Hinged card  and to this I have cut a smaller silver panel and another in white and embossed this one.

Layer them all together using foam tape under the  Lattice panel. 

Wrap these with silver ribbon before adding to your base card
Add the full Lattice piece to some gold card using foam tape around the edges of the die cut and another in the centre to support the sentiment

Again I have added in some gold ribbon around the layers before adding them to the base card

With the Elegant Oval I have cut one gold and one silver oval from die #3 


Then I stamped and embossed my sentiments onto white card and cut them with die # 2

I have varied the orientation of these ovals to add another difference to my cards.

I added in my flowers on the gold card to frame the sentiment along the top right corner

I used a selection of Roses in gold and ivory, with  Tuscany rosebuds and gypsophilia  and all have been sparkled with fine clear glitter 
On the silver one I have added them to the bottom of the oval and used camellia, tulips, small rosebuds and gypsophilia 

And there you have two lovely cards ready to send and no waste at all from your precious cardstock.  

The same ingredients have been used for both cards but they look completely different 

Look at other dies in your collection and see if you can repeat this tutorial with them.

More tomorrow ...

Hugs xx 


August 31, 2015

Bank Holiday "Give Away"

Hi Everybody,


We don't seem to have had a goodie bag "Give Away" for a while and so I thought that as we head into another new month it was high time we had one.

This is a really good offer and there are all sorts of tempting things in the pack and we will have two winners

The draw is open for one week and then you will have 48 hours to claim the prize.

You could win...

1 Set of  Stamps 
1 pack of Wild Orchid Crafts flowers
1 pack of Glitter Magic glitter
1 paper stack
5 Decorative Hatpins
6 Want2Scrap packs of "Bling"  

(The flowers, stamps,  hatpins and paper stack will be slightly different in each pack, but the same high quality)

If you are not a regular follower then you will need to become one and if you enter your name then please leave me a comment at the bottom of the page.

This link up is organised by InLinkz and so you will need to click the box to add your name and email address to the list.

You do not need to have a blog to enter just leave the URL box empty  ...  and I am happy to send the prize anywhere you live.

Only one entry please and any duplicate will be removed.