Hi Everybody,
I have been playing a lot recently with stencils as there is so much you can do with them to add that extra something to your design
This is a new one that has been added to Craft Stash and this is the Snowflake/Snowman stencil duo
There are several to choose from and this one was so easy to use.
The video will show you how I created some different ones with this set and it is not long
Snowflake/Snowman Layered Stencil has been used for this card too but they look totally different and this one is a little more sophisticated
Have a look at the other designs and there may be one that really appeals to you.
But whatever you do have fun playing
More tomorrow ...
Hugs xx
My little corner of Blogland where I can share my creations with you. There are many video tutorials as well as links to good quality websites for all your crafting needs.
Beautiful Card Designs Made Easy
September 28, 2017
September 27, 2017
Magazine freebies ...
Hi Everybody,
There are two new magazines on sale tomorrow so here's a sneaky peak at what you can do with them.
Each one has a video to show you how I made the cards featured here.
The first one is Die Cutting Essentials 29 and the video will give you other ideas as well.
This one is quick and easy ... just what you need when you have lots of Christmas cards to make.
The next one is Simply Cards & Papercraft 168 which has three border dies for you to create a scene.
It is called Scenic Winter but I have created other cards from the same die set to show you that it is something that can be used all year round and for many occasions
So here we have the winter scene and I have used lots of glitter on the snow for this card.
I used Spectrum Noir to colour in plain white card and I created a winter sky behind it.
But this is the same die set and for this I created a summer scene
I added the two people to one side and they are flying a kite on the hillside with a cloudy summer sky behind
I had a lot of fun using this die set and I am sure that you will come up with many more as you play.
There are lots of ideas within the pages of the magazine too for you to try.
More tomorrow ...
Hugs xx
September 26, 2017
Tuesday Tutorial - Bella Clair Border
Hi Everybody,
Today we are making a Gatefold Card and it is easy to do using one of the new dies from Spellbinders designer Becca Feeken.
This die comes in three parts with two cutting edges and the patterned panel for the border.
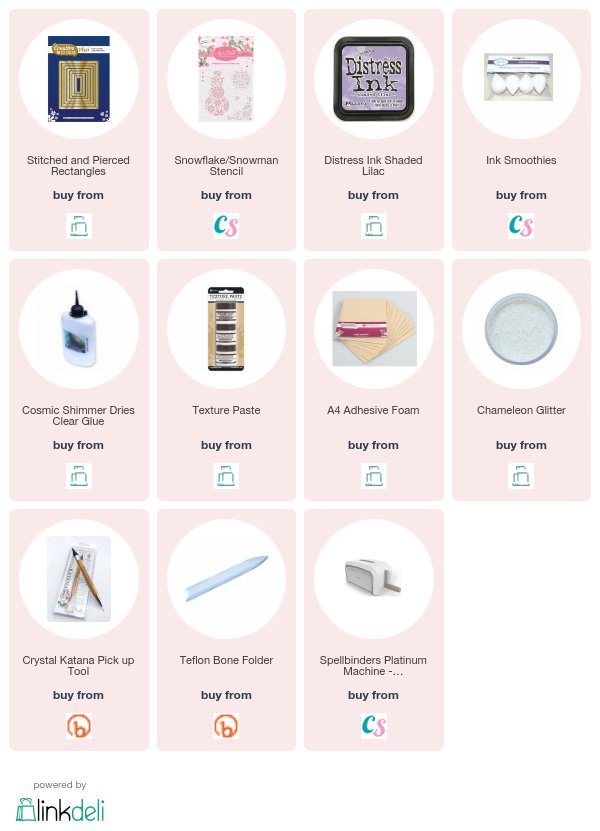
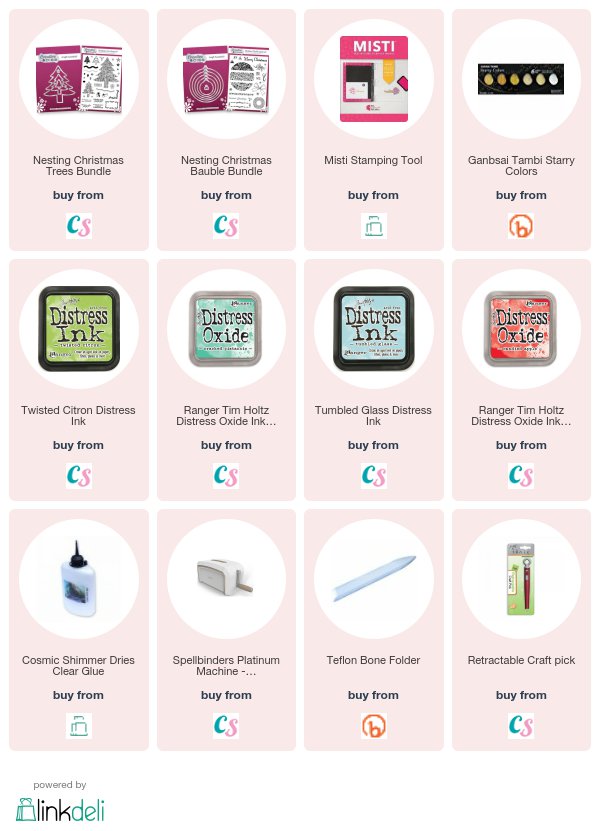
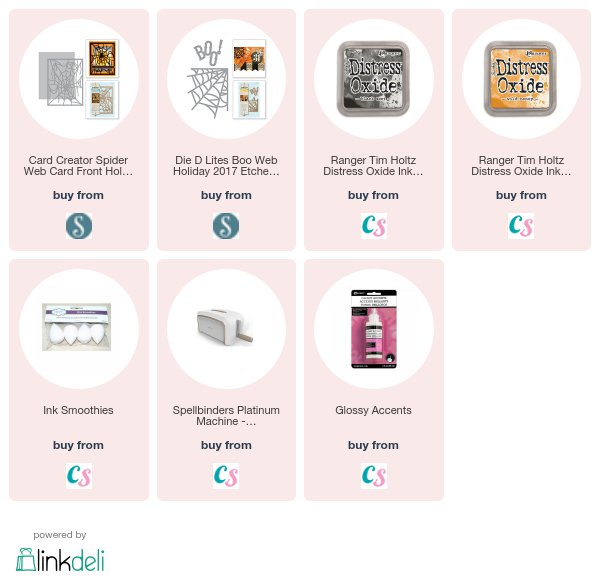
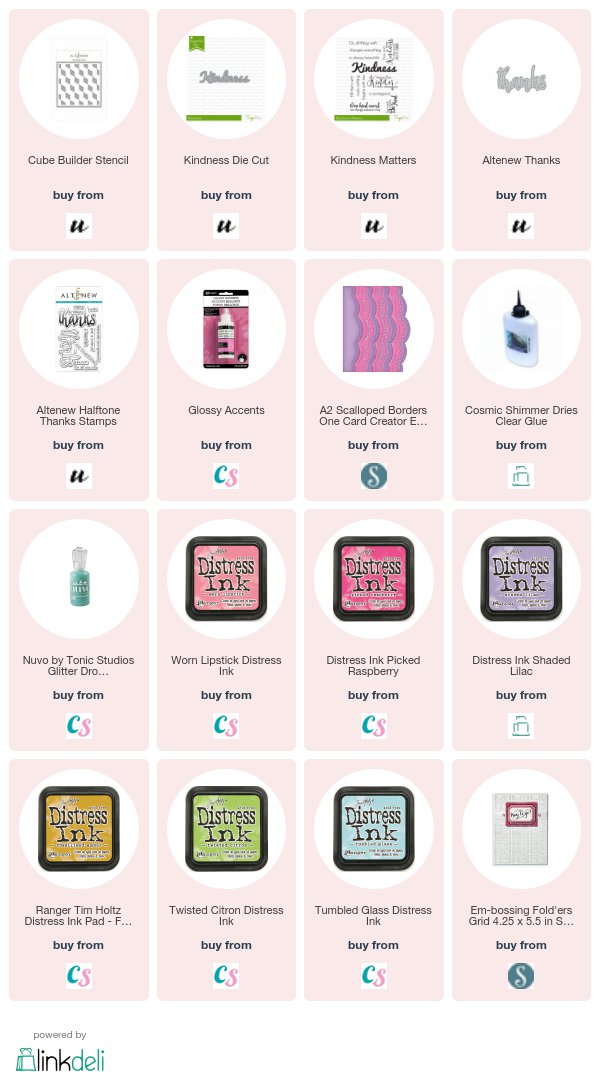
The links will be at the bottom of the post for you to see my supplies
Spellbinders Supplies:
- Bella Clair Border
- Francesca Label
- Platinum Die Cutting Machine
Other Supplies:
- Pink Pearls
- Flowers from Wild Orchid Crafts
- Glitter from Glitter Magic
- Thin pink ribbon
Instructions:
With the colour of your choice take a 20cms piece and measure in 5cms from each side, score and fold towards the centre. Don't worry about the length at present as we will trim it to the required size later
Place the patterned die and the curved cutting piece on the outside edge and cut
Tape in place so the the dies can't cross as you cut.
Move the dies to the other side and making sure that they are level cut these also
Trim the card as need to remove the surplus pieces and make it the length of the die
With the card flat add a line of pearls along each of the front panels as shown
I also added flowers to mine
Stamp the sentiment of your choice and with the Francesca labels die #3 cut it out.
Use the same die and trace around the outside edge onto some pink card and cut it out.
This will give you a Faux Nestie that is slightly bigger then the sentiment label
(If you need a more detailed explanation please visit Faux Nesties )
Line the back of the card with some pretty paper and add the sentiment with foam pads
Use a piece of patterned paper to line the inside back of the card
With the largest die cut another piece in white and level the bottom
Score a little way down and add glue to this area
(For other ways to make a card stand please visit Creating a Card Stand )
Glue the small strip to the back of the card making sure that the straight edge is level with the bottom of the card
This will allow the card to stand correctly
Add some matching ribbon and slot it through the holes in the Gatefold edges
You can tie this into a bow or leave it open if you prefer.
The back of the card will look like this and stand unaided and leave to more room to add your signature
More tomorrow ...
Hugs xx
September 25, 2017
New Videos ...
Hi Everybody,
Today I have some new products that are on the Craft Stash Website and these are all geared up for Christmas.
Both of these sets are Nesting Dies and they also have a stamp set that will compliment them.
They can be bought individually if you prefer but the price for the bundle is well worth considering.
The Nesting Christmas Tree has been done with Distress Inks and is in contemporary colours ... but it was fun to make and is very vibrant. Click the links to view the videos
The Nesting Christmas Bauble has been created with Card Candi and I bought loads of this from a craft show.
I have simply glued it direct to the die cut and filled the spaces with glitter.
Another pretty card and again easy to make.
The stamps can be used as additions to any other cards you make but both work really well together.
The links at the bottom of the page ill show you the products I used to make them
More tomorrow ...
Hugs xx
Labels:
Craft Stash,
Distress Ink,
Video Tutorials,
YouTube
September 24, 2017
Weekend Away ...
.
Hi Everybody,
Last weekend was brilliant and you know part of it as I went to Alexandra Palace to the craft show there.
I met Christine Smith from Crafti Potential for the first time even though we have chatted and been friends for over a year on Facebook.
We met up with Natalie Helyer and Amy Gray from Craft Stash and had a good natter.
Here we are with the large stained glass window and it was beautiful
And a really big THANK YOU to ALL the ladies who visit my blog and came over to make them selves known and say "Hello" it was so lovely to meet you all
Here we are with the large stained glass window and it was beautiful
And a really big THANK YOU to ALL the ladies who visit my blog and came over to make them selves known and say "Hello" it was so lovely to meet you all
On the Sunday Griff and I went to the Harry Potter Studio Tour and that was amazing.
We spent almost five hours in there and we looked at everything.
We tried the Butterbeer ice cream and it was delicious
This was our walk down Diagon Alley and all the sets are just as they are used in the films.
It makes me want to see them all over again and I do have my own boxed set that my daughter bought for me at Christmas
We came home yesterday in very heavy traffic, but what a really good weekend we had.
And that explains my absence from posting for a few days.
But now it is back to normal again until the next time we go away for a little break
More tomorrow ...
Hugs xx
Labels:
Personal stuff
September 23, 2017
Card Winner ...
Hi Everybody,
Hope you are all enjoying the weekend. This is a quiet weekend compared to the last one and I will tell you more about that tomorrow.
This morning I have added an extra box on the left hand side to link you to the Spellbinders Posts that I do for them. There are more ideas that you may like to try.
But for today we have done the draw for yesterdays Shabby Chic.
This morning I have added an extra box on the left hand side to link you to the Spellbinders Posts that I do for them. There are more ideas that you may like to try.
But for today we have done the draw for yesterdays Shabby Chic.
I just hope the winner claims it this week as it really is a pretty card.
So the name chosen as the new owner is you ....
Margaret Wilson
if you would email me please with your postal address to
christina@card-making-magic.com
then the card will be on its way to you straight away.
I hope you will like it and please let me know when it arrives with you.
More tomorrow ...
Hugs x
Labels:
Winner
September 22, 2017
Friday Freebie 37- Shabby Chic
Hi Everybody,
This week I have another Shabby Chic card on offer and it is one that was here a few weeks ago.
It is really pretty in Lilac with lots of glitter and flowers. It is being offered again because it was not claimed and so if you would like this one then leave me your comment at the end of the post.
I ask that it if you are going away on holiday and know that you will not be able to claim it then please do not add your name.
It stops someone else who really would like it from claiming it.
Can I also add please that you leave your full name as the other week I had two people with the same first name claiming one card
I have two more cards that I can offer as the FF and I will add both of them next week.
Special News
Starting on the first Friday in October I am going to be doing something a little special.
I will be offering a card that used a magazine freebie to make it. So along with the card I will be giving away the actual freebie too.
(The GIFT and not the magazine)
I will show you the picture of both gift and card so that you can decide if you would like to enter and win that particular one. The card will also have been in a video to make it
(The GIFT and not the magazine)
I will show you the picture of both gift and card so that you can decide if you would like to enter and win that particular one. The card will also have been in a video to make it
This offer will run all the way up to Christmas so lots of chances for you to be a winner.
More tomorrow ...
Hugs xx
Labels:
"Friday Freebie"
September 21, 2017
Tonic Craft Kit 01
Hi Everybody,
Today I am playing with the new September kit from Tonic Studios.
There are some really lovely papers in this kit full of texture and all in Autumn colours
The die set is quite big and there are seven pieces to it. There is also a stamp set and other items to add to your crafting stash.
The video
is not very long and it shows you how I made this card.
The next kit will be along soon and has even more goodies in it for you to play with.
So I hope you will make a cuppa and sit and relax for a little while as you watch the video
You can find out more about the kits at by clicking the link and watch the video on their page to see what is in the next months kit ...
UK & Europe
US & North America
You can find out more about the kits at by clicking the link and watch the video on their page to see what is in the next months kit ...
UK & Europe
US & North America
More tomorrow ...
Hugs xx
Labels:
Tonic Studios,
Video Tutorials,
YouTube
September 20, 2017
Papercraft Essentials 151
Hi Everybody,
This bumper issue of Papercraft Essentials will be on sale tomorrow and the paper pack that comes with it is lovely.
I used one of the scene sheets for my card here and added the other elements as I went along.
The video .. Sending Christmas Wishes .. will show you what I did to make this one
It can be used all year round though so change the papers and give it some florals instead.
The postbox is really suitable for male cards too
The magazine will be in selected supermarkets and WHSmiths as well as direct from More Mags
More tomorrow ...
Hugs xx
September 19, 2017
Tuesday tutorial - Boo to You !!
Hi Everybody,
Ghosties and ghouls are on their way and so I thought I would make a card to go with the season.
This was super quick to make ... just a little inking and die cutting and there you have it.
Spellbinders Supplies:
- S2-262 Boo Web Holiday Die
- S4-836 Spider Web Card Front
- Platinum Die Cutting machine
Other Supplies:
- Orange Ink
- Grey Ink
- Black Ink
- Versamark
- WOW sparkle embossing powder
- Glossy Accents
Instructions:
With the outer die of the Card Front cut the base by folding an A4 card in half and placing the die with one of the short cutting edges off the fold
Cut another layer slightly smaller than the card
With both dies together cut the Spiders Web
Ink over with Black and Grey inks
Dab the Versamark on in random areas and sprinkle with the sparkle embossing powder.
Heat until melted
With the extra layer sponge on orange and black inks in random areas and then spritz with clean water and blot off to leave a mottled effect
Cut the web and BOO! twice in black card and stack together
Add the inked layer to the base card and glue the web on top
Add the smaller web into one corner and the word Boo! to the centre of the web
Add Glossy Accents to the word and some areas of the web
I used a label maker to produce my Greeting
More tomorrow ...
Hugs xx
September 16, 2017
Card Winner ....
Hi Everybody,
This post is very late going up because today I have been to Alexandra Palace and had a lovely day shopping for crafting goodies. I also met Christine Smith from Crafti Potential
This is the first time I have been to this craft show but it was really good to meet up with some old friends and catch up with what is happening in their lives
So now I am back at the hotel and we have just done the draw for the Shabby Chic card from yesterday
The name this week is you ...
GJ
would you email please with your postal address to
christina@cad-making-magic.com
and the card will be on its way to you.
Please let me know when you get it and I hope you will like it
More tomorrow...
Hugs xx
would you email please with your postal address to
christina@cad-making-magic.com
and the card will be on its way to you.
Please let me know when you get it and I hope you will like it
More tomorrow...
Hugs xx
September 15, 2017
Friday Freebie 36 - Pretty in Pink
Hi Everybody,
This card is a 6" square and has shades of Pink, Aqua and Yellow in it and lots of pearls.
The inside is also lined and there is some very lovely floral lace attached along the left side.
This is another that looks better in the hand and it would love to find a new home soon.
So if this is a card that you would like to have then you know what to do !!
Leave me your comment at the end of the post and from those one name will be chosen at random as the winner.
I will add that name to a blog post over the weekend and then you have 72 hours in which to claim it for your self
More tomorrow ...
Hugs xx
September 14, 2017
Fun Stencil ...
Hi Everybody,
I have been having a splurge with stencils just lately and there are so many designs that I like.
This one was so unusual and I couldn't resist. I tried it in two different colour ways and I really like both of them.
The options are endless with this one. For this card I used Worn Lipstick, Picked Raspberry and Shaded Lilac and I edged the layer with gold Gansai Tambi
On both cards the dies are from Sevenhills Crafts and there are accompanying sentiment stamp with them both
The colours on this one are Fossilised Amber, Twisted Citron and Tumbled Glass
I have added Glossy Accents to both sentiments words
This stencil makes for a look that is modern and would suit any age group male or female ... so altogether a useful addition to my crafting stash
More tomorrow ...
Hugs xx
September 13, 2017
Creative Stamping 48 - Christmas Stamps
Hi Everybody,
Everything is gearing up for Christmas now and for card makers there is never a wrong time to start the cards that you may need.
This months Creative Stamping is no exception.
They have an A4 stamp set called Away In A Manger and the featured designer this month is Wild Rose Studios
On the sheet there are lots of other designs and I have used water colours on mine for a soft and gentle look.
The video
is using water colours and I have my favourite Gansai Tambi and a number 4 brush.
I like this size brush because it is fine and has a really good point to it which is ideal for getting into small areas on the image.
More tomorrow ...
Hugs xx
September 12, 2017
Tuesday Tutorial - Lunette Arched Borders
Hi Everybody,
Today's card is using another die from Becca Feekens Venice Lace Collection.
This one is called Lunette Arched Border. The links are all at the end of the post.
Spellbinders Supplies:
- 5x7 Matting Basics A
- 5x7 Matting Basics B
- Lunette Arched Borders
- Shapeabilities Sentiments
- Platinum Die Cutting Machine
- Blistered Embossing Folder
Other Supplies:
- Flowers from Wild Orchid Crafts
- Glitter from glitter Magic
- Ribbon from Mei Flower
- Card from Papermill Direct
Instructions:
With the largest die from Matting Basics A cut two panels in white and create the base card
With the largest die from Matting Basics B cut another in turquoise
Use the 5x7 Blistered Embossing Folder to add texture to the card
With one of the patterned dies and the outer cutting edge from the Lunette Arched Borders cut three panels in various shades of turquoise moving the dies up each piece as you go.
Layer them all together and wrap with ribbon around the top
Add them to the embossed layer
You can have these arches facing upwards or down the choice is yours
I added mine to face upwards
The flower selection is from the left ...
Roses, Carnations, Anemone, Tulips added with hot glue gun.
Dot with glue once added to the card and sprinkle with glitter
Add in the bow as you like.
More tomorrow ...
Hugs xx
Subscribe to:
Posts (Atom)