Hi Everybody,
Adding a decorative edge to your cards can be easily obtained with the aid of a die, and Spellbinders have several sets that all mix and match together. This pretty card has been created with one of those sets but the same result can be done with any that you have in your crafting "Stash"
I am aware that these are old dies but some of you may have them and it is always good to re visit the older ones. After all you bought them because you liked them and you may as well put them to good use.
I have linked below to another style that is still available and at a really good price but these dies are being retired and so if you don't have one, but like the idea then grab them while you can.
My apologies that I cannot link to the actual Classic Triple Scallop set that I have used.
Spellbinders Supplies:
Other Supplies:
With die #7 from Matting Basics B cut one more layer and dry emboss this with any folder that you have in your "Stash"
(Please remember that die #1 is always the smallest)
In between these two layers you will need to hand cut another in the colour of your choice so that it leaves a tiny border around the edge. These layers can all be glued to the base card
I chose a deep pink for mine
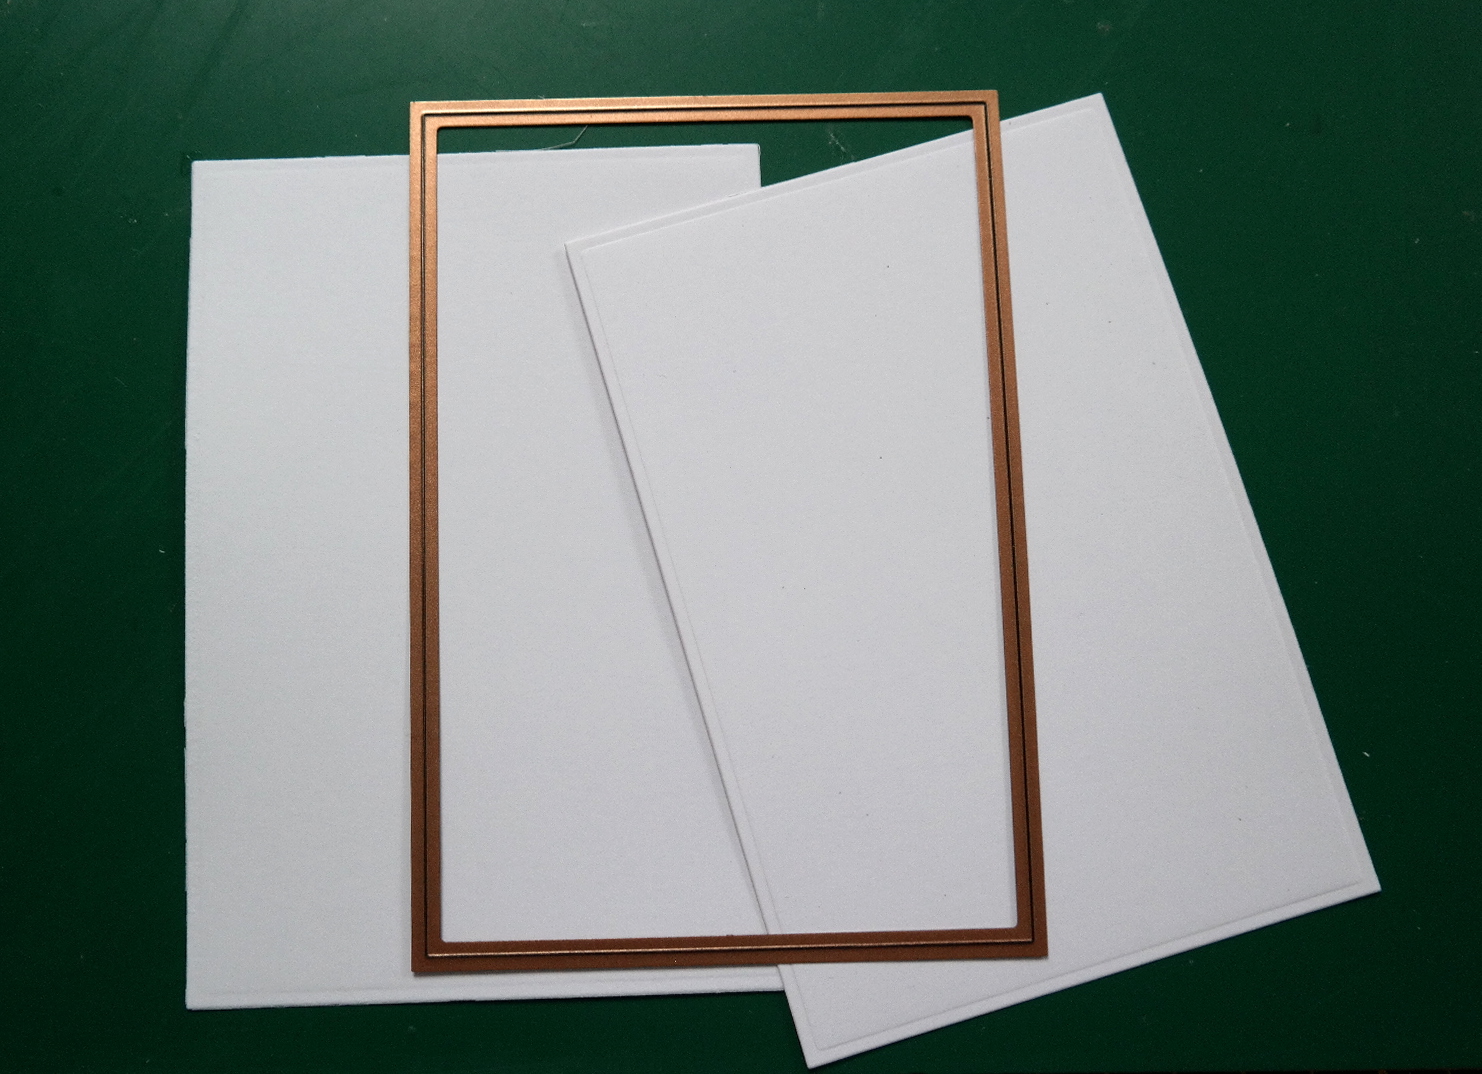
With die #6 from 5x7 Matting Basics A cut two panels and these are the ones we are going to work on first. The edges on the long sides will be cut with the die so there is no need to emboss
Looking at the dies you will be able to see the difference. The one on the left is the cutting edge and the other two are the inserts to give you the pattern. Any of the Classic Edges will be the same and there are several insert sets that can be mixed and matched
With one of the white layers we have just cut and the cutting edge die I have cut the card on one long side and then flipped it over to cut the other side.
Try to keep the pattern as symmetrical as you can.
Then with some deep pink card and the same die cut along one side.

Using the white panel as your guide place it so that a small border is visible and reposition the cutting die along the other side leaving the same size border. Tape it in place so that it doesn't slip
Add these two together with foam tape in between the layers. Set aside
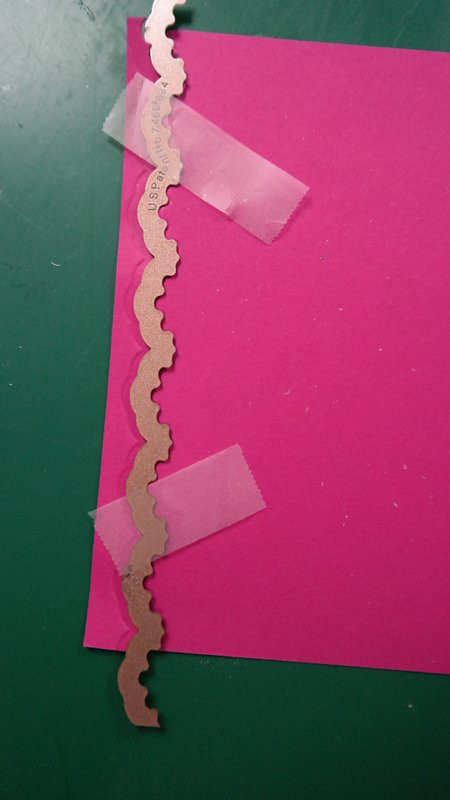
On the second white panel place the cutting edge on the outside and choose one of the inserts and tape together to cut.
Make this panel a little narrower than the other panel we have just layered and flip the two dies to the other side and cut this edge also.
Keep the dies as level as you can on either side and once cut I have dry embossed my panel
With some deep pink card I have repeated the process from a previous step to get a small border around this embossed panel
Layer these two together with foam tape.
I double layered wide and thin ribbon and added a bow at the bottom of the card
Here's a tip for you ... by adding the ribbon vertically down the centre top panel it will detract the eye away from any un-evenness in your edges
Secure the ribbon at the back of the panels
Stamp and heat emboss your sentiment onto some parchment and layer it on to the same coloured card you have used. Wrap this also around the panels and secure at the back.
Add all these layers to the base card and dress with the flowers
Push a hat pin into the knot of the bow for an added extra
This effect can be achieved if your dies have a separate cutting edge and fancy inserts to them. Take a look at what you have and improvise ... but most have all have fun making pretty cards for yourself.
More tomorrow ...
Hugs xx

 Hi Everybody,


 Hi Everybody,