Beautiful Card Designs Made Easy

Showing posts with label Christina Collection. Show all posts

January 13, 2018

Embossing Folders & Stamps

Hi Everybody,

The launch for these new additions to my collection went very well yesterday on Facebook Live and if you joined in then I would like to thank you.

But I realise that many of you don't have FB or you live at the other end of the world and can't watch.

So I am adding a video to introduce to you the new pieces that make up the third wave and I hope you enjoy it.

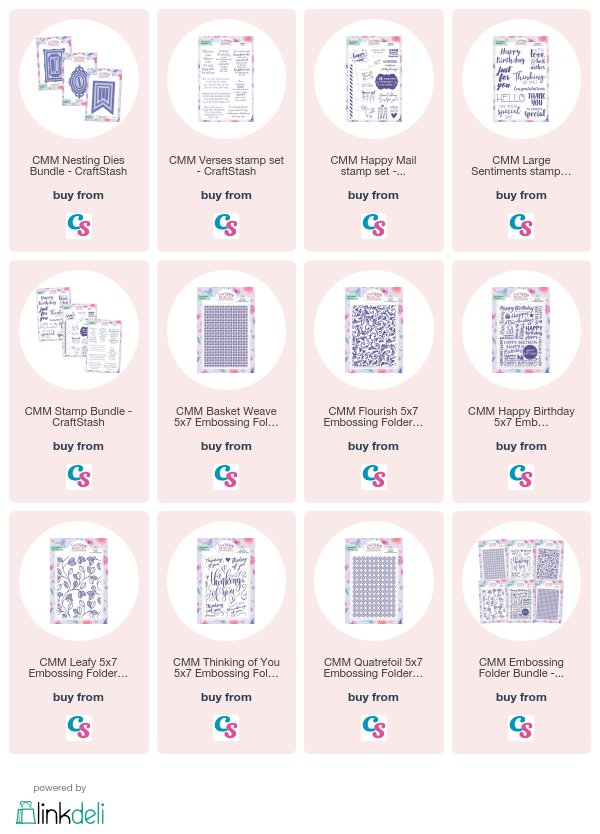
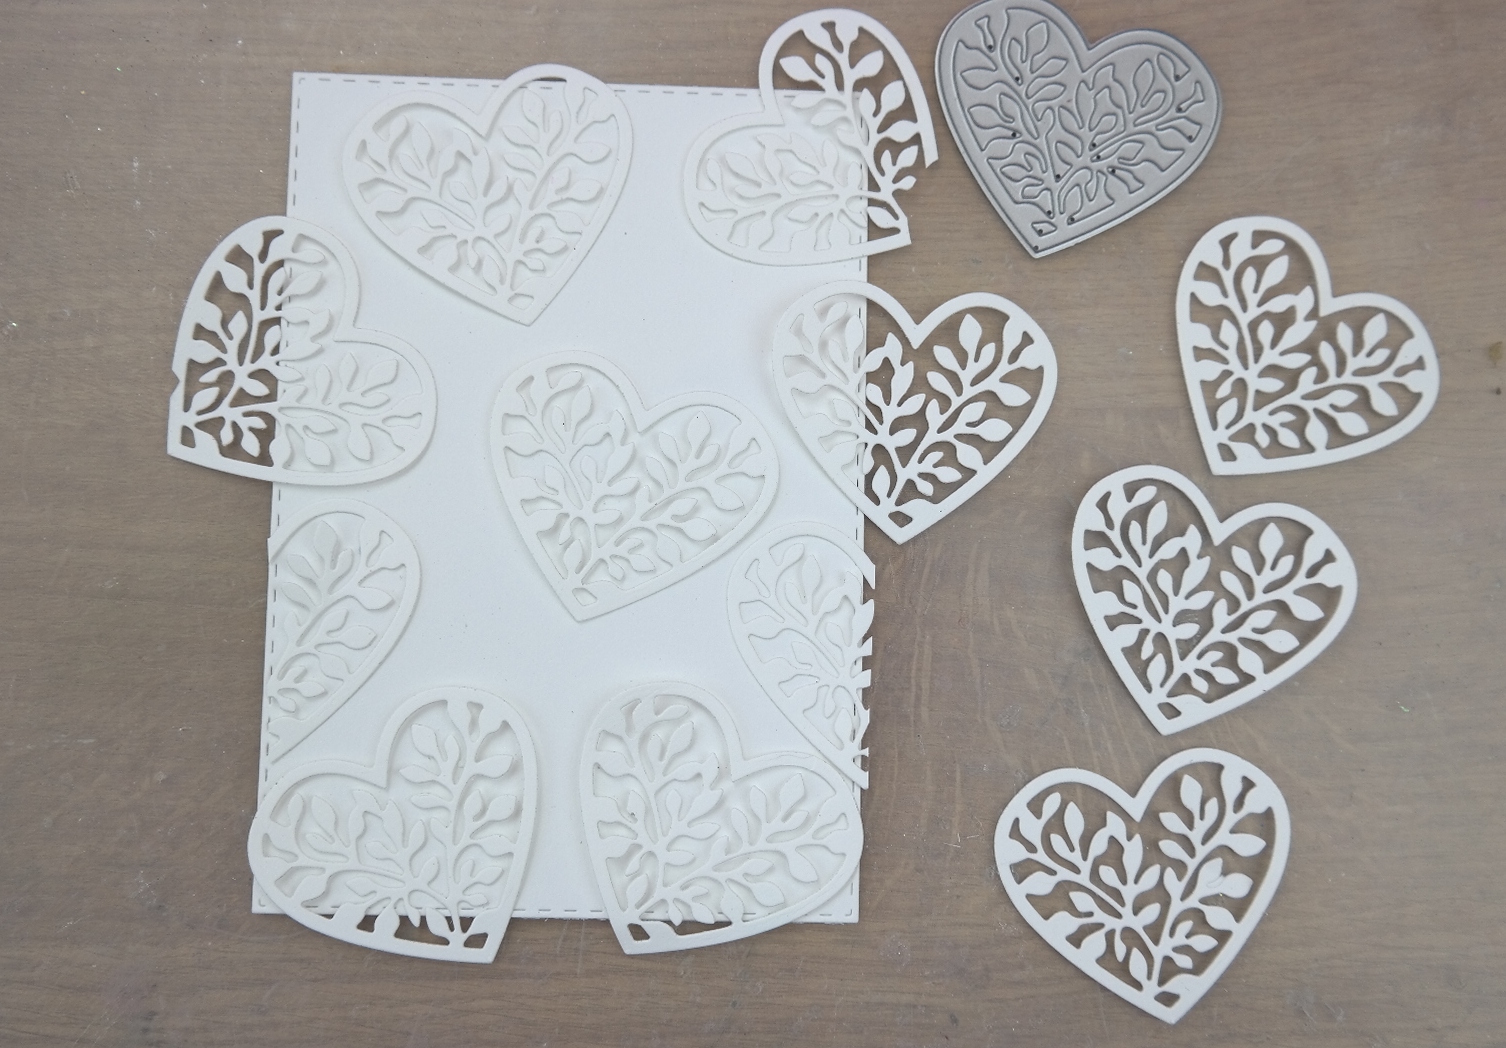
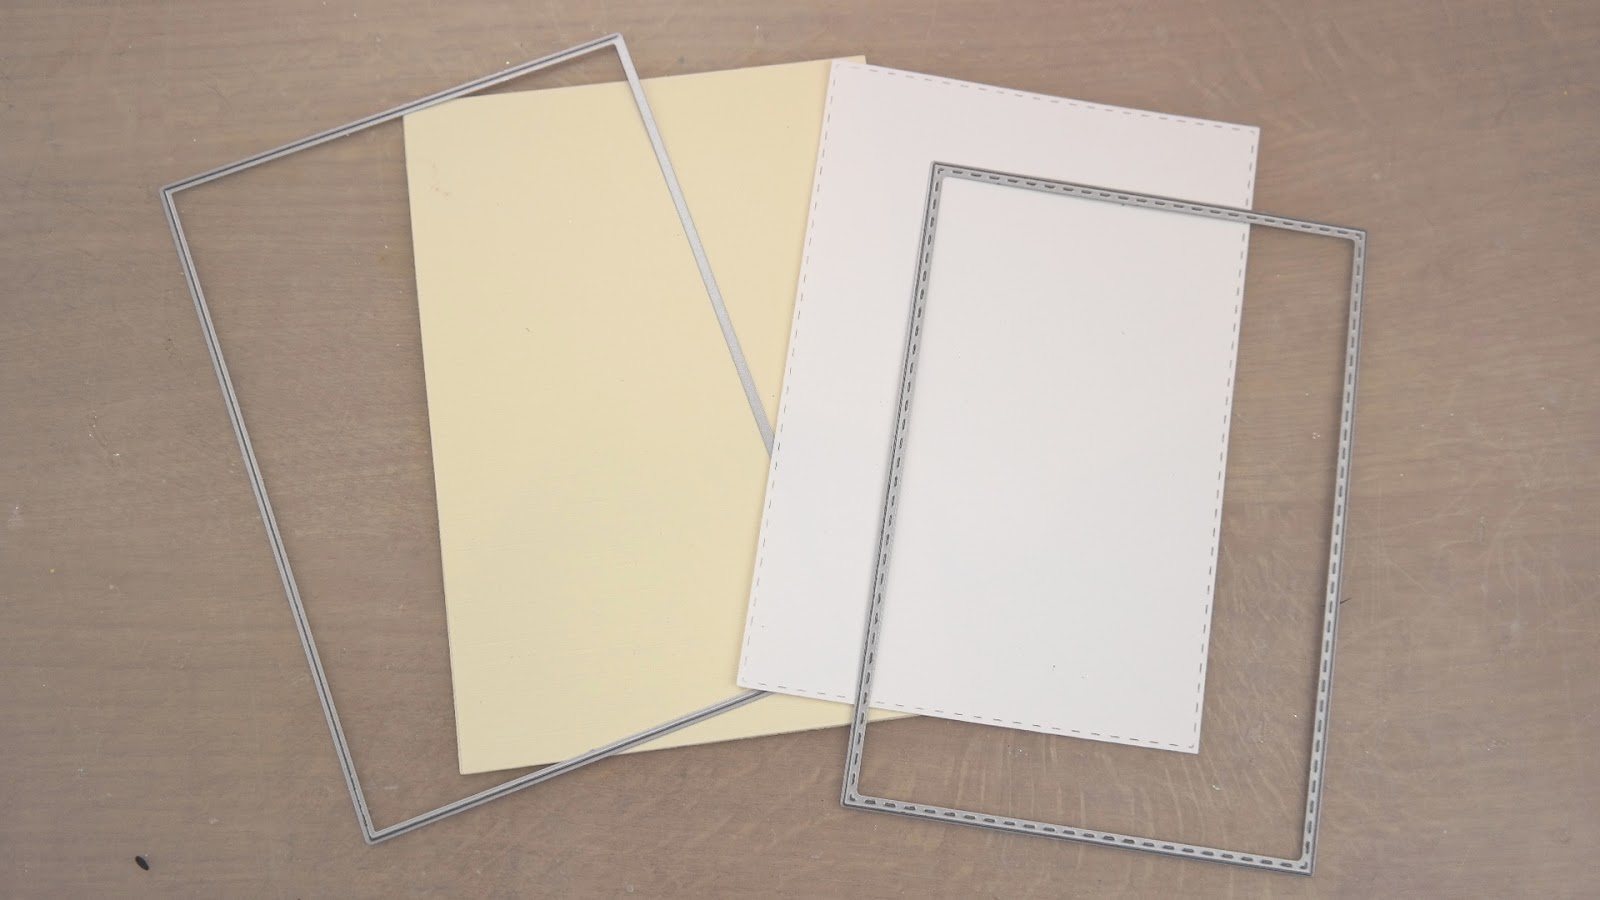
The die element of this wave was shown a few days ago but here is the link to that video in case you missed it .... Introducing Nesting Dies 


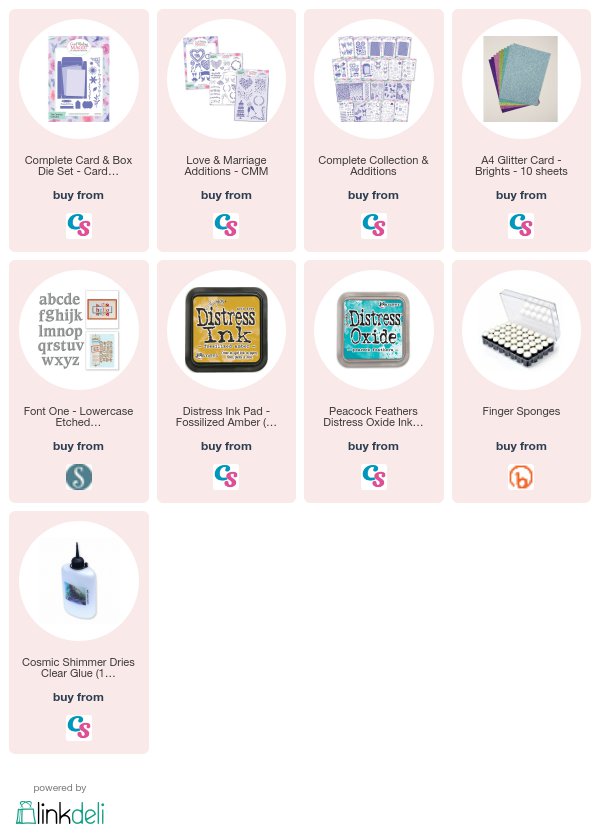
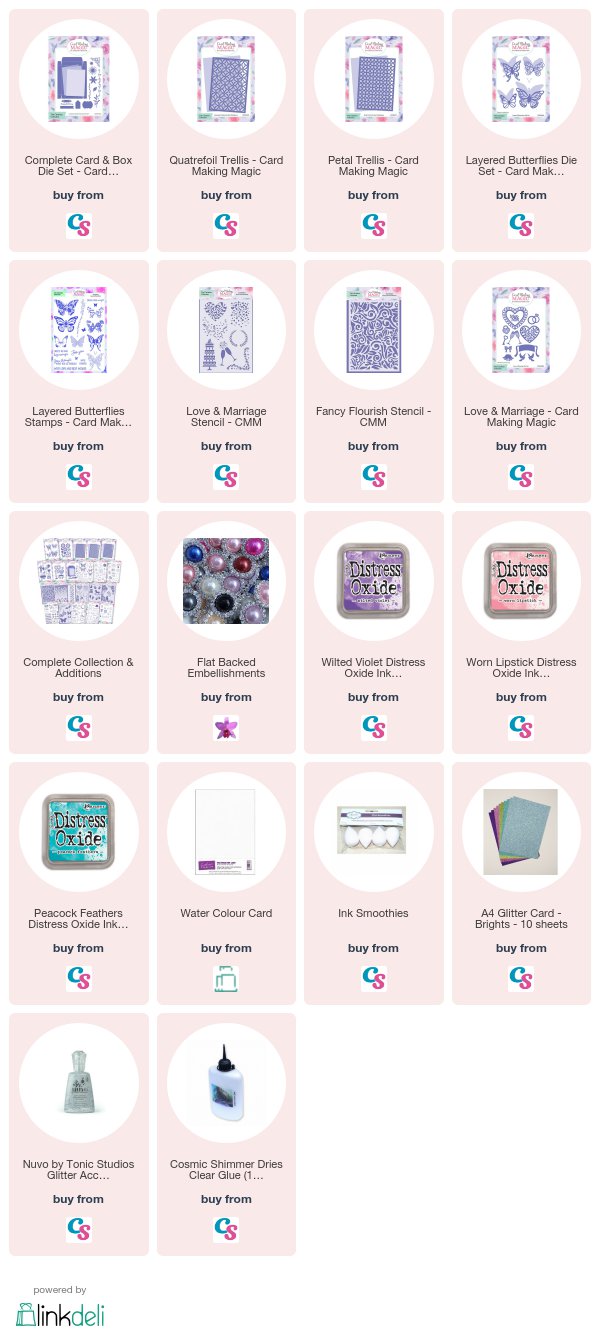
The embossing folders are a new line and I am so delighted with them. 
They are going to enhance any of my backgrounds so quickly.
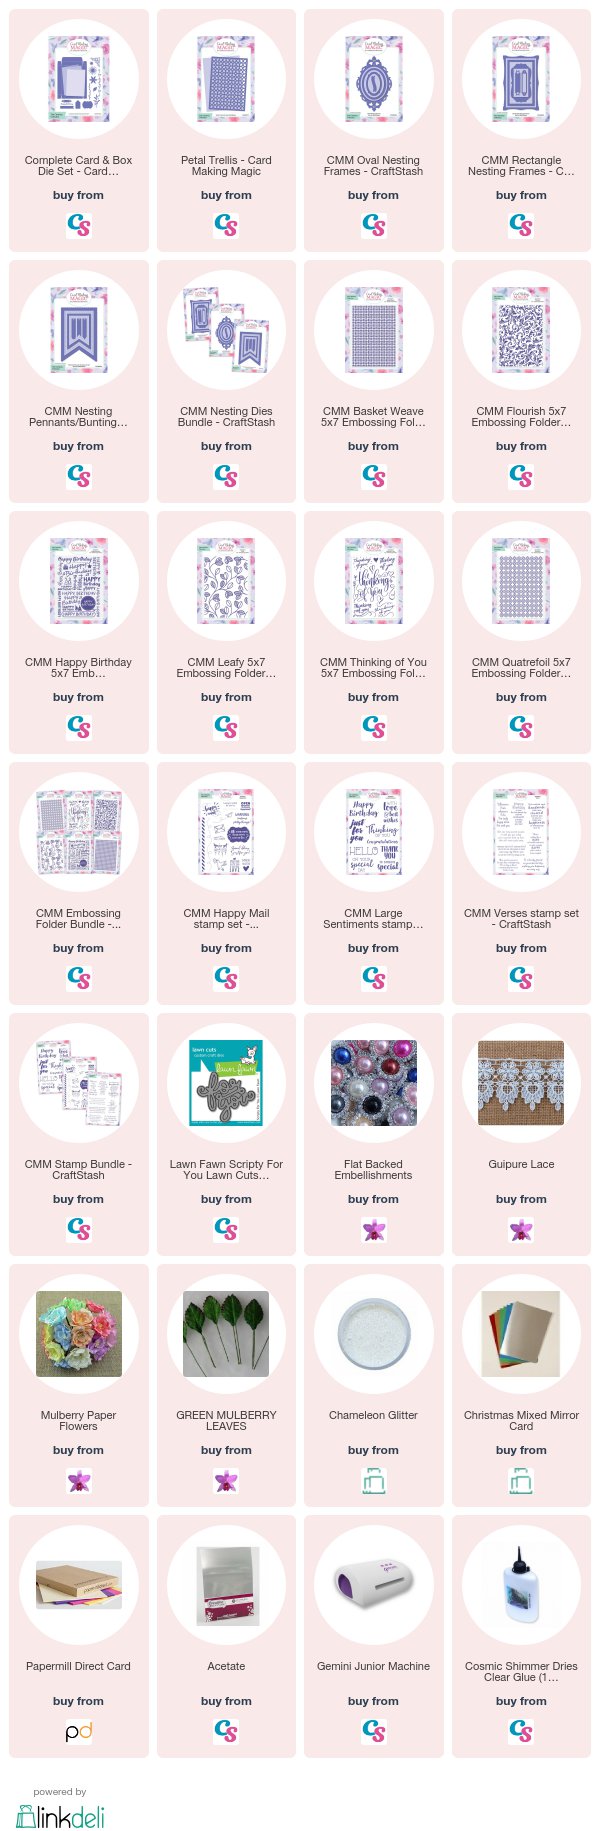
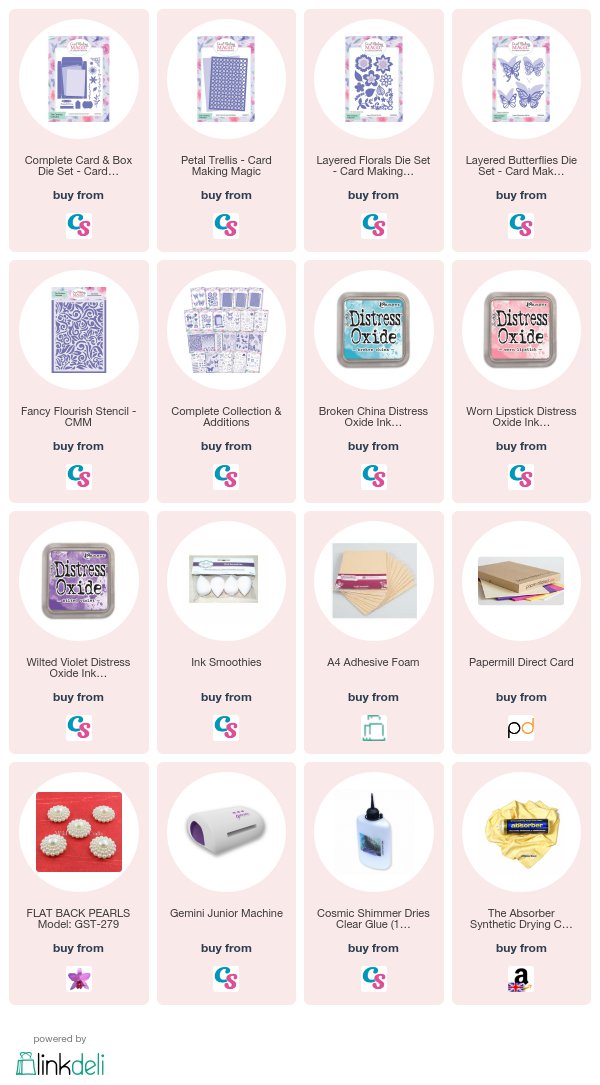
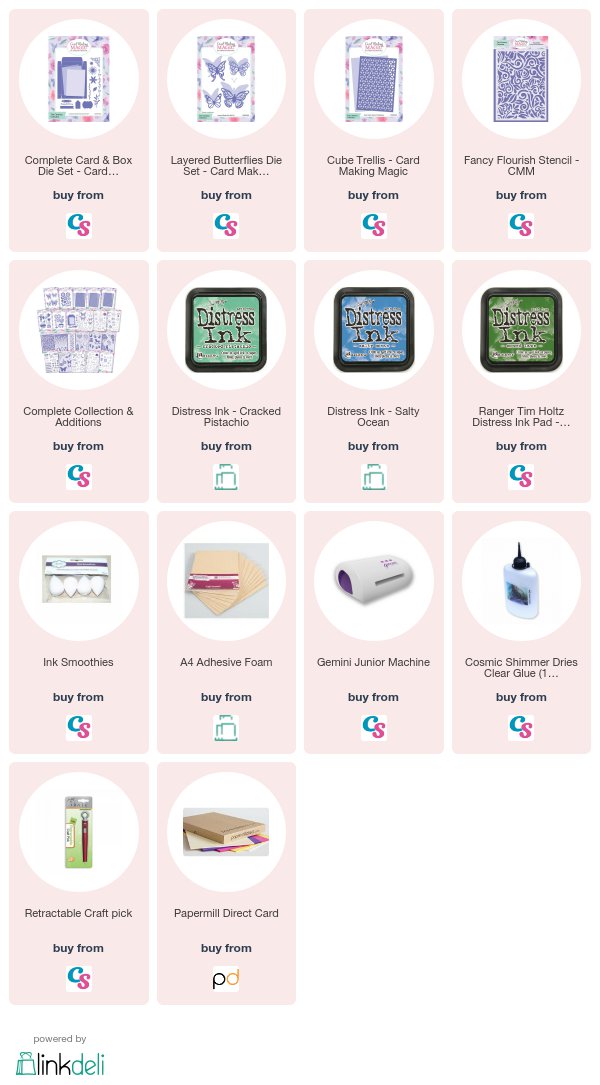
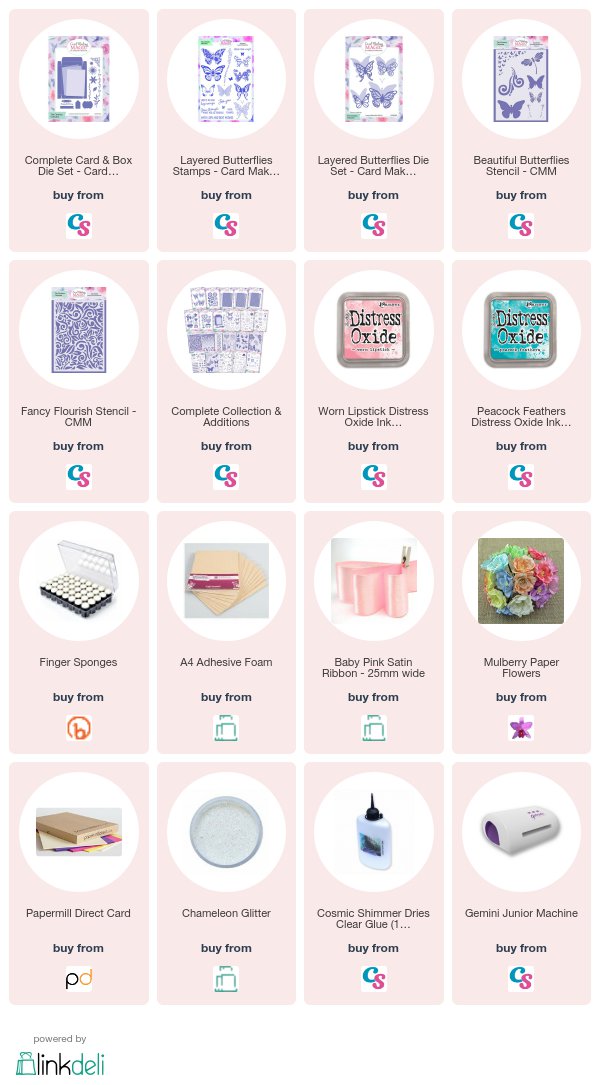
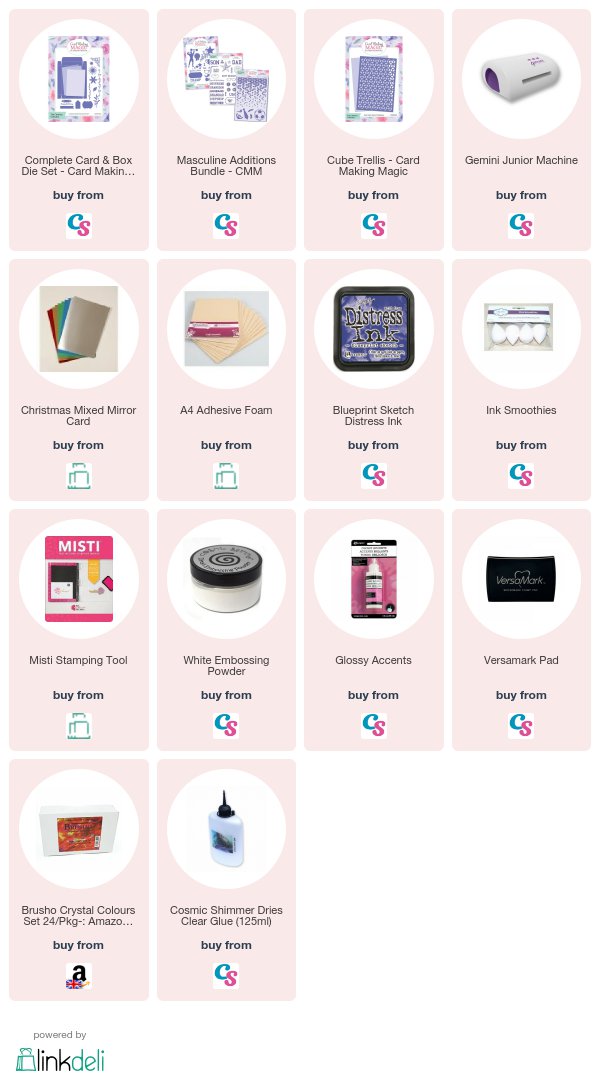
The collection is available exclusively through Craft Stash who will ship world wide and accept PayPal 

Please join me for lots of videos that will be added with these new items as well as the other two waves that have already been released. They will all work so well together

More tomorrow ...

Hugs xx

January 12, 2018

Launch Day of Nesting Dies ...

Hi Everybody,

I am so happy to announce that the third wave of
  Dies, Stamps and now Embossing Folders
from Card Making Magic is being launched today on the Craft Stash website and you can find me on their Facebook Live page at 10 am

I am really excited about this release as they will make such a difference to any designs especially the romantic floral cards that I love to make

And so I have the first video featuring the Nesting Ovals to share with you today and the card is really lovely and I am so pleased with the result

I will be making many more using my collection and there's still lots more to come in further waves

So I hope you will stay with me to share the wonderful news as it happens and watch my collection continue to grow 


The list below will link you to the new wave but be sure to check out the rest as it is growing into a large complete collection to cover all your 5x7" card and box needs.
They are available on the Craft Stash website now.

 The embossing folders are a new line of  5x7" designs and they are lovely.
 I am absolutely delighted with everything and I hope you will be too.
Come and join us at 10 am Craft Stash Facebook Live

More tomorrow ...

Hugs xx

January 11, 2018

New Dies to "Christina Collection"

Hi Everybody,

Tomorrow sees the launch of the third wave of dies to my collection and this one is some really beautiful nesting dies. I am so excited about these as they are going to add some wonderful dimension to any of your creations

These are Nesting Rectangles. Pennants and Ovals and I have some lovely videos to share with you using each one of these sets, combined with the rest of the collection.

I am going to be on the Craft Stash Facebook Live  page tomorrow (12th Jan)  to show you some of the samples I have made with these dies so please join us for an hour of fun and chat

I have so many ideas for these dies and the possibilities are endless.
From beautiful romantic floral cards to the ever popular shaker cards.

So I really hope you will join me on this new stage of my collection with these nesting dies.
There is a lot more to  come and I don't think you will be disappointed with any of them

More tomorrow ...

Hugs xx

January 09, 2018

Tuesday Tutorial - Layered Flowers & Butterflies

Hi Everybody,

Today I am creating a card and box in the video using my own  "Christina Collection" of dies, stamps and stencils that are available from Craft Stash
This one is easy to create and so I hope you will give this a go.
The supply list is at the end of the post for you to view the products that I have used.
Supplies Used:
  • Complete Card & Box Dies Set
  • Petal Trellis 
  • Layered Flowers
  • Layered Butterflies
  • Fancy Flourish Stencil
  • Distress Oxide inks ... Broken China, Worn Lipstick, Wilted Violet
  • Cosmic Shimmer Dries Clear glue
  • White ribbon
  • Pearl Flower Centres

The video is not too long but it will take you step by step through the process to complete both card and box.  I hope you enjoy it

More tomorrow ...

Hugs xx

January 02, 2018

Tuesday Tutorial - Inked Background & Layered Butterflies

Hi Everybody,

Here is the first Tuesday Tutorial video for the New Year and I hope to bring you many many more.
I have topped 50,000 followers on YouTube in 2017 and I am hoping it will grow even more this year
Thank you so much for all your kind wishes and for being with me again in 2018
Supplies Used:
  • Complete Card & Box Die Set
  • Layered Butterflies Die Set
  • Cube Trellis Die Set
  • Fancy Flourish Stencil
  • Distress Inks
  • Blending sponges
  • Black Sequins
  • Cosmic Shimmer Dries Clear Glue
I am aiming to keep the videos quite short so as not to take up too much of your time but I hope you enjoy them anyway.  
 The list to the products is at the end of the blog post and some of them are affiliate links which means if you buy them I will get a small commission at no extra cost to you  


You could use Distress Oxides if you have those and the look will be slightly different. 
But try any inks that you have in your own collection and see which blends you like.
 Write down the combinations and then you will always know which ink works with another 

More tomorrow ...

Hugs xx

January 01, 2018

Happy New Year 2018

Hi Everybody,

This is to wish you ALL a very Happy New year and to Thank You for all your support throughout the last one. 

I have enjoyed bringing you the videos and there will be lots more in the coming year

You may have noticed that I have added a permanent link to videos using my own collection in the side bar to your right  --->

Plus there are more additions planned for the "Christina Collection" 

So to start the New Year I have two items planned one is the video on the making of this card ...
And the second one is this bumper "Give Away" to say Thank You.

In this package there are:


Pack of Metal Embellishments
Pack of mixed flowers
Pack of Apple Blossom Dies, Stamps, Stencil and Embossing Folder
Five packs of  self adhesive pearls & gemstones
Five rolls of ribbon/lace
Pack of five hatpins
Pack of satin Rosebuds
Pack of brads
Two packs of Guipure Lace
One pack of glitter

All together a prize well worth winning so if you would like to win this then simply leave me a comment at the end of the post to be in with the chance.

The winner will be announced on Saturday along with the
Friday Freebie Winner
Happy New Year

More tomorrow ...

Hugs xx

December 21, 2017

Being Creative ...

Hi Everybody,

Today I am using up all the little left over die cuts that I have sitting around in my craft room and making four cards with them.

 These are all extra pieces that are left over from making cards with my own collection and I cannot throw them away.

So a video as in order to show you how I used them all up and made a lovely background to go with them all.

The video is here for you to view
and  these are just two of the cards.

I hope you will have time to watch in this busy run up to Christmas and it's not long I promise you.

Just enough time to have a brew and relax for a little bit

More tomorrow ...

Hugs xx


December 19, 2017

Tuesday Tutorial - Layered Butterflies

Hi Everybody,

For today's card I am using the Layered Butterflies from my own "Christina Collection" that is available from Craft Stash.  I have used Teal and Pink with a White base for my design and the ribbon is from my bits & bobs
Supplies Used:
  • Complete Card & Box dies set
  • Layered Butterflies Dies
  • Layered Butterflies Stamps
  • Layered Butterflies Stencils
  • Fancy Flourish Stencil
  • Cosmic Shimmer dries clear Glue
  • Foam sheets
  • Distress Oxide Inks - Peacock Feathers & Worn Lipstick
  • Pink ribbon
  • 10mm roses from Wild Orchid Crafts 
Instructions:
Create a top folded base in white by folding the A4 card in half and placing the three cutting edged die with the non cutting edge over the open ends and die cut.
Score one of them about half an inch down and add glue to this narrow strip.
Adhere the two pieces together to create the base
Cut another mat in white using the stitched edge die and this is the layer we are adding the design too
Hand cut another mat in teal to fit between these two layers
On the white mat randomly stencil the tiny butterflies in Peacock Feathers
Lightly Stencil the Fancy Flourish to one side
Using the largest butterfly stamp and the two inks add the pattern over the card leaving some to overhang. Add to the teal mat once the ink is dry and wrap these layers with pink ribbon
Cut in Teal and Pink the other elements that you need and layer up the butterflies gluing along the body line only to allow the wings to be free.
I decided to leave out the two small tags and I cut two of the larger labels in White and Teal 
I cut the Teal one in half and created a shadow around the sentiment
The butterflies are dressed with tiny 10mm pink roses and they are then glittered for extra sparkle
This could be for any occasion by simply changing the sentiment

More tomorrow ...

Hugs xx

December 12, 2017

Tuesday Tutorial - Muscle Man ...

Hi Everybody,

Today's Tuesday Tutorial is in the form of  a video and I am keeping with the male theme that we have been using for the last few days.

This one is using the Masculine Additions from the "Christina Collection" and it is another one that I hope you will enjoy

It is easy to do and uses a technique that we have used in the past. And Blue Print Sketch is fast becoming my "go to" shade of blue 

It also blends really well with the new shade of blue card that is with Papermill Direct called Marine Blue

This is definitely a card for the men in your life and would be really well received by the gym enthusiasts 


It's not a long video and I will move onto a more feminine theme soon but I hope you have enjoyed the ideas for male cards as I know it is something I get asked about quite regularly

More tomorrow ...

Hugs xx

December 11, 2017

You're a Star ...

Hi Everybody,

Here is another card from the Masculine Additions that are with the "Christina Collection" that is available with Craft Stash

Now although this would make an excellent card for the men in your family it could equally as suitable for the females too.

So this is quite a versatile collection to have and you can dress it up any way you wish and the video
shows you how I made this one 

I have simply done a starry backdrop to the card and used bright silver mirror card for the centrepiece.

I hope that with this run of male cards that I have given you some ideas for your own designs and how to adapt them to suit the recipients that you wish to send them too

More tomorrow ...

Hugs xx

December 10, 2017

Another for the men ...


Hi Everybody,

Seems I am not alone when it comes to making cards for men and many of you struggle with them too.

So here's another that is especially for them made with the Masculine Additions to my new collection that is available with Craft Stash 

This one features the dies and I have added them to the Cube Trellis background

You have the choice when you are making this card of dark glasses or regular spectacles which is what I have done for my card

I thought it was pretty cool once it was finished and as Griff has a moustache and glasses he liked it as well.

Below is a list to all the supplies I have used over ALL the masculine cards I have done the videos 

More tomorrow ...

Hugs xx

December 07, 2017

Cards for men ....

Hi Everybody,

Making male cards is something that many people struggle with ... including my self.

And so to bring out some additions to my own collection that would help with that was blessing

The Masculine Additions were added to the original collection in November and have been really well received.

So over the next few days I am going to be adding some vidoes that will show you the ideas I came up with using the versatile stamps, dies and stencils 

The first one is the card shown here and it is 

A quick and easy fun card that could be sent to any of the male members in your family.

I hope you enjoy the little video and the rest will follow this week 

More tomorrow ...

Hugs xx

December 05, 2017

Tuesday Tutorial - Love & Marriage Card

Hi Everybody,

Today's card is really a simple wedding card that will fit into an envelope. I have used the Love and Marriage Additions set that is part of the "Christina Collection"  The dies are now back in stock and they are available only from Craft Stash
Supplies Used:

  • Complete Card & Box Die Set
  • Love & Marriage Additions
  • Silver Card from Craft Stash
  • White Card from Papermill Direct
  • Silver Organza Ribbon from Mei Flower
  • Silver and White Wedding Day Ribbon from Deco Fun Bow Maker
  • Silver Twine from my stash
  • Cosmic Shimmer Dries Clear Glue from Craft Stash
  • Foam tape from Craft Stash


  • Instructions:

    With  white card and the card element to the die set create your Tent Fold Base card 
    Cut another layer with the Stitched Mat die
    From the Filigree Heart in the Love & Marriage set cut as many hearts as you will need to add to the stitched mat.  Glue in place allowing some of them to overhang and trim as needed
    From some Bright Silver card cut a layer that will sit between the base and the stitched mat.
    From the centre of this card cut the larger heart band the Mr & Mrs
    You can also cut the Lock and Key from this piece. Keep the tiny hearts that come from the key and add these to the card front
    Add the white heart panel to the top and once it is layered up no one will know that there is a hole in the card 
    Double wrap these layer with silver organza ribbon and the Wedding Day Ribbon
    Add foam tape to the back and add these to the base card
    Tie a bow with the two ribbons and add the Lock and Key to some silver twine and place in the centre of the knot. 

    And there you have a really pretty card to send to someone on their special day
    Change the colours to suit the wedding day theme. Personalise it with their names or the date of the wedding. The possibilities are endless

    More tomorrow ...

    Hugs xx

    December 04, 2017

    Baby Occasions - Baby Boy card

    Hi Everybody,

    The other day I  showed you a baby card for little girls and today it is the turn of the boys

    I used the Baby Occasions Additions from the "Christina Collection" and that is available only from Craft Stash

    So this card is created using the stamped elephant for the background and I used Blue Print Sketch.

    It looks like a really dark ink but it dries a lot softer than you think and it matched the blue card much better than any other shade


    But today I have a special treat for you and that is to share not only my own video but also that of my lovely young friend Christine Smith from Crafti Potential
    She makes the most amazing cards and this be is no exception.
     I am delighted with what she has done using the stencil from my Baby Occasions


    More tomorrow ...

    Hugs xx

    November 30, 2017

    Baby Occasions - Baby Girl Card

    Hi Everybody,

    Baby Cards are always lovely to make and they are something I really enjoy doing especially with flowers, ribbons and pearls on them.

    But I have been very restrained with this one and kept it  soft and un-fussy ... well it is for me anyway.

    I have used the new additions to my "Christina Collection" and this is the Baby Occasions set of dies, stamps and stencils

    The video is not long but I hope you enjoy it all the same Baby Occasions  - Baby Girl Card

    With hindsight I wish I had done the baby shoes from the stencil a little deeper in shade and maybe added a few more along the panel.

    But once I came to that conclusion it was too late as the card was nearly finished.  Still I will know better next time ... live and learn !!

    More tomorrow ...

    Hugs xx

    November 28, 2017

    Tuesday Tutorial - Quatrefoil Trellis - Card Making Magic

    Hi Everybody,

    The Tuesday Tutorial is changing from this week and instead of other companies dies I am going to be featuring my own collection from Card Making Magic
    This whole set of dies, stamps and stencils are available only from Craft Stash and each week I will be using a different piece to show you just how versatile it is.
    More will be added to the collection in the coming months and the links to the products I have used will be at the bottom of the post 
    Supplies:
    • Complete Card & Box Die Set
    • Quatrefoil Trellis
    • Cream & White Card
    • Guipure Lace
    • Pearl clusters
    • Altenew Inks
    • Finger daubers
    • Cosmic Shimmer Dries Clear Glue
    • Foam Sheets
    Instructions: 
    With the card making element from the Card & Box Die Set create a tent fold card base in cream
    Cut another in white with the Stitched Mat
    With the outer part to the Trellis die cut a layer in cream and then with the two dies cut the patterned piece in cream and glue these two layers together
    Wrap with the lace and glue it on the back so that the edges cannot be seen
    Arrange the foam tape to avoid the lace and creating more bulk 
    From the flowers and leaves in the Card & Box Die Set cut as many as you would like
    Cut extra if you intend to decorate the box in the same way
    Cut several Happy Birthday sentiment and stack them together for strength  
    Add these to the Banner die cut
    Ink and shape the flowers and leaves with a ball tool and inks of your choice
    Stack them with as many layers as you prefer to create as many flowers as you need
    Arrange the flowers and leaves as pleases you and glue the pearl clusters to the centre of each flower
    Add the sentiment banner to the top of the lace with foam pads and a little extra glue to hold it securely.

    More tomorrow ...

    Hugs xx