Hi Everybody,
Todays card is a mixture of old and new and there are several lovely layers in the making.
It also incorporates my beautiful flowers, ribbons and pearls to make a classic white and silver design for any occasion.
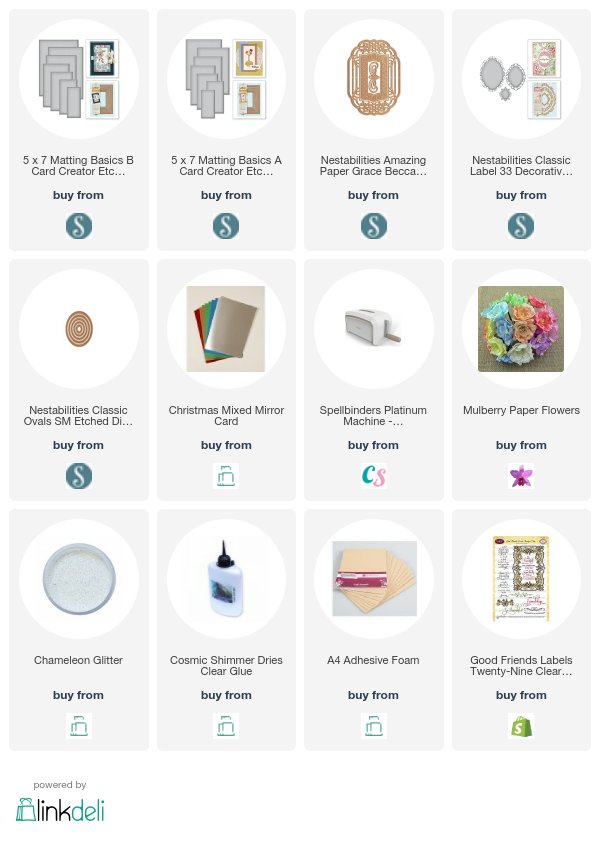
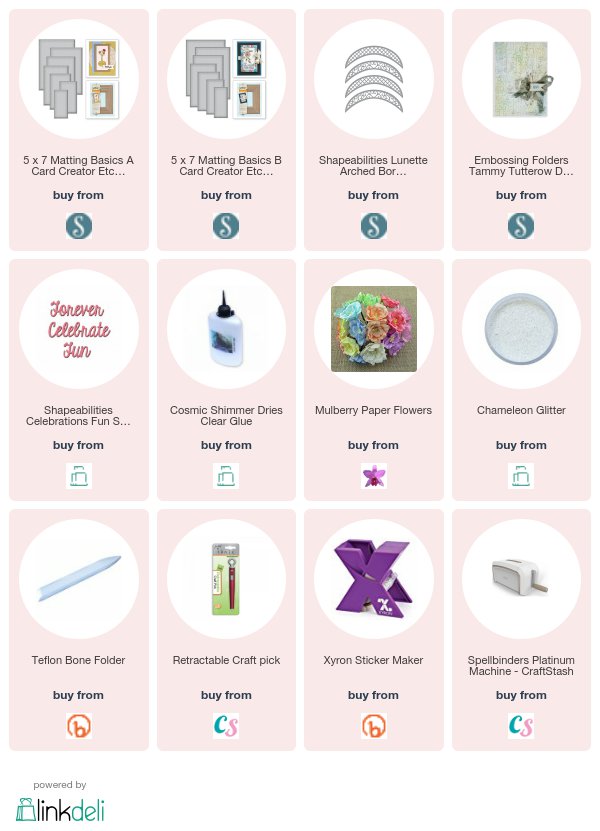
Spellbinders Supplies:
- S6-001 5x7 Matting Basics A
- S6-002 5x7 Matting Basics B
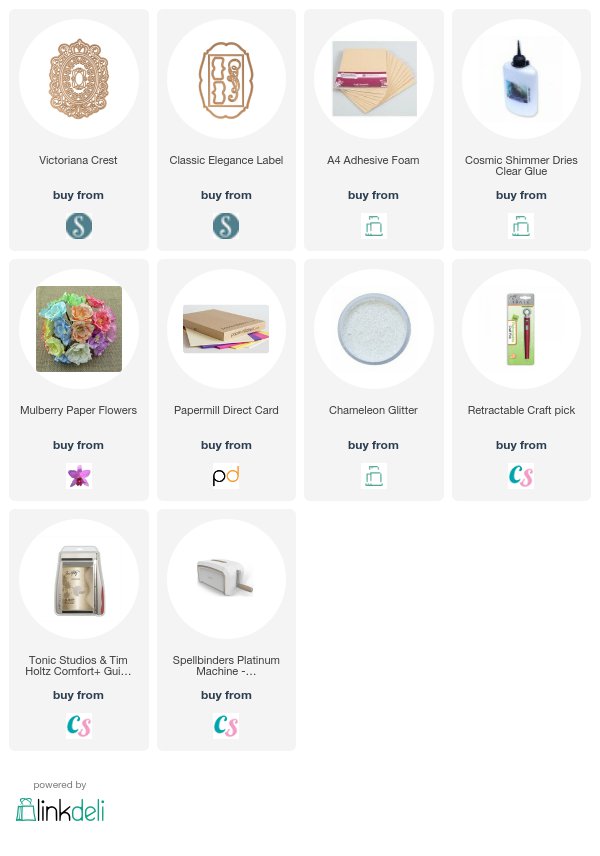
- S6-081 Ornamental Crest
- S5-298 Classic label 33 Deco Elements
- S4-110 Classic Ovals
- SEL-006 Horsehair Embossing Folder
Other Supplies:
- Sentiment from JustRite Stampers
- White card
- Silver Card
- White Ribbon
- White Flowers from Wild Orchid Crafts
- Diamante
- Glitter
- Foam pads
Instructions:
With die #7 Matting Basic A cut two pieces in white to create the base card
With die #7 Matting basics B cut another layer in white and emboss in the folder
From silver card cut the largest die in Ornamental Crest
From white card cut the largest die from Classic Labels 33 and from the second largest cut another silver layer
Add foam pads to the back of all these layers
Add these three layers together and stick to the embossed layer
Wrap with white ribbon before adding to the base card
Stamp in black and clear emboss the sentiment of your choice and cut out with the oval
and add with foam pads underneath
Selection of white flowers from the left:
Gypsophillia, Tulips, Rosebuds, Cosmos Daisies, Lilies, Cherry Blossom,
Arrange the flowers down the left side and dot with glue then sprinkle with glitter.
Add in the bow and glue the diamante centre in place
And there you have a silver and white card you will be happy to send
More tomorrow ...
Hugs xx