Beautiful Card Designs Made Easy

May 19, 2019

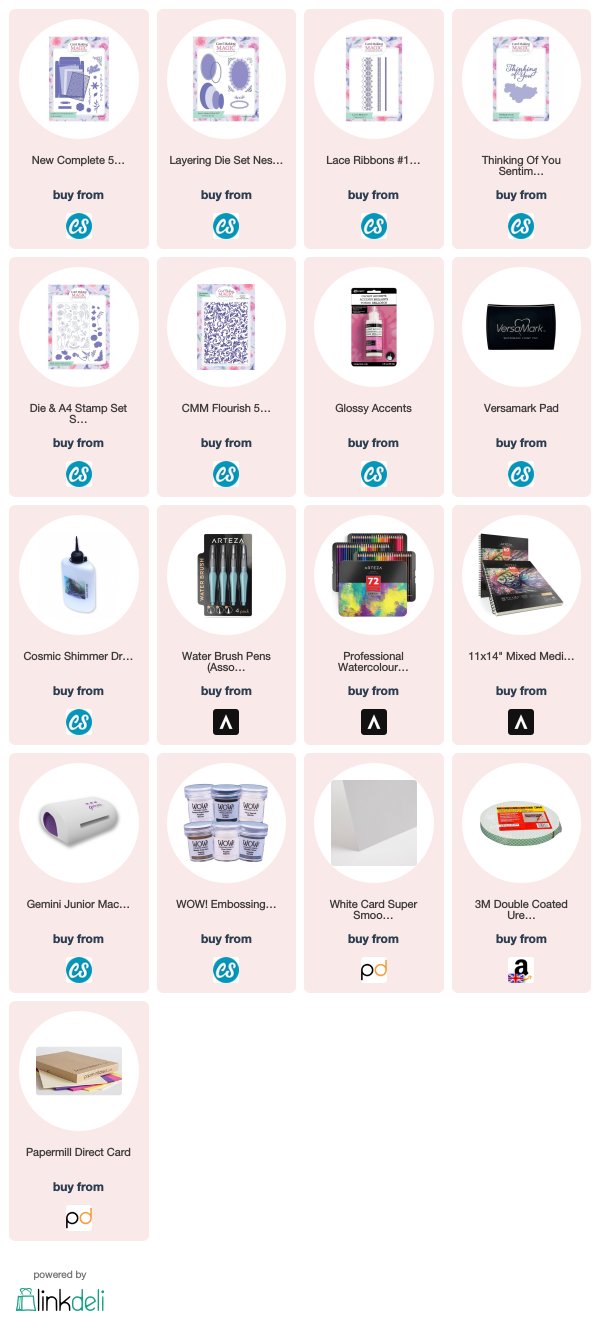
Lacey Circles Gatefold Card

Hi Everybody,

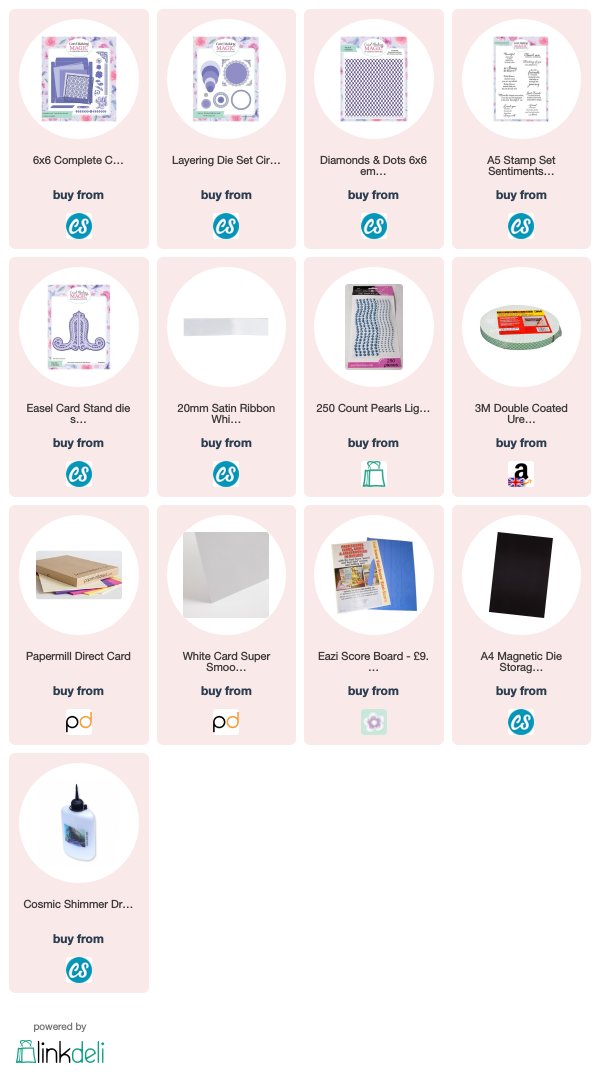
Time to move on now to another shape from the Lacey Collection and for this card I used the Circles to create a Gatefold Card.

I chose a lovely shade of blue and teamed it with white for a really fresh look

The card is not a free standing one so you will need the Card Stand to display it

The stand is a really useful addition to your own cardmaking stash and makes a really pretty display from any card.

The Card Making Magic card stand can be used across all the different sizes and it will fit neatly into box with the card for you to give

It is a very easy card to make even with the different layers.
 But, if a card is worth making, it is worth making to the best of your abilities and with the best products that you have. 
So I don't mind adding layers and flowers, ribbons and pearls because I like to give a beautiful card

More tomorrow ...

Hugs xx
May 18, 2019

Card & Gift Winner

Hi Everybody,

It's a lovely day here by the coast and lots of people are sure to come for the day out to take in the sea breeze.  Ruby and I have just had a walk down to the sea front and it was very pleasant.

The draw for yesterdays gift has now been done and the winner this week is 

Maureen Wood

would you email me please with your postal address to 
christina@card-making-magic.com
and the gift will be on it's way to you.

You have 72 hours in which to claim it and please let me know when it gets to you.

Have fun making snowflakes

More tomorrow ...

Hugs xx

May 17, 2019

Friday Freebie - Sparkling Snowflake

Hi Everybody,

Another Christmas gift again this week and this one is a really large snowflake that comes in two parts.

It can be cut from the card by using the outer edge or left in the card if you use just the patterned piece

Looks really pretty which ever way you decide to use it and certainly makes a statement piece on the front of your designs. Cut it from Glitter paper for a spectacular look or double sided sticky sheet to create your own special look for your own Sparkling Snowflake 

So would you like this die to add to your collection??
Then all you have to do is leave me a comment at the end of this post with your FULL NAME

One name will be chosen and announced tomorrow so please come back and check if it is your name that is shown. You will have 72 hours in which to claim the prize

More tomorrow ...

Hugs xx


May 16, 2019

Last Oval ... for now !!

Hi Everybody,

So far I have shown you how to mix and match the ovals in the new set and the older set with beautiful results.

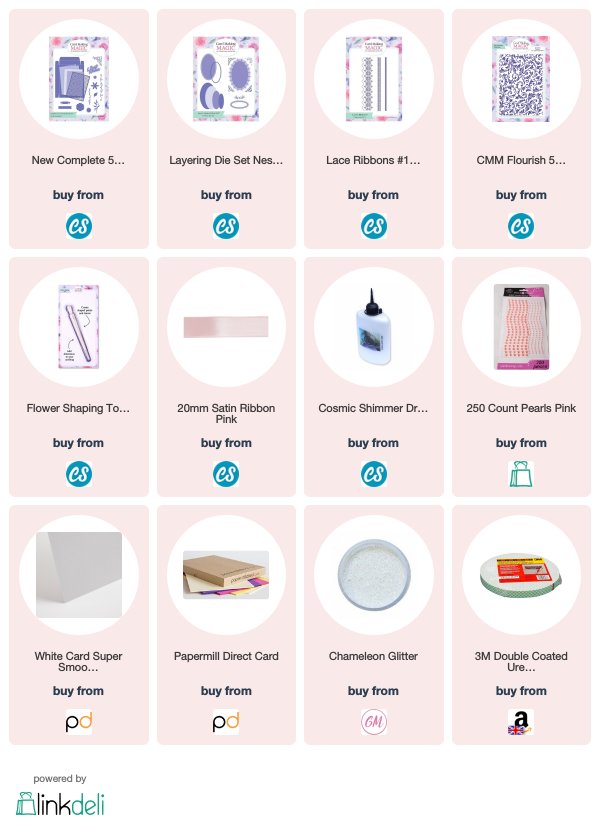
But how about mixing in some of the stamps that are in the collection.for yet another look to your designs.

For this card I have used only the oval dies that will cut the pattern but leave it in the card and so giving me the pierced look for my oval shape

Then I have used the plain dies that will fit inside these open cuts to create the frame I needed in red.

I embossed this frame in the Flourish Folder and added it to my card with foam tape underneath. And it fits just on the inside of the oval shape. I added one of the Lacey Ribbon dies to the bottom of the oval and used the smaller ribbon die to add across the front of the oval

I stamped and die cut the flowers onto water colour card and coloured them with water colour pencils and a water brush. I added black pearls to the centres of each and added them with foam tape.

The sentiment was cut several times and stacked together for depth. I covered it with Glossy Accents and allowed it to dry overnight before adding it to my design

This card gives you a different look ... it uses other items from your collection ... and it gives you a lovely card that will fit into an envelope. What more could you want ???

More tomorrow ...

Hugs xx

May 15, 2019

Card Making Magic Lacey Nested Ovals

Hi Everybody,

Thank you for the lovely comments about the new collection and I am so happy that you seem to like it.

Today I am adding a video to show you how I created this card which is another Oval but using it in a different way.

And because there was not a lot of depth to it I was able to add it to an envelope that I decorated to match

I used a lovely cream and pink colour scheme and it is very soft on the eye.


If you add plenty of glue to the seams of the envelope it is sturdy enough to go through the post, and you can add an address label to the front for delivery.

Much nicer than those brown envelopes with bills in them !!

More tomorrow ...

Hugs xx