Beautiful Card Designs Made Easy

Showing posts with label Tuesday Tutorial. Show all posts

September 05, 2017

Tuesday Tutorial - Victoriana Crest

Hi Everybody,

This beautiful die is one of the new ones from Spellbinders and was designed by Becca Feeken.
It can be dressed up any way you wish but I have kept mine to a simple white with autumn coloured flowers.
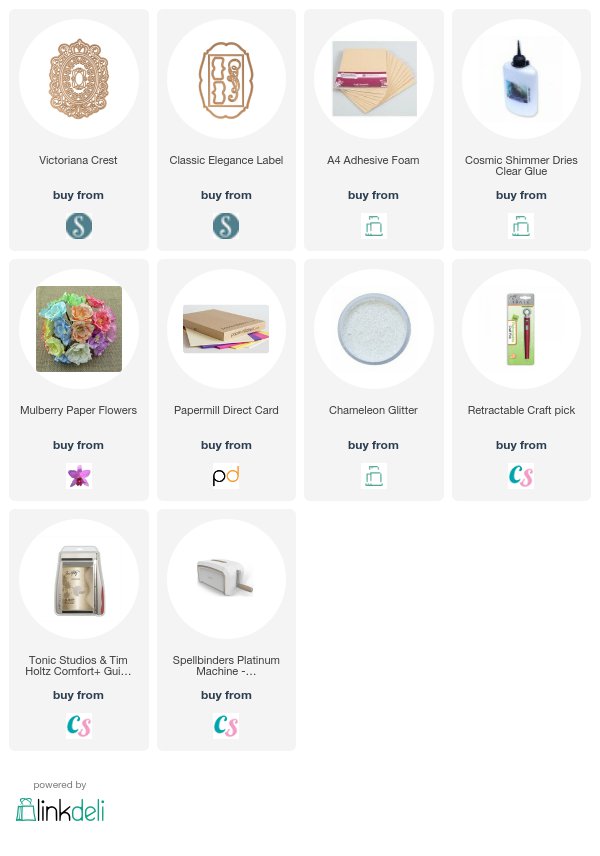
Spellbinders Supplies:
  • S6-125 Victoriana Crest
  • S6-082 Classic Elegance Labels
Other Supplies:
  • Flowers from Wild Orchid Crafts
  • Pearls from Hobby House
  • Glitter from Glitter Magic
  • Card from Papermill Direct
Instructions:
With outer die cut two pieces and score one of them and bend it back
Add glue to this small strip and glue the two together to form the base card
Level the back piece so that the card will stand
With the two largest dies cut and emboss another panel in white
Add foam tape to the back
With the other dies in the collection cut all in white card
Stamp a small greeting onto the smallest piece
Glue the filigree oval to the plain layer
Add foam to the back of the other pieces
The foam taps adds depth to the layers 
Cut two of the flourishes from the Labels die in gold coloured card
Add to the centre panels of the card front
Choose Autumn coloured flowers and glue onto the flourishes
Dot with glue and sprinkle with glitter
Add tiny pearls around the edge of the oval
Add in the sentiment tag

More tomorrow ...

Hugs xx
August 22, 2017

Tuesday Tutorial - Bird Sanctuary

Hi Everybody,

Todays card is really quick and easy and for this I have used bright colours and feathers. I have hand written the sentiment around the edge of the card and it's not supposed to be neat. It is purely a fun card that could go to any age or gender
Spellbinders Supplies:
  • 6x6 Matting Basics A
  • 6x6 matting Basics B
  • Bird Sanctuary 
  • Platinum Die Cutting Machine
Other Supplies:
  • Lace from Wild Orchid Crafts
  • Ribbon
  • Feather
  • Patterned Papers
Instructions:
With die#8 from 6x6 Matting Basics A cut two panels in purple and create the base card
With die #8 from 6x6 Matting Basics B cut another panel in a deeper shade of purple
With die #7 from the A set cut two panels in patterned paper and cut one of them in half
Cut the birds from some purple card and ink through the die to add shading to the bodies
Cut one more bird from some bright coloured card and flip it over. 
Ink through the die and this bird will be facing the other way
Add a brightly coloured tail feather to this one
Layer up the papers and wrap with lace and ribbon
Add these to the base card
Hand write "One In A Million" around the edge of the card
Sit the purple bids on the ribbon to face one way and the bright bird to face the other
Send with love 

More tomorrow ...

Hugsxx


August 15, 2017

Tuesday Tutorial - Ornamental Crest

Hi Everybody,

Todays card is a mixture of old and new and there are several lovely layers in the making.
It also incorporates my beautiful flowers, ribbons and pearls to make a classic white and silver design for any occasion.
Spellbinders Supplies:
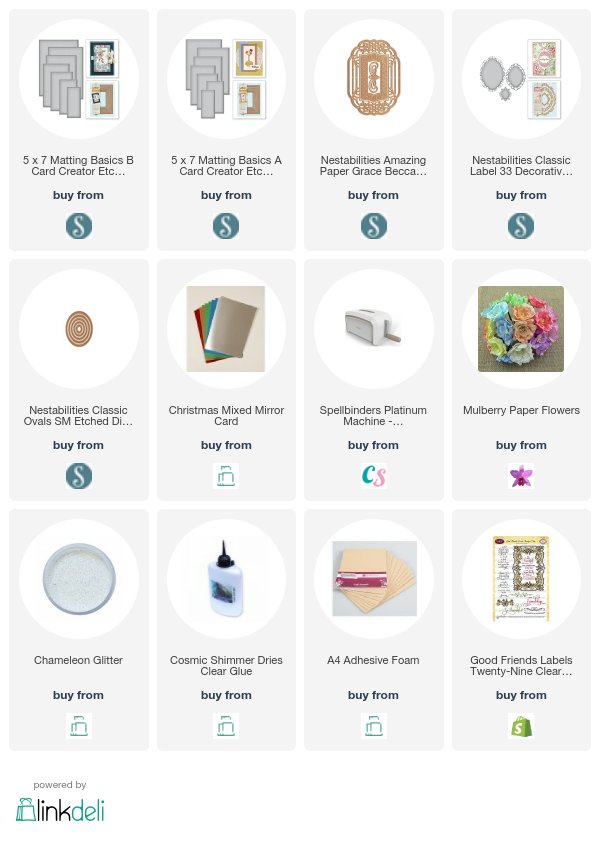
  • S6-001 5x7 Matting Basics A
  • S6-002 5x7 Matting Basics B
  • S6-081 Ornamental Crest
  • S5-298 Classic label 33 Deco Elements
  • S4-110 Classic Ovals 
  • SEL-006 Horsehair Embossing Folder
Other Supplies:
  • Sentiment from JustRite Stampers
  • White card
  • Silver Card
  • White Ribbon
  • White Flowers from Wild Orchid Crafts
  • Diamante
  • Glitter
  • Foam pads
Instructions:
With die #7 Matting Basic A cut two pieces in white to create the base card
With die #7 Matting basics B cut another layer in white and emboss in the folder
From silver card cut the largest die in Ornamental Crest
From white card cut the largest die from Classic Labels 33 and from the second largest cut another silver layer
Add foam pads to the back of all these layers
Add these three layers together and stick to the embossed layer
Wrap with white ribbon before adding to the  base card
Stamp in black and clear emboss the sentiment of your choice and cut out with the oval
and add with foam pads underneath
Selection of white flowers from the left:
Gypsophillia, Tulips,  Rosebuds, Cosmos Daisies, Lilies, Cherry Blossom, 
Arrange the flowers down the left side and dot with glue then sprinkle with glitter.
Add in the bow and glue the diamante centre in place
And there you have a silver and white card you will be happy to send 

More tomorrow ...

Hugs xx

August 01, 2017

Tuesday Tutorial - Spellbinders Trailing Hearts

Hi Everybody,

This pretty card is created with only two dies from Spellbinders and a little bit of glitter to add some sparkle. Very quick and easy to do and with a few flowers I think it is very effective
Spellbinders Supplies:
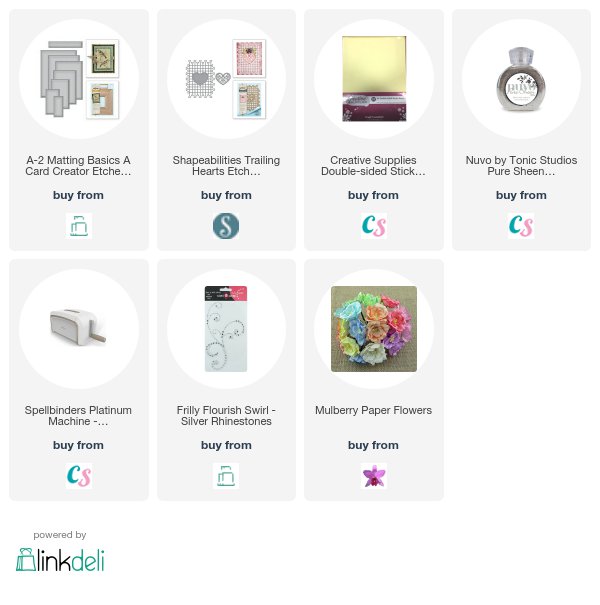
  • S5-314 Trailing Hearts
  • S5-131 A2 Matting Basics A
  • PL-001 Platinum Die Cutting Machine
Other Supplies:
  • Diamante Flourish from Want2Scrap
  • Tonic Nuvo Glitter
  • Flowers from Wild Orchid Crafts
  • Dymo Label Maker
Instructions:
With the largest die from Matting Basics A cut two panels in white to create the base card
Add double sided sticky sheet to another piece and cut this to the same size
With Trailing Hearts cut one piece in pink 
And add this to the sticky sheet pressing down to adhere it all
With the silver glitter sprinkle some to the double sided sheet making sure to press it into all the open spaces in the die cut
Add foam pads to the back and add it to the base card
Trim to leave a small border around the edge
 Cut three Hearts from the smaller filigree piece and stack them together for thickness
Add to the centre part of the pink die cut
Dress with flowers as you like 
From the Diamante Flourish cut several pieces to add behind the flowers.
(I kept them attached to the carrier sheet and simply glued that in place)
Create a sentiment with the Label Maker and add to the  stacked Hearts

More tomorrow ...

Hugs xx


July 25, 2017

Tuesday Tutorial - Hemstitch Rectangles and Lace

Hi Everybody,

Todays card is a combination of more of the designs by Becca Feeken and I just love her Venice Lace collection. It is so delicate and intricate and simply my cup of tea.  So here I have used several of her dies and the card is quite pretty just as it is
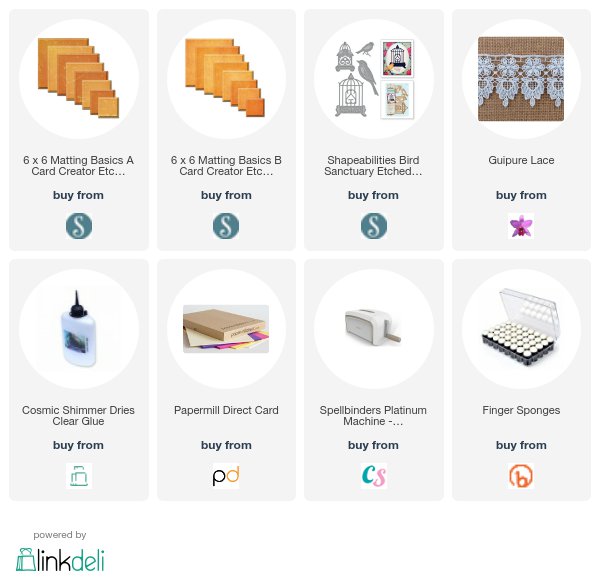
Spellbinders Supplies:
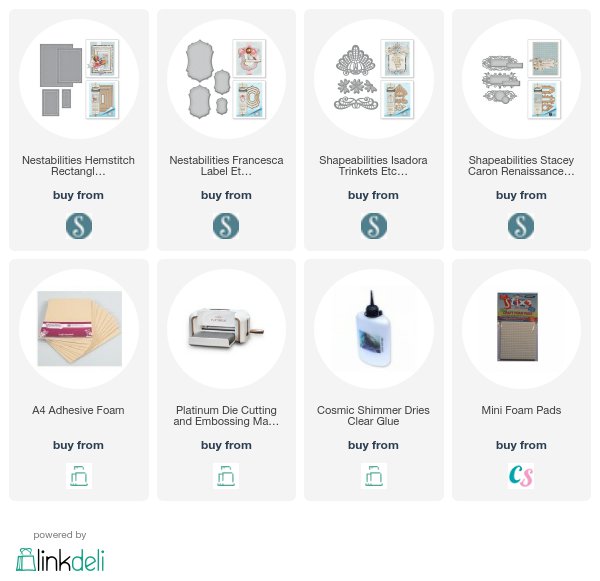
  • S4-653 Jubilee Tags
  • S4-791 Isadora Trinkets
  • S4-789 Francesca Label
  • S5-308 Hemstitch Rectangles
  • PL-001 Platinum Die Cutting Machine
Other Supplies:
  • Glue
  • Foam Pads and foam sheet
  • White card from Papermill Direct
Instructions:
From the outside die of Hemstitched rectangles cut two pieces in white to create the base card
Cut another one in pink for a layer
With the two dies together cut one piece in white to leave the beautiful detail around the edge
From the largest label die cut a piece of designer paper
From the largest die from Isadora Trinkets cut two pieces in white
Add the hemstitched layer to the pink one and add all to the base card
With some foam sheet under the label add  this to the centre of the card front
With small pieces of foam pads under the filigree panels add them to the top of the designer label
Stamp the sentiment of your choice in black and heat emboss with clear powder.
Cut this out with the tag from the Jubilee collection
With foam tape under the tag add this top the centre of the card 

Pretty card ofr any occasion and really quick to make 

More tomorrow ...

Hugs xx

July 18, 2017

Tuesday Tutorial - Spellbinders Venice Lace

Hi Everybody,

The card I made for todays tutorial features one of the new dies from Becca Feeken who is a designer for Spellbinders. This is her beautiful Venice Lace Collection and it is so intricate and elegant.
I didn't have card in the shade of pink that I wanted so I used Picked Raspberry to blend white card for my backgrounds and flowers
Spellbinders Supplies:
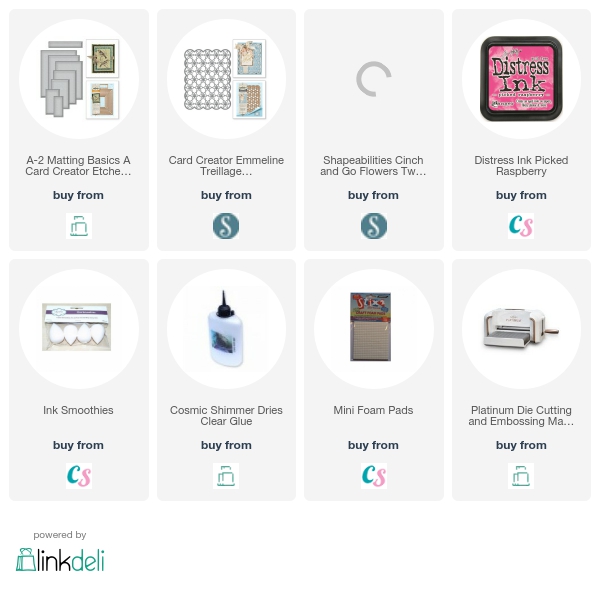
  • S5-131 A2 Matting BasicsA
  • S5-311 Emmaline  Venice Lace
  • S4-792 Cinch and Go Venice Lace flowers
  • PL-001 Platinum Die Cutting Machine
Other Supplies:
  • Distress Ink from Craft Stash
  • Pearls from Want2Scrap
Instructions:
With the largest die from Matting basics A cut two pieces in white card 
Score down one of them by about half an inch 
Add glue along this small scored panel and add the two cards together to create the base
Cut another panel in white slightly smaller
With a blending tool ink over the panel with Pocked Raspberry to create an Ombre effect and leave to dry
With both parts to the Venice Lace Emmaline die cut one in white
Add mini foam pads to the back of each of the tiny flowers
Add to the Ombre panel
Cut as many flowers and leaves as you like and with Picked Raspberry ink through the die to the flowers before you remove the card
Shape the petal with a ball tool to give dimension
Assemble the flower with a Brad and off set the petals as you go
Stamp a sentiment of your choice and sketch a black line around it
Cut out into a banner shape and add larger foam pads to the back
Assemble the pieces by adding the Ombre Vnice Lace panel to the base card
Add the sentiment where you would like it and arrange your flower and leaves to the left side of it
Add a pearl to each of the flower centres in the Venice Lace

More tomorrow ...

Hugs xx

July 11, 2017

Tuesday Tutorial - Imperial Square

Hi Everybody,

Todays card is really pretty in pink and white and shows the versatility of turning a square die into something other than it's intended. Use any embossing folder that you have to add some texture to the card.
Spellbinders Supplies:
  • S6-021 Imperial Square
  • S6-001 5x7 Matting Basics A
  • S6-002 5x7 Matting Baiscs B
  • S2-082 Happy Birthday 
  • SEL-006 Embossing Folder
  • PL-001 Platinum Machine 
Other Supplies:
  • Papermill Direct Card
  • Craft Stash Foam sheets
  • Cosmic Shimmer Glue
  • Mei Flower Ribbon
  • Wild Orchid Crafts Dazzler
Instructions:
With Matting Basics A die #7 cut two pieces in white for the base card
With Matting Basics B die #7 cut one piece in black
With die #6 from the A set  cut one in pink and emboss this piece in any folder that you have
With the largest die from Imperial Square cut two pieces in black and pink
Cut these two in half  trim to fit the front of the layers from the previous step
And layer them one on top of the other to leave a shadow effect
Add foam pads to the back of these panels and add to the embossed layers
Wrap with pink ribbon to cover the join and secure on the back of the card.
Add these layers to the base card
Cut  the corner pieces and the centre piece in white and add a corner to each side panel 
Ink through the die to the centre piece in pale pink

Add foam pads to the back 
Add at an angle to the centre of the card and add the Happy Birthday sentiment to the middle of the panel .
Add a bow with the same pink ribbon and place a centre piece to cover the knot.

More tomorrow ...

Hugs xx