Beautiful Card Designs Made Easy

November 15, 2015

Spellbinders Lonely Hearts Strip Box (Video Tutorial)

Hi Everybody,

The following video is one I was asked to do by a lady who saw me make it on Create and Craft last year and so always happy to oblige here is the tutorial.

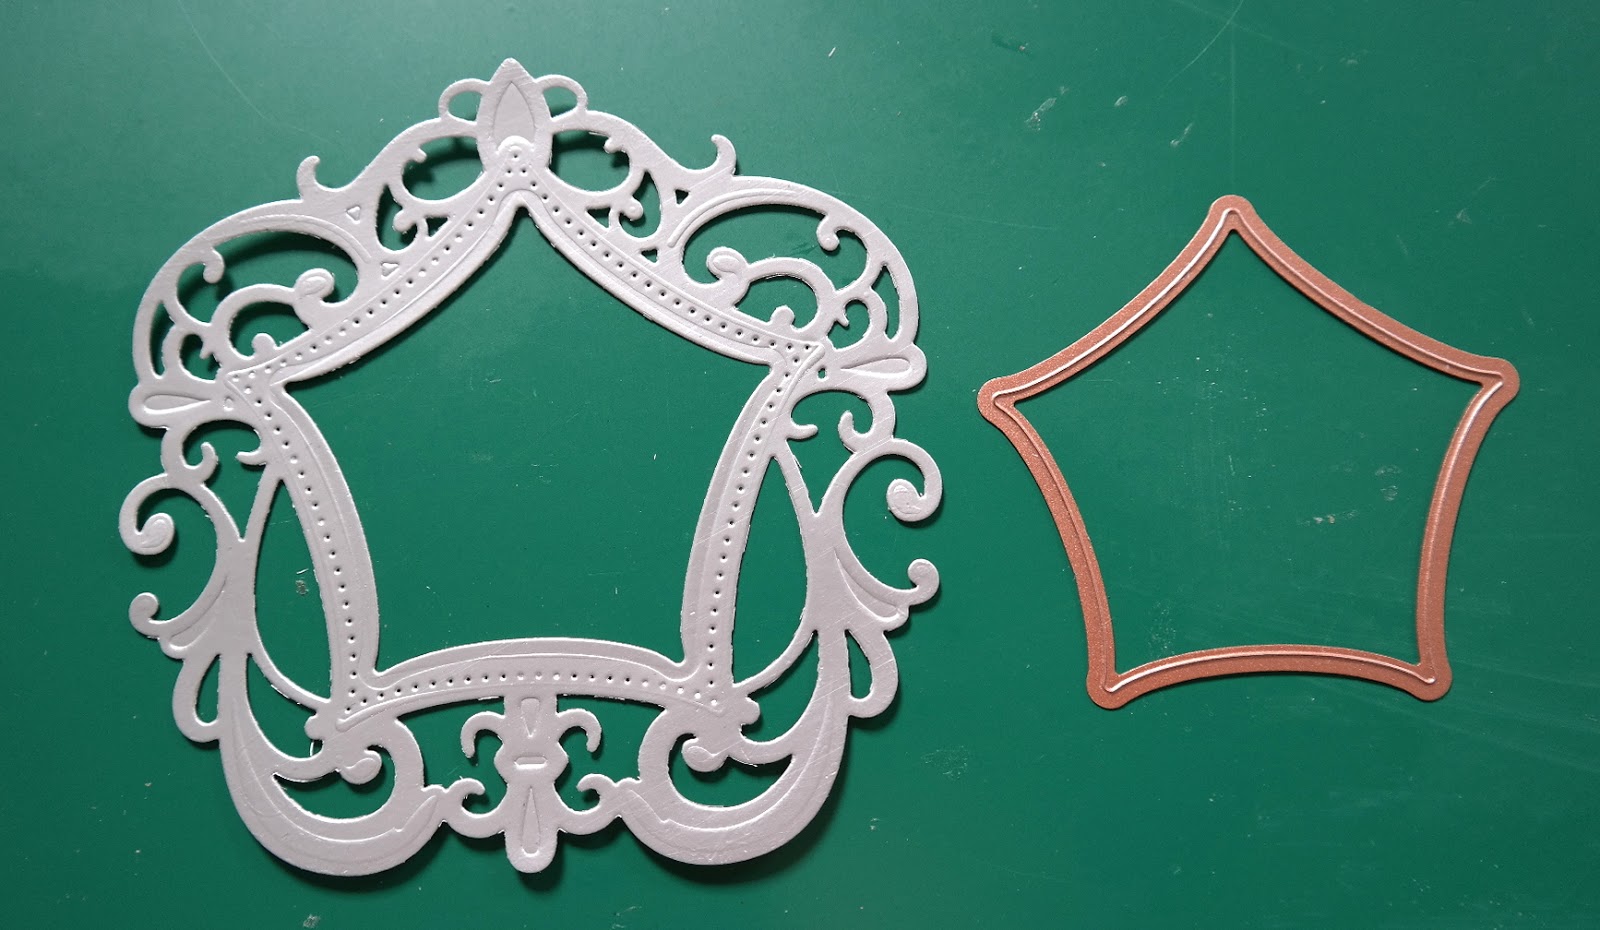
I have used the Spellbinders  Lonely Hearts Strip  die to inlay the pattern into the box sides and the video will take you step by step on how I did it.

But you can use this idea with any strip die in your "Stash" that has a separate cutting edge

It is just the right size to add perfume, cookies or a pretty scarf too ... or chocolates ...  well anything is the right size for chocolates !!

For mine I have used scented candles and wrapped them in red tissue paper and I must admit it smells lovely.

They are really cheap from Ikea but you can get them anywhere


The card I have used to make the box is White Hammered 255 gsm from Papermill Direct and it is plenty strong enough for the job.

The Acetate that I lined the box with is from Crafters Companion

Decorate the box any way you wish and be happy to give this small and inexpensive gift to some one you know.

The die is in two parts so that you can create a solid separate layer and  once layered with the two cut together and glued on top  it is perfect for making Book marks to give as another small gift.
Hope you enjoy the video 

More tomorrow ...

Hugs xx

November 14, 2015

Another Winner ...

Hi Everybody,

I hope you have had a really good day today. It has been cold and windy here in the North West but now we are snuggled up at home with the central heating on and waiting for X Factor to be on a little later.

In the meantime the draw has been done for the winner of the mint green card and the name drawn from the hat is you ...

Marion ...
can you email me please 
christina@card-making-magic.com 
with your postal address and the card will be on its way to you straight away
I hope you will like it when you get it and please let me know when it arrives with you.

I have a video tutorial planned for you in the morning so please pop in to take a look 

More tomorrow 

Hugs xx

November 13, 2015

Friday Freebie 093

Hi Everybody,

The  photo does not do the card any justice as it is much prettier in real life

It is in a lovely shade of mint green and the white sets it off nicely.

I have used the Mary Border Strip   and this die is in two parts.

The satin ribbon is from Mei Flower  and is tied into a large single bow.

The flowers are some that I had in my "Stash" and I really don't know where these flowers are from.  The pearls are self adhesive ones from Want2Scrap

The sentiment is stamped and embossed in silver and it is one I bought at the craft shows.

So if you would like to own this card then all you need to do is leave me a comment and a name will be chosen in the morning and announced in the days Blog post.

More tomorrow ...

Hugs xx


November 12, 2015

Pink Floral

Hi Everybody,

Todays card used more digital paper but these are some that I have had stored on my PC for years and I cannot remember where I got them from.

But there are spots, stripes and flourishes in many many colours and they all work together. I use them time and time again as they go so well with lots of things.

Here I have used spots and stripes and covered the join with ribbon and lace.  The card topper is from the Floriography CD that I showed you a few days ago.

It seems that many of you also have this CD and are frantically digging it out again to use it.

The die  I have used is Spellbinders  Lotus  and it has been around for years

Sadly this pretty die is no longer available to buy,  but you may find one that someone no longer uses and is selling it on.

The sentiment is from Phrases Two  by Spellbinders and the pretty flourish is the Flourish Trim and this is a really useful piece to add that little extra to your cards ... for about a fiver !!

More tomorrow ...

Hugs xx

November 11, 2015

Thanks ...

Hi Everybody,

The background to this card is created from a two part stamp made by My Favorite Things

It is the Candy Stripe Background 

One stamp is the thicker stripes which I have done in pink and the other is the thinner triple stripes in black

It would look really good in other colours too, and it is the perfect  way to create your own backgrounds, to match your designs, when you don't have a suitable paper on hand.

Play with the stamp ...  use just one part of it for a simple look.

Stamp it one way and then turn it around to create some checks. Try it diagonally too for another look. I am sure that you can come up with many more ideas as you play.

The "Thanks"  word is a small die from  AlteNew  and it has the  matching stamp set  to go with it, and from that set I used the other part to the sentiment.

I cut the word twice from black card and black craft foam and layered the two together

Another that is not my usual style and I don't profess to be a stamper ... but never the less I enjoyed making this card and playing with some of the new and different items I have been buying

More tomorrow ...

Hugs xx


November 10, 2015

Tuesday Tutorial - 6x6 Matting Basics

Hi Everybody,

For this card I have stayed with a simple design that is easy to do and is ideal for those occasion when a quick card is needed. 
 Have an evening where you sit and die cut lots of different shapes or embellishments so that you always have some on hand for such a time.
Spellbinders Supplies:
Other Supplies:
Instructions:

With die #8 from Matting basics A cut two panels and Create a Hinged Card for your base 
With die #8 from Matting Basics B cut one panel from Silver 
With die #7 from Matting Basics A cut another panel in patterned card
( Please remember that die #1 is always the smallest)
Stamp and emboss your sentiment and layer it with Lacey Circles cut in Silver for a pretty edge
Cut the butterflies from any butterfly die that you have in your collection and layer the two shapes together with glue along the body line only.
Curl the wings upwards slightly 
I have hand cut another smaller layer in purple to go between the patterned card and the Silver and wrapped all the layers together with my cord.
I splayed the cord out along the card for another look and glued the ends on the back.
Add all these layers to your base card with foam tape to add dimension.
Add your sentiment also with foam tape to the centre of the card and arrange the butterflies around it just gluing along the body line so that the wings can still curl upwards
Add in the butterfly trail with Diamanté 

I added in some Diamanté Teardrops and the card is ready to send with your love 

More tomorrow ...

Hugs xx 


November 09, 2015

Gorgeous in Green ...

Hi Everybody,

Another offering with digital papers from the Floriography CD  and this one has large daisies on the paper.

For this card I have matted and layered it with a paler shade of green but cut the sentiment in a darker shade so that it stands out more.

Along the bottom I have used a pretty technique with ribbon and there is a video tutorial to show you what I did.

Ruffled Ribbon is a really old video tutorial that I did so my apologies if it looks a little dated ... but the effect is still a pretty addition to your cards.

To the ribbon I have added in a row or pearls and used one of the Mother of Pearl Buttons from Spellbinders called Grandmothers Buttons.

More tomorrow ...

Hugs xx


November 08, 2015

Card Winner ....

Hi Everybody,

This is very late post for me and it's now 11pm and I have just watched the last episode of Downton Abbey.  It was happy and sad all in one go and I am sorry it has ended. It was undoubtedly the best series on TV.

What am I going to watch on Sunday nights now ???

We arrived home from the NEC safe and sound this afternoon and I must admit I enjoyed my day there. It was lovely to meet those who stopped by to say hello and I hope I get the chance to do it again in the future.

 The draw for the card that was offered last Friday has been done and the name selected is ....
 
  Jean Bullock ...
Can you email me please with you postal address to
christina@card-making-magic.com
and the card will be in the post to you straight away
I hope you will like it and please let me know when it arrives with you

More tomorrow ...

Hugs xx

November 06, 2015

Friday Freebie 092

Hi Everybody,

Todays card is back to my favorite colour Pink and for this one I have turned to Spellbinders Lace and Frills Texture plate

I have Letterpressed  the pink ink onto the card and the link is to a tutorial to show you what I did.

The video uses an embossing folder but the principal is exactly the same

If you would like to have this card winging its way to you then all you need to do is leave me a comment. From those comments a name will be drawn and the winner announced in a Blog post.

But that won't be until Monday as I am away this weekend. I will be at Birmingham NEC  and this time I will be demonstrating for Spellbinders.

Now I have never done this sort of thing before so it is all going to be a bit of an adventure

Christine Emberson and I are the two UK Ambassadors and we will be on the Aceville Publications stand. I will be there on Saturday 7th November,  so I hope you will pop along and say "Hello"

Please come back and check the blog though to see if it is your name that is announced as you only have 48 hours in which to claim the card once the name has gone live.

You will need to email me ... christina@card-making-magic.com ... with your postal address and not here on the blog as there is no email address attached to the blog

More tomorrow ...

Hugs xx


November 05, 2015

Friends ...

Hi Everybody,

This little A2 sized card has been stamped with the Vintage Flowers stamp set from Altenew and I got mine from Make the Day Special 

It has a  matching die set  for you to cut the flowers, leaves and branch out perfectly for you each time.

But for this card I stamped directly to card.

Once I had the flowers in place I stamped my sentiment, in black ink,  over the top of them,  and then heat embossed it in clear powder.

The stamped words are  Grand Sentiments by My Favorite Things also from MTDS

I inked around the edges of the card with Salty Ocean Distress Inks fading it in towards the centre for a Vignette look

The white satin ribbon is from Mei Flower  ribbon and a little acrylic flower from Wild Orchid Crafts to the bow are all I have added.

I know this is not my usual style but it does you good every so often to play with other ideas and keep your mind active and fresh.

More tomorrow ...

Hugs xx

November 04, 2015

Cards for the Neighbours !!

Hi Everybody,

I had a little play the other day when it was cold wet and windy and these cards are what I came up with

I made six Christmas cards all the same and used my Brusho Crystal Colours to get the background

The  Sleigh and Reindeer stamp was free with Simply Cards and Papercrafts and everything else was in my "Stash" already.

They all have ribbon and Bakers Twine on them and I have added in two gold bells to each bow.

I think they turned out quite pretty and the neighbours don't visit my blog so they won't see them until they get them !!

More tomorrow ...

Hugs xx

November 03, 2015

Tuesday Tutorial - Photo frame with Labels 48

Hi Everybody,

Today I am showing you something a little different and travelling along the home decor route to produce this petty picture frame using Spellbinders Labels 48.  
All the steps are shown for you to make your own and the result can be for any occasion that you wish
Spellbinders Supplies:
Other Supplies:
Instructions:
With Decorative Elements Labels 48 and dies #3 and #4 cut four  pieces from silver card and marry two of them together and glue in place. this will give extra strength to the back of your picture frame
Take the glued piece and  use the top scrolls on the die cut as a guide and line them up on a scoreboard and score down by about one inch. 
Then carefully bend these ... but don't fold them over. 
Set the third piece to one side for now
Take the fourth piece and with die #4 from Labels Forty Eight cut out the aperture
 With some thin Acetate and the largest die #5 from Labels Forty Eight cut one shape 
Choose the photo that you wish to use and make sure that it fits inside the die #5 and cut this out too
Add the Acetate to the frame with the aperture and glue the photo to the third solid  panel.
Then neatly add some glue and place the acetate frame over the photo and press together making sure that all the scrolls are lined up to.
 So now you have two double layered panels ... one with the photo and acetate  and the other is solid
Add glue to the bent over area only and marry the top edges neatly together, making sure that you have the frame and photo the correct way up.
 This will create the "A" frame with the die cut layers and allow your picture frame to stand.
I threaded ribbon around my frame ... but only the front part, otherwise you will fasten it all together and it wont open and stand.
I added in the flowers and some pearls
Make your frame from different colours to suit the occasion ... and this would make a really pretty photo frame for baby or wedding photos.

More tomorrow ...

Hugs xx 


November 02, 2015

Thank You Card ...

Hi Everybody,

This is another card that has been created with digital papers from the Floriography CD 

There are some really pretty papers on this double CD and you are sure to find something that catches your eye.

The base card is created with Kraft Card  that I buy from AnnaMarie Designs and it is a really inexpensive one to use

The "Thank You" sentiment from  Spellbinders Phrase Two  has been cut with Kraft Card and inked through the die before removing it to accentuate the word

Along the bottom edge I have added in some lace and ribbon and then tied more lace into a bow with a little pearl and Diamanté centre from Wild Orchid crafts

The finished card size is 5x7" and this is the size that I like to work with the most.

It is created in the  Hinged Card  style and I have added the other pieces onto the card with foam pads to give dimension

Another card that is prettier in real life than the photo shows.

More tomorrow ...

Hugs xx


October 31, 2015

Card Winner ...

Hi Everybody,

Another week gone by so quickly and it has been a really busy week for me. I hope you have all had a good week and managed to get done all the things you wanted to do

The winner has been drawn from the hat for the oval peach card and the name this week is you ...

Tami Grant
can you email me please with your postal address to 
christina@card-making-magic.com
please do not leave your personal details here in the comments .. email me and then you know  they are private. 
The card will be on it's way to you straight away
You have 48 hours in which to claim the card and please let me know when it arrives with you.
I hope you will like it.

There will be no post from me on Sunday as I am going to have that day off completely to simply do as I please so I will be back bright and early Monday morning with another new card to start the week .

There is a really pretty Tuesday Tutorial this coming week and I hope you will try it for yourself

More on Monday ...

Hugs xx

October 30, 2015

Friday Freebie 091

Hi Everybody,

Another pretty peach card is on offer this week and it is is a free standing oval shape.

The dies I have used for this card are Heirloom Oval from Spellbinders

This is a shape that can be used in many different ways and I have added in Butterflies from Les Papillions two  set

The flowers are from Wild Orchid Crafts and they have been sparkled with Glitter Magic and the lovely pearl flourish is from Want2Scrap and is the Finesse Swirls

If this is a card that you would like to own then all you need to do is leave me a comment. From those comments a name will be drawn in the morning and the winner announced in that days Blog post.

Please come back and check if it is your name as you will only have 48 hours in which to claim it.

You will need to email me ...   christina@card-making-magic.com  ... with your postal address, and NOT here on the blog.

That is the way to contact me for anything you may wish to know as any comments on the Blog are all "No Follow" which simply means that I cannot email you back if you ask me a question.

Plus I moderate each comment so that no personal information from you is added to the pages ...  to keep you safe.

More tomorrow ...

Hugs xx