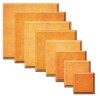
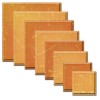
As you build your collection of dies it is good idea to add one large statement piece, and with that one die there is so much variation that can be done
For todays card I have used such a die to show you different ways to alter your design.
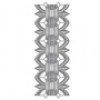
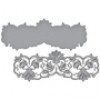
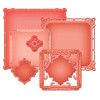
I have used the Arched Diamonds from Spellbinders along with the Border Sentiments for both cards and varied them in colour and style one for men and the other for women
It is quite a large die and will make a perfect focal point for your creations

Spellbinders Supplies:
Other Supplies:
- Card
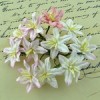
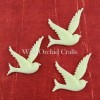
- Flowers
- Ribbons
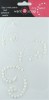
- Pearls
- Glitter
- Distress Ink
Instructions:

With white card create a top folded base that measures 5x7" in landscape
Cut a smaller mat in deep turquoise and another smaller one in white to leave narrow borders around each edge
Layer these panels onto the base

With the die cut the white card twice and ink through the die before removing the card.
Add foam pads to the back in strategic places so that they can not be seen from the front
Layer these two panel onto the base layers

Die cut the Happy Birthday from the border sentiments three times and glue together for strength
Add to the card front where you would like them
I have kept this version clear of flowers for a more masculine card.

For this version I have used the 5x7 in portrait and made the layers in pink and white and embossed the smallest white panel
I have used just one die cut and added it across the card with pink ribbon around it.
The triple bow has flowers in the centre and a pearl flourish adds the extra touch.
The addition of the flowers, ribbons and pearls give it a more feminine look
More tomorrow ...
Hugs xx