Beautiful Card Designs Made Easy

November 25, 2017

Today's Winner ...

Hi Everybody,

This is gong to be a cold day by all accounts and the weather forecast says to keep warm.
 And as it is Formula One weekend and Griff will be glued to the TV it looks like I will have to do some crafting to occupy my time ... so no hardship there then !!

The draw for the card and gift has been done and the winner this week is you 
Christi 
so if you could pop your postal address in an email to me 
christina@card-making-magic.com
they will be on their way to you straight away.

You have 72 hours to claim the gift and if you could let me know that you have received it safely please that would be great.

Look out for another give away next Friday.

More tomorrow ...

Hugs xx

November 24, 2017

Friday Freebie Card & Gift - Floral Wishes

Hi Everybody,

Another free gift and card on offer this week and this is the gift free with Papercraft Essentials.

It comprise of a die to cut out the centre of the wreath, an embossing folder for extra texture to your cards and a lovely stamp set

The card that I am sending with the gift has used the little bow stamp to create a background and is the one created in the video 

If this is a gift that you would like then simply leave me a comment at the end of the post and then come back tomorrow to see if you are the winner.

You will have 72 hours in which to claim the gift 

More tomorrow ...

Hugs xx

November 23, 2017

A Video Collaboration ...

Hi Everybody,

Today's video is in collaboration with Christine Smith from Crafti Potential and we both used the same Christina Collection to make a Pop Up Box.

It amazes me how we can come up with totally different ideas using the  same items but we have a lot of fun in the process.

So here for you to view are the two videos from myself and Christine bringing you our ideas with the Pop Up Box.

Hope you enjoy both


Christine has created her pop up box using a die and I have gone the long way round and given you the measurements. But both are fantastic creations and well worth the effort to make them.

More tomorrow ...

Hugs xx

November 22, 2017

Die Cutting Essentials 31 - Sparkling Snowflake

Hi Everybody,

Another Christmas card today and this one is using the gift that is free with Die Cutting Essentials 31

This lovely snowflake will help you to create some really pretty designs.

For the one pictured I have used Peacock Feathers Distress Oxides to colour the snowflake

It is a Shaker card and I filled the centre with Turquoise Glitter from Tonic 

The dazzler on the snowflake was the wrong colour so I altered it with Alcohol markers

In the video I show you how to do some partial die cutting to create a different look to the front of your cards.


I also used the die cut as a stencil to blend the background with the front and then I decided to colour the whole die cut and add it to the card

So you see when you start to play things can develop along lines that you hadn't planned on and still give you a pleasing result at the end.


Crafters have happy accidents ... they don't make mistakes !!

More tomorrow ...

Hugs xx

November 21, 2017

Tuesday Tutorial - Spellbinders Christmas

Hi Everybody,

It's not that far away now and so here is a Christmas Card to get me in the mood to make more. This one is using Spellbinders A2 sized dies but I have made the card bigger and I will show you how I did this as the layering progresses 
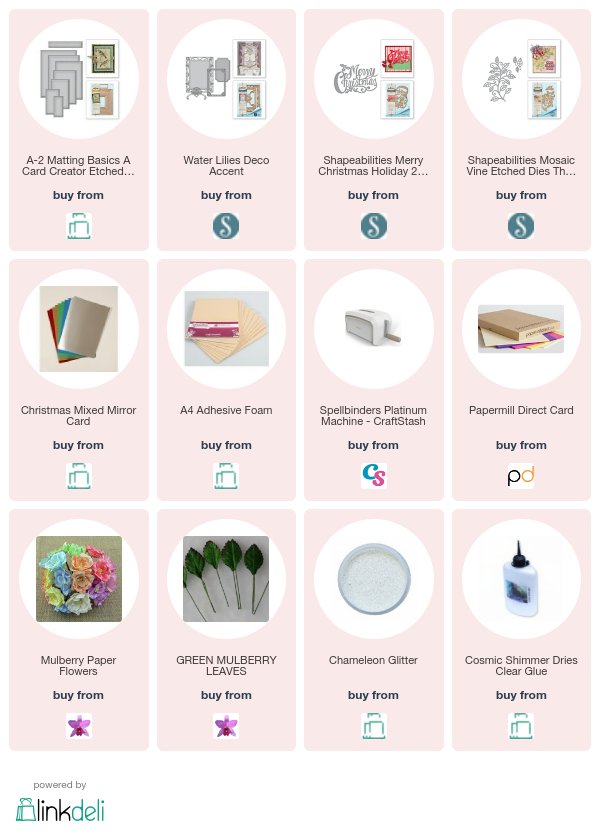
Spellbinders Supplies:
  • A2 Matting Basics A
  • Water Lilies Deco Accents
  • Merry Christmas 
  • Mosaic Vine Leaves
  • Platinum Die Cutting Machine
Other Supplies:
  • Flowers and Holly leaves from Wild orchid Crafts
  • Glitter from Glitter Magic
  • Card from Papermill Direct
Instructions:
With dies #6 and 8 from Matting Basics cut the larger die in gold and the smaller in some patterned paper (Die #1 is always the smallest)
From the Water Lilies dies cut #3 in red and #2 in gold
Layer the patterned piece onto the red layer and then both onto the gold card with foam pads between
Layer these onto another piece of patterned paper and let these now determine the size of your card base ....
... by placing them onto the fold of an A4 piece of gold card and trimming to the size you want it.
You can make your borders as wide as you like ... I kept mine quite narrow
Cut the sentiment die out twice in red and gold and layer them together.
See which way round you prefer them to be stacked  ... I decide on the red shadowed by the gold
I added the words to my card front with a double layer of trimmed foam pads underneath to give a really deep effect and the picture shows you how it looks from the side
Cut the vine and trim to the size that you require and add to the card front with Poinsettia flowers and Holly leaves  Dot the flowers with glue and sprinkle with glitter for a sparkly effect
There is your pretty card all ready to send for someone to display on their mantle shelf 

More tomorrow ...

Hugs xx