Today I am going to be using this really pretty panel die from Spellbinders that was designed by Becca Feeken. It is in two parts and creates a panel that is about 3 x 6" and I have only used the centre part of the set for my card.

Spellbinders Supplies:
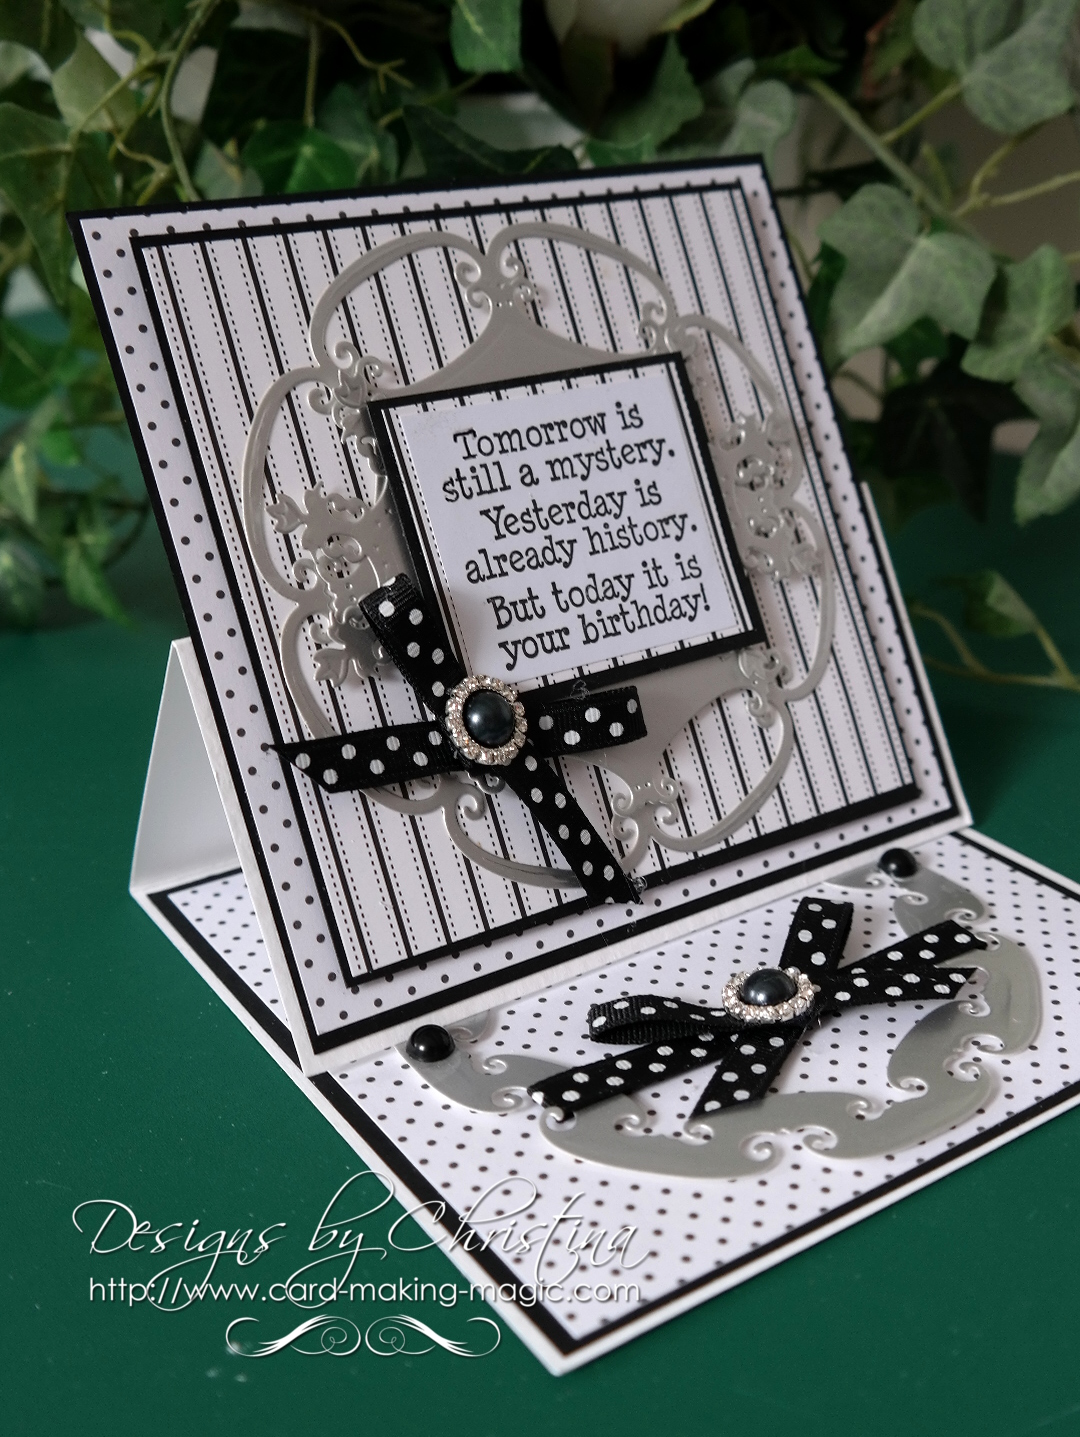
- S4-656 Swirl Stripe
- S6-001 5x7 Matting Basics A
- S6-002 5x7 Matting Basics B
- S4-564 Simply Said Phrases
- S4-328 Foliage
- S4-430 Foliage Flourish
- PL-001 Platinum Die Cutting and Embossing machine
Other Supplies:
- Flowers/ Lace/ Glitter Ball from Wild Orchid Crafts
- Glitter from Glitter Magic
- Pearls from Want2Scrap
- White/Pink card from Papermill Direct
- Green Card/Parchment from AnnaMarie Designs
- Decorative Hatpin
Instructions:

Using die #7 from Matting Basics A cut two pieces and Create a Hinged card
With die #7 from Matting Basics B cut another panel in pink
( Die #1 is always the samllest)
Use the centre part of Swirl Stripe and place it in the upper left corner of the pink card and cut.
No need to emboss this piece as you are now going to add it to your embossing folder and run it through the machine

I added some Parchment/Vellum to the back of my patterned area and then added foam tape to the back to support it all
Wrap this panel with lace along the bottom section before adding it to the base card

Cut as many leaves as you would like to add to your creation.
I used Foliage Two for my flourishes but that die is now retired so in the supplies above I have given you an alternative die for the same effect

Cut the Celebrate word four times in white and once in gold.
Layer them all together with the gold one on the top.

Add the leaves, flourishes and flowers to the right hand side of the card
Add the sentiment along the bottom on top of the lace.
I use a hot glue gun to hold all my additions in place
Sparkle the flowers with some glitter on the petals
Place the pearls around the flowers and onto the patterned piece
Push the Hatpin into the petals as the finishing touch
More tomorrow ...
Hugs xx