Beautiful Card Designs Made Easy

May 12, 2016

Patterned Panels - Budding Vine

Hi Everybody,


Todays card is another that is available to view now on YouTube and this is called

For this card I have used the Budding Vine  die from Tonic-Gold which is a two part set.

 This means that you have different ways that you can use it either using the pieces separately or combing the two together 

The video will show you how I have arranged the panels on my card and I have used gold and white for a clean and simple look

The only additions to the front are the Finesse Pearl Flourish and one of the sentiments from the sheet of stamps by Altenew

There are some lovely sayings on this stamp sheet and any would make a good choice for your cards

More tomorrow ...

Hugs xx


May 11, 2016

Water Colour Wednesday - Flower Bouquet

Hi Everybody,

Todays card is water coloured with Gansai Tambi and I have used the new stamp and die set from Spellbinders by Donna Salazar

This one is called  Flower Bouquet   and it has three parts to the set.  For my card I have coloured and then die cut the main image out and added in some of the flourishes behind

I have raised them up with foam pads to stand proud from the base card and this creates depth and shadow to the image

Then all I have done is dress it with some silver sequins that I got in a large packet from the £££Shop

The card is a one layer A2 size and I rounded the corners as a little extra shape.

Over the flower I brushed some clear Wink Of Stella but this moved the water colour a little as I applied it.  Still not  bad little card and could be for any occasion

More tomorrow ...

Hugs xx

May 10, 2016

Tuesday Tutorial - Circle Dies and Parchment

Hi Everybody,

Todays card is really easy to create using just a few basic dies and an embossing folder. Use any folder that you have in your "Stash" and like wise the flowers and the sentiment.  You are sure to make a really pretty card and here are the steps to follow ...

 Spellbinders Supplies:

Other Supplies:
  • Flowers
  • Glitter
  • Diamante
  • Woodware stamps
Instructions:
Create a Hinged Card  in white with Matting Basics A #7 
Cut two panels with #7 Matting Basics B ... One coloured and the other in Parchment. 
And remember that die #1 is always the smallest
Emboss the parchment in your folder.
(Tip: if your parchment is thin then sandwiching it between copy paper will help to stop it from tearing as you emboss it)
With dies #5 and #6 tape them together onto some more coloured card and cut three frames.
Taping them together ensures that all your frames will be the same
Glue them all together
With smallest of the two circle dies cut an aperture into the parchment piece where you would like it to sit and then add the glued frame to the top.
Save any surplus die cuts for another project
With #7 and #6 from Matting Basics B repeat the taping and cutting process to make two frames and glue these together also and add to the top of the parchment
Stamp and emboss your sentiment onto a circle of white card cut with die #6 and position it on the coloured card inside the circle aperture. To make sure that it is in the correct position place the parchment on top of your coloured card, where you want it to be, and then slot the stamped sentiment circle  in to the space.
Make sure it is straight and carefully remove the parchment panel ... without moving the sentiment circle.  You can then glue the sentiment circle permanantly in place knowing it is in the correct space
Add small pieces of foam tape around the circle and the outer frame so that they cannot be seen from the front. This raises up the parchment from the coloured layer
Glue them all onto the white base card and dress with flowers as you like.
I have added extra sparkle to my card by cutting up some diamante "Bling"  and laying it around the flowers

More tomorrow ...

Hugs xx


May 09, 2016

Patterned Panels - Sunflower Array Tonic-Gold

Hi Everybody,

Todays card is quite simple with just a patterned background and some flowers.

It is featured in a new video on YouTube today and it is ... Extending the Pattern 

The die that I have used is Sunflower Array  and is a new one from Tonic-Gold

The word sentiment is from Everyday Sentiments also from Tonic and as you can see it is quite a statement piece

I have covered it with Glossy Accents and that give it a raised shiny appearance

The ribbon and flowers just add that little extra and there you have a really quick and easy card

I hope that the new feature of the product list at the bottom of the posts is helping you to see the items that I have used in the making of the cards

More tomorrow ...

Hugs xx 


May 08, 2016

My Favorite Card ....

Hi Everybody,

When I made this Shabby Chic card  I really fell in love with it and it still is one of my favorite ones done in that style.

Everything just went in place first time and the colours are so soft and gentle

The flowers and leaves are from Wild Orchid Crafts  and they have been altered with the white Gesso and glitter

The resin Frame is also from WOC and the little picture that I found in my "Stash" fits in there perfectly

I have added in some of the Architectural  Accents  from Spellbinders and other left over die cuts that are in my bit box

The tiny pearls are from Want2Scrap and they have been added randomly around the flowers.

More tomorrow ...

Hugs xx


May 07, 2016

Back Home ...


 Hi Everybody,

Thank you so much for all your good wishes and here I am safe and sound back at home.  We have had a fantastic holiday and I am pleased to say that Isabella (my Great Grand-daughter)  was very very good.

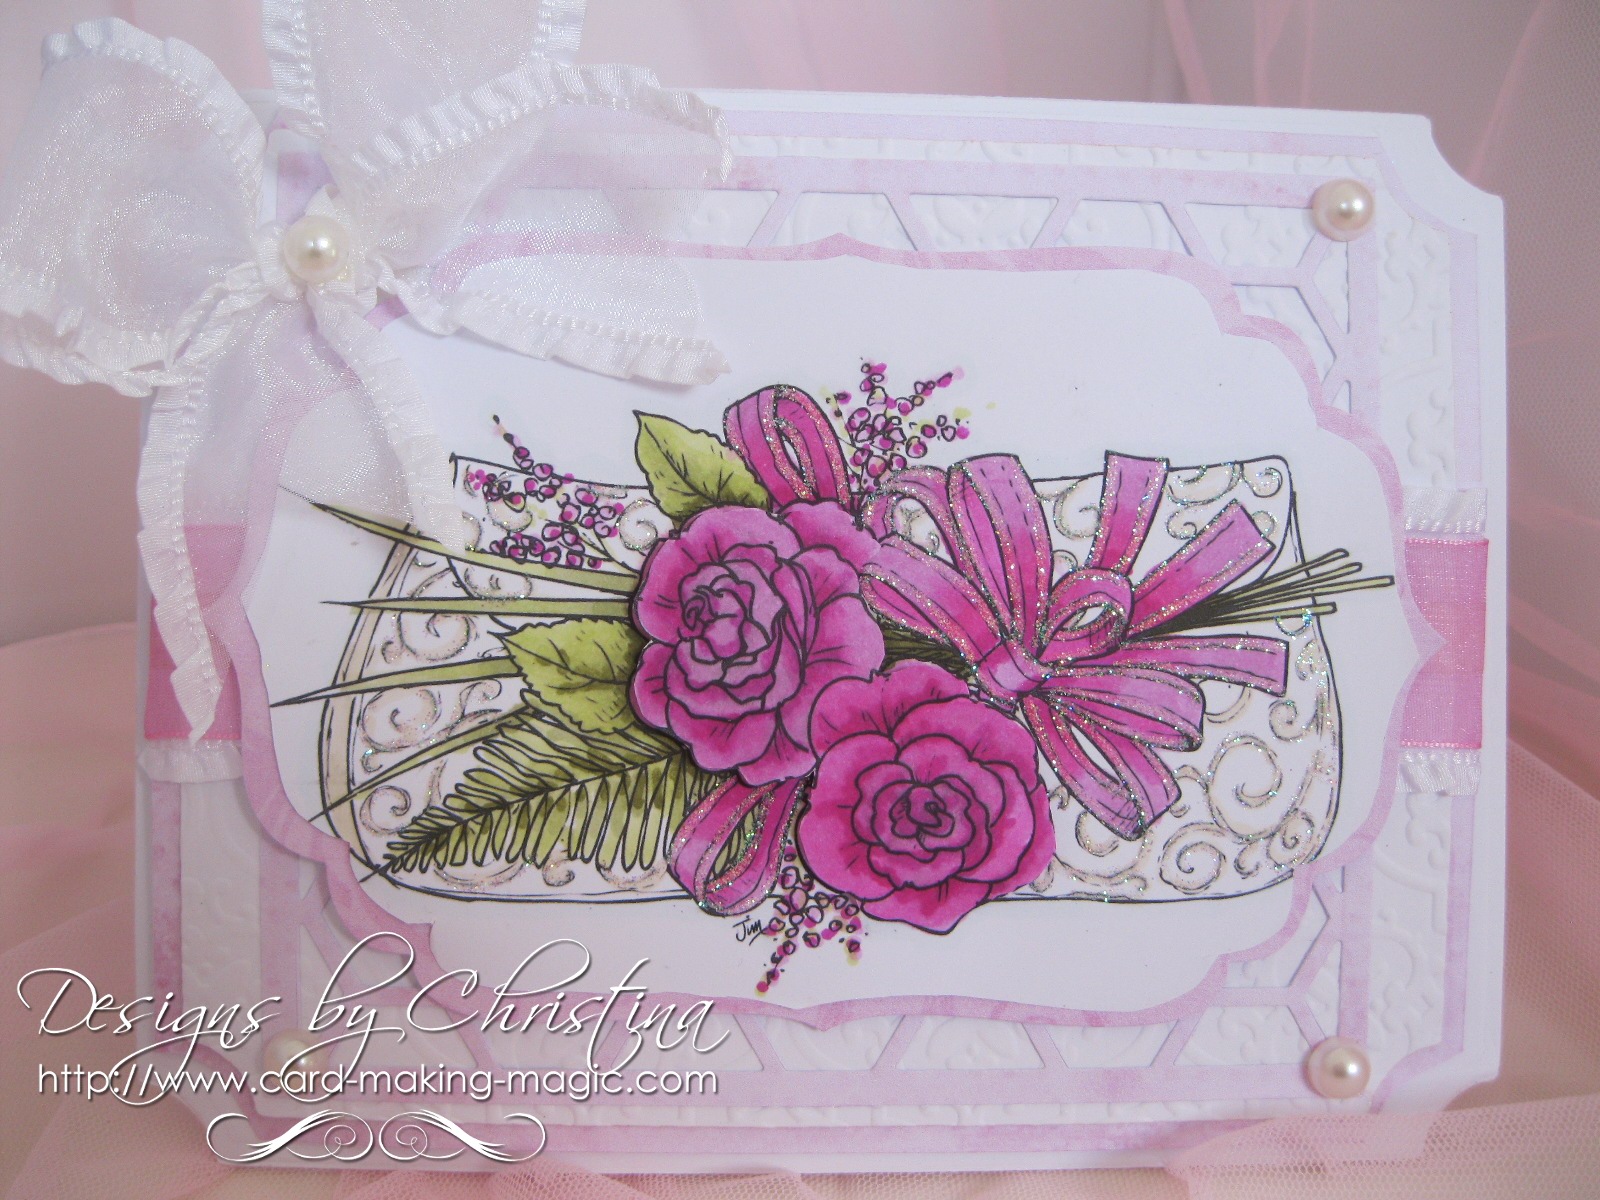
But before I tell you some of her exploits here is the winner of yesterdays Friday Freebie card and the name chosen is you ...

Sandra Parker
the card is yours so please can you email me 
christina@card-making-magic.com
with your postal address and the card will be on its way to you
I hope you will like it and please let me know when it arrives.

Isabella was so excited on the plane when it was ready to fly and said that this was much faster than her daddy drove his car.

She was small the first time she flew and didn't remember the experience but she was thrilled this time and as we went faster all she could say was "WOW" and watched through the window aswe soared up into the sky

The weather was lovely the first and second days we where in Portugal but the third day dawned cloudy ... but still warm.

Her daddy had given her some spending money and she wanted to buy something in the hotel shop.

They had lots of water toys that children could sit on and we tried to get her to choose a nice little floating flower or maybe a turtle.

Or it was "Oh! look Isabella her is a lovely little Dolphin but she was having none of that ... she wanted the seven foot long crocodile and she would not be swayed from it.

It seats two children and of course she shared the fun with two friends that she had made within minutes of us being there.
The next day we went down to the beach ... minus the crocodile and had a big ice cream. She wore most of it.

We played in the sand and paddled in the sea as the water was a bit cold for her but she really enjoyed jumping over the waves and did what most little girls do ... screamed every time she jumped .

We had a picnic in the sand and then she wanted to go back to the hotel pool.

Both Vickie and I were impressed  with her fearless approach to the water and with arm bands on she was very confident in the water.

We coaxed her into jumping in from the steps and eventually in off the side of the pool and once she knew she could do it there was no stopping her.


Later back at the hotel she was invited to a kids dinner and no adults where allowed to go

So she wore her prettiest dress and had her hair done by Nana Vickie and off she went to her dinner and disco ..... four years old and met her friends in the bar !!

Do you like the pose for our benefit ?? And just look at those red toe nails and the rosy cheeks.

Day three we went to the Zoo Marine and had a lovely day. Vickie and I thought that the Dolphins were amazing and appreciated all the had work that had gone into training them.    Isabella was not impressed !!
On the last night she sang in the Karaoke ... very badly I might add !!

She won first prize in the mini disco though and was given a certificate that I am going to frame for her bedroom.

We had a really happy holiday and Isabella wants to come away with her Nana Vickie and Great Gran again next year

More tomorrow ...

Hugs xx 


May 06, 2016

Friday Freebie 117

Hi Everybody,

Todays card is pretty in pink and has lots of lovely Wild Orchid Crafts flowers attached.

The lighting on the photo makes it look all pink but it is actually on a white base card

It is a 5x7 card and you can swap out the sentiment and use it for any occasion if you wanted to.

If this is a card that you would like to have then all you need to do is leave me a comment at the end of the blog post.

My "Film Crew" will draw  a name from the hat and the winner will be notified in tomorrows blog post.

The names of past winners are all added to the Winners Page in the side bar to your left

More tomorrow ...

Hugs xx


May 05, 2016

Patterned Panels - Floral Bloom - Tonic-Gold

Hi Everybody,

I have a new video that has been added today on YouTube that you may like to try.

Click this link to go to the tutorial  Water Colours and Dies   to create this super easy card and if you are not delighted with the results ... well I'll eat my hat !!

I promise you it is really easy though you may think it looks a mess to start with but you need to bear with me and all becomes clear

Don't tell me that you can't draw or paint because you don't need any painting or drawing skills for this card and yet the end result is really quite pretty

You can use any water colours that you have and any water colour card too.

I have used deeper colours to get my look as there is a lot of distraction with the die cuts ... but I am happy with the look.

Dry the colours between each layer to stop the paint from bleeding into each other and then add another layer to deepen the colour even more.

You can use any floral background die that you have in your "Stash" but for mine I have used one of the new Patterned Panel dies from Tonic-Gold - Floral Blooms

As a final touch I added Glossy Accents to the top of my die cut words and allowed it to dry to a raised and shiny finish.

More tomorrow ...

Hugs xx


May 04, 2016

Water Colour Wednesday - Wedding Purse

Hi Everybody,

This card was taken from the CD The Next Big Thing and sadly it is now retired from Just Inklined.

It is an image that I have coloured before but this one is done with Water Colours.

I printed off the image three times and coloured them in layers so that I could decoupage the flowers onto my card.

No dies for this one though so I had to fussy cut them all with scissors.... not my favorite task.
But I think it turned out all right in the end.

I added glitter to the bow then added it all to a white die cut shape and then onto a white base card

More tomorrow ...

Hugs xx