Hi Everybody,
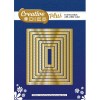
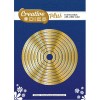
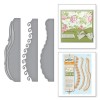
For todays card I have used a simple border die from Spellbinders and this is the Classic Waves which comes in three parts.
As the border dies divide the card into two separate pieces I thought we would make two cards for the price of one with this set if dies
Spellbinders Supplies:
- S4-788 Card Creator Classic Waves Border dies
- S6-001 5x7 Matting Basics A
- SEL-002 Grid Iron Embossing Folder
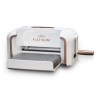
- PL-001 Platinum Die Cutting Machine
Other Supplies:
- Cosmic Shimmer Dries Clear Glue
- Foam Sheets
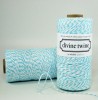
- Bakers twine
- Enamel Dots
- Card - two shades of turquoise and white
Instructions:
Create two Base cards with Matting Basic A with the white card
Create three mats with two shade of turquoise and another from the white
Place the three dies at different levels and angles on the card and cut and emboss.
Ink through the die if you like to add more pattern
Use the pieces to create two cards
With foam pads layer up the dies cuts so that they create a waterfall effect on the card and they can be added at the top or bottom of the card base as you prefer
Add an extra layer of white card and emboss this if you prefer a sturdier base, and layer the die cut pieces onto this
Adding in the foam gives more dimension to the card
For the card below I have added the cut pieces to the top of the card and onto another embossed card.
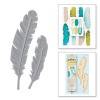
The top has been wrapped with Bakers Twine and two small shells added as decoration
The "Thanks" has been cut three times and stacked together and then enamel dots placed around the rest of the card.
For this card I added the die cuts at the bottom of the card with foam in between the layers
The"You" has been cut three times and stacked together and enamel dots placed around the card
Two ideas that would make good male birthday cards with the appropriate sentiment added
More tomorrow ...
Hugs xx