Hi Everybody,
Todays card is a fun celebrations one that would suit childrens parties or events.
Make it in bright and bold colours and get the kids to help create invitations for their own parties to give to their friends.
Really easy to do and with supervision from you they will be something that children can be proud to make and happy to give.

Spellbinders Supplies
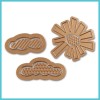
- SCD-004 Day Dreams
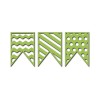
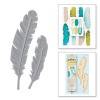
- SCD-019 Banner Trio
- SCD-029 Celebrations Fun Sentiments
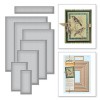
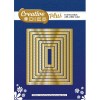
- S5-131 A2 Matting Basics A
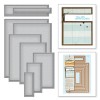
- S5-132 A2 Matting Basics B
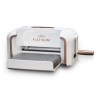
- PL-001 Platinum Die Cutting Machine
Other Supplies.
- Coloured Card
- Fun Foam Sheets
Instructions:

With the largest rectangle die from the A set cut two panels in deep turquoise for the base card
With the largest die from the B set cut one panel in a paler turquoise for the layer

Wrap thie layer with turquoise twine for the banners to attach to and then add to the base card

Cut the banners in the colours of your choice and layer them onto another colour.
Carefully cut around the outside edge to give you a two colour banner

Cut the sun and clouds and ink lightly to give some shading to the shapes

Cut Celebrate from white card and again from fun foam and stack together for dimension
Arrange the banners along the twine and add foam pads underneath to raise them up.
Arrange the clouds and sun as you like on the card
Add the sentiment to the top of the banners
Quick and easy
More tomorrow ...
Hugs xx