Beautiful Card Designs Made Easy

May 31, 2023

Personal Challenge

Hi Everybody,

Over the past few days I have been rummaging around in my craft room and I have found several paper packs that I have not used for quite a while.

So I have set for myself the personal challenge to use them on as many cards as I can.

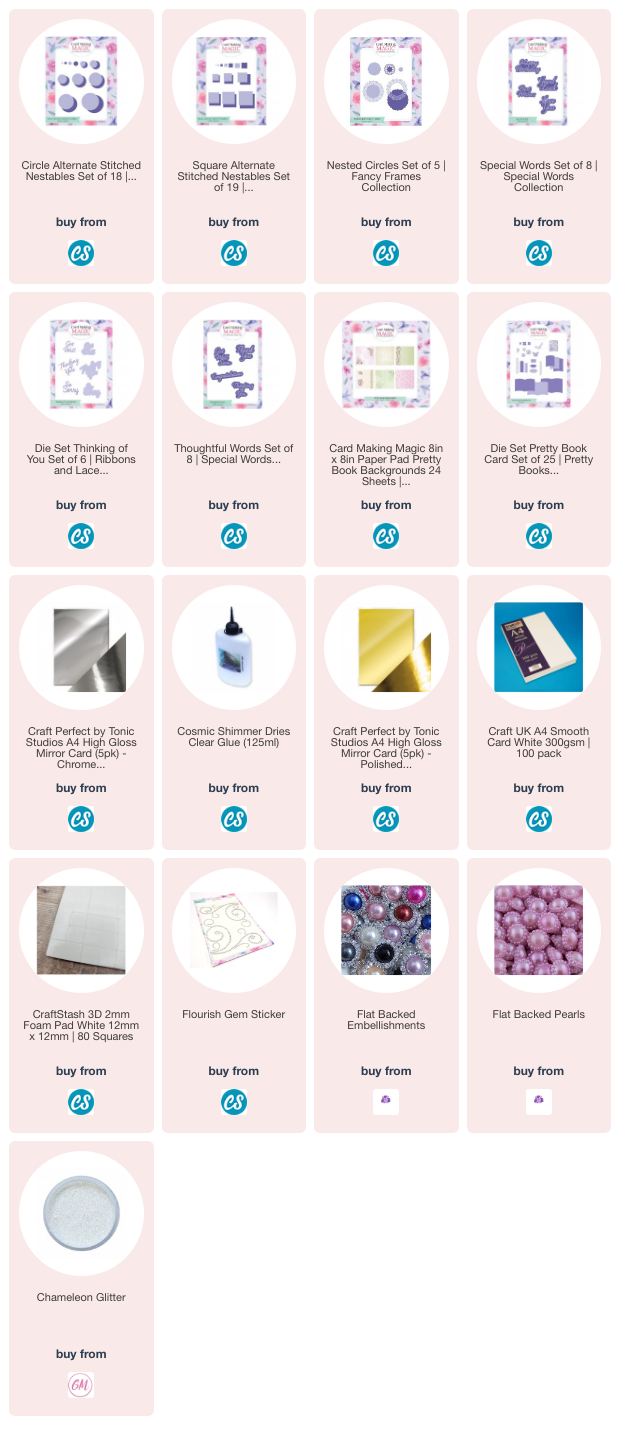
The papers shown here are from the Card Making Magic Pretty Book Collection and it is one of my favourite packs.

I made lots of videos with this set of dies, but I also enjoyed using the papers in the Butterfly Collection set too. 

The flowers seemed to fit just perfectly into the butterfly wings

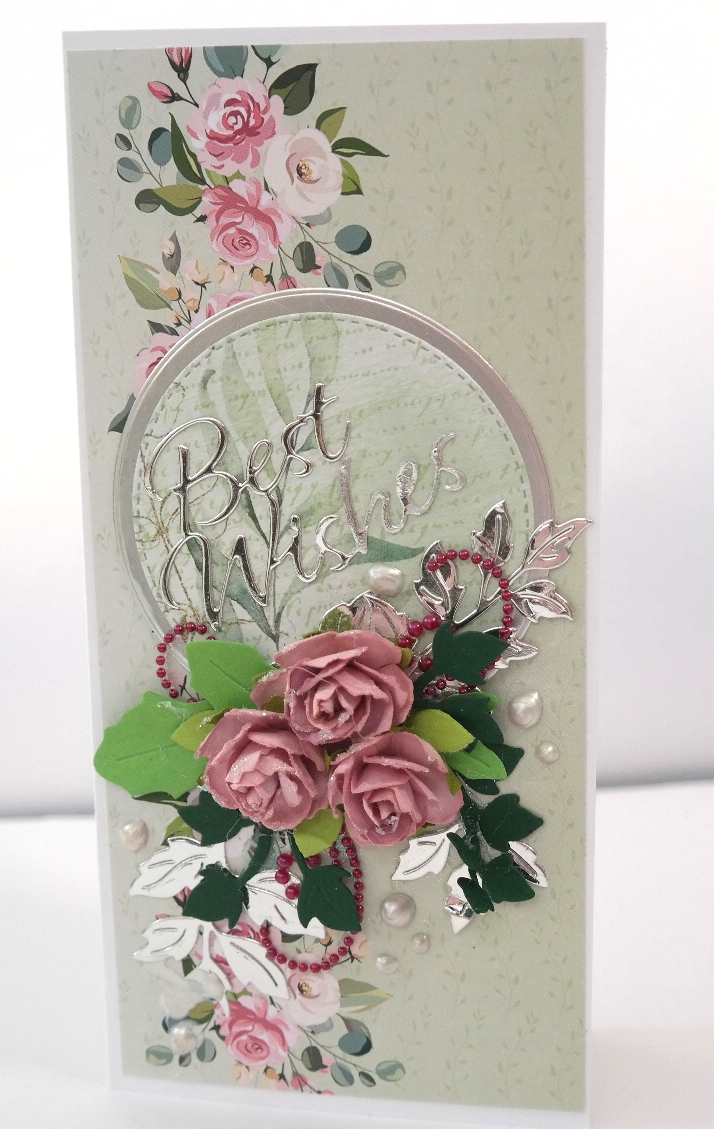
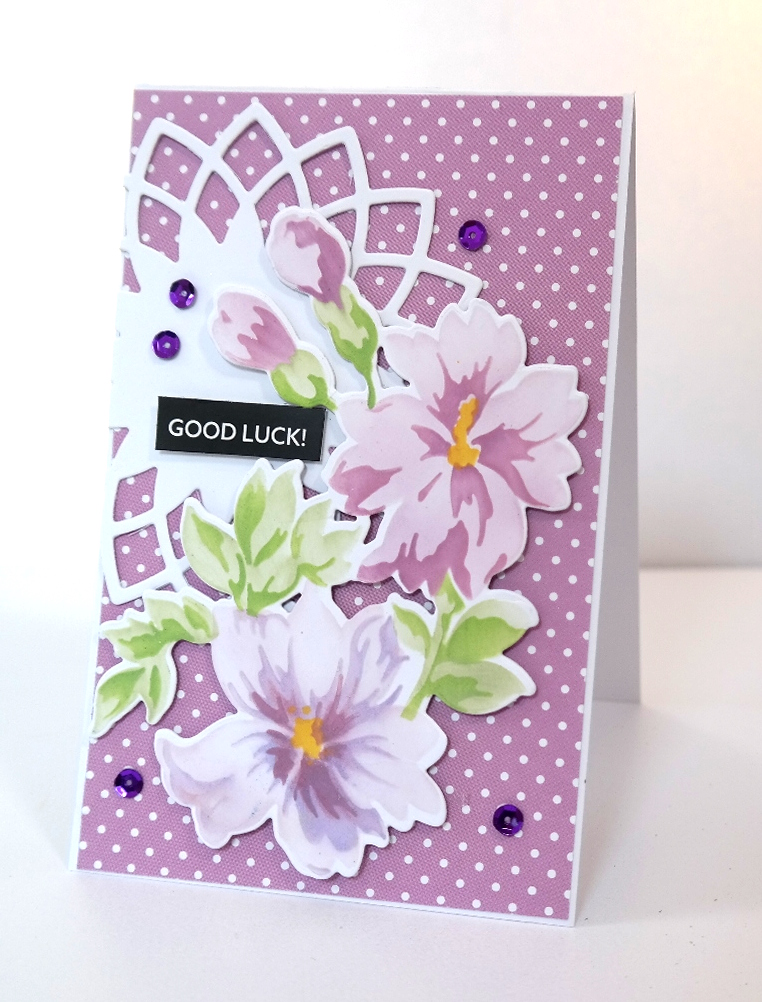
I have also used up some of the surplus die cuts on my desk at the same time and the cards are all really feminine and cute.

And the gold and silver mirror card that I have used also came in very handy to use as mats for the papers, and the sentiments that I have cut.

Oh! the things you find when you start to rummage ... and they where the Nuvo drops in lots of different colours.

 I squeezed them onto my cards in the place or pearls and they really made such a difference to the designs
 
Here are two of the cards. What do your think, is it worth using up the papers pads to make these ??

I know the Charity shop will be delighted with them once my box is full again and I take them in to the shop.

More tomorrow ...

Hugs xx

May 28, 2023

Carole Eaton - Winner

 Hi Everybody,

I hope you are all well on this beautiful Bank Holiday weekend. Ruby and I were out and about bright and early this morning while it was still quiet and then home again for breakfast. Hopefully the weather will stay well tomorrow also.

The draw for the Border set has been done and the name today is 

Carole Eaton 

Would you send me your postal address please to

christina@card-making-magic.com

and I will get it in the post to you straight away. Please be sure to let me know when you get it and I hope you enjoy playing with it.

More tomorrow …

Hugs xx

May 26, 2023

Friday Freebie - Border & Panel Dies

 Hi Everybody,    

Todays offering is a border and panel set of dies from Hunkydory. These are sure to add interest to any of your projects from cards to scrapbook pages.

You will find lots of ideas in the magazine for this and others that you may like to try so once you get it make a brew and sit and relax for a little "Me Time"

If you think that this would be handy for your style of crafting then all you need to do is leave me a comment at the end of the post.

Be sure to leave your FULL NAME so that it is easier to identify you as the winner and most importantly be sure to come back and see if your name is shown in the blog post on Sunday.

The offer remains open until then to give my overseas readers the chance to add their name and comments to the list.

I am happy to send the pack to you wherever you are.

More tomorrow ...

Hugs xx

May 24, 2023

Altenew Flower Cards

Hi Everybody,

All three of these cards featured today are using a die and  layering stencil from Altenew. It is the Bitterroot Flower die set 

I have altered the look by colouring them in different colours and adding them to a different background each time.

This first one has simply been coloured with the stencil direct to card and then that has been layered onto oink mats and a base card of a deeper shade of pink. 

I used the Card Making Magic Torn Edges die set for the layers.

The gingham ribbon has been wrapped around the top two layers before adding it to the base card, and the sentiment is from another Altenew stamp set that has also been added direct to the card.

This card has been coloured with purple and lilac inks and added with foam pads to a die cut shape.

The dotty card background has been trimmed to fit an A6 base with just a small border around the edge. 

The card itself is from Anna Marie Designs  and can be seen in this pack from their website. The white die cut is a really old Spellbinders die

You could of course stencil extra flowers or leaves and add them to your card as well to fill out our display even further.

When doing this colouring I find it easier to die cut the shape out first and then stencil the die cut turning the stencil as I need it.

For the card to the right I have created one of my Plaid backgrounds, and the video for that is here

I also used an Alcohol marker and a ruler to highlight the edges which gives the appearance of the card being layered.

This way of giving the layered look saves on postage costs if that is something that you ned to consider.

I thing all three look really pretty whichever colourway you use but the plaid one has to be my favourite

And they have all been dressed up with either pearls or sequins 

More tomorrow ...

Hugs xx

May 23, 2023

Flower card

Hi Everybody,

Todays card has used a paper pad that I bought from Home Bargains and it is a beautiful double sided pad that is foiled on one side.

But I wanted to dress it up a little more so on the foiled side I added in a text stamp in a random way and allowed it to dry.

The foiling on this piece is bronze coloured dots scattered over the paper.

Once it was dry I trimmed the panel down and matted it onto black card.

 I used the other side of the paper to layer onto some smaller shaped panels and added them to my base card in the top right and bottom left of the white 5x7 card 

The text piece has been added with foam pads and the Happy Birthday is cut from parchment and  Bronze glitter card for the bottom of the card.

I selected the flowers in different sizes, and I used roses and tulips and the long Gypsophillia stem, and I cut lots of leaves, in two shades of green, from the Rose Flourish die set. I also used the Eucalyptus die set that was free with a magazine, some time ago, to fill out my bouquet.

The last thing for me to do is add my glitter to the flowers and the finished card is much prettier than the photo shows and I am happy with the end result. 

More tomorrow ...

Hugs xx