Beautiful Card Designs Made Easy

September 09, 2021

Friends Card

 Hi Everybody

Todays card is from a really old Spellbinders die set that I have in my collection and I haven't used it in a long time.

I created a 6" square base card  and layered it with lemon paper. The hands have been cut from different shades of card and  I have added rings in different areas of the fingers. 

I used gold or silver mirror card to create them, and added gemstones to some of them.

I thought it would be a lovely card to send to a really good group of people that you enjoy being with, just to say "Hello" or maybe add a little message to the inside for them. 

The hands are not very big but they could be posed in other ways to make them different. 

 It is a die set that you could have some fun with. I really don't know if it is still available from Spellbinders, but I do know that other companies have similar ones on the market.

More tomorrow ...

Hugs xx

September 08, 2021

Same Theme ...

Hi Everybody,

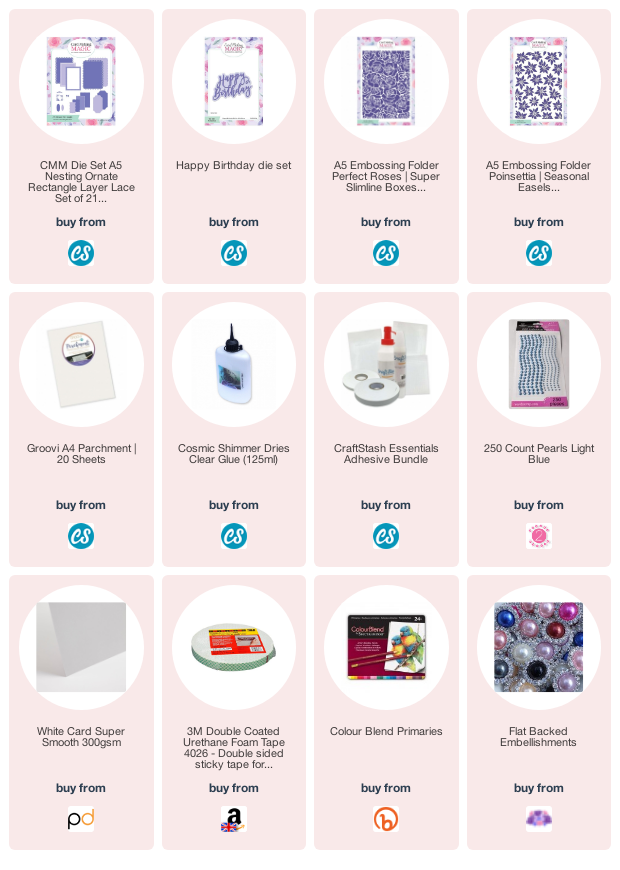
Using the same techniques as shown in yesterdays video, here is another card but using a different embossing folder. This one is the Perfect Roses A5 folder from Card Making Magic.

To colour the parchment I have used my Spectrum Noir pencils. I chose three different shades of pink for these flowers and two shades of green for the leaves .

It took me a little time to colour them all in but the end result is well worth the effort. 

It is a large card as I used my A5 dies to produce it. I made the shaped base with the dies and then the layers to sit on the top just to give it a different look.

The fold is at the top as I usually do and it stands in tent fold

The detailed edging around the smaller frame is a lovely feature and makes the card look so elegant

I think the flowers have blended really well using the pencils, and don't forget to do this on the debossed side of the .parchment so that when you turn it over you have diffused look to your colouring 

Enjoy the process ... it is very relaxing.

The depth to the fame has been created using foam board from Arteza. The foam flattens a little as you cut if, but it really makes a difference.

It cuts like butter in your die cutting machine and the dies have no trouble at all with the intricate details.  

I wrapped my white ribbon vertically around the frame and added large white beaded flower to the bow.

The greeting was die cut using the foam board also  and I added another to the top using  Holographic silver card to make it stand out

And with what was left of the Poinsettia embossed parchment from yesterday I decide to continue colouring with my pencils and  I created this one with blue flowers.
This card is a 5x7 but I used the same A5 die set to get the layers. I double wrapped the ribbon and used a shiny centre for the knot.

Both really pretty cards and I am more than happy with the results.

More tomorrow ...

Hugs xx

September 07, 2021

Parchment & Embossing Folders

 Hi Everybody

First let me apologise about the state of my hands in this video. I have been playing with alcohol inks and I have them everywhere.

No matter how much I scrub they will not come off not even with Isopropyl Alcohol either. But I had a lovely time creating and the cards will be shown over the next few days.

However this card today is using a really strong Parchment and I embossed it in a folder. 

Thinner parchments could tear as it is embossed but this one is very strong. It is a 160 gsm and the nearest I could find on Craft Stash is this 150 one for Groovi crafts.

But it is not the one I used and I don't really know what it performs like. 


The video is not too long but will give you some idea of how I did this technique if it is something new to you. I am sure that you will enjoy the results of your work once the card is completed.

More tomorrow ...

Hugs xx

September 06, 2021

Messy Water Colour

Hi Everybody,

This card was a whole lot of fun to make .... messy but never the less fun at the same time.

Arteza products where perfect for this job and their water colour card is really sturdy quality and will not buckle as you add the water.

So for this I added my sentiment to the bottom of the water colour card panel and then covered it with masking tape.

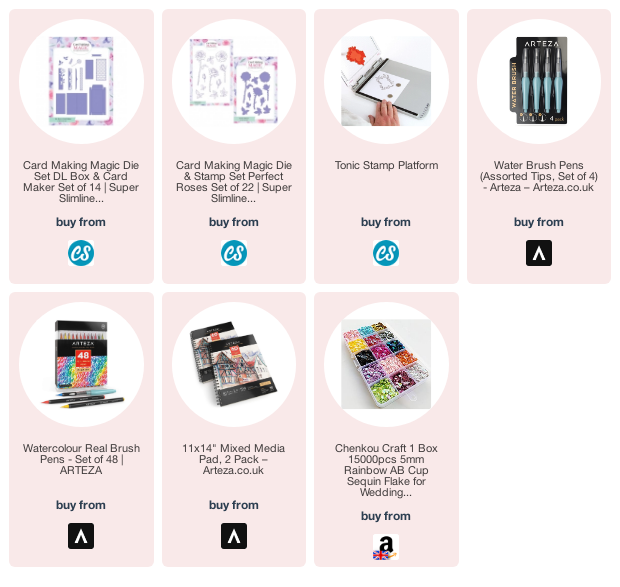
I added the stamp to the lid of my stamping platform  and with the Real Brush Markers I used the colours that I wanted and brushed them over the actual stamp.

I did the flower part fist and I spritzed it with water and  closed the door to transfer the image across. 

Once I opened the door the colour was not deep enough so I repeated the process, and I also spritzed the card itself too. It was satisfying to see the colour run in the water and you have no control over it which is part of the fun. Just let it flow !!

The process  was done again with green for the leaves and then, because I am impatient, I dried it with my heat tool.  

I added it to my card front and glued a strip of black and another of purple down the side. These I wrapped with Bakers Twine and tied a little bow.

For this second card I did the same thing but then used a circle die to cut the shape.

I added this A2 sized one to some glitter card and added the circular sentiment alongside it..

They are different and although messy I think they are quite effective and I would be happy to get a card like this for any occasion.


 More tomorrow ...

Hugs xx 

September 04, 2021

Winner

 Hi Everybody,

Here we are at another weekend and another winners post. They come round so quickly I just cant keep up. I was going to do a video today but my hands are so full of alcohol ink it is embarrassing. So I will wait a day or two and give it time to wear off and then I will start again. 

Ruby doesn't mind the state of my hands though and she is waiting patiently to go for her walk. We have been out once this morning but we will go again before tea and that will settle her for the evening then.... and give me some peace from the guilty loos she gives me when she wants to go out.

I have done the draw for yesterdays offering of the Tonic Collection set and it is well worth having. Everything in this collection is lovely and the double sided papers are no exception. Somebody is going to have some fun plying with this whole box.

The winner this week is ...

Michele Coffey

would you please email me your postal address to
christina@card-making-magic.com
and the prize will be on its way to your straight away.

I hope you enjoy it and please be sure to let me know that you have got it safely.

More tomorrow ...

Hugs xx